Gardens · island bed all sides access
Design an Island Flower Bed That Reads from Every Side
Shape an island flower bed around its real viewing routes, repeated plant masses, graduated but varied height, and concealed access that keeps every crown serviceable.
Published Last updated
In this guide
- Decide why the bed should be an island
- Plot the views before drawing the bed
- Shape the outline from movement around it
- Place an offset high point, not a permanent back row
- Repeat masses around the whole composition
- Design a route to every maintenance job
- Give the perimeter more than one edge expression
- Build a season that turns around the bed
- Set out plants at mature size before digging
- Audit the island by walking its full circuit
- Place five flowering clumps in a ten-foot island
- Design ideas
Decide why the bed should be an island
An island bed is freestanding and visible from more than one side. University of Georgia Extension distinguishes it from a border backed by a wall, fence, or woody planting. That difference changes the design problem: there is no permanent back row to hide weak stems, labels, access routes, or the blank side of a specimen. Every edge participates in the composition.
Give the island a reason to occupy open ground. It might interrupt an oversized lawn, connect views between a house and gate, hold a small ornamental tree, mark a change in level, or create a destination beside a path. A bed placed only to fill an empty center can feel detached from circulation and architecture, especially when its outline bears no relation to nearby lines.
Check what the open ground already does. Preserve play, drainage, snow movement, vehicle access, utility routes, and the turning or mowing space that remains necessary. Do not create a planted obstacle in a desire line or force people to squeeze around wet foliage. Confirm local sight-line and service requirements before treating the shape as an artistic gesture.
Write the island's job in one sentence, such as: connect the dining-room view to the gate with a low, flower-rich bed that has one off-center shrub and a hidden stepping route. That sentence establishes views, height, ornamental emphasis, and access before the first plant list appears.
Plot the views before drawing the bed
Stand at each ordinary viewing point: front door, main window, terrace, gate, driveway, lawn route, and any public approach. Mark the direction and approximate distance on a base plan. A view from a moving car needs broad, simple masses; a close path can reward leaf texture and smaller changes. University of Georgia guidance similarly notes that beds read differently from a distance than at close range.
Rank the views instead of pretending they are equal. The principal view may deserve the clearest silhouette and strongest seasonal group, while a service-side view needs a tidy edge and safe access rather than a second focal object. Secondary views can reveal the same high point from another angle or frame a gap through the planting.
Photograph the empty site from each point and draw the likely bed outline directly over the images. Check whether the proposed high point blocks a door, a valued distant tree, or the view across a path. Move the mass on paper until it contributes to several views. A feature centered from one window can appear awkwardly stranded from every other direction.
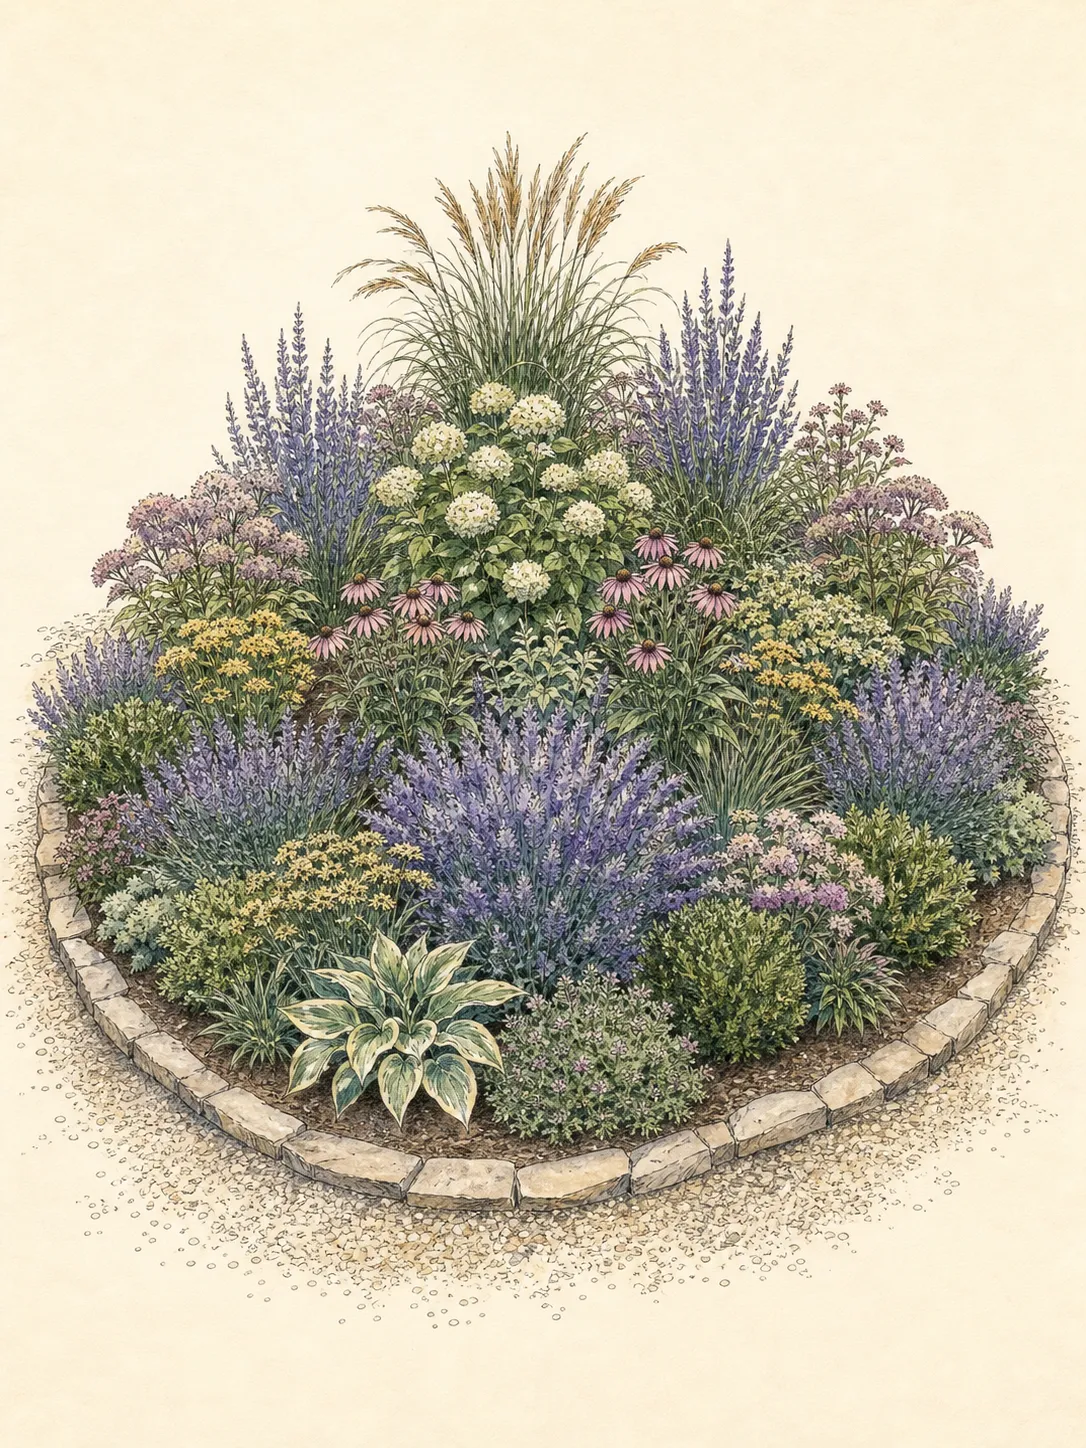
Include the sun's movement and background in the view map. A pale flower group may disappear against paving but become legible against dark lawn; translucent grasses may be strongest when backlit; a tall plant viewed against a busy hedge may need a broader mass. These are visual conditions, not substitutes for the plant's light and soil requirements.
Shape the outline from movement around it
Lay out the edge with a hose or removable line and walk every route around it. The shape should support the island's purpose and leave workable circulation, not merely form a decorative kidney because that convention is familiar. Curves need enough scale to read cleanly; a collection of small bumps becomes difficult to edge and makes plant groups look fragmented.
Relate the outline to nearby geometry. A broad curve can ease the turn of a path, an elongated oval can connect two views, and a restrained angular form can echo contemporary paving. Avoid pointing a narrow bed tip into a busy route, where soil dries quickly, mower turns are awkward, and one edge plant must carry too much visual weight.
Test the amount of reachable ground before finalizing width. Kansas State Extension advises including internal paths in island beds that are too broad to service from their edge. Treat that as a functional prompt rather than a universal dimension: the gardener's reach, plant height, soil conditions, tools, and necessary tasks determine where access must enter.
Mark drainage and finished grade while the outline is visible. A raised center may improve drainage in a suitable site, but it should not bury tree roots, redirect runoff toward paths or buildings, or create a dry mound that conflicts with the selected plants. Resolve site engineering before using soil volume to exaggerate the island's silhouette.
Place an offset high point, not a permanent back row
An island often benefits from a high point, but centering one conical specimen can create a wedding-cake stack and make every view identical. Shift the tallest durable group away from the geometric center and balance it with a lower broad mass. This creates different overlaps as a viewer moves while preserving an intelligible hierarchy.
Use height as a cluster rather than a single dot when space allows. A small ornamental shrub with two or three upright perennials can share the central role across seasons. Keep their mature widths compatible and leave access to each crown. The strongest form should not require surrounding plants to be cut away continually.
Graduate height toward edges without arranging rigid rings. Let a medium group reach the edge in one generous lobe, then bring low planting farther inward elsewhere. Repeat an upright accent on two sides at different distances. These exchanges prevent the planting from presenting a tall center, medium doughnut, and low picture frame from every angle.
Check wind, rain, and winter posture. Tall flowering stems may lean outward after a storm, and a deciduous shrub may reveal a less attractive branch junction once leaves drop. Draw the widest normal outline, preserve support access where a named plant needs it, and use neighboring foliage to compose the view without depending on concealment.
Repeat masses around the whole composition
Choose a restrained set of plant roles: structural shrub, upright accent, rounded flowering mass, fine-textured connector, and low edge. Fill those roles with plants matched to the site's region, light, soil, moisture, and maintenance. Repetition allows a viewer to recognize the same composition from another side even though the overlaps change.
Draw each plant at mature spread. NC State Extension stresses designing with mature size and growth habit, not the temporary nursery footprint. Intentional overlap can create a continuous mass, but neighboring crowns should not be compressed until division, staking, irrigation, or inspection becomes impossible. Keep colonizing and self-sowing behavior on the schedule as well as height and width.
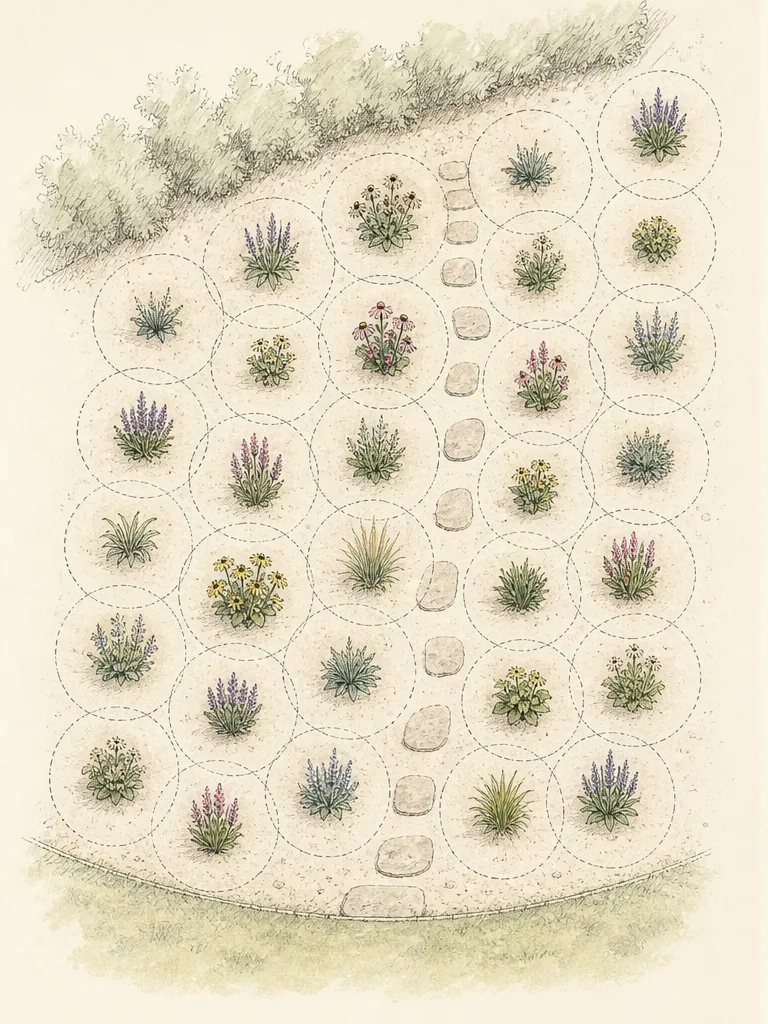
Make groups unequal. A main drift can occupy one side of the high point, with a smaller echo across the island and a single bridging plant between them. Equal clumps at equal intervals create a spotted ring. A varied rhythm feels coherent because the plant repeats, not because every gap is identical.
Limit isolated specimens. A plant shown once must earn a focal, seasonal, or site-specific role that cannot be supplied by the repeated palette. If every side needs a different curiosity, the island loses identity and maintenance becomes a series of exceptions. One memorable form surrounded by disciplined masses is usually stronger than many competing rarities.
Design a route to every maintenance job
List the jobs the island will require: weeding, deadheading, division, renewal pruning, staking, irrigation checks, label reading, leaf removal, and edge repair. Mark the crowns or equipment that demand repeated access. A route is successful when those tasks can be done without stepping on soil over roots or leaning across brittle stems.
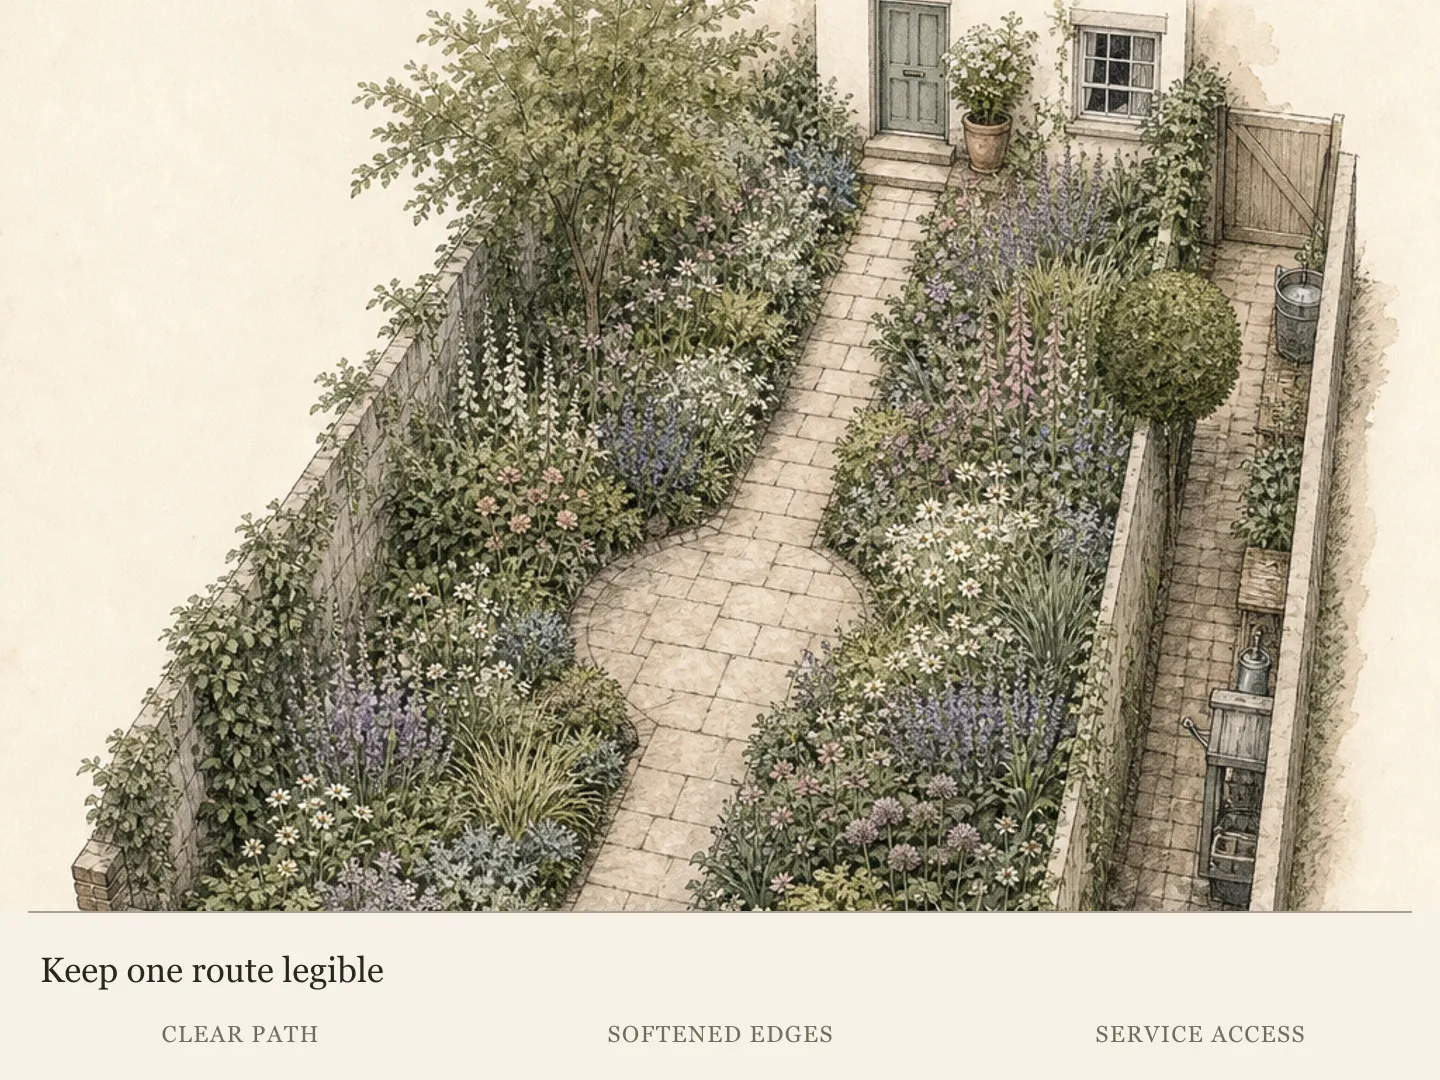
For a modest bed, access may come entirely from a stable perimeter. Deeper beds need stepping points or a narrow internal path positioned before planting. Kansas State's island-bed guidance explicitly connects paths with deadheading, pruning, and weeding in broad beds. The route can be visually quiet, but it cannot disappear so completely that users tread on crowns while searching for it.
Bring the route beside high-maintenance groups and the central structure, not through their mature centers. Use stable materials suited to slope, weather, and footwear, and keep each step level. Avoid loose stones where they migrate into lawn or paths. If universal or assisted access is required, design it to applicable standards rather than treating decorative stepping stones as equivalent.
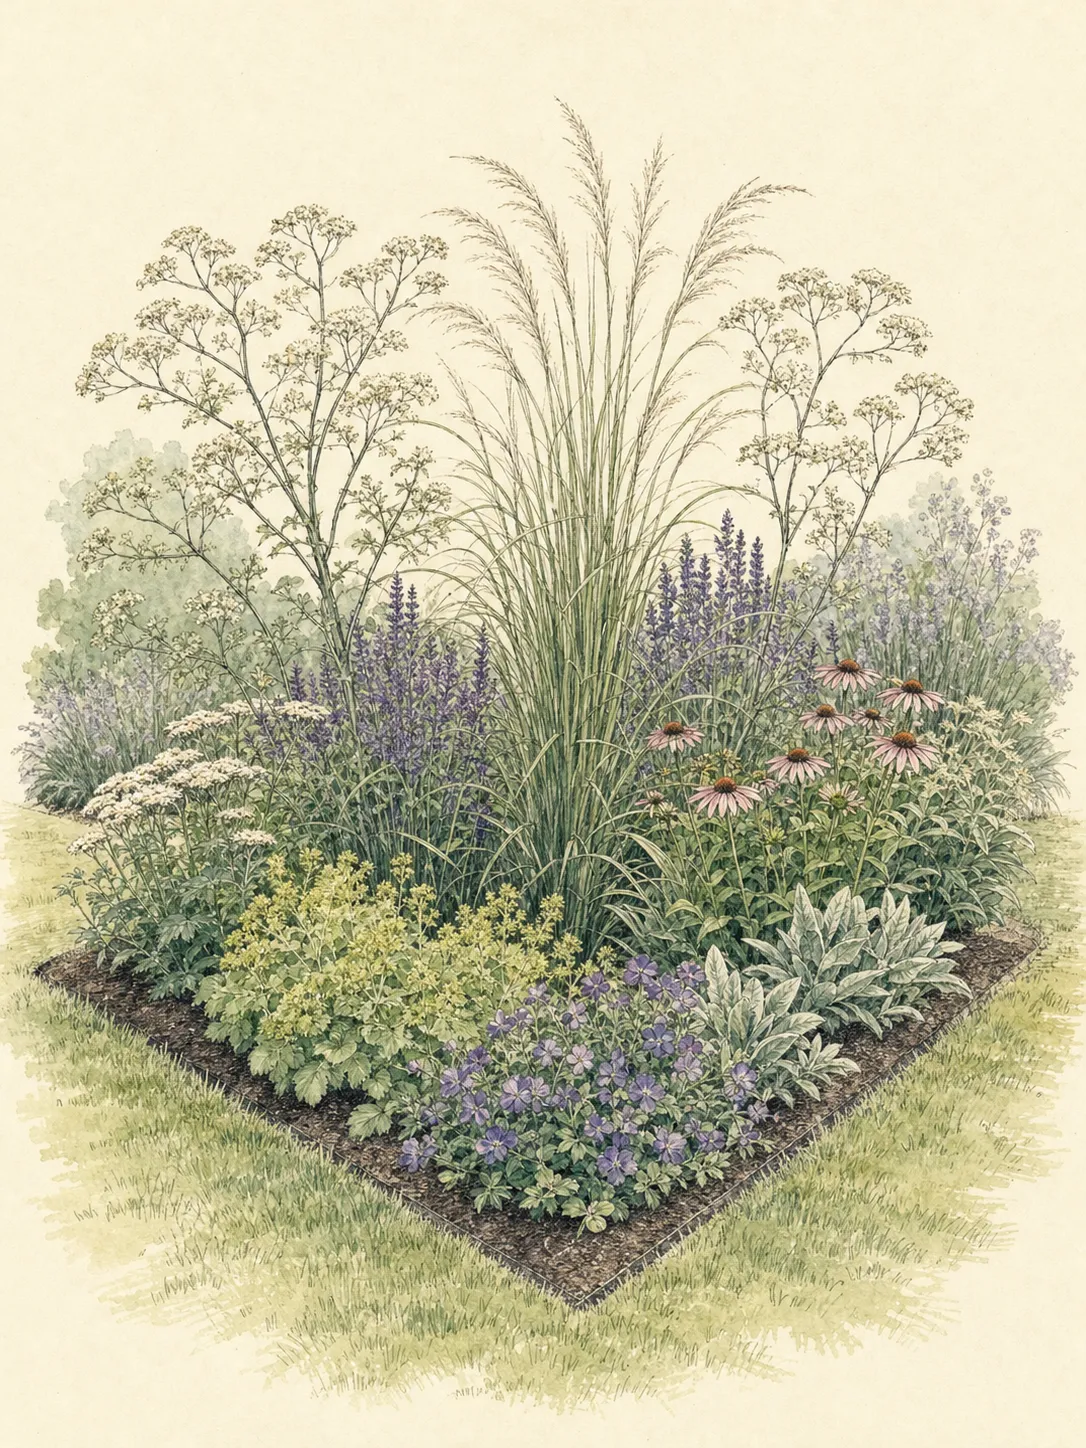
Create small working pockets at branch unions, irrigation connections, and frequently divided plants. A low, editable ground layer can soften their margins without occupying them. Photograph the route after spring emergence and mark it on the plan; dormant crowns and expanding foliage can otherwise turn a safe winter path into a damaging summer shortcut.
Give the perimeter more than one edge expression
The edge is visible from every direction, so it needs good foliage and a reliable mature outline. Kansas State guidance emphasizes the ornamental importance of island-bed edging plants but cautions against drawing a uniform picture frame. Repeat a contained low plant in broad stretches, then allow one medium mass or clear mulch interval to meet the perimeter and interrupt the ring.
Keep foliage away from circulation and mowing arcs at normal mature posture. A low groundcover may still spread into paving or lawn, root across the boundary, or conceal the edge. Check regional invasive guidance and cultivar behavior. Selective editing is different from planning to shear the entire perimeter into a hard band.
Choose an edge treatment that can be maintained from both sides. A crisp cut edge, restrained physical edging, or stable transition strip can all work if suited to soil, drainage, and adjacent surface. Avoid tight scallops that multiply work or deep barriers that interfere with roots and drainage without a site-specific reason.
Use negative space intentionally. A short interval of visible mulch can expose the base of an ornamental grass, provide a foothold, or let the bed shape register from a distance. Do not fill every opening during the first year. The perimeter should communicate the bed's outline while permanent plants expand into their planned space.
Build a season that turns around the bed
Plan bloom as a sequence of repeated groups, not as one front-facing tableau. An early group can begin near the main approach and echo on the far side; a summer drift can cross the visual center; autumn seed heads can hold the side seen from the house. The viewer discovers different emphasis while walking, but recurring plants keep the sequence connected.
Use foliage and structure to carry the island when flowers pause. University of Georgia Extension recommends masses of fewer selections for stronger visual impact and simpler maintenance. Broad groups also make emerging perennials easier to distinguish from unwanted seedlings. Combine contrasting leaf scales and habits without assigning a unique texture to every position.
Map dormant periods and post-flowering foliage. Bulbs can share space with later-emerging perennials when their leaves remain exposed long enough to finish naturally and crowns are recorded. A plant that collapses after bloom belongs beside a partner that gradually occupies the view, not behind a permanent backdrop that does not exist.
Draw a winter plan appropriate to climate. It may rely on one evergreen shrub, pale grass stems, durable seed heads, colored twigs, or the clean outline of the bed itself. Keep only material that remains structurally safe and attractive in local snow, wind, and rain. Winter interest is a selective design choice, not a ban on autumn cleanup.
Set out plants at mature size before digging
Transfer the plan to the ground with center stakes, measured strings, or circles representing mature spread. View it from every marked position before opening holes. A mass that reads well on paper may block a path, merge with the high point, or vanish against its background. Move centers now rather than treating future pruning as the correction.
Install the structural framework and access route first. Confirm the central or offset feature, irrigation access, and working pockets. Then place repeated groups, preserving the planned gaps around crowns and steps. Keep labels and a scaled as-built plan so later digging does not erase dormant plants or the logic of the repetitions.
Prepare soil according to a test and actual site condition rather than creating isolated rich planting holes. Preserve drainage and avoid working wet soil. Water new plants according to their root balls, species, soil, and weather while they establish; a mature-care description does not eliminate establishment needs.
Use temporary annuals only in clearly marked future space and remove them before they compete. Mulch exposed soil with a material and depth suitable for the plants, keeping crowns and woody stems clear. The new island should look deliberately open, with groups and paths readable, rather than instantly stuffed and already inaccessible.
Audit the island by walking its full circuit
Review the bed at peak size, after rain, during a bloom gap, and in dormancy. Walk every ordinary route and use the internal access with tools in hand. Photograph the same marked views. Look for blocked sight lines, hidden routes, outward-leaning stems, an empty principal view, or a group that reads as a stray plant from one direction.
Check maintenance evidence. If every central task requires stepping over crowns, enlarge or redirect the route. If a perimeter plant needs constant clipping, move its center or replace it with a smaller habit. If one aggressive group appears on every side, edit its spread before adding decorative variety elsewhere.
Evaluate repetition and hierarchy separately. A successful plant may still be repeated too evenly, while a weak plant may occupy an essential visual role. Preserve the role and adjust the material. Enlarge the best mass, reduce a redundant echo, or shift the high point's balance without redesigning every side at once.
Update the scaled plan with measured mature outlines, moved crowns, and access points. The island succeeds when each approach offers a composed foreground and structural relationship, movement around it reveals variation, and the gardener can reach every necessary task. It should have no neglected back, but it does not need four identical fronts.
Place five flowering clumps in a ten-foot island
Use a 10-by-10-foot square as a small trial island in full sun in a Zone 6 Pennsylvania garden, with moderately moist, freely draining soil and access around every side. Allocate three Phlox paniculata plants 3-foot circles and two Echinacea purpurea plants 2-foot circles, using the retained species spread ranges as the starting envelopes. Taller phlox supplies summer mass, while the coneflowers provide a different flower and seed-head form. Neither plant makes this a permanent evergreen screen.
From the southwest corner, place phlox at (3, 3), (7, 3), and (5, 7) feet. Set coneflowers at (1.5, 6) and (8.5, 6). The five circles do not overlap or cross the square boundary, and the coneflowers retain a half-foot edge margin. Reserve the open intervals as access from the nearest side; do not turn them into an additional planted ring.
Walk the island from all four approaches before ordering the five plants. Where full-grown phlox would hide a crossing or driveway view, reduce the height through plant selection or move the island; repeated topping is not the design solution. This assumed planting geometry needs local cultivar and site confirmation and is not a report of a completed garden.
Design ideas
- Style
- All-sided perennial island with an offset structural high point, repeated drifts, varied edge height, and concealed access
- Space
- Freestanding ornamental bed in lawn or open paving, viewed from a house, paths, gates, seating, or public approach
- Climate
- Worked plan: a full-sun Georgia Piedmont perennial bed with well-drained soil, using K-State proportions, drift size, and broad-bed access guidance and UGA’s Georgia plant-selection data. Outside that declared region—or where light, drainage, moisture, heat, winter conditions, wind, or current invasive status differ—reselect exact taxa or cultivars and redraw every mature envelope before planting.
- 1Worked Georgia Piedmont plan — scale, views, and access
For this full-sun, well-drained Georgia Piedmont example, draw an elongated oval 27 feet long by 9 feet wide (8.2 by 2.7 m), preserving the 3:1 proportion presented by K-State. Measure x from the west tip and y from the south edge; the house views the south long side and the gate views the east end. Because 9 feet exceeds K-State’s 8-foot broad-bed access threshold, reserve a 24-inch-wide (0.6 m) stable service spur from the north edge at x = 14.5 feet to a 3-by-3-foot working pocket centered at x = 14.5, y = 6.5 feet. That project width is not an accessibility standard. Keep every mature plant envelope outside the spur and pocket, and place the offset high point at x = 19, y = 4.5 feet.
- 2Plant row 1 — offset high point
Set one Lantana camara ‘Miss Huff’ at x = 19, y = 4.5 feet. UGA lists it at 48–70 inches high with 36–54 inches of spacing derived from mature or third-year size; reserve that full range as its mature spread allocation. Its season is summer. From the south house view it rises behind the lower Coreopsis drift without sitting on the centerline; from the east gate it becomes the near high point, with Echinacea and Verbena stepping down around it. Keep the northwestern side of its allocation clear so the service pocket reaches pruning and inspection without crossing the crown.
- 3Plant row 2 — repeated coneflower drifts
Map three triangular drifts of Echinacea purpurea ‘Magnus’: five plants centered at x = 8.5, y = 3 feet, three at x = 11, y = 6.5 feet, and three at x = 23.5, y = 3 feet. Allow 24–36 inches of mature height and 8–10 inches of spread allocation per plant, based on UGA’s mature-size spacing table; its bloom role is late spring into summer. The five-plant drift forms the house-view middle, while the two three-plant echoes carry the same flower and upright seed-head rhythm toward the north side and east gate instead of leaving either approach with unrelated specimens.
- 4Plant row 3 — spring-to-early-summer foreground
Use two unequal drifts of Coreopsis grandiflora ‘Baby Sun’: seven plants centered at x = 5.5, y = 2 feet and five centered at x = 15, y = 2 feet. UGA gives 18–28 inches of mature height and 8–12 inches of spacing based on mature or third-year size; use 8–12 inches as each plant’s mature spread allocation. Its bloom span is spring to early summer. The longer drift makes a bright low foreground from the south house; the second pulls that color toward the east gate and leaves the center visually open beneath the offset Lantana. Both groups exceed K-State’s three-plant drift minimum.
- 5Plant row 4 — late-season middle layer
Place five Sedum ‘Autumn Joy’ centered at x = 7, y = 7 feet and three centered at x = 21.5, y = 7 feet. UGA gives 18–30 inches of mature height and 8–10 inches of mature-size spacing; reserve an 8–10-inch spread allocation per plant. Use its spring-through-fall ornamental span as a late-season middle layer. The northern five-plant mass reads beyond the coneflowers from the house, while the eastern three-plant echo gives the gate a rounded foreground and repeats the same durable form toward the north side without entering the service spur.
- 6Plant row 5 — low edge in three interrupted drifts
Repeat Verbena canadensis ‘Homestead Purple’ as nine plants centered at x = 3, y = 4.5 feet, seven at x = 12, y = 8 feet, and five at x = 25, y = 5.8 feet. UGA lists 5–8 inches of mature height and 8–12 inches of mature-size spacing; reserve that range as each plant’s spread allocation. Its bloom runs from spring through fall. The first drift settles the west-to-house transition, the second supplies a low north-side foreground, and the third leads the east gate into the composition. Leave mulch gaps between all three so the edge does not become the uniform picture frame K-State cautions against, and keep the north access entrance visibly open.
- 7Substitution limits for the worked plan
Treat these dimensions and plant choices as a Georgia example, not a universal palette. Replace a named plant only with an exact taxon or cultivar supported for the new region’s hardiness, heat, full-sun exposure, drainage, moisture, wind, and current invasive and legal status. The substitute must fit within the row’s stated mature height and spread allocation, retain its bloom-season job, and perform the stated role from both named views; repeated rows must remain in unequal groups of at least three. Never substitute from nursery-pot size or a shared common name. If no verified match fits, enlarge or redraw the bed and route rather than compressing crowns or deleting access.
- 8Use a crescent high point
Place a small shrub and two compatible upright perennials as a loose crescent offset from the center. Let the curve present a broad face to the principal view and a narrower layered profile from the side. Keep mature crowns separate and bring the access route behind the crescent. Balance it with one lower, wider drift rather than another equal high group across the bed.
- 9Repeat one drift in three unequal echoes
Choose one dependable perennial with season-long foliage and place it as a main mass, a smaller echo, and a final fragment near another edge. Separate the groups with contrasting texture and open ground. The repeated identity lets viewers connect the island around its circuit, while unequal sizes avoid a dotted ring. Use cultivar-specific mature spread and reserve the route between groups before planting.
- 10Open a window through the center
Keep one low corridor of foliage aligned with a valued distant tree, sculpture, or gate. Frame it with offset medium groups instead of leaving a bare trench. The opening gives two opposite views a relationship and prevents the high point from becoming an opaque wall. Confirm that the low plants remain low in local conditions and that access does not accidentally occupy the same visual window.
- 11Let a medium group touch the edge
Interrupt the conventional low perimeter by bringing one contained medium-height flowering mass to a broad edge away from circulation. Pull the low edging inward around it and repeat its foliage color elsewhere. This creates a changing skyline as the bed is circled. Draw the plant's rain-laden and flowering outline so the gesture does not become a path obstruction or mowing problem.
- 12Hide a stepping fork
Run a short stable stepping route from the least prominent edge to a small fork near the central structure. One branch reaches irrigation and pruning access; the other reaches a divisible perennial group. Keep all steps outside mature crowns and record them on the plan. Low removable foliage may soften the entrances, but the surface must remain visible enough for safe use in wet weather.
- 13Rotate seasonal emphasis
Place the strongest spring group toward the house view, carry summer color diagonally across the island, and position durable autumn forms near the public approach. Echo at least one foliage or flower color among the seasons so the shifts belong to one composition. Use locally observed timing and preserve useful post-bloom foliage rather than expecting each group to vanish when its flowers finish.
- 14Make the empty interval repeat
Reserve two or three small mulch or low-ground intervals at strategic edges, each linked to a maintenance foothold or a clear view of a specimen base. Similar open shapes become part of the rhythm and keep the first-year planting calm. Protect them from volunteer seedlings and impulse purchases; if an interval is later planted, revise the access plan and repeat structure rather than filling it casually.
Plants in this guide
Related reading
Sources
- Designing an Island Bed. Kansas State University Extension, Johnson County. Source record · Accessed 2026-08-19.
- Landscape Basics: Success with Herbaceous Perennials. University of Georgia Cooperative Extension. Source record · Accessed 2026-08-19.
- Landscape Design. NC State Extension Publications. Source record · Accessed 2026-08-19.
- Phlox paniculata. NC State Extension. Source record · Accessed 2026-09-09.
- Echinacea purpurea. North Carolina Extension Gardener Plant Toolbox. Source record · Accessed 2026-09-09.