Gardens · compact winter border layered structure
Design a Compact Winter Border with Structure at Every Height
Build a small winter border from measured woody structure, low seasonal detail, clear ground, and one focal event instead of a crowded collection of winter-interest plants.
Published Last updated
In this guide
- Define the border as a measured room
- Allocate the mature woody framework
- Compose three heights and one emphasis
- Use a restrained ground layer
- Build one adaptable worked composition
- Edit by evidence across four seasons
- Resolve the difficult edges before planting
- Coordinate pruning without flattening the composition
- Design ideas
Define the border as a measured room
A compact winter border is not a reduced catalogue garden. Its boundaries are close enough that every mature crown, empty interval, and maintenance shortcut is visible. Measure length, depth at several points, path width, sill and fence height, utilities, drainage, and existing roots. Photograph the border from the winter approach and the principal indoor view. These limits are the design material, not inconveniences to hide behind plants.
Map winter sun and wind rather than relying on a summer label. Low sun may reach beneath deciduous branches for only an hour, while a wall can create reflected warmth followed by rapid cooling. Check where snow is shoveled, roof water lands, and frost persists. Test drainage after thaw. A small bed magnifies microclimates because a plant can sit against masonry on one side and cold paving on the other.
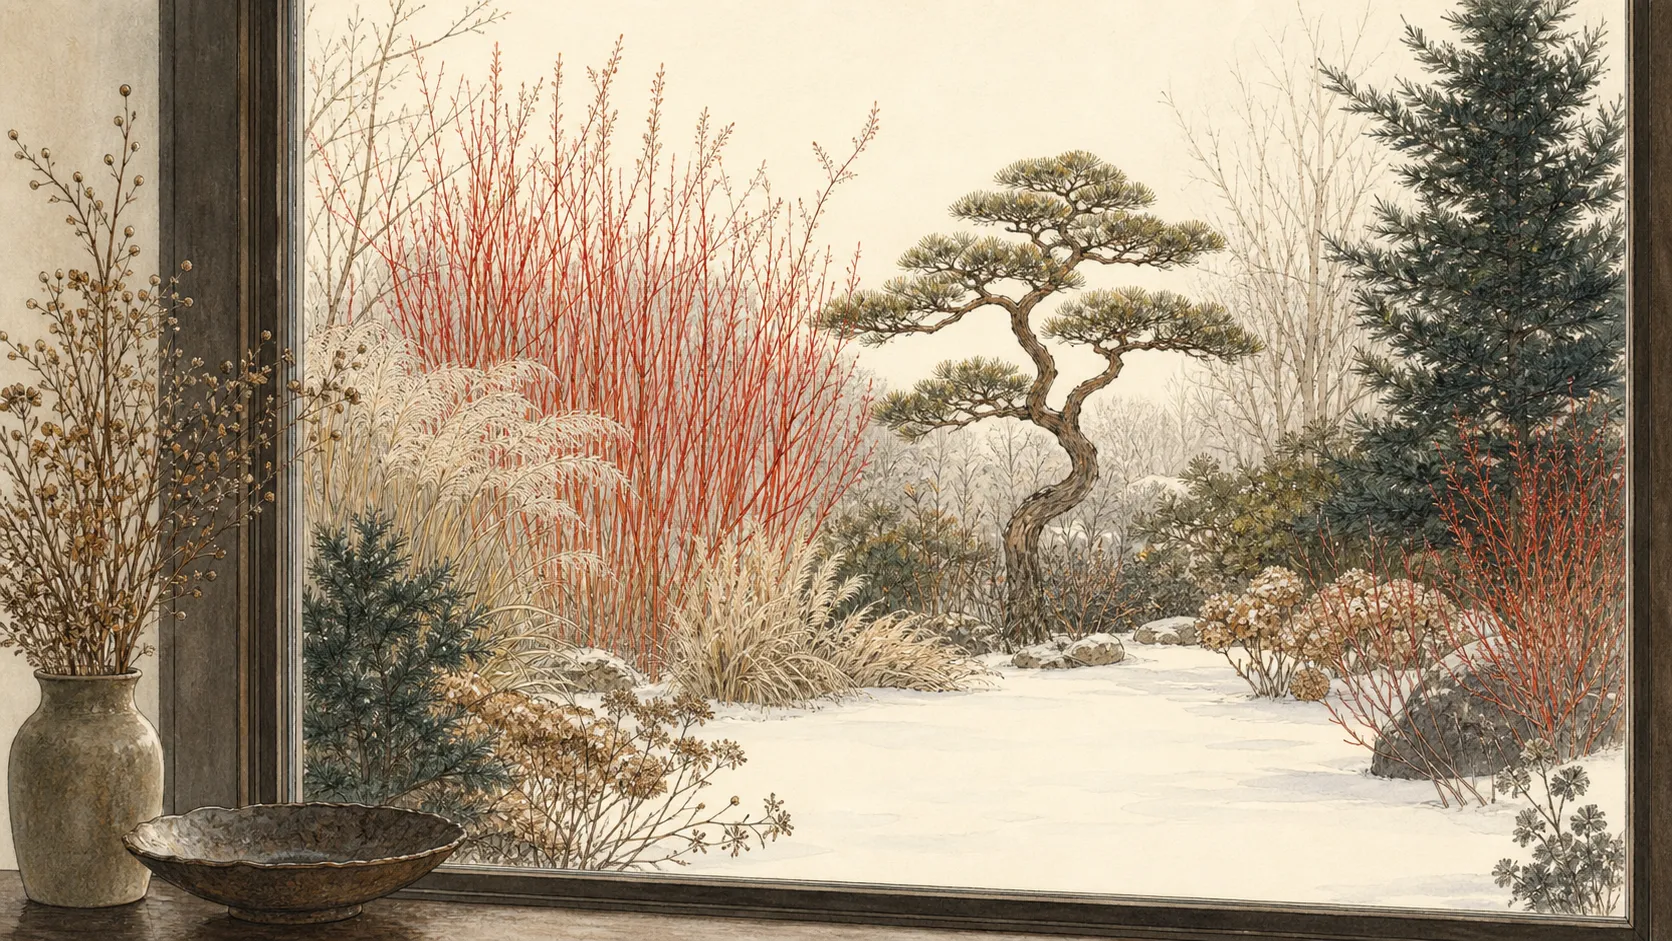
Choose one viewing priority. A border approached along a path needs a sequence; one seen through a window needs a framed elevation; one beside an entry must preserve safety, lighting, and door use. Secondary views should remain acceptable, but they do not each receive a competing focal object. Mark the point where the eye should pause and the foreground that must stay quiet enough to reach it.
Write the maintenance agreement. State whether the border can support annual coppicing for colored stems, selective shrub pruning, bulb marking, leaf-litter retention, and summer watering. Reject plants whose appearance depends on work that will not happen. Winter interest produced by yearly hard pruning is not low maintenance, and a tiny border does not make the task smaller when many different regimes are packed together.
Allocate the mature woody framework
Draw woody plants at credible mature size for the exact species or cultivar. Include natural habit rather than the dimensions produced by routine shearing. In a compact bed, one small tree or large shrub may occupy most of the plan. That can be correct if its trunk, branching, shade, and summer canopy justify the space. Three shrubs squeezed into the same outline create permanent conflict even when young plants fit neatly.
Assign roles before names: background mass, pale or colored line, flowering focal shrub, and boundary screen if one is truly required. Some roles can be combined. A multi-stem shrub may offer architecture and flowers; a restrained evergreen can provide background and screening. Combining compatible roles reduces plant count. It does not justify choosing a plant that exceeds the depth or blocks a gate in maturity.
Preserve separation between crowns. Dark evergreen foliage clarifies pale twigs only while air and light remain between them. When branches interlock, both forms become one congested mass and maintenance becomes difficult. Draw a working gap for inspection, pruning, wall access, and leaf removal. The gap may read as negative space from the path, which is more valuable than filling it with another dwarf label. Respect roots and grade. Do not mound soil over existing tree roots to make a new winter bed or bury shrub stems beneath decorative mulch. Place demanding moisture lovers away from a dry foundation shadow unless irrigation and soil volume are realistic. Group woody plants by compatible soil, drainage, and water; visual harmony cannot compensate for one crown surviving in conditions that cause another to decline.
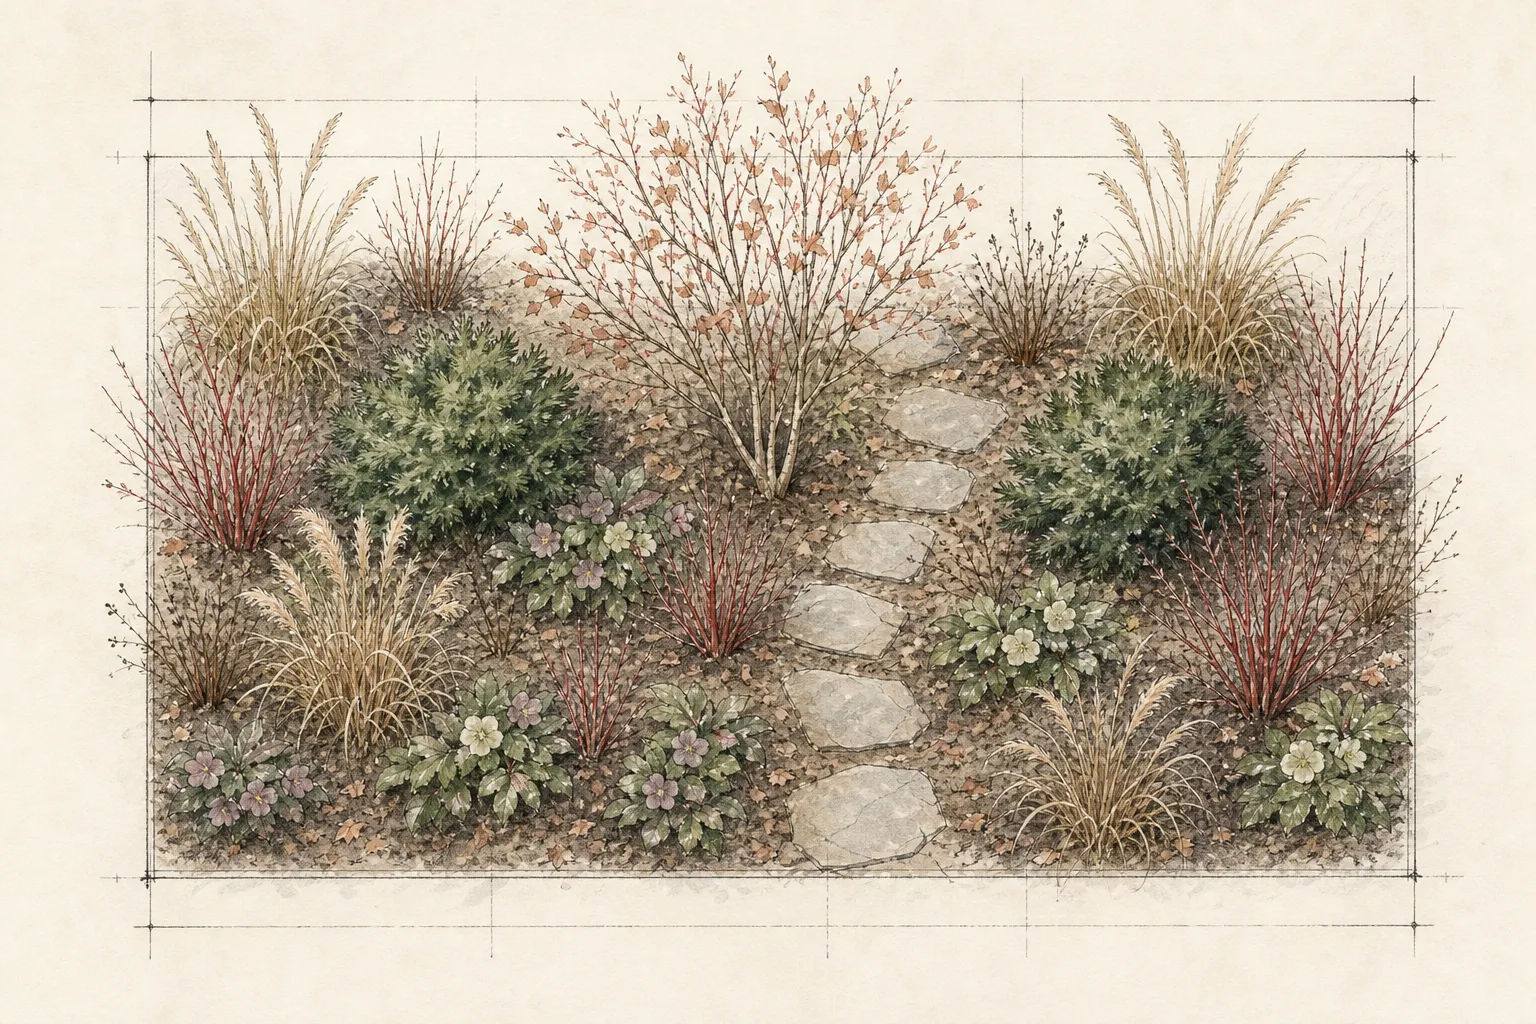
Compose three heights and one emphasis
Use an upper line, middle mass, and ground-level detail. The upper line might be pale stems or a small branching canopy; the middle mass can be an evergreen or broad winter-flowering shrub; the ground layer can hold early bulbs, leaf litter, and restrained evergreen foliage. These are perceptual layers rather than compulsory plant counts. A wall or existing tree can supply one layer without adding roots to the bed.
Place the emphasis off center where the route or window sight line meets it. A winter-flowering shrub works only if flowers can be seen at the viewing distance and the mature crown fits. Give it quiet space and a contrasting backdrop. Do not ring it with colored stems, variegated evergreens, ornaments, and every available early bulb. The focal event becomes stronger as secondary material repeats and recedes.
Use line to lead the eye. A path edge, series of low bulb clumps, repeated grass stems, or branch angle can guide attention toward the focal plant. Avoid a rigid row unless the garden’s architecture is deliberately formal. In a naturalistic border, repeat irregular groups with varied spacing while preserving clear edges around paving and crowns. Random placement is not the same as an observed rhythm.
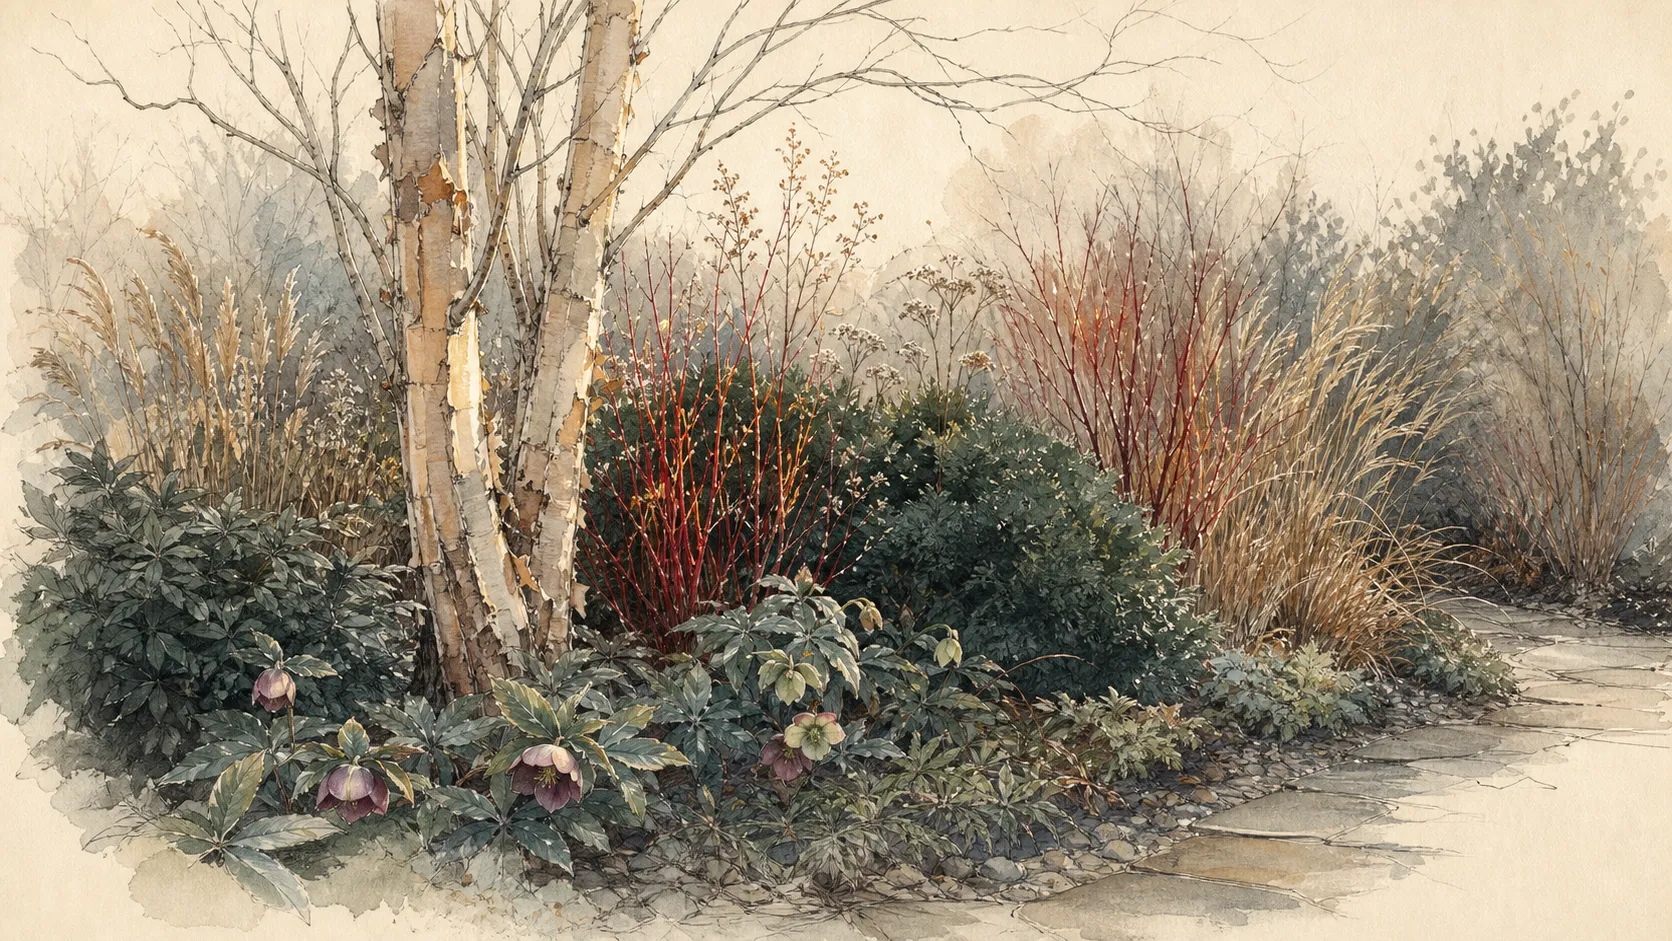
Check value and silhouette with a grayscale winter photograph. A planting dependent on red twigs can become flat under low light. Pair color with differences in darkness, line, and mass: dark evergreen behind pale bark, fine stems beside a broad wall, or white flowers above muted leaf litter. When snow is common, test how pale features read against white and whether low plants disappear beneath typical depth.
Use a restrained ground layer
Treat the ground as visible composition and functioning soil. A shallow organic mulch, compatible retained leaves, or low living cover can protect roots and clarify woody forms. Keep mulch away from stems and do not bury bulb foliage or root flares. Bare intervals are acceptable when soil is protected and weeds are managed. They allow small flowers to register and make waterlogging, animal activity, and emerging shoots easier to inspect.
Choose early bulbs for the light rhythm of deciduous plants: sun or bright exposure during active growth, then shade as the canopy closes. Confirm toxicity, local naturalization behavior, and nursery-propagated sourcing. Arrange several small irregular clumps rather than a continuous carpet. Mark dormant positions and pair them with later plants that do not require deep cultivation or dense roots through the same ground.
Retain perennial stems only when they remain upright, healthy, and visually distinct. Seedheads can provide texture and food, but collapsed foliage over a crown or path becomes a wet mat. Edit species individually according to disease and habitat guidance. Cut material that obscures drains, harbors a known problem, or merges the ground into undifferentiated brown. Intent is shown by selection and clean circulation. Keep the path edge precise enough to reveal the planting. Branches and foliage must remain outside the maintained width when wet or snow-loaded. A narrow stone or metal edge may help where appropriate, but it should not damage roots or create a trip. The quiet boundary makes irregular bulb groups and natural stems legible without turning the whole border into a clipped geometric display.
Build one adaptable worked composition
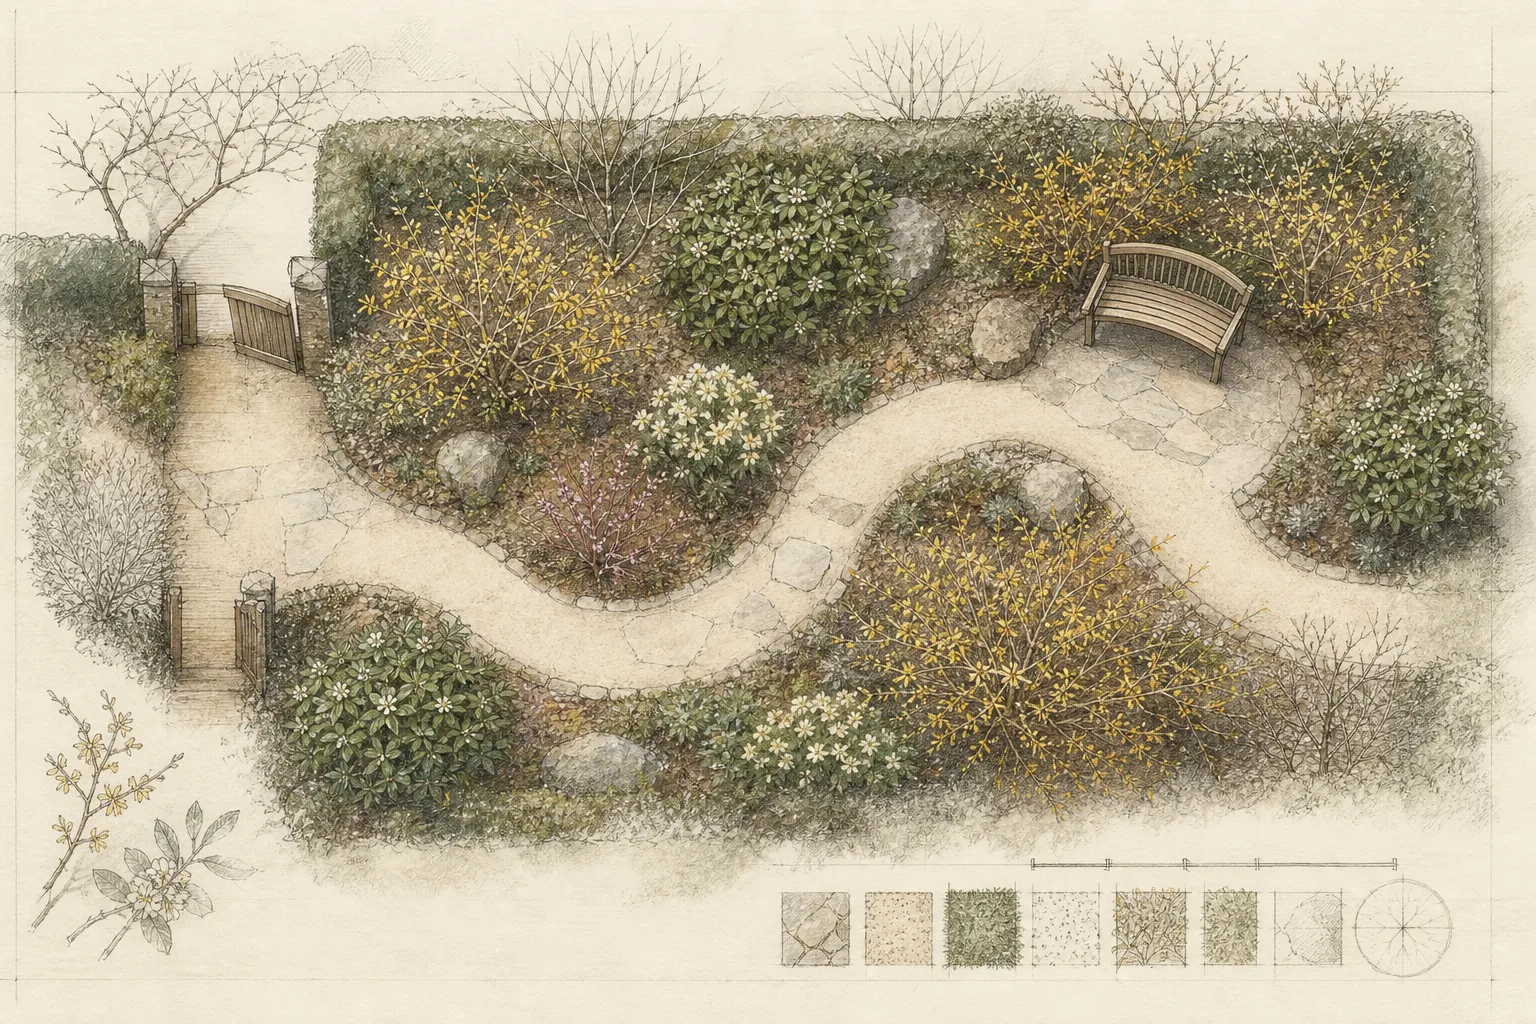
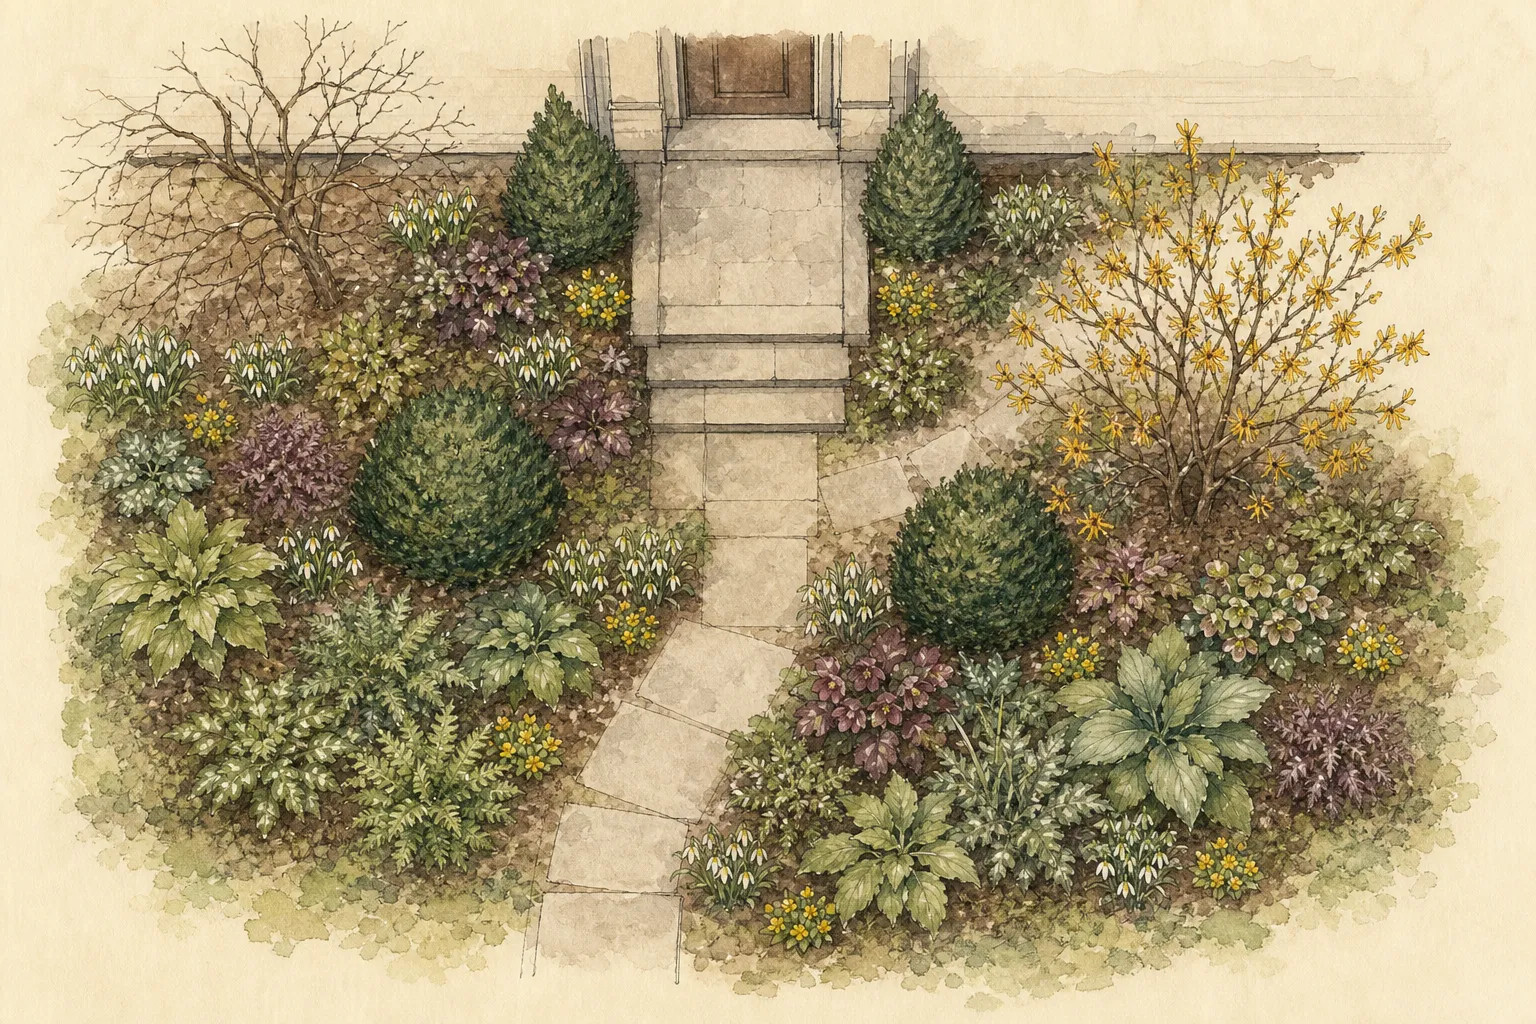
Consider a twelve-foot by six-foot border viewed from a path in a sheltered Zone 7 garden with morning sun and moist but freely drained soil. This is a design exercise, not a universal planting recipe. Confirm local hardiness, invasive status, toxicity, soil, and exact cultivar dimensions. In colder, hotter, drier, or wetter sites, preserve the roles and proportions while replacing plants with regionally suitable equivalents.
Use one paperbush only where winter cold and exposure are suitable, placing its mature four- to seven-foot outline toward the back third. Align the terminal flower clusters with the path pause and keep a dark existing wall or evergreen several feet behind. The shrub supplies middle mass, branching, and fragrance. If it cannot fit without annual reduction, select a smaller winter-flowering role rather than planning to shear it.
At one side, use a compact locally appropriate evergreen whose mature width remains inside the plan. Its dark mass balances the deciduous paperbush and clarifies pale stems. On the opposite side, use a modest group of renewal-managed colored-stem shrub only if annual pruning is accepted. Preserve separation between all crowns and keep the paperbush’s old flowering wood outside the renewal regime.
Set three to five small snowdrop or winter-aconite groups in the foreground only where those species are locally appropriate. Keep toxins away from areas where bulbs may be mistaken for edibles, use nursery stock, and leave visible leaf litter between clumps. Add one restrained summer perennial rhythm after mapping dormant bulbs. The composition remains intentionally incomplete at ground level so each winter feature can be read.
Edit by evidence across four seasons
Photograph the border from its marked viewpoint in February, after spring bulbs fade, at midsummer maximum volume, and after autumn leaf fall. Compare every crown with the plan. A winter-successful shrub can still block summer circulation; a quiet winter gap can be consumed by perennial foliage. Adjust the plant causing the conflict according to its biology rather than clipping all edges to restore a diagram.
Record first and peak bloom, stem color, snow response, evergreen scorch, and the duration of retained seedheads. Catalog claims are starting ranges. Local weather and cultivar identity determine whether events overlap or leave useful pauses. Do not add another plant after one unusually blank week. Observe several seasons, then fill only a persistent functional or compositional gap.
Check health before aesthetics. Leaf scorch, weak shoots, root-zone saturation, buried stems, and repeated dieback indicate site mismatch or care problems. Correct drainage, moisture, grade, or crowding before adding fertilizer or decorative cover. A stressed plant does not become stronger because its winter color fits the palette. Replace a repeatedly unsuitable taxon with one that belongs to the measured site.
Remove elements that need explanation. A sign announcing winter interest, a collection of unrelated ornaments, or repeated tiny feature plants often signals that hierarchy has been lost. Restore one emphasis, three readable heights, open ground, and a clean route. The border should offer enough detail for close winter observation while still reading as one garden from the principal view.
Resolve the difficult edges before planting
Small borders often fail at their boundaries rather than their center. At a wall, check roof runoff, foundation dryness, reflected heat, window cleaning, and inspection access. Along paving, allow for wet foliage, snow storage, deicing salt, and roots lifting an edge. At a fence, preserve repair access and avoid branches that rub in wind. Draw these working strips before mature crowns; the remaining plantable area may be narrower but much more honest.
Where lawn meets the border, widen the protected root zone enough that mowers and string trimmers never approach woody stems. Use a stable edge only if it can be installed without severing important roots and maintained without becoming a trip. A clipped turf line can be visually strong, but it is not worth chronic bark injury. In a gravel or paved garden, keep loose material from accumulating against crowns and drains.
At the border’s short ends, avoid tapering every plant into a point. A single repeated low form, visible ground, or the path material continuing past the bed can finish the composition more calmly. Keep sight lines at driveways, gates, and steps open at full summer volume. A dwarf label can still conceal a child, pet, or oncoming person when planted at a critical corner.
If the bed adjoins a neighbor or public route, confirm property lines, local rules, thorn and toxicity concerns, and who maintains overhanging growth. Winter stems are most likely to catch coats when leaves are absent and branches are rigid or icy. Set the plant center far enough inside the boundary that natural growth remains on the intended side. Do not rely on informal annual cutting across someone else’s access.
Coordinate pruning without flattening the composition
Make a pruning map by plant rather than scheduling one border-wide cleanup. Paperbush and many winter-flowering shrubs carry buds on older wood and are pruned minimally after bloom. Renewal-managed colored stems may be cut on a different cycle. Evergreens have species-specific limits. Label the reason and timing for each action so a convenient February session does not remove flowers or turn every crown into the same rounded volume.
Begin with dead, damaged, rubbing, or truly misplaced growth, then step back to the principal view. Preserve branch lines that create the upper layer and openings that reveal background. Do not cut only the path side each year until a shrub becomes one-sided; if its natural spread exceeds the allotted outline, transplant while young or replace it. Selective correction cannot compensate forever for a scale error.
Coordinate ground-layer cleanup with bulb emergence. Remove collapsed material by hand where shoots are mapped, using a stable route instead of stepping into the bed. Keep healthy seedheads that still serve the design and cut diseased or matted material according to current guidance. The border should not be scraped bare on one date simply to make every plant appear managed.
Record the winter view before and after work. If the composition loses its only pale line, dark counterweight, or middle opening, the pruning sequence was too broad. Let plants recover and revise the map rather than adding instant replacements into newly crowded roots. Good editing protects the hierarchy while supporting plant health; it is not the pursuit of a fixed photograph.
Design ideas
- Style
- Restrained layered winter border
- Space
- Small path-side or window-view border
- Climate
- The worked example assumes a sheltered Zone 7 site with morning sun and moist, well-drained soil. Replace plant names, not the measured roles, where local climate, invasive status, toxicity, or soil differs.
- 1One broad winter-flowering crown
Reserve the complete mature outline of a locally suitable shrub at the main pause. Place flowers against a quiet darker background, keep the outdoor approach open, and preserve the plant’s correct flowering wood. If the crown exceeds the border, change the plant rather than plan permanent size reduction.
- 2A compact dark counterweight
Set one naturally compact evergreen to one side of the composition, clear of windows, paving, and the flowering crown. Its role is stable mass and contrast, not a continuous hedge. Account for year-round shade and root competition before assigning low companions.
- 3A pale or colored line
Use a small group of stems or one pale-barked trunk where low winter light can reach it. Choose a species suited to the site and accept its required renewal or selective pruning. Keep the line visible against dark mass without planting stems so close that both crowns merge.
- 4Three irregular bulb pockets
Place nursery-propagated early bulbs in separated foreground groups where seasonal light and drainage suit them. Leave leaf litter or protected soil visible, retain green foliage after bloom, mark dormancy, and check toxicity and local naturalization guidance.
- 5A visible quiet ground plane
Use shallow mulch, compatible leaves, or sparse low cover to connect the border without hiding root flares and bulb shoots. Keep stems dry, drains accessible, and bare intervals intentional. The ground should make small winter details legible and expose problems early.
- 6A four-season maintenance gap
Keep one narrow route between crowns or behind the planting for labels, pruning, walls, and drainage. Position it outside the primary sight line when possible, but do not fill it later. Working access protects both the composition and the roots from improvised footpaths.
- 7A single movable accent
If a seasonal container is needed, choose one frost-safe form that repeats the border’s dominant line or tone. Keep drainage, wind stability, and path clearance explicit, then remove it when its role ends. It should not compete with the living focal plant.
- 8A path-safe terminal group
Finish the short end with one low repeated form or visible ground rather than a pointed stack of shrubs. Preserve gate and driveway sight lines, snow storage, and wet-weather path width. The terminal group should lead the eye back into the border without creating a branch obstacle at its most heavily used edge.
- 9Separate pruning calendars
Attach a discreet record to each woody role: flowering wood, renewal cycle, deadwood inspection, and maximum acceptable spread. Schedule cuts by plant response and bloom rather than one annual cleanup. The distinction preserves winter flowers, colored young stems, and natural evergreen form within the same compact space.
- 10A service strip behind the focal shrub
Leave enough firm access for wall, fence, drainage, labels, and the back of the crown. Keep it outside the main view but do not colonize it with later purchases. The strip allows selective pruning and diagnosis without stepping through bulbs or compressing the visible ground layer.
Plants in this guide
Related reading
Sources
- How to Create a Winter Garden. Royal Horticultural Society. Source record · Accessed 2026-08-19.
- Landscape Design. NC State Extension Publications. Source record · Accessed 2026-08-19.
- Fragrant Winter Shrubs. Penn State Extension. Source record · Accessed 2026-08-19.