Gardens · layered privacy border
Layer Shrubs and Perennials for a Privacy Border That Stays Maintainable
Interrupt the views that matter with spaced shrub anchors, repeated perennial groups, and permanent access instead of building a solid wall of recurring pruning.
Published Last updated
In this guide
- Map the view before drawing the border
- Set a maintenance ceiling before choosing plants
- Build a porous section, not a hedge in disguise
- Give shrubs distinct structural jobs
- Use perennials to carry the lower and seasonal layers
- Design access as a continuous hidden layer
- Plan establishment as individual root zones
- Keep light moving through the border
- Audit privacy from both sides and every season
- Let the border mature by editing, not filling
- Draw a five-plant seasonal screen with an open front
- Design ideas
Map the view before drawing the border
Privacy is a relationship between a viewing point and a target, not a demand for an opaque boundary from end to end. Stand at the kitchen window, the main seat, the gate, and any neighboring position you reasonably understand. Photograph or sketch what each position reveals. Mark the narrow bands where an eye-level plant would interrupt the unwanted view, and preserve the portions that admit sky, distant foliage, or useful winter light.
Draw those sightlines on a measured base plan with the house, path, utilities, drainage, existing roots, and boundary. Include the places from which the border will be maintained. NC State's landscape-design guidance treats screening as one function among circulation, scale, and spatial organization; that broader frame matters here. A screen that blocks the correct view but closes the service route has solved only the photograph, not the garden.
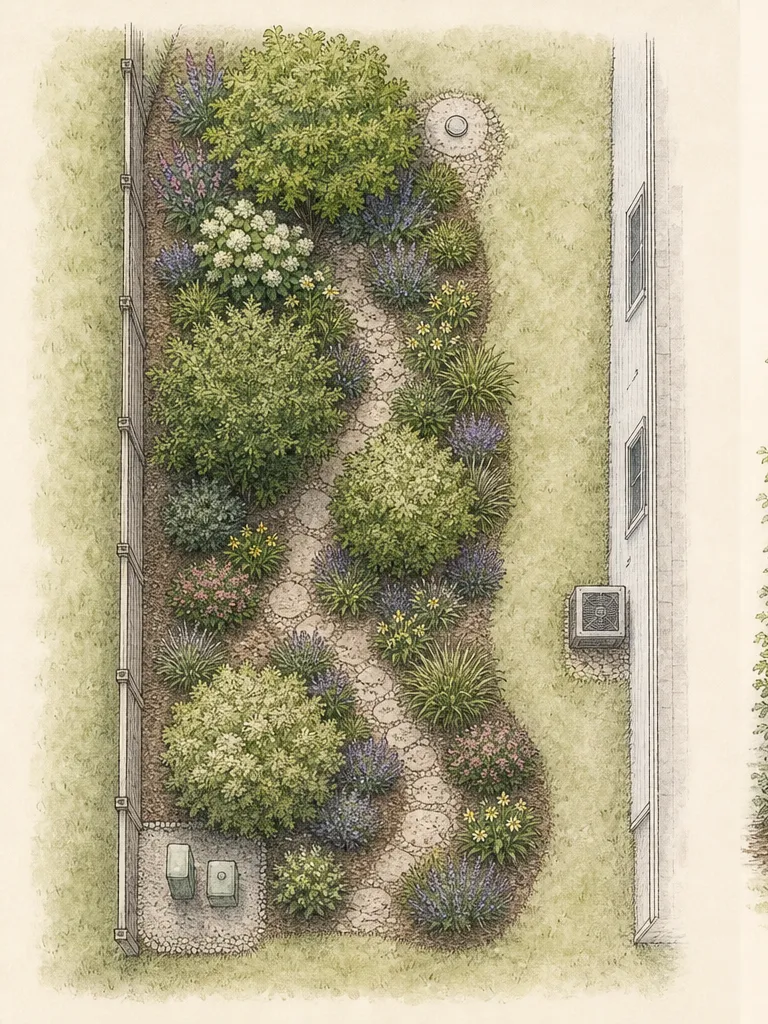
Decide how much privacy each line needs through the seasons. A dining place may need dense summer cover while a frequently used room needs a persistent winter interruption. A distant upper-story window may be screened by one well-positioned canopy rather than foliage to the ground. Write the required height, seasonal duration, and viewing angle beside each line before any plant name enters the plan. This keeps the design specific and reduces unnecessary mass.
Set a maintenance ceiling before choosing plants
Define the work the border is allowed to create. List routine jobs such as renewal pruning, deadheading, tying, leaf removal, irrigation checks, and edging, then decide which can be done comfortably from the available path. A plant that needs frequent clipping on the unreachable boundary side belongs elsewhere. The maintenance ceiling is a design constraint: it prevents fast growth from being mistaken for an economical route to privacy.
Choose the ultimate screen height from the sightline, not from a wish for the fastest possible plant. RHS guidance advises matching ultimate height and spread to the space and considering future ability to maintain vigorous screens. Draw each woody plant at documented mature spread for the selected species or cultivar in the local region. If its natural footprint consumes the path, roof clearance, drain access, or neighboring space, choose a smaller habit rather than planning perpetual restraint.
Assign the more durable plants to the less accessible zones and repeat higher-touch perennials near the path. A shrub that needs only occasional selective renewal can occupy a deeper pocket; a perennial cut after flowering should sit within easy reach. Leave a firm handhold or stepping bay at every recurring task. The border can look continuous from the principal view while its working side remains deliberately discontinuous.
Build a porous section, not a hedge in disguise
Use woody plants as separated anchors rather than packing them into a clipped slab. One taller group can stop an upper view, medium shrubs can interrupt eye level, and perennial masses can close low seasonal gaps. Allow selected openings between canopies so light reaches the garden-facing layer and air moves through the composition. The result should read as a planted border with depth, even when it performs the practical work of screening.
A mixed screen can be arranged in small species groups or staggered layers where space permits. Oregon State Extension notes that a mixed screen can retain function when one species must be removed and can offer a more varied seasonal display than a single-species row. Treat that advice as a resilience principle, not a universal spacing formula: mature dimensions, local disease pressure, fire guidance, and available depth still govern every plan.
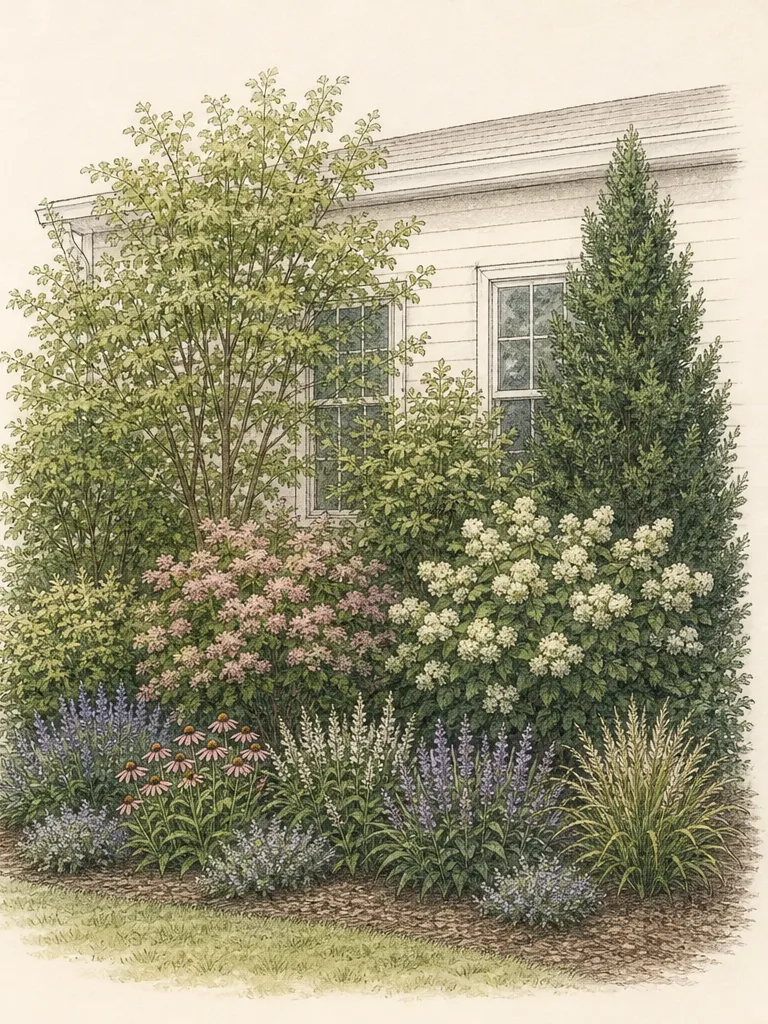
In a shallow border, overlap sightlines rather than root balls. Place two narrow habits at different distances from the viewer so their canopies visually combine while each retains enough soil and light. Use an open-branched deciduous shrub where filtered winter light matters and a limited evergreen mass where year-round interruption is essential. Avoid turning every layer evergreen; excessive density can shade out the perennial foreground and make the intended low-maintenance mixture dependent on repeated thinning.
Give shrubs distinct structural jobs
Label each shrub footprint by job: upper screen, eye-level interruption, winter anchor, flowering bridge, or turn marker. A shrub should not be included merely because it is described as good for hedging. The strongest candidates fit the site's light, drainage, winter hardiness, summer heat, and available width while achieving one stated role at mature size. Regional Extension, botanical-garden, and invasive-plant resources should guide the final species and cultivar choice.
Vary transparency deliberately. A dense evergreen mass can protect one exposed seat, while a deciduous shrub with visible branching can soften another view without making the border feel closed. Large leaves create a stronger visual stop than fine foliage at the same distance; fine texture can recede and preserve a sense of depth. Repeat one or two foliage characters so the varied screen does not become a collection of unrelated specimens.
Keep shrubs out of a single rear rank when the bed has enough depth. Pull one medium form forward to create a recess for perennials, then set the next taller anchor farther back. This produces overlapping planes from the viewing point and opens side access to each crown. Check the arrangement from both ends of the border: a useful screen from the patio should not become a blind corner at the gate or an obstruction beside the path.
Use perennials to carry the lower and seasonal layers
Perennials should complete the screen's seasonal rhythm rather than compensate for woody plants that are too small or poorly placed. Build repeated groups around clear roles: a durable foliage mound at the path, an upright summer veil through the middle, and a later flower or seed-head group that holds the border after the first peak. Draw their mature crowns separately from the shrub circles so planting density remains honest.
Choose clumping or moderately spreading plants whose behavior can be managed from the preserved route. A running perennial that continually enters shrub crowns creates the very maintenance wall this design is meant to avoid. Confirm local invasive status and cultivar behavior. Where the border meets neighboring land, keep assertive plants on the garden side of an inspectable edge rather than trusting an underground barrier that will be difficult to repair among woody roots.
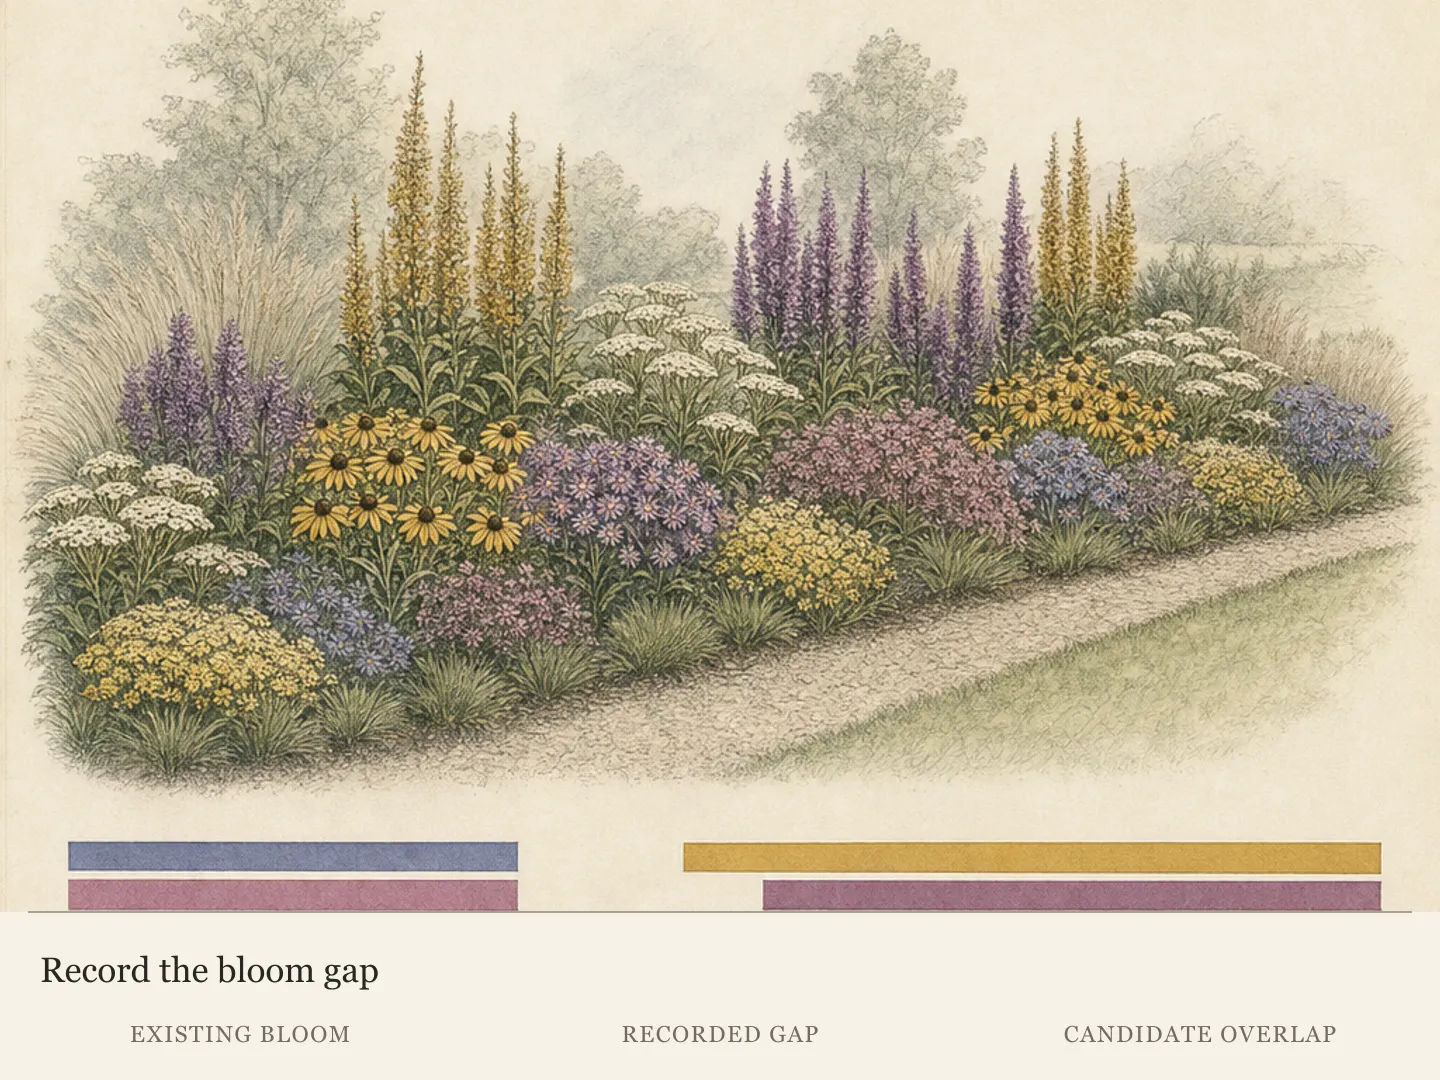
Let perennial height rise and fall around the target sightlines. Tall transparent stems can reinforce privacy in summer while preserving glimpses and movement; lower persistent foliage can keep the border composed when those stems are cut. Do not place every tall perennial at the back. A repeated mid-border group can overlap a gap between shrubs from the main view, provided it does not block the service path or require staking from inaccessible ground.
Design access as a continuous hidden layer
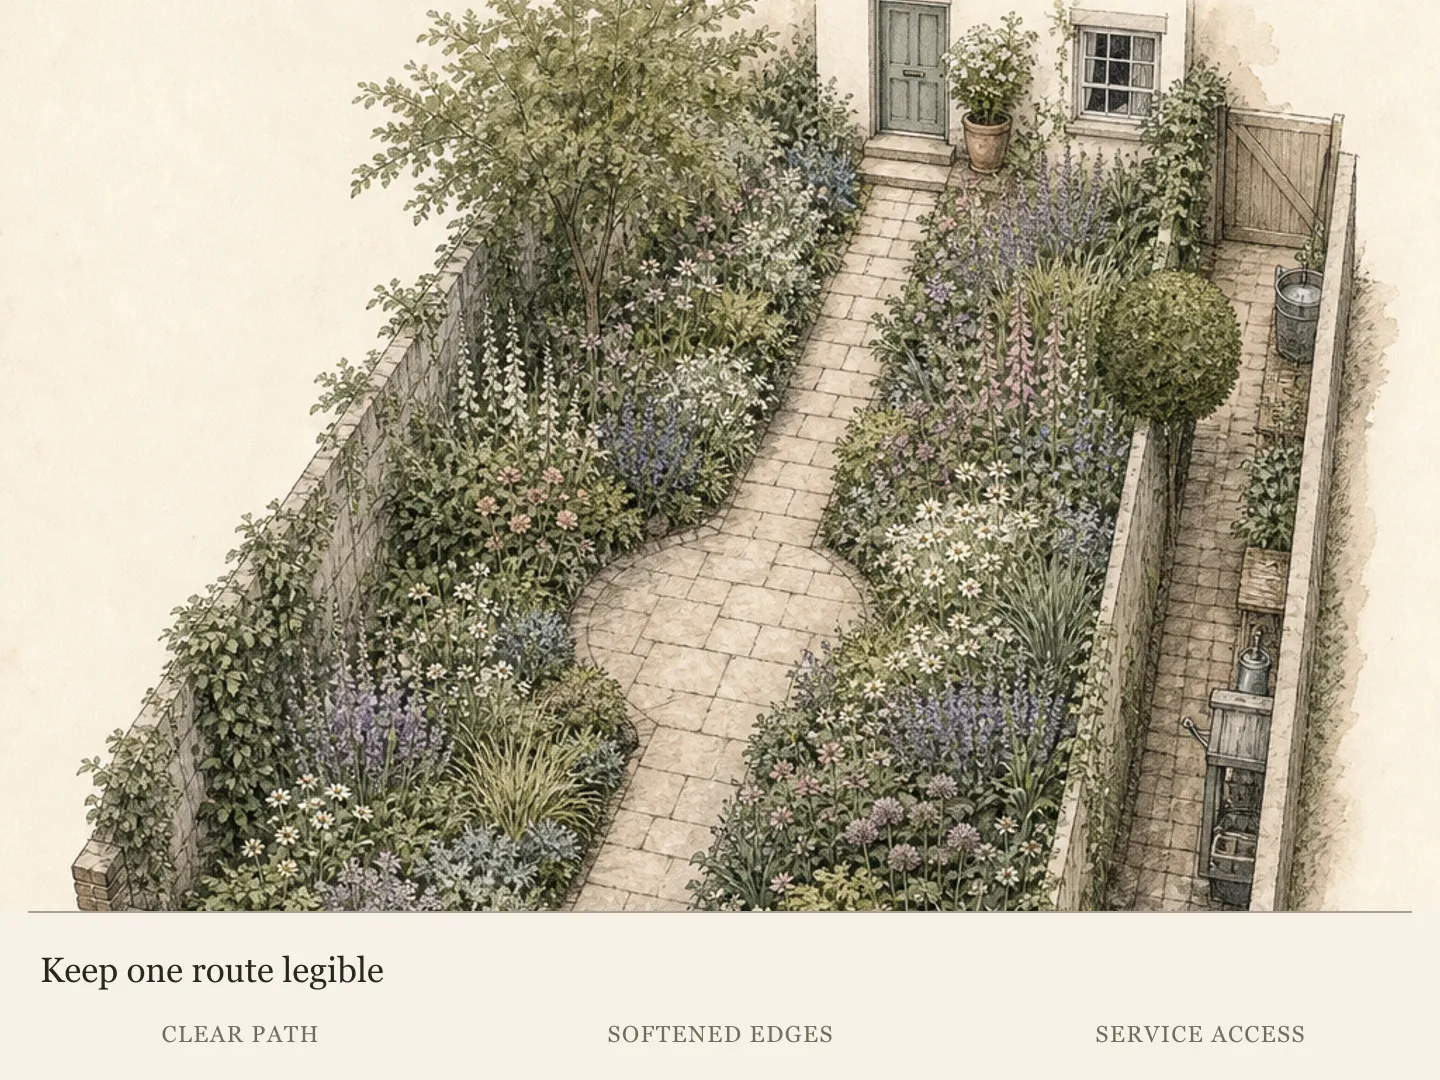
A maintenance route must connect the main path to every shrub base, irrigation junction, and high-touch perennial group. It can be a narrow mulched line, discreet stepping stones, or a series of firm bays, but it cannot end behind mature foliage. Draw approaches as well as destinations. A stepping stone is useless when arching stems close the only way to reach it by midsummer.
Keep clear working arcs around plants that will be pruned. The gardener needs room to see branch origins, position a tool, and remove cut material without dragging it through neighboring crowns. Put renewal-pruned shrubs where their oldest stems can be reached at the base. Place plants needing little intervention in the deepest pockets. Do not rely on standing in the perennial layer; repeated foot traffic compacts soil and damages crowns long before the border looks obviously inaccessible.
Test the route before planting with an empty watering can, a tarp, and the longest ordinary tool the border will require. Check gates, turns, taps, drains, and the boundary side. Then overlay mature plant outlines and repeat the test on paper. Where access narrows, reduce the plant footprint or widen the bay. Maintenance should be designed as a quiet circulation system, not negotiated anew each time the border grows.
Plan establishment as individual root zones
A mixed border does not establish as one uniform strip. Container-grown shrubs, field-grown plants, and small perennial plugs begin with different root volumes and can dry at different rates. Keep every original root ball identifiable during the first season and arrange temporary irrigation so outlets can be checked and moved. A blanket lawn schedule can leave a dense root ball dry while keeping the surrounding bed wet.
Prepare the site as a connected soil system while preserving correct planting depth. Remove perennial weeds, correct known drainage problems, and avoid creating isolated enriched pockets that behave differently from surrounding soil. Set each plant according to current species and regional planting guidance. Keep shrub flares, stem bases, and perennial crowns visible, then use a conservative surface mulch without mounding it against living tissue.
Phase installation if the plant list or conditions are uncertain. Establish the structural shrubs and one representative perennial group in each light-and-moisture zone, then observe before repeating the whole pattern. Temporary gaps can be covered with an appropriate light mulch or short-lived annual display. Phasing is especially useful where new shrubs will change shade; it prevents a full foreground from being selected for light conditions that disappear as the screen develops.
Keep light moving through the border
Review the sun path in spring, midsummer, and the leafless season. A privacy planting can change both the amount and timing of light on the garden side. Preserve openings where morning or winter light has practical value, and avoid stacking dense evergreens directly in front of one another unless the sightline truly requires it. The perennial palette should match the mature light pattern, not the open site on planting day.
Use selective pruning to reveal structure and preserve designed openings, not to force every plant into a smaller generic shape. Remove a conflicting branch at its origin when species-appropriate guidance supports the cut, and retain the natural canopy that supplies the intended screen. Shearing mixed shrubs into one plane increases recurring work and erases the differences that make a layered border resilient and visually legible.
Watch the lower layer for warning signs: leaning stems, sparse flowering, mildew-prone congestion, or foliage reaching toward a narrow light gap. These cues may show that the woody canopy has closed beyond the plan. Edit one shrub or relocate one perennial group in a suitable season before adding fertilizer or another support. A privacy border remains layered only when each level receives enough of the site's available light to perform its role.
Audit privacy from both sides and every season
Photograph the principal views at leaf-out, peak summer growth, autumn decline, and winter. Use the same positions each time. Mark where the screen succeeds, where a useful glimpse has disappeared, and where the border exposes an unexpected angle. Seasonal evidence prevents a summer-only correction from producing an unnecessarily dark winter wall or a new gap somewhere more important.
Walk the boundary side with permission and respect for property limits. Check encroaching branches, drainage, access, and whether a plant's mature spread crosses a line it cannot responsibly occupy. Keep all pruning and inspection possible from the land available to the gardener. If the design requires routine access on neighboring property, revise the footprint; informal cooperation should not be the hidden maintenance specification of a long-lived planting.
Compare the privacy gain with the work recorded over the year. A plant that repeatedly needs clipping, tying, rescue watering, or containment is exceeding its assignment even if it blocks the view. Replace the role with a better-scaled candidate or accept a slightly more open screen. The purpose is comfortable enclosure within a living garden, not maximum opacity at any cost.
Let the border mature by editing, not filling
New borders look open because their plants have not reached the dimensions used in the plan. Resist filling every space with another permanent shrub. Use markers, temporary annuals, or an intentionally visible mulch surface while roots establish. The open ground is future canopy and working room. Adding permanent material to cure first-year impatience converts mature spacing into crowding and brings forward the need for removal.
At each annual review, update measured spread and the real maintenance route. Remove volunteers that close access, divide perennials that press into woody bases, and renew only shrubs whose species and flowering habit support that work. Preserve the best repeating forms. One decisive subtraction often restores light and rhythm more effectively than a series of small cosmetic cuts across the whole border.
A successful privacy border interrupts the intended views, remains attractive from both sides, and allows each plant to age in a recognizable form. Its gaps are purposeful: they admit light, reveal depth, and let the gardener work. When those functions remain visible as the planting matures, shrubs and perennials can create enclosure without becoming a solid maintenance wall.
Draw a five-plant seasonal screen with an open front
For a partly shaded, moist but well-drained 16-by-9-foot bed in Pennsylvania Zone 6, test two Itea virginica shrubs behind three Tiarella cordifolia plants. Allocate each sweetspire a 6-foot planning circle and each foamflower a 1.5-foot initial circle, consistent with the retained species ranges. Sweetspire supplies deciduous summer mass and autumn interest; this combination does not promise winter privacy. Use a different permanent structure if screening is needed after leaf fall.
Place sweetspire centers 4 and 12 feet from the left edge, both 5 feet behind the front. Place foamflowers at (2, 1), (8, 1), and (14, 1), measuring in feet. The shrub circles leave 2 feet between them and remain inside the bed. The low foreground circles remain clear of the shrub allowances, giving access from the front without pushing through mature branches.
The initial order is two shrubs and three perennials. Keep the edges inspectable because both a suckering shrub and a spreading ground layer can exceed a drawn allocation over time. Reduce the planting if maintaining that boundary is unrealistic; do not compress the centers for instant screening. This is a seasonal privacy example with declared dimensions, not a guarantee of a closed hedge in its first year.
Design ideas
- Style
- Layered informal privacy border with porous overlapping canopies
- Space
- Residential boundary or internal border viewed from a house, path, or seating area
- Climate
- Temperate home garden; final species and cultivars must match local hardiness, summer heat, soil drainage, light, wind, invasive status, and any regional fire or boundary guidance
- 1Screen three sightlines, not the whole fence
Stand at the principal seat, window, and entrance, then draw a narrow cone from each viewpoint to what should be obscured. Place a shrub group only where its mature canopy crosses one or more cones. Keep the remaining boundary lower or more transparent so the border retains sky, borrowed foliage, and depth. Recheck the cones in winter before deciding which anchors must be evergreen.
- 2Stagger durable shrub anchors
Set a taller anchor farther back, a medium open shrub forward, and the next anchor back again, using documented mature circles. Their canopies can overlap visually without being planted as a compressed row. Leave side access to every base. Repeat foliage character or branching form so the offset groups read as one composition rather than unrelated specimens scattered along a boundary.
- 3Repeat a low foliage ribbon
Choose a site-suitable clumping perennial with durable foliage and repeat it near the path in separated groups. The ribbon connects varied shrubs without needing to fill every inch. Keep each crown clear of mulch and out of the stepping route. Use locally appropriate alternatives rather than copying a named plant across climates, and preserve openings where runoff, utilities, or shrub access require bare working space.
- 4Add a transparent summer veil
Use upright perennials or ornamental grasses with visible space between stems to reinforce an eye-level summer gap. Place them where they can be cut, divided, or supported from the path. Their winter absence should not expose a sightline that needs year-round privacy. Repeat the group once or twice so it belongs to the border, and confirm it is not invasive or difficult to contain locally.
- 5Hide a connected service line
Link mulched bays or flat stepping stones from the path to each shrub base and irrigation junction. Turn entrances away from the main view and keep foliage low where the route begins. Overlay mature spread before installation so every bay remains approachable. Assign frequent deadheading and division to the route edge; reserve deeper pockets for plants that need only occasional inspection.
- 6Use one evergreen mass with purpose
Place a limited evergreen group where winter screening is genuinely necessary, then surround it with deciduous branching and perennial layers. This keeps year-round privacy focused and preserves seasonal light elsewhere. Select mature scale from local sources, not from a nursery pot, and reject candidates that require regular height control or conflict with regional fire, invasive-plant, utility, or boundary guidance.
- 7Create a pruning window
Leave an inconspicuous opening beside every shrub expected to receive renewal pruning. The opening should admit a kneeling gardener, a cutting tool, and removed branches without crossing another crown. Soften its public edge with low foliage that can be reached from outside the bay. If the window disappears at mature spread, reduce the neighboring footprint before planting rather than planning to trample it open later.
- 8Phase the foreground after shade develops
Plant the woody framework first and trial one perennial group in each expected light zone. Observe how the new canopy changes direct sun, reflected light, and soil moisture through an active season before repeating the foreground. Fill temporary gaps with marked annuals or a light surface mulch. Expand only combinations that remain healthy without rescue watering, frequent thinning, or loss of the working route.
Plants in this guide
Related reading

Sources
- Landscape Design. NC State Extension Publications. Source record · Accessed 2026-08-19.
- What's a Fast-Growing Tree for a Privacy Screen?. Oregon State University Extension Service. Source record · Accessed 2026-08-19.
- Plants for Screening. Royal Horticultural Society. Source record · Accessed 2026-08-19.
- Itea virginica. North Carolina Extension Gardener Plant Toolbox. Source record · Accessed 2026-09-09.
- Tiarella cordifolia. North Carolina Extension Gardener Plant Toolbox. Source record · Accessed 2026-09-09.