Gardens · self sown annual drift editing
Edit Self-Sown Annual Flowers Into Deliberate Naturalistic Drifts
Map, identify and thin self-sown annual flowers into legible drifts with calm edges, repeated shapes and chosen seed zones instead of an accidental thicket.
Published Last updated
In this guide
- Treat volunteer seedlings as a draft, not a finished garden
- Identify first and protect the fixed layer
- Map seedlings before thinning
- Set a calm frame before composing the flowers
- Shape drifts with edges and intervals
- Thin in passes and transplant only when it serves the plan
- Edit height, color and succession as the season changes
- Choose where next year's seed is allowed to begin
- Reduce a calendula patch to three measured keepers
- Design ideas
Treat volunteer seedlings as a draft, not a finished garden
Self-sown annuals arrive with an appealing sense of chance, but germination is not composition. Seed falls unevenly, soil is disturbed in patches and favorable pockets can fill with one kind while another appears in a path joint. Begin by treating the flush as raw material. The gardener's role is to identify, select and space plants so spontaneity remains visible inside a garden that can still be read and maintained.
Keep the ornamental purpose explicit. This edit is for flowers, foliage texture and seasonal movement in a home garden, not for maximizing a crop. A seedling earns space because its likely mature form supports the planned scene and the site can meet its needs. Abundance alone is not a reason to keep it, and rarity alone is not a reason to place it where access, drainage or a permanent plant would suffer.
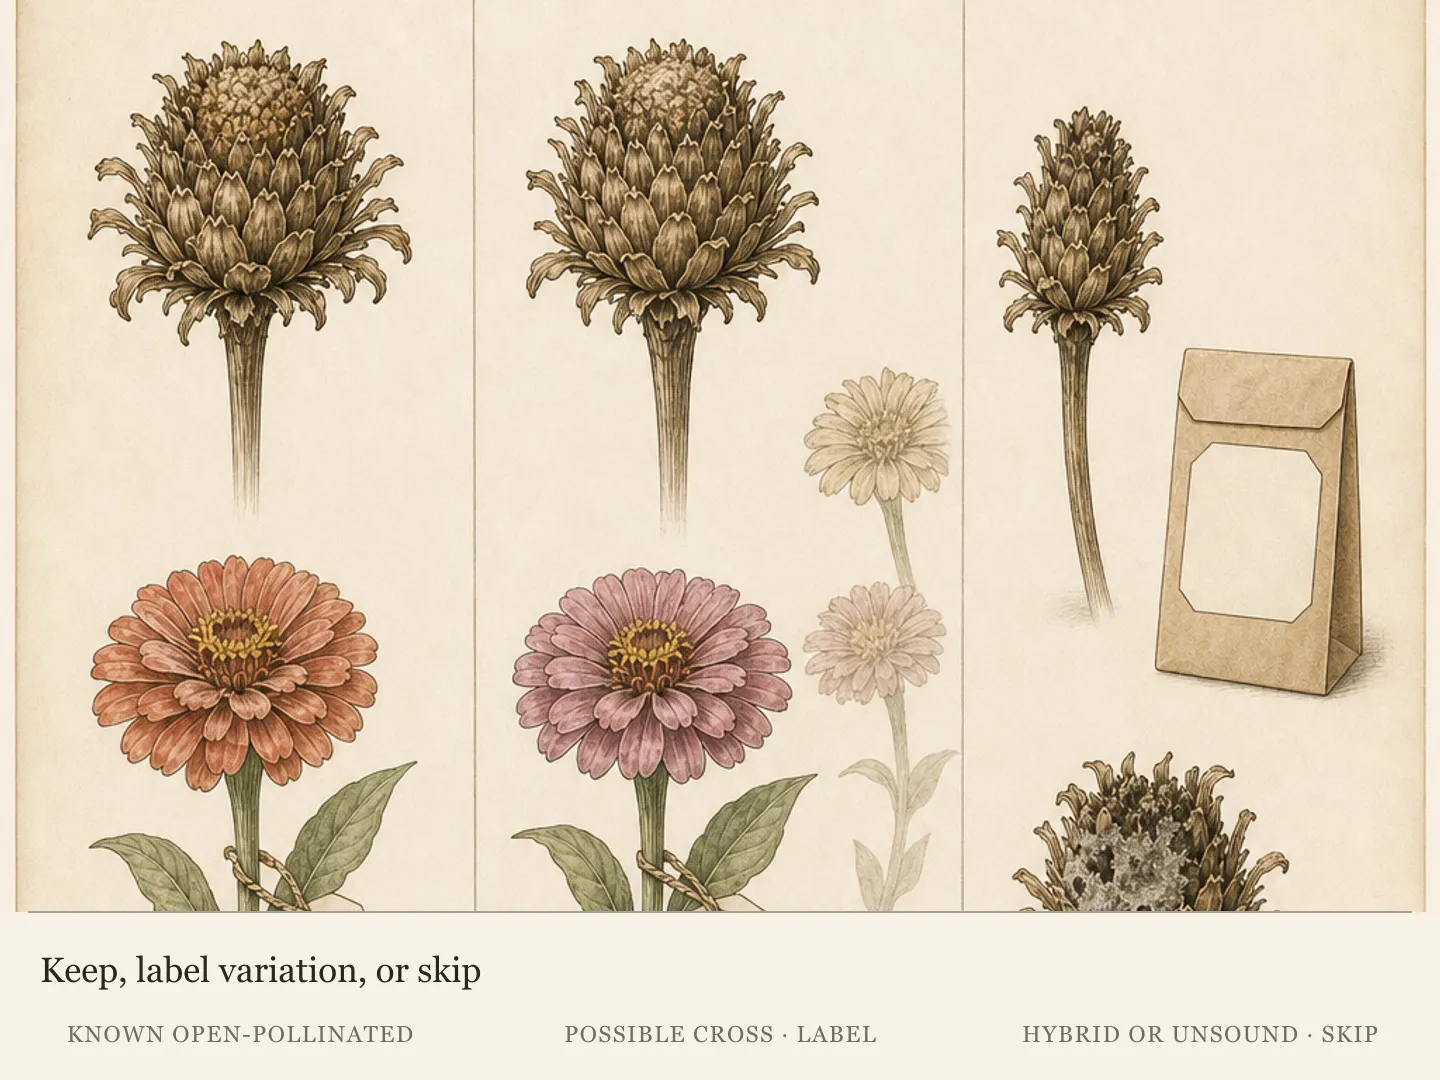
Expect each generation to need a fresh decision. A volunteer resembles its parent only after enough identifying traits are visible, and named cultivars or mixed populations should not be assumed to repeat an exact color, height or habit from seed. Label especially valuable forms while they flower, but evaluate their descendants as individuals. The resulting drift can preserve a family resemblance without pretending that every seedling is a duplicate.
Define the desired mood before thinning: broad clouds along a path, narrow ribbons through a perennial border or a few repeated pockets among gravel and structural plants. Write down the two or three annual roles that matter most, such as airy height, low color or a fine foliage veil. This small hierarchy makes later removals coherent; every attractive seedling no longer competes for equal status.
Identify first and protect the fixed layer
Wait until a volunteer can be identified reliably enough for a keep-or-remove decision. Seed leaves are often too similar, and a hoped-for annual can share a bed with persistent weeds or tree seedlings. Compare true leaves, growth habit and location with saved photographs and trustworthy plant references. Where identity is uncertain, mark a small observation group rather than scattering uncertain plants across the whole design.
Distinguish self-sown annuals from the permanent layer: bulbs completing growth, perennial crowns, young shrubs, groundcovers and deliberate biennials. Mark those fixed plants before the annual canopy closes. A dense group of desirable seedlings can still deprive a small crown of light and working space. Clear a visible collar around each permanent plant according to its needs, keeping labels and irrigation points reachable.
Confirm local suitability. An annual that behaves politely in one climate can reseed much more freely in another, and a species welcomed in a private bed may be restricted or locally invasive elsewhere. Check regional invasive-plant guidance and remove prohibited or environmentally problematic plants before seed is produced. Do not move unidentified soil or seedheads beyond the garden. The naturalistic look never overrides local stewardship.
Protect the edit from wishful identification. Keep one clearly photographed reference plant where a known annual grew last season, note its leaf sequence and compare volunteers over time. If a plant remains doubtful or develops an unwanted habit, remove it before seed maturation. An open patch is easier to integrate than a generation of an unidentified aggressive seeder.
Map seedlings before thinning
Sketch the bed from above while seedlings are still small enough to see the ground. Draw paths, stepping stones, taps, lights, drainage channels, permanent plants and the edges that must remain clear. Then mark dense, medium and sparse seedling zones by identity. The map does not need botanical precision; it needs to reveal where abundance coincides with a useful planting area and where it blocks a fixed function.
Read site conditions across the map. One cluster may occupy dry open soil, another the shaded base of a shrub and another a wet depression. Iowa State and RHS guidance connect successful direct sowing with suitable soil preparation, moisture and species-specific conditions. A volunteer's presence proves that germination occurred, not that the position will support a balanced mature plant through the whole season.
Circle the best-established candidates in each useful zone. Favor sound stems, intact growing points and roots that are not already entangled with a valued crown. Include more than one patch of a principal annual so repetition can travel through the bed. Mark weaker surplus seedlings for removal, but keep a modest reserve until weather and the first thinning reveal which retained plants settle well.
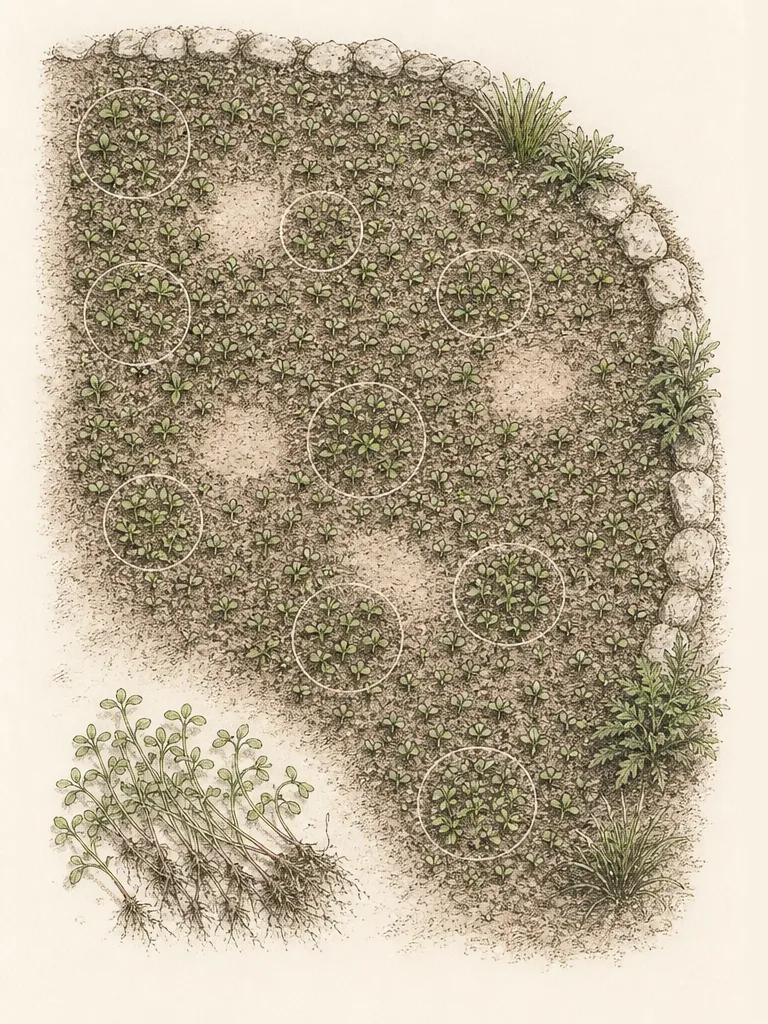
Add mature spread to the sketch using the seed packet, original plant label or reliable species and cultivar guidance. Tiny rosettes can become broad branching plants, and an airy canopy can still occupy real root and path space. Draw the likely footprint rather than counting seedlings in a flat carpet. This single move turns thinning from random subtraction into planning for the volume that will actually appear.
Set a calm frame before composing the flowers
Naturalistic planting reads most clearly against something stable. Choose the path edge, a low repeated plant, a run of gravel, a clipped evergreen form or a quiet fence as the frame. Clear volunteer seedlings from that element before refining the interior. A crisp working edge allows the flowers behind it to be loose without making the garden look neglected or narrowing the route every week.
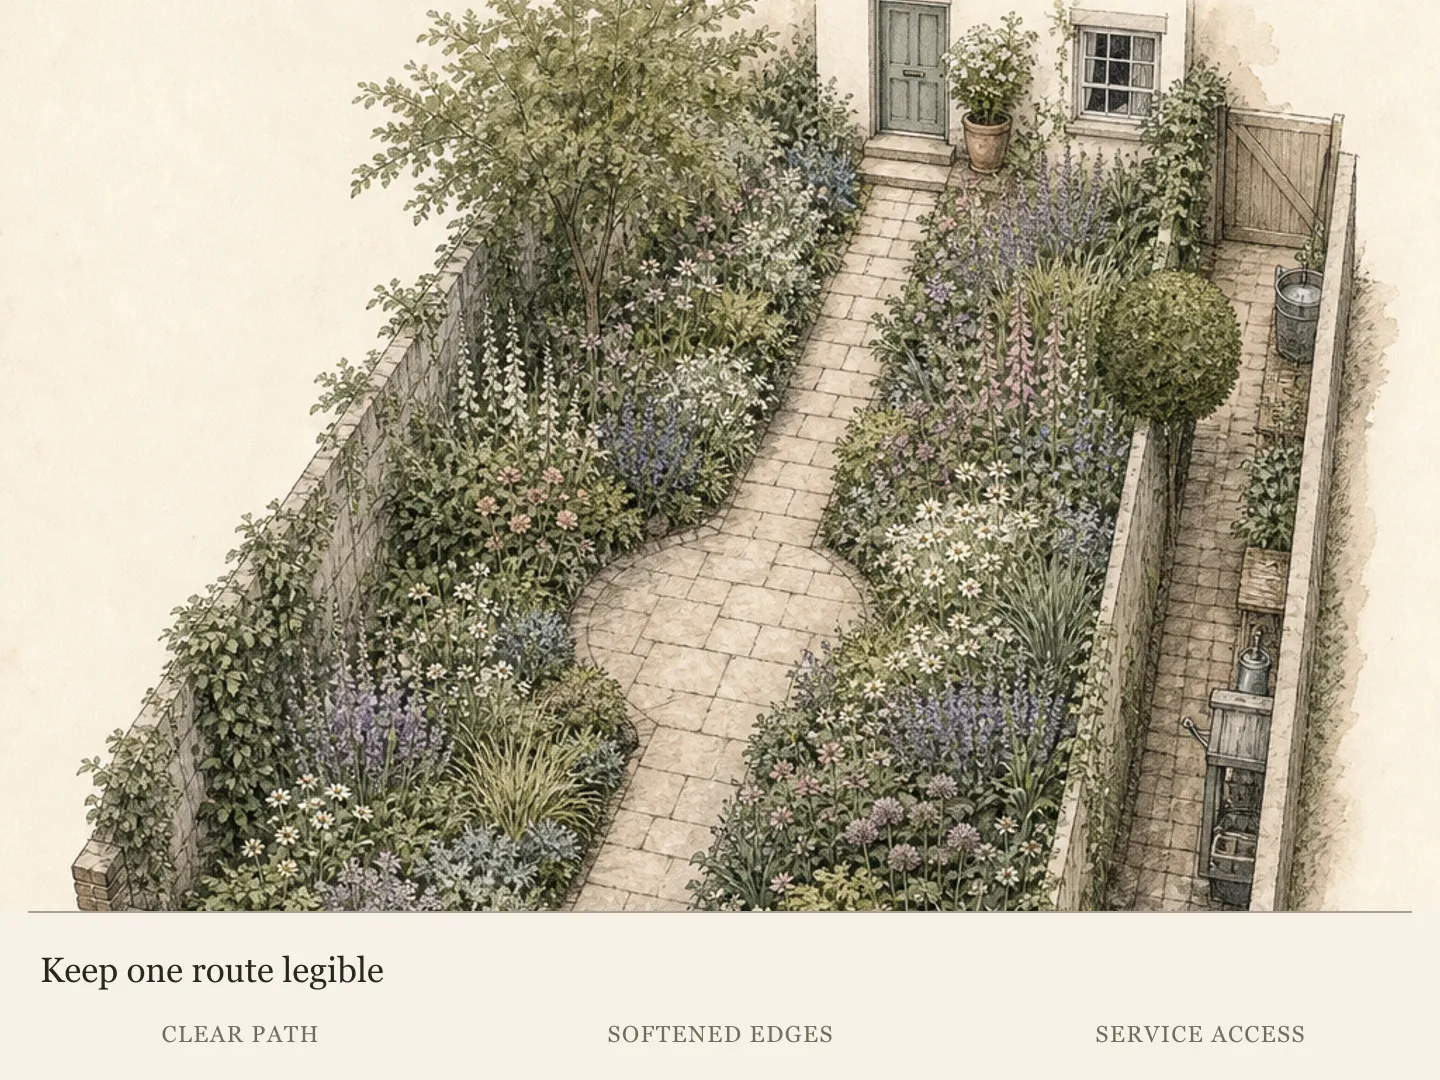
Preserve access as negative space. Keep stepping points and a hand-width working approach visible where labels, supports or permanent crowns need care, adjusting the actual width to the gardener, site and mature plants. The route may weave subtly through the planting, but it cannot depend on crushing flowers. Draw it as an intentional open interval and repeat its material so it remains findable after foliage expands.
Use the house and larger plants as compositional anchors. A broad annual patch can echo the width of a step, sit below a shrub canopy or carry color toward a gate. Avoid dotting single seedlings evenly around every object; that produces visual static and complicates care. Let some anchors have one generous neighboring drift while others remain quiet, so the eye can pause between episodes.
Retain one visibly open area even when enough seedlings exist to fill it. Bare or mulched ground, gravel and low permanent foliage make the shape of a drift legible. The vacancy also provides a place to reach in, watch later germination and accommodate a plant that grows larger than expected. An edited garden uses emptiness as an active material rather than treating it as failure.
Shape drifts with edges and intervals
Build each principal drift as a broad irregular patch rather than a string of isolated dots. Keep enough plants to express the annual's natural habit, but thin according to the mature spacing and conditions given for that species or cultivar. RHS and Iowa State both emphasize thinning crowded seedlings. The goal is not one universal distance; it is room for the retained plants to develop without a weak, congested stand.
Repeat the same annual in separated patches with related scale. A larger patch can establish the theme near the main view, while smaller echoes carry it along the bed. Keep their outlines different enough to feel natural but similar enough to read as one decision. If only one volunteer survives in a distant corner, either let it become a purposeful accent or remove it rather than asking it to impersonate a drift.
Overlap plants by height and texture, not by packing roots at random. An airy taller annual can rise through a lower broad patch when both receive suitable light, moisture and space. Keep the overlap shallow enough that each plant's base remains reachable and the shorter layer is not buried. Where needs conflict, place the roles in neighboring shapes and let their canopies meet visually instead of forcing a shared root pocket.
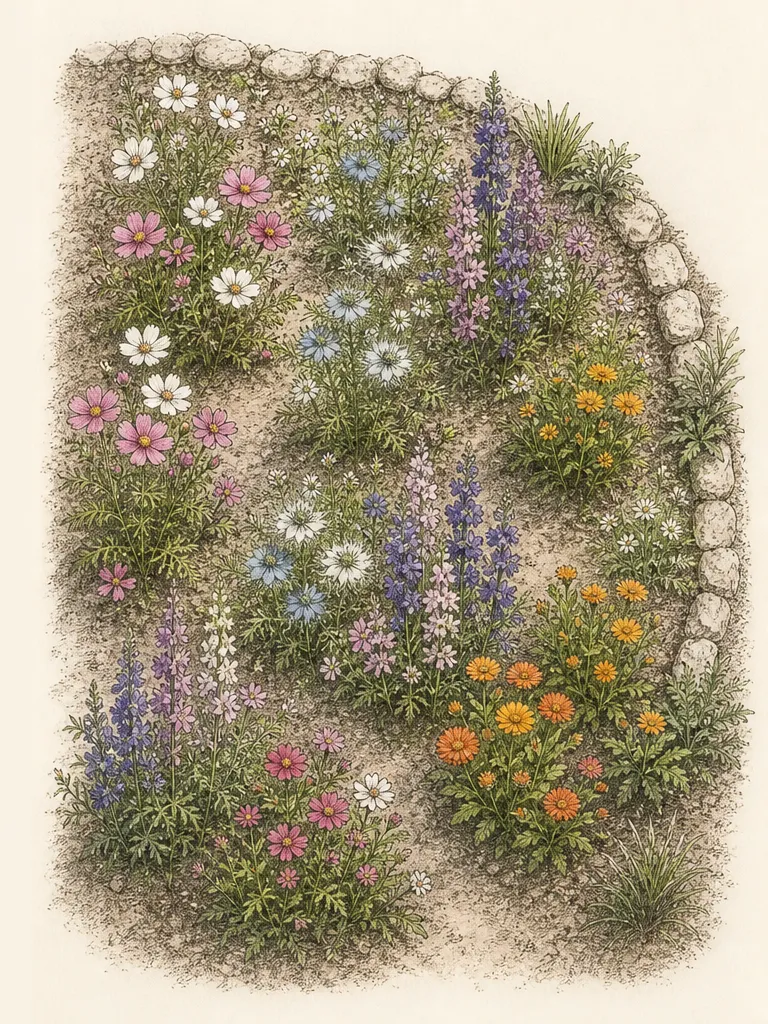
Create intervals between repeated drifts. The gaps can reveal a structural perennial, show the path edge or expose a calm ground plane. Without intervals, several flower kinds merge into one continuous mixture and the designed repetition disappears. Make a cut in the pattern where the eye or hand needs relief, then resist refilling it with every late seedling that emerges.
Thin in passes and transplant only when it serves the plan
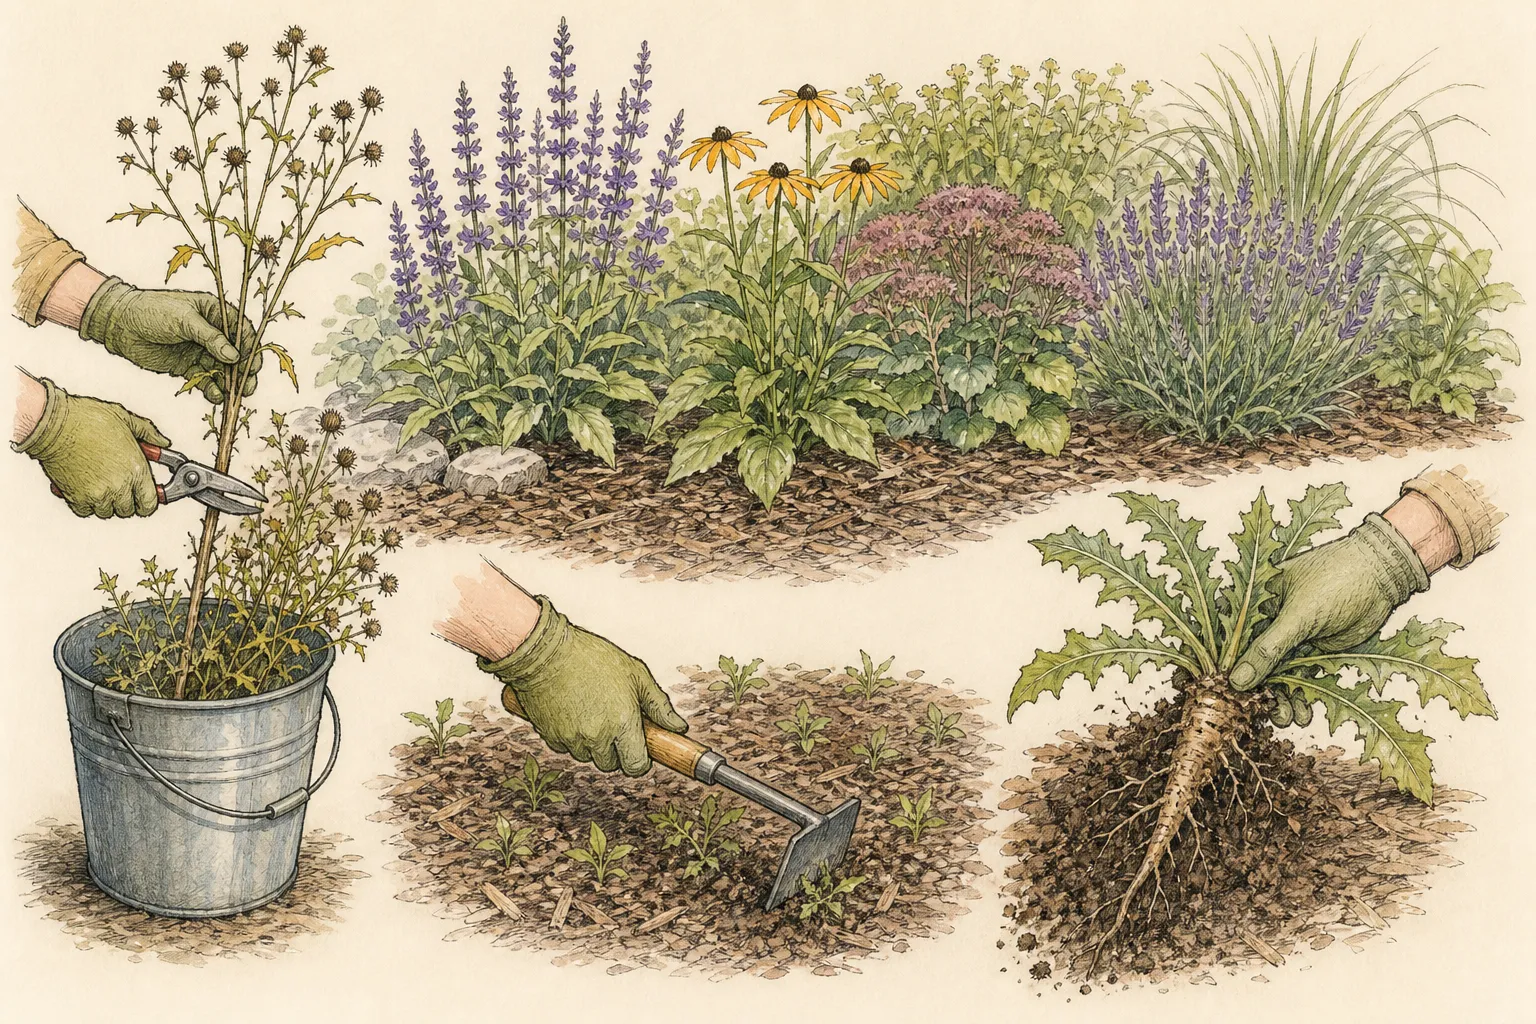
Water dry soil gently before thinning so retained roots are less disturbed, then work during conditions that reduce stress for both plants and gardener. Remove the clearest weeds and weakest surplus first. In a dense cluster, snip unwanted seedlings at soil level when pulling would wrench the roots of a keeper. In looser soil, ease them out individually while supporting the ground around the selected plant.
Make the first pass conservative. Open space around permanent crowns, recover the path and separate the healthiest candidates to approximately useful positions. Return after the retained seedlings resume growth and their mature habit becomes easier to judge. A second pass can remove duplicates and refine the drift edge. Staged thinning preserves options without leaving damaging crowding in place for the whole season.
Transplant a surplus seedling only if the species tolerates moving at that stage and the destination completes a planned patch. Prepare the receiving hole first, lift with as much root and attached soil as practical, replant promptly and provide species-appropriate aftercare. Some annuals resent root disturbance; for those, thinning in place and direct sowing a later gap can be more reliable than trying to redistribute every volunteer.
Do not turn removed seedlings into a second accidental colony. Compost only material appropriate for the system and local guidance, and keep plants with mature seed or questionable identity out of places where they could spread. Clean soil from paths and tools before moving to another bed. The edit is complete only when the unwanted portion no longer has an easy route back into the design.
Edit height, color and succession as the season changes
When flower buds reveal color and scale, review the original hierarchy. Keep the principal annual dominant in its selected patches and treat surprise colors as accents only where they strengthen the sequence. A beautiful outlier can be moved in the plan for next year even when moving the plant now would be unwise. Label it discreetly, photograph the relationship and avoid redesigning every drift around one flower.
Watch mature height against windows, path turns and low permanent plants. Thin or remove a poorly placed tall individual before it leans across access or shades a valued crown. Staking every stem can make a loose drift look engineered and create a maze of ties. Support a known cultivar only where its habit and exposure require it; otherwise let spacing, site selection and selective removal carry the structure.
As an early annual declines, decide whether another planned layer should become visible or whether the patch will return to quiet ground. Do not hide every gap with a new purchase. Cut or pull finished plants according to species behavior, root relationships and seed intentions, then reveal the permanent framework beneath. Succession feels deliberate when one layer hands the view to another instead of collapsing onto it.
Keep irrigation and feeding tied to plant needs and soil evidence. A self-sown stand is not automatically drought-proof, and rich feeding can produce soft crowded growth in species adapted to leaner conditions. Check individual guidance and the established bed rather than applying one regime to all annuals. The design should organize plants with compatible care, not conceal incompatibility beneath a common visual style.
Choose where next year's seed is allowed to begin
Divide the planting into seed zones and clean zones before flowers finish. Seed zones are selected patches where desirable, correctly identified plants may mature seed. Clean zones include path edges, gravel joints, crowns of permanent plants, drainage routes and any area already crowded. This boundary preserves the self-sown character while preventing every successful annual from claiming the entire garden.
Deadhead according to the map rather than from habit. Remove spent flowers in clean zones and on plants with traits you do not want to encourage. Leave selected sound plants in seed zones long enough for their species-appropriate maturation, accepting that the display will change as seedheads develop. Follow regional guidance for plants that should not be allowed to spread and remove those before seed becomes viable.
When seed is mature, contain intentional collection and dispersal. Label envelopes for saved open-pollinated seed with the plant, location and year, while remembering that the resulting seedlings may vary. If allowing natural drop, clear only the chosen receiving ground and avoid broadcasting into mulch, paths or neighboring property. More seed does not produce a better drift; it produces more editing work and potentially weaker crowded plants.
Close the season with an annotated photograph and a short list: which drifts read clearly, which annual dominated, which gaps were useful and where volunteers caused conflict. Next spring, compare the germination map with that record. Keep the pattern that earned its place, reduce the seed zone that overwhelmed its frame and welcome a new variation only when it can join the composition without erasing access or permanent structure.
Reduce a calendula patch to three measured keepers
Use a hypothetical 9-by-3-foot sunny patch in Pennsylvania Zone 6 where Calendula officinalis seedlings have been positively identified. If the intended stock fits a 2-foot mature-width allowance, mark three candidate centers 1.5, 4.5 and 7.5 feet along the patch, all 1.5 feet from its front. The three circles stay within the bed and leave 1 foot between them. This is a spacing example for existing volunteers, not a claim that three seedlings are actually present or that every calendula cultivar has the same size.
Keep a sound seedling near each usable center and remove surplus only after checking that the operation will not disturb a keeper. Leave a position empty if no suitable plant is there and transplanting would add avoidable stress. Mark a separate seed-retention area later in the season; the path edge remains a clean zone. Where calendula is unsuitable or unwanted locally, the correct count is zero, while the same measured selection method can be applied to a locally appropriate annual.
Design ideas
- Style
- Edited naturalistic annual drifts with calm structural edges
- Space
- Home-garden border, path edge or ornamental gravel bed with an established permanent framework
- Climate
- Use annual species and cultivars suited to the site's region, frost pattern, light, drainage and summer moisture; check local invasive-plant guidance before retaining any prolific seeder
- 1Draw one dominant river
Choose the annual with the strongest healthy volunteer population and connect its best clusters into one broad visual route through the bed. The river can narrow behind a permanent plant and widen near the principal viewpoint, but it should not occupy the path or every open pocket. Thin each cluster to the mature spacing recommended for the identified species or cultivar. Repeat its color or foliage at least once beyond the main mass, then leave a quiet interval so the route is visible rather than becoming a continuous carpet. Preserve access to every permanent crown inside the curve.
- 2Build islands around permanent anchors
Use a shrub, ornamental grass clump, architectural perennial or substantial pot as the fixed center of an annual island. Clear the anchor's crown and service side, then retain volunteers in an offset shape that supports rather than rings it. Echo one smaller island near another fixed element so the device looks intentional. Match annual height and root competition to the anchor's needs, and leave enough bare ground to show where one plant ends and the next begins. If the anchor needs frequent pruning or watering access, keep that side entirely open.
- 3Make a stitched path edge
Select a low or airy annual that already appears at several points along a path and edit those volunteers into separated patches. Keep the actual walking line consistently clear, then vary the patch lengths so the repetition feels relaxed. Remove seedlings from joints, drains and unstable edging even when they flower attractively. Let one patch extend slightly deeper into the border to connect with the main planting. The repeated species becomes a visual stitch, while the clean path material supplies the discipline that makes a self-sown edge look cared for.
- 4Frame a transparent veil
Where a suitably airy annual has germinated in front of a wall or quiet evergreen, retain a shallow group that can be seen through rather than a dense screen. Thin enough for individual stems and background structure to remain legible, using the plant's mature dimensions rather than its seedling delicacy. Keep doors, vents, lights and maintenance points free. Repeat a smaller veil elsewhere at a related height. This works best when the backdrop is calm and the annual can remain upright in the actual exposure without a forest of stakes.
- 5Reserve a seed atelier
Choose one contained patch away from paths and permanent crowns where the best identified plants can complete seed. Edge it with a repeated material or low structural plant so changing seedheads look intentional. Deadhead matching annuals elsewhere, concentrating future volunteers in a place that can be mapped and thinned. Label selected parent plants while their useful traits are visible, and record that seedlings may not repeat them exactly. The atelier is not a no-edit zone: remove diseased, unstable, unwanted or locally restricted plants and prevent mature seed from escaping beyond the planned area.
- 6Pair one cloud with one pause
Allow a generous drift to occupy one side of a view, then hold an adjacent area open with gravel, mulch or low permanent foliage. The contrast makes the flower mass feel larger and more deliberate without adding plants. Keep the pause aligned with a step, seat or window so it also provides access or visual rest. If late volunteers emerge there, move them only when the species tolerates transplanting and another planned patch needs them; otherwise remove them. Protect the opening through the season instead of letting abundance automatically win.
- 7Edit a three-note procession
Assign three compatible annual roles: a principal flowering mass, a finer linking texture and a limited vertical accent. Place the mass in the largest repeated patches, thread the linker through only parts of those shapes and use the vertical at a few meaningful turns or endpoints. Verify that all three suit the same light, soil and moisture conditions, and thin each according to its mature habit. If one role fails, preserve the two-note structure rather than filling every gap with an incompatible substitute. The hierarchy keeps a diverse volunteer population readable from across the garden.
Plants in this guide
Related reading
Sources
- Beginner's Guide to Sowing Seeds. Royal Horticultural Society. Source record · Accessed 2026-08-19.
- Direct Seeding Vegetables and Annuals: Preparation and Care. Iowa State University Extension and Outreach. Source record · Accessed 2026-08-19.
- Annuals. University of Illinois Extension. Source record · Accessed 2026-08-19.
- Calendula officinalis. NC State Extension. Source record · Accessed 2026-09-09.