Gardens · ornamental pond edge zoning
Design an Ornamental Pond Edge in Four Planting Zones
Shape a coherent ornamental pond edge by separating submerged, saturated, moist, and ordinary-soil conditions before choosing plants or disguising the liner.
Published Last updated
In this guide
- Map water depth and seasonal changes before selecting plants
- Draw the four-zone section before choosing plants
- Use a worked four-zone palette for a cool-temperate UK pond
- Set levels that can be built and maintained
- Compose the submerged zone as structure below the surface
- Use the saturated shelf as the visual hinge
- Shape the moist bank as a gradient, not a swamp
- Carry the design into ordinary soil
- Protect access, liner edges, and overflow
- Plan for seasonal water and plant changes
- Edit by proportion and maintenance effort
- Measure a cardinal-flower strip above the waterline
- Design ideas
Map water depth and seasonal changes before selecting plants
An ornamental pond edge is not one uniformly damp habitat. Roots may be continuously underwater, held at a saturated shelf, above standing water in moisture-retentive bank soil, or beyond the liner in ordinary garden ground. The Royal Horticultural Society separates submerged oxygenating plants from marginal plants and advises placing aquatic plants at the depth suited to each one. That classification is the design framework: first locate the root environment, then select the plant.
Observe the pond at normal operating level, after heavy rain, during the driest expected interval, and while pumps or spillways are off. Mark each water line with removable stakes or photographs from a fixed viewpoint. A recirculating feature can conceal how quickly a shelf drains, and an automatic top-up can conceal a leak. Design from repeated observations rather than the unusually full pond seen after one storm.
Decide what the pond is meant to look like from the principal path, window, or seat. A reflective opening, a dense naturalistic margin, and a formal stone basin require different proportions, but none is helped by plants placed in the wrong moisture. Draw the visible water area and the planted edge as positive shapes. The four zones should support that composition without pretending that every edge must be equally lush.
Draw the four-zone section before choosing plants
Make a simple cross-section through the steepest and shallowest sides. Zone one is submerged: roots and usually the planting container remain below the normal water line. Zone two is saturated or marginal: crowns and roots occupy a shelf or bank that stays at, just below, or immediately beside water according to the exact plant's needs. Record the physical shelf height instead of assigning a generic depth to every marginal species.
Zone three is moist soil above persistent standing water. The RHS distinction is important: a bog garden remains damp but should not simply be treated as a permanently flooded pond shelf. This band may receive capillary moisture, occasional high water, or deliberate irrigation, yet it must retain air in the root zone. Map where the liner ends or rises because soil on top of an impermeable liner behaves differently from freely draining bank soil.
Zone four is ordinary garden soil beyond the pond's direct hydrology. It may be humid and visually connected to water, but its roots should be selected for the actual border conditions: texture, drainage, light, hardiness, and irrigation. Extending aquatic treatment into this band causes avoidable failure. Instead, repeat leaf shape, color, or vertical rhythm so ordinary-soil plants look related to the pond without requiring saturated ground.
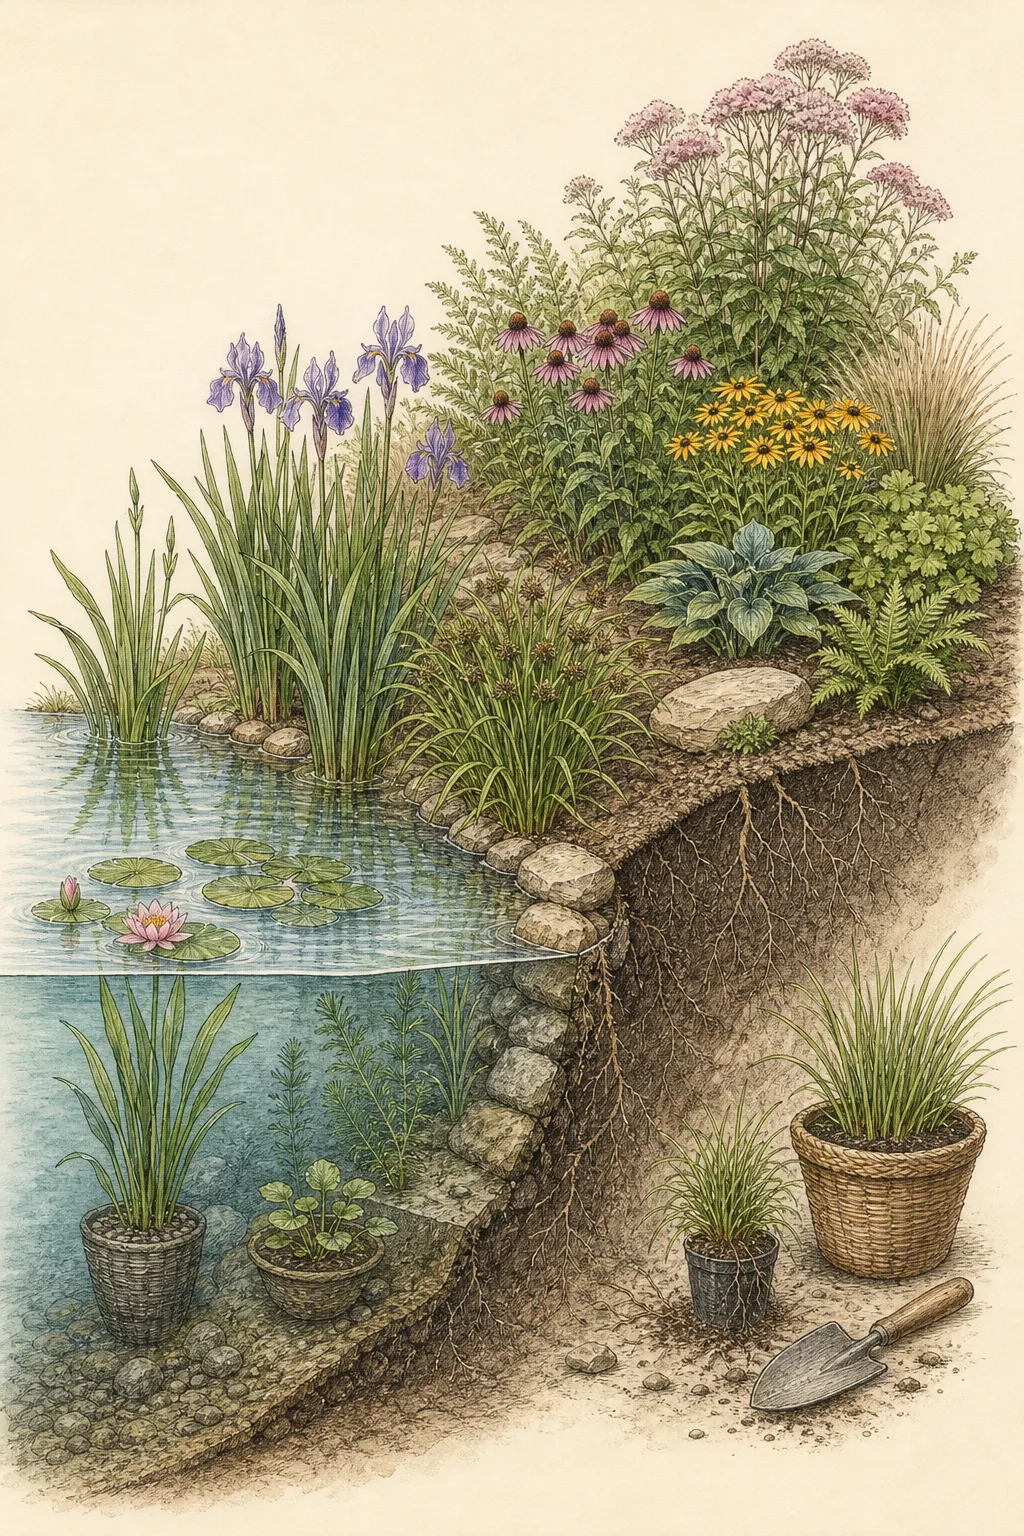
Use a worked four-zone palette for a cool-temperate UK pond
The worked matrix is bounded to a small, still ornamental pond in a cool-temperate UK garden, with sun on the open water and partial shade at the outer bank. Reserve a firm maintenance landing first and hold roughly half the surface as visible water, following the RHS starting proportion. The composition succeeds only if every basket remains reachable and each crown stays in the water position supported by its profile.
Assign a different job to each band. The submerged pair provides one floating focus and one fine underwater texture; the shallow shelf carries a low spring-to-early-summer flower handoff; the damp bank repeats fine foliage while adding summer height; and the ordinary-soil pair frames the water from partial shade. Evergreen or semi-evergreen foliage carries selected intervals, while deciduous groups are allowed to disappear without leaving the liner, overflow, or access route visually unresolved.
The exact quantities, water depths, mature envelopes, and UK hardiness ratings are retained in the executable plant rows. They apply to the named taxa under the cited UK guidance, not to a pond elsewhere. Outside Britain and Ireland, keep the four roles but recheck winter water behavior, light, hardiness, legal availability, and invasive status with current regional authorities before choosing any substitute.
Set levels that can be built and maintained
Translate the section into stable shelves and slopes before planting. Existing prefabricated ponds and liners impose shapes that should not be casually cut or loaded; consult the manufacturer's installation limits. In a new pond, a qualified installer can shape shelves that support baskets without tipping and banks that do not slump into the water. Avoid improvised piles of loose stone that shift under the weight of saturated containers.
Do not copy a universal shelf depth from a photograph. Oklahoma State University Extension and the RHS both organize aquatic plants by growth position, but an exact crown depth belongs to the species, cultivar, container, climate, and current supplier guidance. Place pots on stable supports so their crowns meet that verified requirement at normal water level. A removable support is more adaptable than a permanently guessed shelf.
Mark high and low operating levels on the plan. A plant that is correctly placed at the normal line may become deeply submerged after overflow or stranded during drought. Favor a broad zone or adjustable basket where fluctuations are expected, and reserve narrow tolerance plants for the most stable section. If the pond cannot maintain the water regime a desired plant requires, change the plant rather than hiding the mismatch with more irrigation.
Compose the submerged zone as structure below the surface
Submerged planting is part of the view even when individual stems are not prominent. University of Georgia Extension distinguishes submerged plants from floating and marginal groups, while Oklahoma State describes aquatic roles within a water garden. Use a restrained number of compatible plants in stable baskets or the pond system recommended by the installer. Their mature spread must fit the volume and maintenance access of a residential ornamental pond.
Keep the central reflective area intentional. Cluster submerged baskets where they can be reached and where their growth will not immediately obscure a focal reflection, fountain intake, or viewing step. A staggered group reads more naturally than a ring placed at identical intervals. In a formal pond, align the invisible basket positions with the geometry even if the foliage moves freely above them.
Confirm local legal and ecological status before acquiring any aquatic plant. The RHS warns that some pond plants can be invasive, and Oklahoma State advises attention to nonindigenous plants. Rules and risk differ by region and can change, so use current local authority lists and reputable local suppliers. Never move surplus plants or water into natural waterways; contain disposal according to local requirements.
Use the saturated shelf as the visual hinge
The marginal zone joins water to land, so it carries much of the pond's visual work. Build it from a few repeated forms: a vertical accent, a broad or arching leaf mass, and a low edge that reveals rather than smothers selected waterline moments. Repeat one form around separate coves to make the pond feel like one garden. Leave deliberate gaps where stone, water, or a clean liner-cover detail can breathe.
Match each crown to its specified relationship with water. The label marginal is not an exact planting instruction: one plant may accept its pot below the surface, while another needs the crown near the line. Use aquatic baskets where containment and seasonal lifting are appropriate, choose a compatible low-nutrient planting medium if required by the pond system, and cap or secure it according to authoritative local guidance so loose material does not cloud the feature.
Plan mature mass, not nursery-pot count. A generous clump can hide the liner edge, but an unbroken wall removes reflection and access. Set the dominant groups first, then use smaller repetitions to lead the eye. Where a plant is vigorous, begin in a removable container and position it within reach. The maintenance method should be visible on the plan before the basket is lowered into water.
Shape the moist bank as a gradient, not a swamp
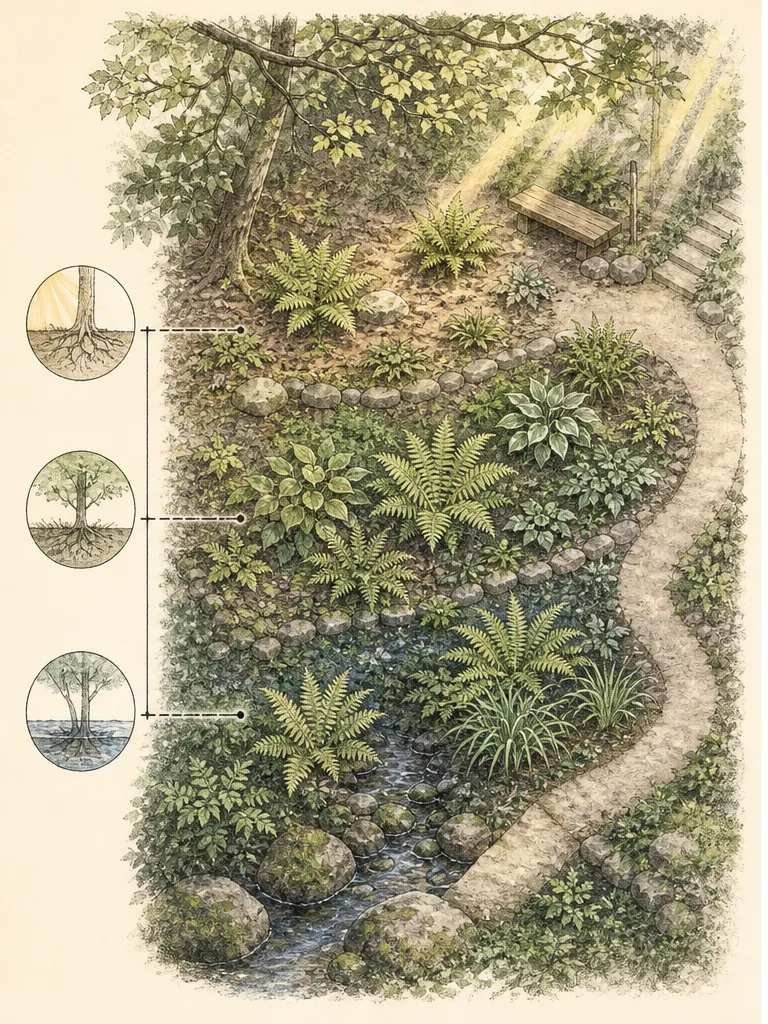
Above the shelf, identify soil that remains consistently moist yet contains air. The RHS bog-garden guidance distinguishes this condition from standing pond water. Use plants whose references support moist or boggy soil, then refine by light, hardiness, mature dimensions, and the site's actual winter wetness. Hardy hibiscus can contribute a strong summer mass in an appropriate region and moist site, but its profile and cultivar limits still govern placement.
Grade the bank gently enough to retain soil and mulch without washing them into the pond. If an impermeable liner extends beneath this zone, provide the drainage or engineered moisture arrangement specified by the installer; do not puncture a liner experimentally. If the bank is natural soil, test where capillary moisture ends. A visible green edge can be created by irrigation, but it should not be mislabeled as naturally moist if the system depends on regular supplemental water.
Use the moist band to soften height transitions. Place lower foliage near important water views and taller masses where they frame rather than block a seat or window. Repeat a leaf texture from the marginal zone in a land-tolerant counterpart. This creates continuity without forcing one species across incompatible conditions. Leave small exposed-soil inspection points behind foliage so moisture can be checked without uprooting the design.
Carry the design into ordinary soil
The outer band makes the pond belong to the larger garden. Select plants for normal border conditions and echo the inner zones through shape: a narrow upright grass-like form can repeat a marginal accent, rounded foliage can answer floating leaves, and a pale flower can repeat a reflected highlight. The connection is visual rather than hydrological, so choose species from their own reliable garden profiles.
Ordinary soil is also the place for longer-lived structural planting that remains legible when aquatic and moisture-loving perennials recede. Use a well-scaled evergreen, twiggy deciduous framework, stone, or clipped ground plane according to the style. Keep roots and mature spread compatible with the pond construction; seek installer or arboricultural advice before placing woody plants close enough to affect a liner or built edge.
Blend the transition irregularly. A perfectly parallel stripe of each moisture class looks diagrammatic and can expose every seasonal gap. Let moist-soil groups project outward in two or three broad drifts while ordinary-soil companions reach inward at dry high points. The underlying zone map remains precise even when the visible boundary is woven. Plants still stay on the side of the line their roots can tolerate.
Protect access, liner edges, and overflow
Reserve one stable maintenance approach before filling the planting plan. It should reach pumps, intakes, baskets, and the principal edge without requiring a person to balance on loose rocks or step through saturated soil. Keep the route visually quiet with firm paving or a reinforced surface appropriate to the construction. Do not conceal access with a plant that reaches full size just when summer maintenance is highest.
Cover liner edges through the installed construction detail and compatible planting, without pulling or puncturing the liner. Maintain the designed edge height so surrounding soil and mulch stay out of the pond. Keep baskets and roots within the loads and clearances approved for the built edge, and retain enough exposed detail to inspect movement before a small shift becomes concealed by foliage.
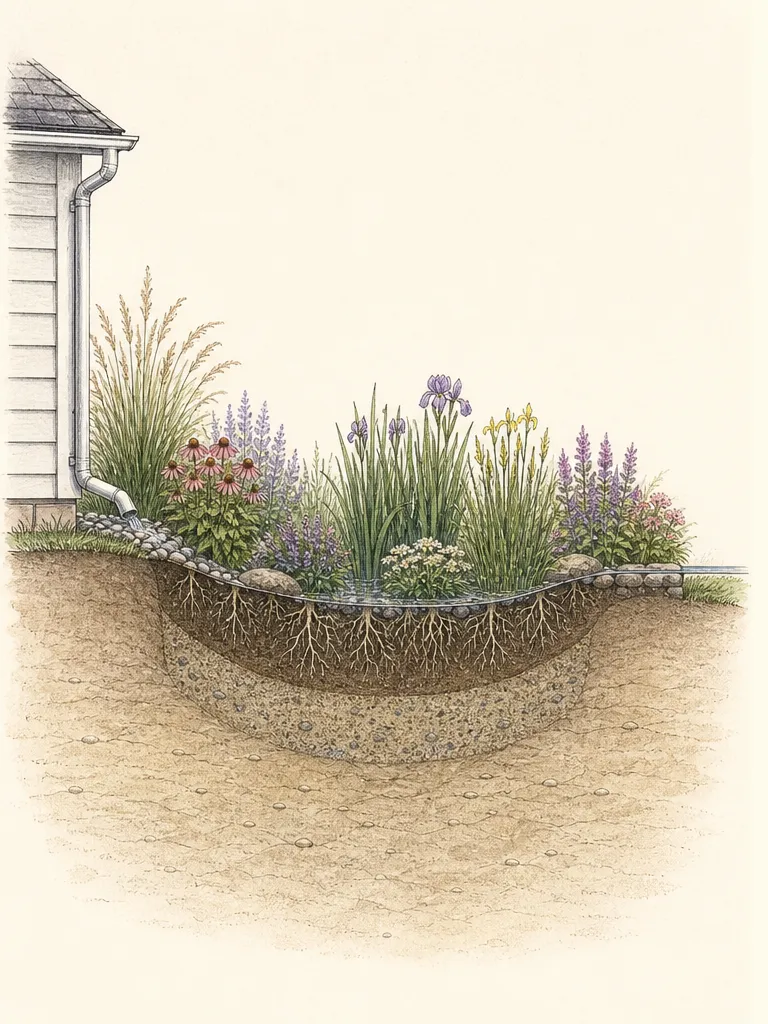
Keep the overflow route visible on the planting plan. Its destination, grade, and construction belong to the site-specific pond design and must be resolved under applicable local requirements before plants are placed. Planting may soften the route while preserving flow and revealing erosion. Seek project-specific professional review where overflow could affect buildings, retaining walls, utilities, or property boundaries.
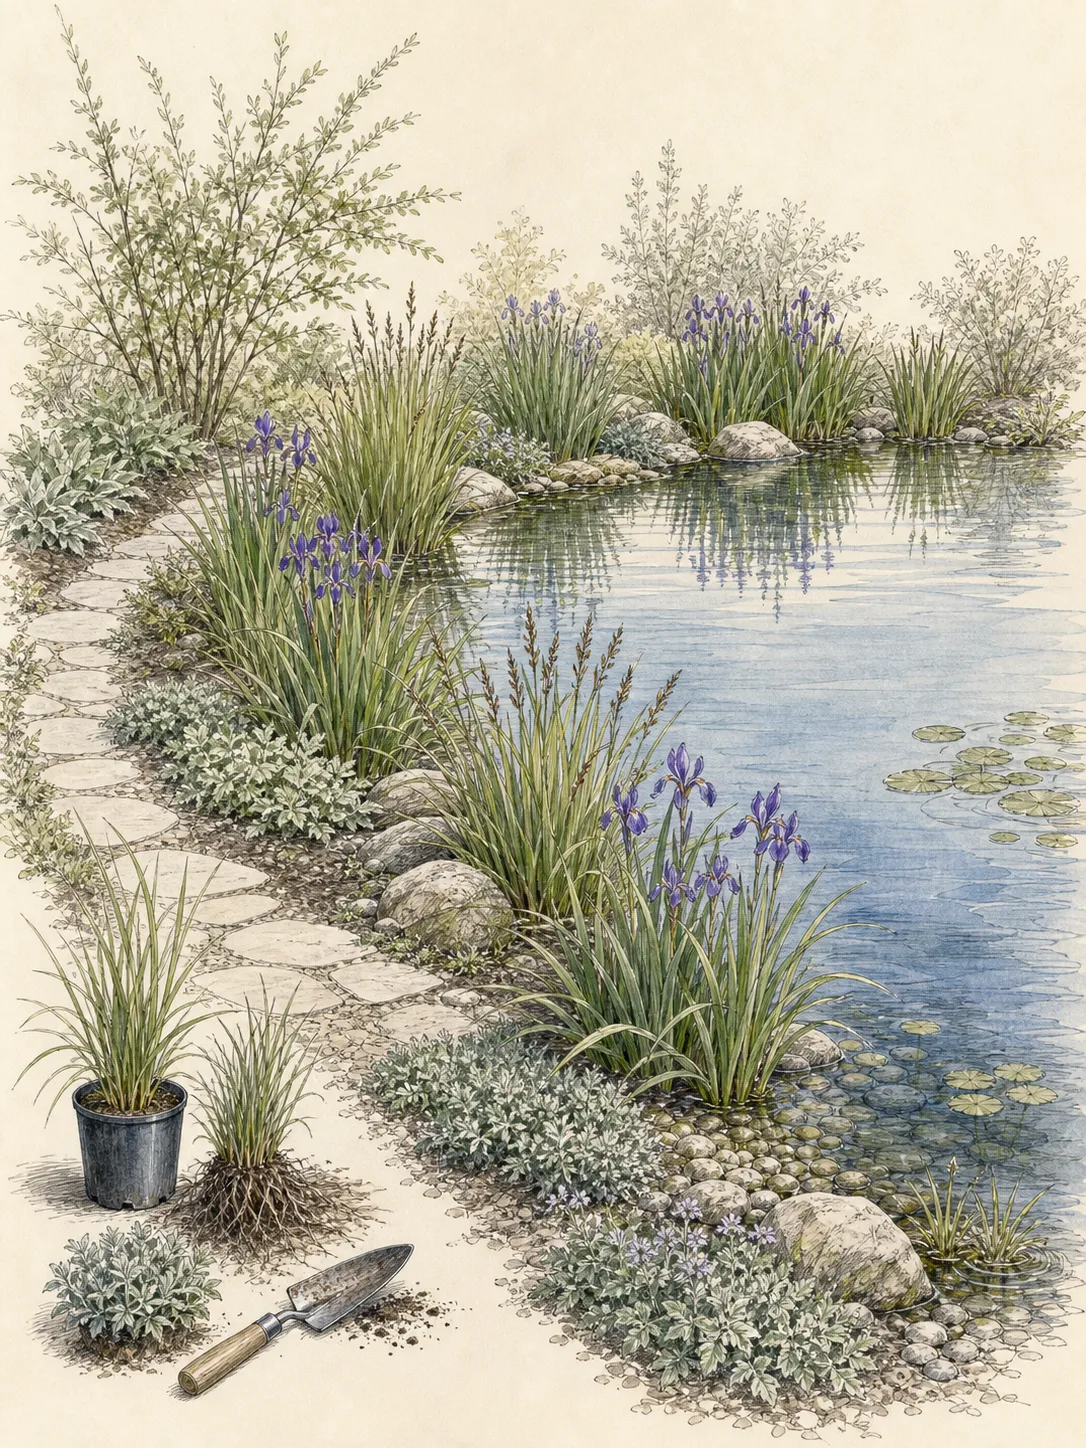
The planting plan addresses ornamental zones, while household safety, construction code, and electrical installation require the relevant local authority and a qualified pond installer. Resolve those project-specific requirements before approving plant positions. Within the horticultural work, keep the maintenance landing, equipment inspection points, liner edge, and overflow visible; no universal barrier, wiring, or rescue rule is asserted here.
Plan for seasonal water and plant changes
Draw a small seasonal elevation for spring emergence, summer peak, autumn decline, and winter structure. Aquatic and bog plants do not all start or finish together, and climate alters whether foliage remains, collapses, or needs protection. Balance showy summer mass with clear water, durable edge materials, and outer-zone structure so the pond does not become visually empty when one dominant perennial recedes.
Expect water level and temperature to change. In dry periods, movable baskets may need adjustment within the safe range for their plants; in wet periods, overflow must remain open. Do not respond to every fluctuation by adding new species. First decide whether the pond is operating within its designed range. A recurring extreme may require a construction, top-up, shade, or overflow review rather than a more tolerant planting list.
Use containers to make regional adaptation possible. Tender ornamentals can be displayed seasonally where legal and suitable, then removed according to local overwintering practice. Hardy labels still require verification against winter water depth, freeze behavior, and cultivar. This article does not assign universal hardiness to a moisture zone; it asks every plant to pass separate tests for water position, climate, light, mature size, and local status.
Edit by proportion and maintenance effort
After one full season, photograph the pond from each important viewpoint at normal water level. Trace the proportion of open water, marginal foliage, moist bank, and outer structure. If the edge feels crowded, remove or divide a repeated mass rather than trimming every plant into small unrelated shapes. If it feels disconnected, repeat one successful foliage role across two zones using different, condition-appropriate plants.
Review effort as carefully as appearance. Note which baskets were difficult to reach, which bank washed soil, which outer bed required extra irrigation, and which plants exceeded their intended space. Move removable groups while the evidence is fresh. A plant that is beautiful but incompatible with the maintenance route should be relocated, not allowed to erase planned access.
Keep the zone drawing with the plant record. Update normal, high, and low water lines; exact basket elevations; overflow observations; and the local status check for every aquatic purchase. The finished design can look spontaneous because the hidden logic is disciplined. Submerged, saturated, moist, and ordinary-soil roots each receive the condition they need, while repeated forms make the four technical bands read as one ornamental garden.
Measure a cardinal-flower strip above the waterline
Start with one land-side zone: a 10-by-3-foot moist bank above the normal standing water of a Zone 6 Pennsylvania pond. Three Lobelia cardinalis plants provide a test of upright summer flower structure without attempting a complete aquatic planting. The NC State profile supports moist-to-wet ground and a 1–2-foot spread; allocate each plant a 2-foot circle and keep the crown in suitable bank soil, not submerged by an assumed planting depth.
Place centers 2, 5, and 8 feet along the bank, all 1.5 feet from its landward edge. The circles remain half a foot inside both long edges and leave 1 foot between neighbors. Reach the crowns from stable land-side access. Keep liner edges, overflow routes and places where a visitor might step free of the planting.
Confirm summer moisture before accepting the three-plant order. A dry upper bank needs a different palette, while a permanently submerged shelf needs genuinely aquatic species and their own depth guidance. Do not extend these dimensions into the water. The example addresses one clearly defined bank zone and leaves the other pond zones to separate assessment.
Design ideas
- Style
- Layered naturalistic pond edge with visible water, repeated foliage roles, and restrained structural geometry
- Space
- A lined or built residential ornamental pond with plantable aquatic shelves, an accessible bank, and an ordinary garden border beyond
- Climate
- Includes a worked cool-temperate UK palette under RHS hardiness and sizing; adaptation elsewhere requires locally verified water levels, hardiness, light, winter behavior, legality, and invasive status
- 1Trace three water lines
Photograph and mark normal, post-rain high, and dry-period low water. Draw all three on each cross-section so submerged pots and marginal crowns are evaluated through a realistic operating range. If a pump or automatic top-up changes the result, observe with the system both running and safely off.
- 2Plant matrix row 1 — submerged and open water
For this cool-temperate UK example, use one Nymphaea 'Pygmaea Helvola' basket as the floating focus, with 8–10 cm of water over a newly set basket and roughly twice that depth after establishment; its spread is 0.1–0.5 m, its foliage is deciduous, and its RHS rating is H5. Pair it with separately contained Hottonia palustris, which can mature in water up to 60 cm deep, spreads 0.5–1 m, is deciduous, and is also H5. Reserve roughly half the surface as clear water and place both groups within the planned maintenance landing's reach, editing Hottonia first if access or reflection closes. These winter and size ratings describe UK conditions; elsewhere verify winter water behavior, hardiness, legality, and current regional invasive status before planting.
- 3Plant matrix row 2 — saturated shelf
Set Caltha palustris and Myosotis scorpioides in mud or very shallow water under 5 cm in the worked shelf, noting that the individual Myosotis profile allows water no deeper than 10 cm. Each has a 0.1–0.5 m spread. Caltha is deciduous with a UK H7 rating; Myosotis is semi-evergreen with a UK H6 rating. Use two low, removable or clearly bounded clumps instead of an unbroken marginal wall, and keep the maintenance landing completely open at mature spread. The ratings do not establish performance in another climate, and neither name bypasses a current regional legality or invasive-status check.
- 4Plant matrix row 3 — moist bank
Place the crowns above persistent standing water in soil that remains damp but is not permanently waterlogged. Combine Carex elata 'Aurea', about 70 cm high by 50 cm wide, with Astilbe chinensis var. taquetii 'Superba', about 1.2 m high by 50 cm wide. The retained Carex profile describes an evergreen, tufted UK H6 plant, so it carries the winter outline after the Astilbe's summer display; the retained bog list supplies the Astilbe dimensions but not a transferable climate promise. Keep the taller Astilbe outside the landing's working envelope, and verify winter suitability, current invasive status, and legal availability for both plants in the planting region.
- 5Plant matrix row 4 — ordinary soil
Beyond direct pond hydrology, use moist but well-drained partial-shade soil rather than a flooded shelf. Set Hakonechloa macra in front at 0.1–0.5 m high and wide, then Dryopteris filix-mas behind it at 1–1.5 m high and 0.5–1 m wide. Both are deciduous and RHS H7 under UK conditions; the grass preserves the low water view while the fern supplies the taller outer frame. Keep both mature envelopes clear of the maintenance landing and equipment sightline. Elsewhere, substitute only after checking local winter behavior, climate fit, legal availability, and current regional invasive status; visual continuity is not permission to move either plant into standing water.
- 6Reserve a reflective opening
Draw the open-water shape before adding foliage and reserve roughly half the surface as clear water, following the RHS starting proportion. Keep one calm viewing corridor from the primary seat or window, and place the compact waterlily basket away from the maintenance landing. Thin or contain Hottonia first if growth narrows the opening or blocks access.
- 7Repeat forms across different conditions
Choose a visual role—upright line, rounded leaf, arching texture, or pale flower—and repeat it with different plants suited to adjacent zones. The eye reads continuity while the roots remain correctly placed. This is safer than stretching one moisture-loving species into dry ordinary soil.
- 8Keep vigorous plants removable
Use stable aquatic baskets or containers appropriate to the pond system for plants that need containment, seasonal adjustment, or lifting. Position them within the designed maintenance reach and record the support height. Confirm local legality before purchase and dispose of surplus without release to waterways.
- 9Make one honest maintenance landing
Provide a firm, unobstructed place from which a person can reach baskets and equipment without standing on loose edge stone or saturated soil. Align it with a path or quiet paving detail. Keep tall summer foliage out of its working envelope and preserve visibility of the water edge.
- 10Show overflow on the planting plan
Draw the approved overflow route as boldly as a path. Use low, stable planting that tolerates the verified condition without blocking flow or hiding erosion. Keep soil, mulch, and dense roots away from the outlet, and seek professional review where overflow could affect structures or neighboring land.
- 11Design the winter silhouette
Balance summer aquatic foliage with durable stone, an outer-zone framework, and selected stems or seedheads only where locally appropriate. Draw the pond after tender and dormant growth is removed. The remaining composition should still reveal the water, maintenance approach, and intentional edge.
Plants in this guide
Related reading
Sources
- Choosing Pond Plants. Royal Horticultural Society. Source record · Accessed 2026-08-30.
- Bog gardens: plants for. Royal Horticultural Society. Source record · Accessed 2026-08-30.
- Transform Your Outdoor Space with Water Gardens. University of Georgia Cooperative Extension. Source record · Accessed 2026-08-30.
- Water Gardens. Oklahoma State University Extension. Source record · Accessed 2026-08-30.
- Nymphaea 'Pygmaea Helvola' (H). Royal Horticultural Society. Source record · Accessed 2026-08-30.
- Hottonia palustris. Royal Horticultural Society. Source record · Accessed 2026-08-30.
- Caltha palustris. Royal Horticultural Society. Source record · Accessed 2026-08-30.
- Myosotis scorpioides. Royal Horticultural Society. Source record · Accessed 2026-08-30.
- Carex elata 'Aurea'. Royal Horticultural Society. Source record · Accessed 2026-08-30.
- Hakonechloa macra. Royal Horticultural Society. Source record · Accessed 2026-08-30.
- Dryopteris filix-mas. Royal Horticultural Society. Source record · Accessed 2026-08-30.
- Lobelia cardinalis. North Carolina State Extension. Source record · Accessed 2026-09-09.