Grow · group three clematis late winter pruning
Prune Group 3 Clematis Before Spring Growth Becomes a Tangle
Confirm a late-flowering clematis belongs to pruning Group 3, then retain a low framework of sound buds and reconnect new shoots to a suitable support.
Published Last updated
In this guide
- Confirm that the plant belongs to Group 3
- Keep uncertain flowering wood outside the hard-cut sequence
- Read the crown and low buds
- Trace every stem before making the first cut
- Clear old growth without stripping the support
- Repair the support before new shoots need it
- Guide the first flush while shoots are flexible
- Use flowering and regrowth to verify the group
- Steps
Confirm that the plant belongs to Group 3
Group 3 clematis flower mainly on new growth produced in the current season and are commonly cut back hard in late winter or early spring. The rule is useful only after the plant is identified. Retrieve the nursery label, cultivar name, bloom photographs, and previous notes. Many large-flowered late cultivars and herbaceous or viticella types belong here, but an unknown clematis should not be assigned by appearance of bare stems alone.
Use flowering time as supporting evidence. A vine that begins its main display in late summer on long shoots made that year is consistent with Group 3. A spring-flowering clematis on old stems or a cultivar that flowers in two waves can lose its first display under the same treatment. Compare the exact name with a current authoritative profile. If evidence conflicts, delay broad cutting and preserve representative old wood.
Distinguish the clematis from vines sharing the support. Honeysuckle, climbing rose, jasmine, grape, and self-sown stems can cross at the base and appear to form one plant above. Label each crown and trace stems upward in good light. Do not cut a mixed support as a bundle. The most fragile bark may belong to the plant whose pruning schedule differs most. Check regional timing. RHS guidance places Group 3 pruning in late winter or early spring before active growth. In a very cold garden, visibly swelling low buds may be safer evidence than a fixed February date; in a mild garden, growth may already have begun. Work while stems can be traced and before tender shoots have extended so far that clearing old growth breaks them.
Keep uncertain flowering wood outside the hard-cut sequence
Apply the low-cut method only to a confirmed Group 3 clematis with sound buds identified on its stems. Trace and release the old tangle without pulling on those buds. If identity or the flowering record is uncertain, preserve that uncertainty and investigate before making the same cut everywhere. New shoot and flowering observations then test the original classification.
Read the crown and low buds
Remove loose leaves and surface debris gently enough to expose the crown without pulling stems or digging into roots. Identify where each stem emerges and whether it is live, broken, hollow, split, or blackened. Clematis stems can look dry while remaining alive. Bend only a small tip gently and inspect buds; do not scrape long sections or tear bark to prove viability.
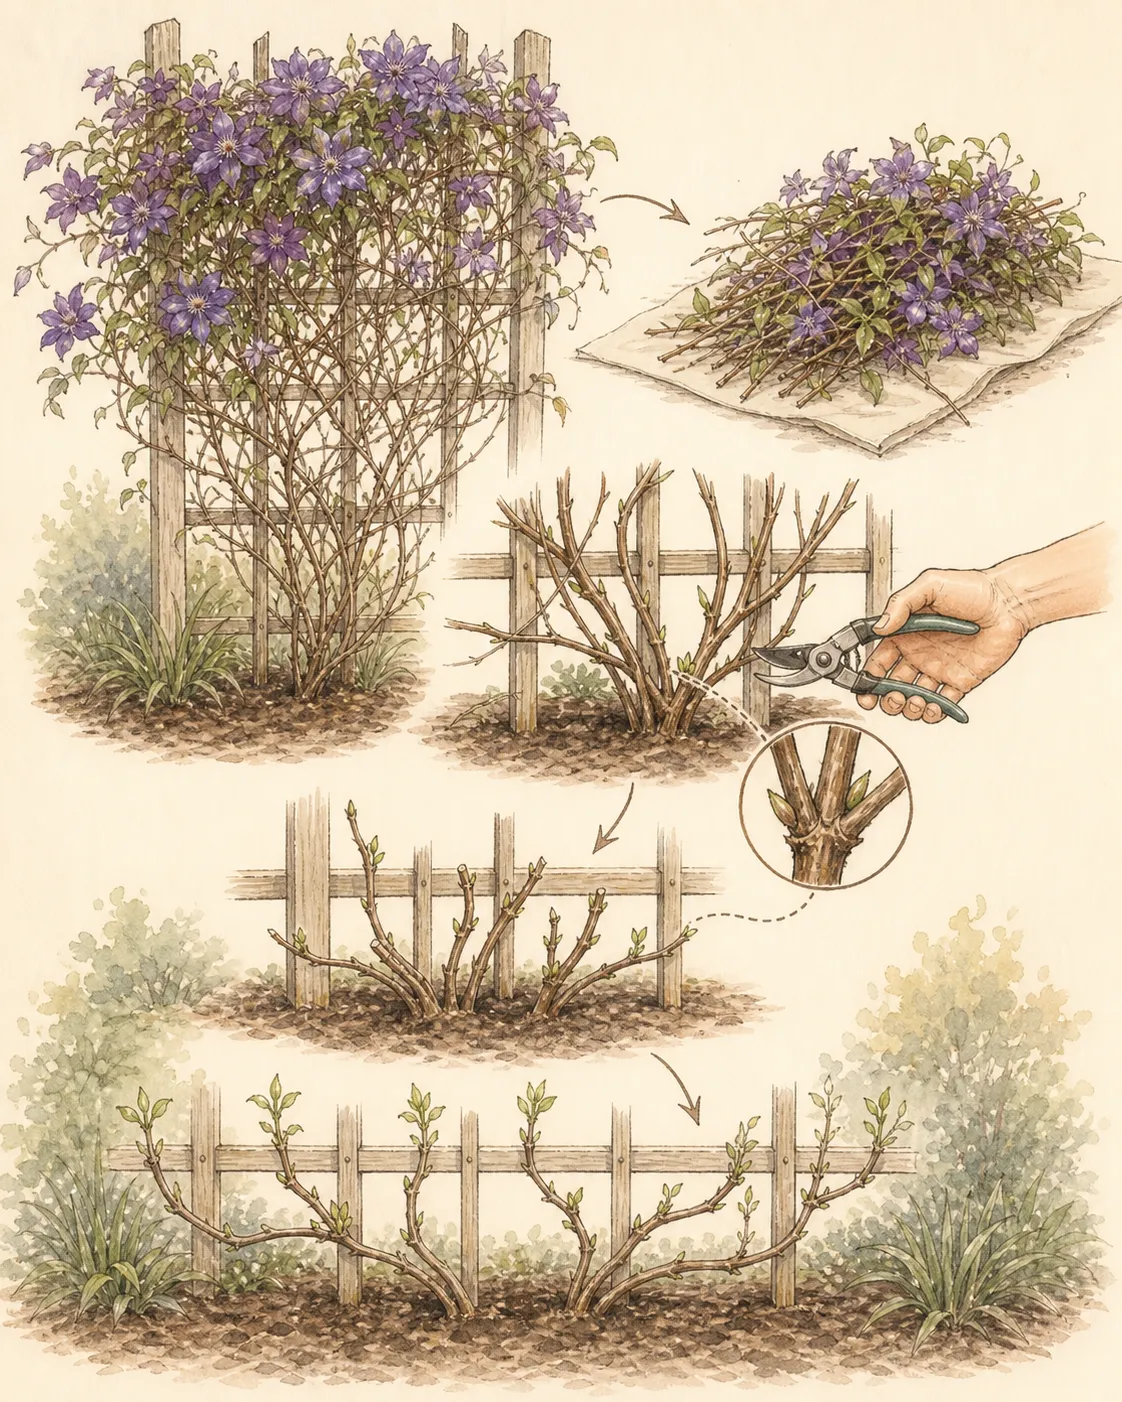
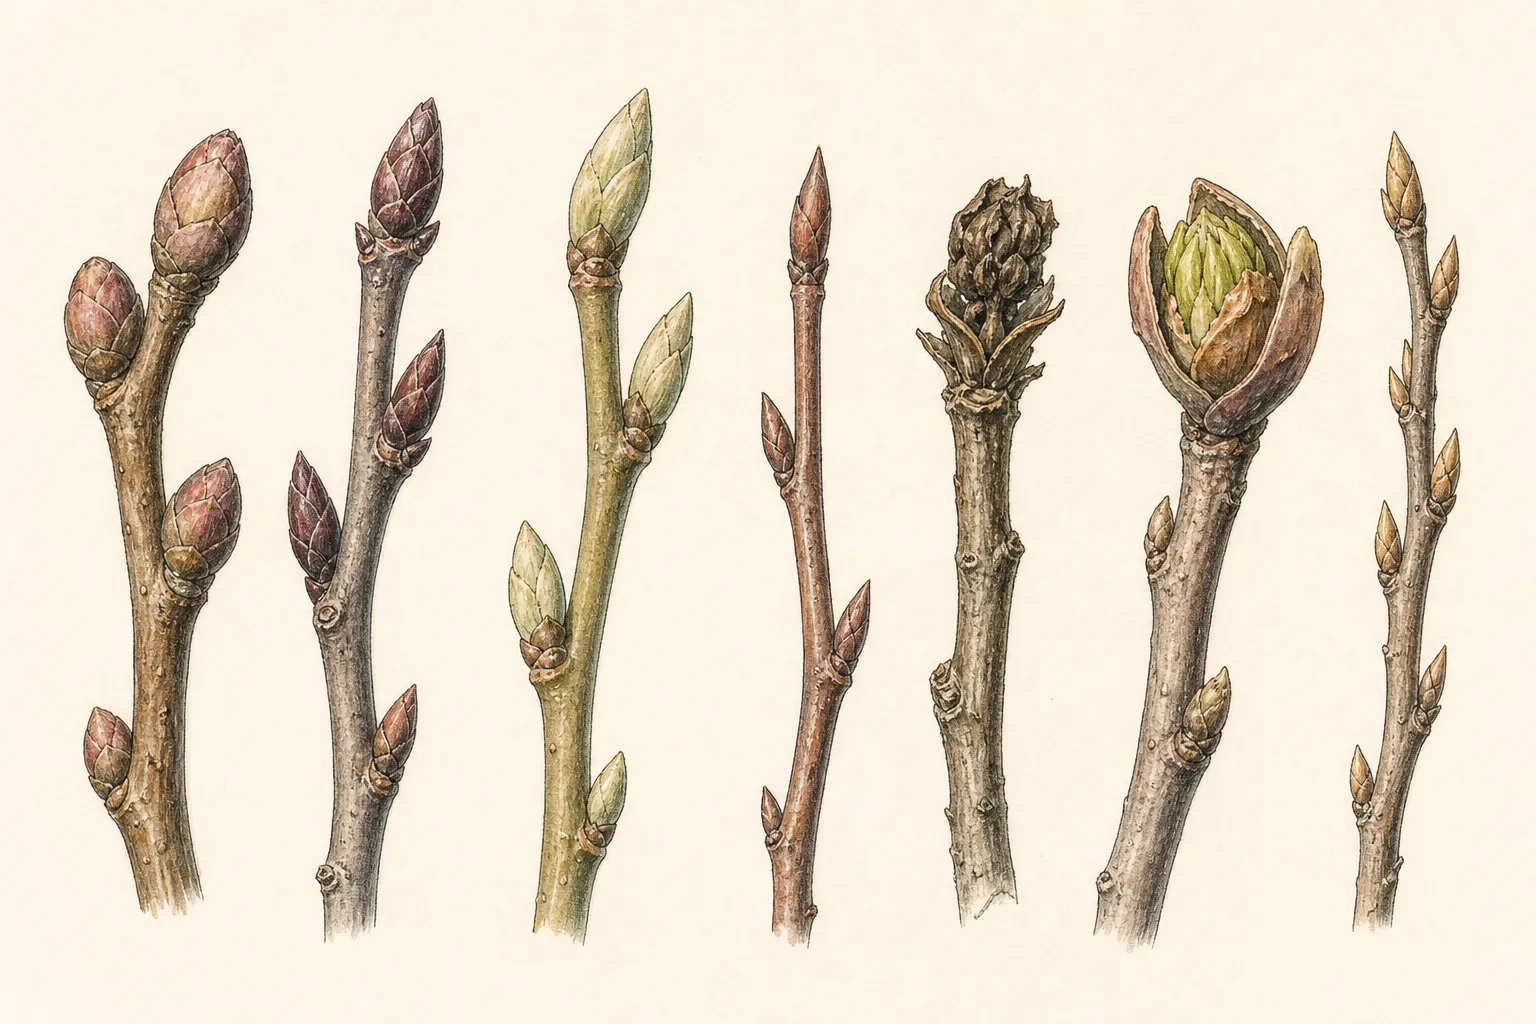
Look for pairs of plump sound buds on the lower stem. Group 3 pruning usually retains a short framework above low healthy buds rather than cutting blindly at soil level. The exact retained height depends on bud position and plant condition; RHS guidance commonly describes cutting to a strong pair roughly 15 to 30 centimeters above ground. Preserve the crown and make the cut above visible viable tissue.
Separate old dead stubs from living bases. A dead stem may be removed at its origin when that can be done without injuring adjacent crowns, but a tightly packed base rewards patience. Use clean sharp bypass pruners and cut one stem at a time. If decay, swelling, severe cracking, or repeated dieback extends into the crown, stop and seek a local diagnosis before removing all evidence.
Protect emerging shoots. They are brittle and can hide beneath leaf litter or behind old stems. Mark their positions and move hands outward from the crown. Do not place a knee, tool bag, or pile of cut vines over the base. A hard pruning intended to renew growth can fail when the new growth is crushed during cleanup.
Trace every stem before making the first cut
Choose one stem at the crown and follow it to the support. Place a temporary tag near its low bud pair. Trace past crossings by touch and sight, moving neighboring vines without pulling. When the same stem is confirmed at several points, return to the tag. This sequence prevents a cut section from dropping and tightening around a retained stem before the rest of its route is understood.
Make the cut a short distance above the sound bud pair, angled only enough to shed water without creating a long exposed stub. Keep the blade toward retained tissue and support the loose upper section. A ragged crush indicates a dull tool or stem beyond capacity. Recut only when enough sound stem remains above the buds; repeated trimming can remove the very pair selected for regrowth.
Continue stem by stem across the crown. Keep retained stubs similar only when buds naturally allow it. Perfect geometric height is less important than sound tissue and distributed new shoots. If one stem has no low live buds but healthy tissue higher up, retain it provisionally and reassess after growth begins. Do not force the entire plant to one line by cutting below uncertain buds. Place removed lengths on the ground in the direction they ran rather than yanking them immediately from a trellis. The upper tangle may include clips, wire, live stems, bird nests, or another vine. Once all base cuts are made and wildlife checks are clear, dismantle the old canopy from the outside inward. Cut it into manageable sections rather than pulling against the crown.
Clear old growth without stripping the support
Begin at the free tips and follow cut stems backward. Snip around tight crossings and leaf stalks that have wrapped wire. Clematis climbs by twining leaf stalks, so last season’s attachments can be numerous. Do not drag a whole dry net through a young shrub or over a fence cap. Controlled small sections protect neighboring buds and reveal the condition of the structure beneath.
Check for nests and local wildlife restrictions before disturbing dense growth. If an active nest or protected animal is present, stop and follow local guidance. Group 3 pruning is horticultural maintenance, not an exemption from wildlife law. Record the plant and return at a lawful time, preserving enough old structure in the interim to avoid destroying occupied habitat.
Separate diseased-looking material from ordinary dry stems. Spotted or wilted growth from the previous year is not a reliable pathogen diagnosis after winter, but known diseased debris should not be distributed through the garden. Bag or dispose of material according to local guidance, clean tools when disease is suspected, and avoid composting a confirmed problem in a system unable to manage it. Once cleared, inspect the support, wall clearance, downspouts, labels, and mulch. A clean trellis should not press into stems or trap the crown against wet masonry. Keep mulch shallow and away from stem bases. Do not cultivate deeply around clematis roots while making the bed look tidy; surface cleanup should preserve the cool root zone without burying the crown.
Repair the support before new shoots need it
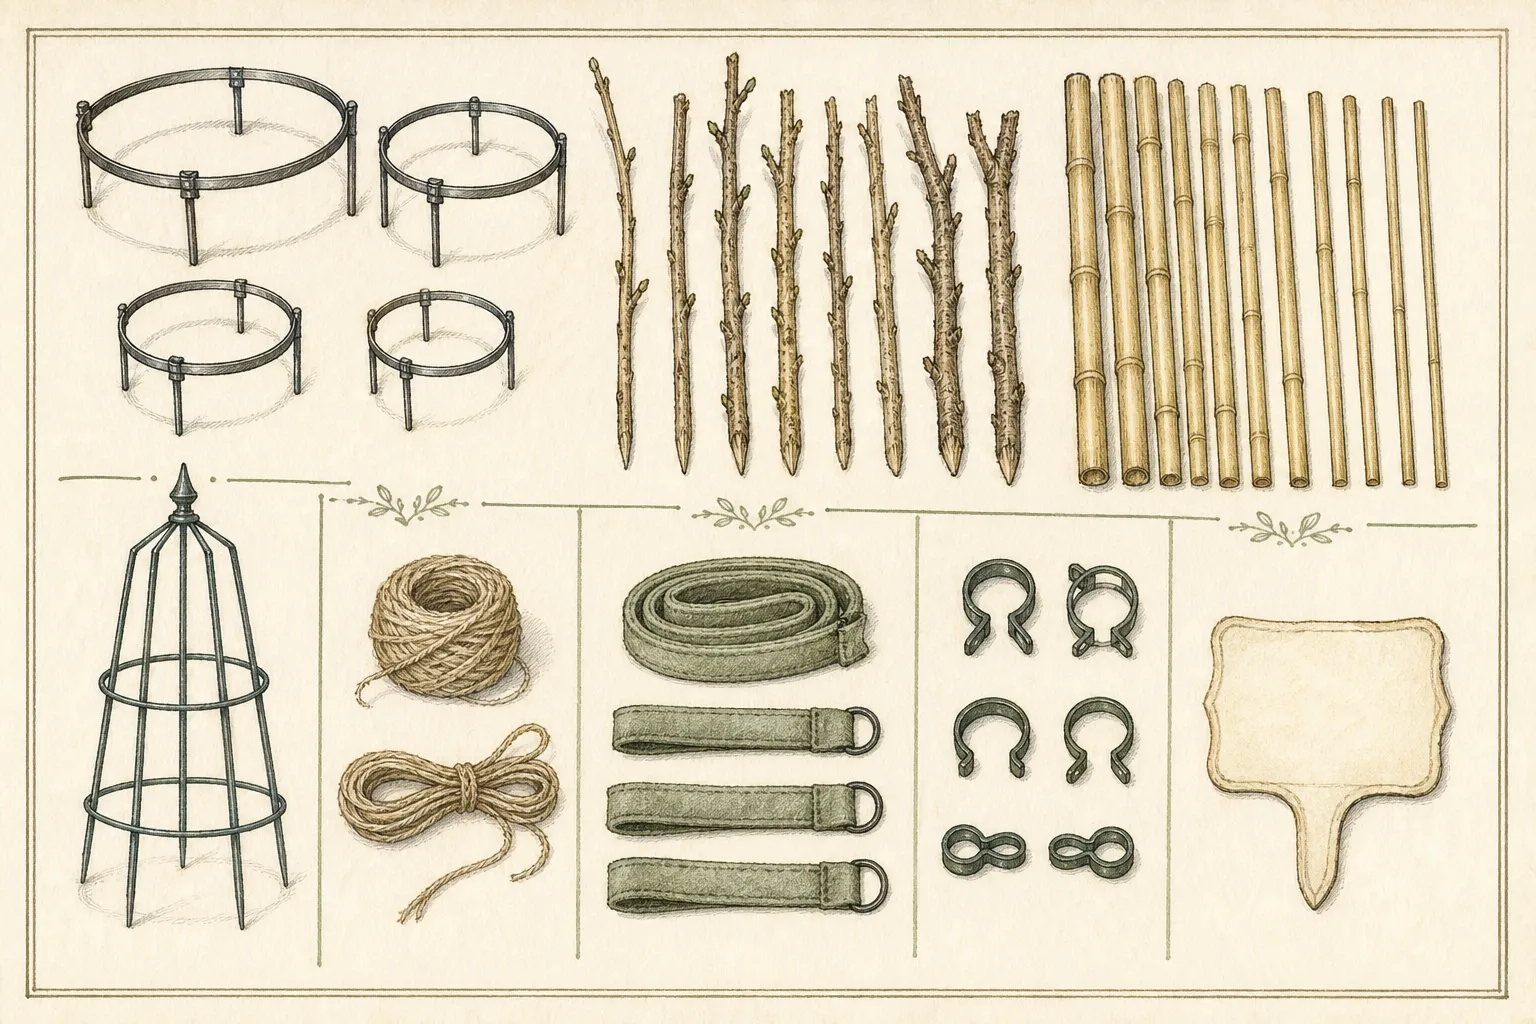
Clematis leaf stalks attach most readily to slender supports they can encircle. A broad post or smooth wall does not become climbable merely because the vine is planted beside it. Add sound narrow wires, mesh, or twiggy framework appropriate to the structure, with enough separation from a wall for air and hand access. Follow safe fastening methods for the building material and keep wires away from utilities.
Inspect anchors and tension. Replace rusted wire, sharp broken mesh, degraded twine, and ties embedded in woody neighboring plants. The support must carry the mature wet and wind-loaded canopy, not only spring shoots. Do not tighten wire so aggressively that anchors fail or masonry is damaged. For a large structure, use appropriate hardware or professional installation rather than improvising with indoor fasteners.
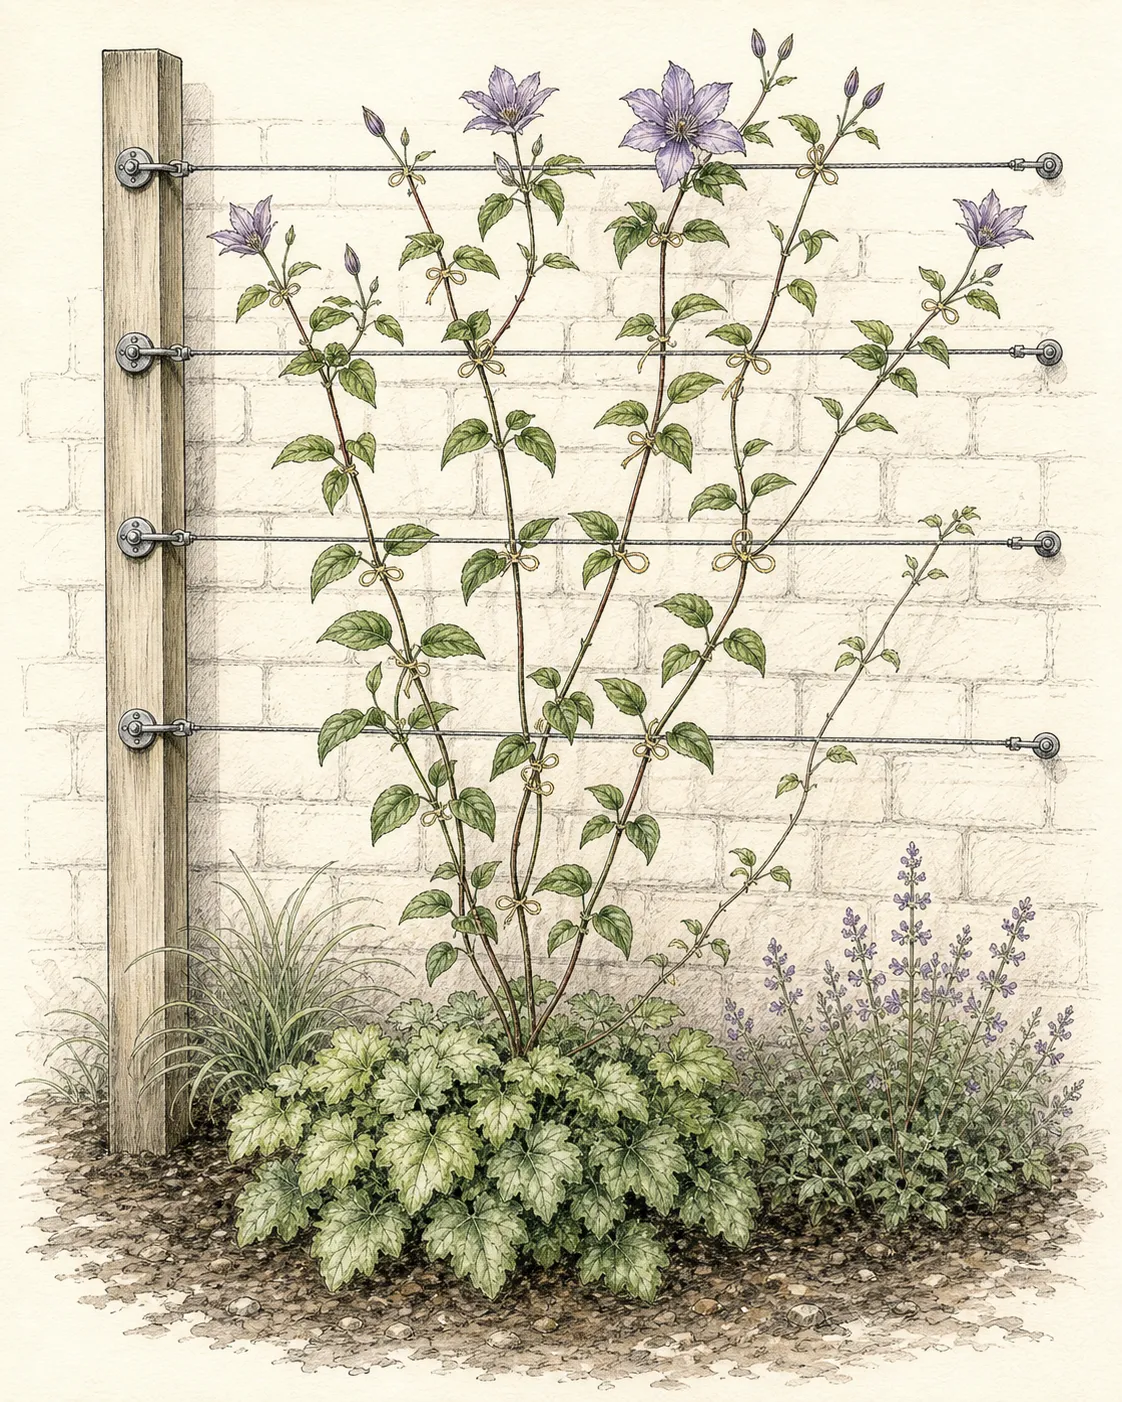
Create several routes from the crown rather than one vertical cord. Fan lower wires or twiggy stems so new shoots can be distributed before they cross. Keep routes clear of doors, windows, gutters, roof spaces, and neighboring property. Group 3 clematis can replace its canopy quickly; the support plan should reserve full seasonal spread even when the pruned plant appears small.
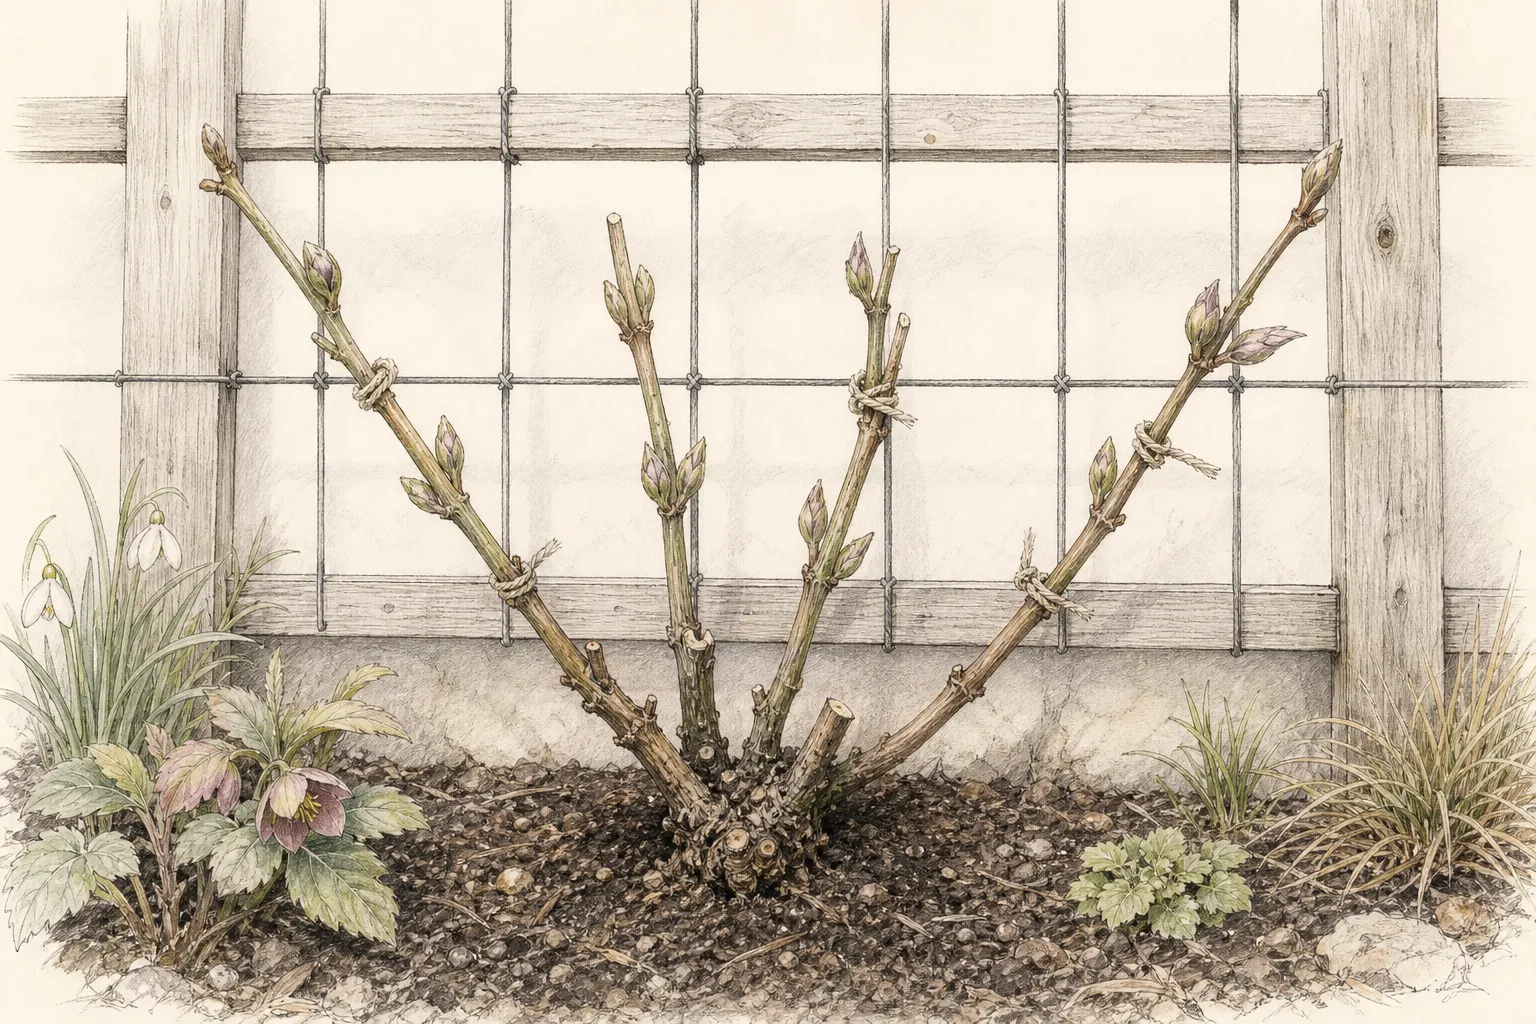
Use loose soft guidance ties only where shoots cannot find the first support. Tie the support, then the stem with room for movement rather than cinching the vine. Check weekly during rapid growth and remove ties once leaf stalks hold. Never bind a bundle of shoots tightly; wind then flexes them as one heavy lever and inner stems remain shaded and difficult to inspect.
Guide the first flush while shoots are flexible
As low buds break, confirm that growth arises from the retained framework and crown. Distribute shoots across the fan while they are short enough to move without cracking. Aim for several separate vertical or diagonal paths with space between them. The goal is light and flower distribution, not a flat fan in which every leaf is tied to wire.
Protect young growth from late cold according to regional conditions without wrapping the crown in wet impermeable material. A temporary breathable cover can shield a forecast event when supported above shoots and removed promptly, but it should not crush growth or remain as a damp enclosure. Avoid encouraging earlier growth with warm covers used continuously.
Water the established root zone based on soil moisture and weather, not because pruning was severe. New plants need careful establishment; mature roots may require water during dry spring periods. Apply water slowly, let excess drain, and keep the crown visible. Fertilizer is not required simply to compensate for removed stems. Test soil and follow plant-specific regional recommendations before feeding.
Watch for a whole shoot that suddenly wilts while others remain firm, stem damage at a tie, slug or snail feeding on new growth, and breakage at the crown. Preserve photographs and inspect the stem path before diagnosing clematis wilt. Remove only clearly damaged tissue and seek local advice for repeated collapse. Replacement shoots can arise, so protect the crown from further disturbance.
Use flowering and regrowth to verify the group
Record bud break, canopy fill, first flower, peak flower, and where blooms form along current shoots. A vigorous late-season display after low pruning supports the Group 3 classification. Sparse growth may reflect root stress, shade, drought, crown damage, or cultivar habit rather than pruning height alone. Diagnose the whole site before cutting even lower the following year.
If the plant produces an unexpected strong early display on retained higher wood, reconsider whether it belongs to Group 2 or has a mixed flowering habit. Preserve labels and compare authoritative cultivar guidance. One season can be unusual, so document rather than immediately changing every stem. Unknown inherited clematis may need conservative observation across two flowering cycles.
Do not deadhead or cut back the entire new canopy simply because the main flush slows. Some late-flowering clematis continue or repeat, and current leaves support the plant. Remove damaged or obstructing growth selectively. Keep stems out of gutters and paths through early guidance rather than a midsummer hard correction that sacrifices flowers and tangles the support again.
At dormancy, photograph the support and note whether shoot distribution, wire spacing, and mature load were successful. Mark any stem that should be redirected next spring. The annual Group 3 cycle becomes efficient when identity, low bud positions, support repair, and first-shoot training are recorded. The pruning cut is only the opening step in building the season’s flowering framework.
Steps
- Level
- moderate
- Time
- 45–90 minutes for one established vine and support
- Tools
- Clean sharp bypass pruners, Small folding pruning saw only for confirmed woody material beyond pruner capacity, Durable labels, Soft reusable guidance ties, Gloves and eye protection
- Materials
- Replacement narrow wire, mesh, or twiggy support as needed, Correct anchors for the structure, Container for separately managed suspect debris
- 1Confirm Group 3 identity
Match the botanical or cultivar name and late flowering on current-season growth with an authoritative profile. Preserve old wood when identity or mixed flowering evidence remains uncertain.
- 2Expose the crown carefully
Remove loose debris without digging, locate every stem origin and emerging shoot, and identify low pairs of sound buds. Keep feet, tools, and cut material away from the crown.
- 3Trace one stem at a time
Follow each stem through crossings, tag the retained low bud pair, and confirm the route before cutting. Do not treat mixed vines or a tangled support as one bundle.
- 4Cut above sound low buds
Use clean sharp bypass pruners and retain a short stub above a viable pair, commonly within the source-supported 15–30 cm framework where buds allow. Preserve uncertain higher live tissue provisionally.
- 5Dismantle the upper tangle
Check wildlife, then work from free tips inward, snipping old leaf stalks and crossings into manageable sections. Protect retained stems, neighboring plants, wire, and the crown.
- 6Repair and fan the support
Replace sharp or failed material and create several slender routes from the base, clear of building services and paths. Support the eventual wet canopy, not only the pruned framework.
- 7Guide and verify new growth
Loosely distribute flexible shoots, remove guidance ties after attachment, record bloom on current growth, and revisit the group classification if flowering behavior contradicts the retained evidence.
- 8Protect an uncertain stem
When a traced stem is alive but has no confidently sound low bud pair, retain it higher and label it instead of cutting to bare crown tissue. Reassess at bud break. One provisional stem preserves evidence without preventing the rest of a confirmed Group 3 plant from being pruned normally.
- 9Clear attachments from the outside
After base cuts and wildlife checks, snip old twining leaf stalks and crossed sections from free tips inward. Lower each short piece deliberately. Do not pull the upper canopy against live neighboring vines, brittle emerging shoots, gutters, wall fixtures, or the retained crown.
- 10Map separate shoot routes
Create several narrow support paths that fan from the crown and can carry the mature wet canopy. Keep them outside windows, gutters, doors, and neighboring access. Guide only the first flexible growth with loose ties, then remove ties once leaf stalks have attached.
- 11Close the annual evidence loop
Photograph low bud break, canopy distribution, first and peak flower, and the dormant support. Confirm that flowers formed on current-season shoots in this garden. If strong early flowering appears on retained old wood, reopen the cultivar identification before repeating a hard Group 3 cut.
Plants in this guide
Related reading
Sources
- Clematis Pruning: Group Three. Royal Horticultural Society. Source record · Accessed 2026-08-19.
- Pruning Trees and Shrubs. University of Minnesota Extension. Source record · Accessed 2026-08-19.
- Clematis. North Carolina Extension Gardener Plant Toolbox. Source record · Accessed 2026-08-19.