Gardens · foliage first shade container design
Design a Foliage-First Shade Container by Scale and Texture
Build a shade container from broad, medium and fine leaf relationships, reserving mature spread and one compatible root-zone water pattern before adding flowers.
Published Last updated
In this guide
- Give foliage the whole-season assignment
- Keep trial watering and mature foliage as separate evidence
- Map the shade that the pot actually receives
- Choose the vessel from mature foliage outward
- Build a broad-medium-fine leaf hierarchy
- Use value and surface with restraint
- Make mature spread and water compatibility agree
- Set out the composition at full scale
- Plant crowns and roots, not nursery pictures
- Water the shared root zone from evidence
- Edit for leaf relationships through the seasons
- Design ideas
Give foliage the whole-season assignment
A foliage-first shade container is composed to remain complete when no flower is open. Leaf scale, texture, value, edge and posture supply the hierarchy; flowers are optional seasonal punctuation. This approach suits shade because many plants adapted to lower light offer distinctive leaves, but it does not mean any foliage plant can share a pot. The root zone, mature spread and regional life cycle still decide whether the arrangement can persist.
Write the design in three roles before naming plants. Choose one broad or strongly outlined anchor, one medium-scale bridge and one fine counterpoint. Add a trailing edge only if it remains distinct from the fine layer and will not block drainage or circulation. A limited role structure prevents the pot from becoming a collection of unrelated variegated leaves competing at the same visual volume.
Choose an intended mood and viewing distance. A calm doorway pot may use broad matte leaves and one fine arc; a close seating-area container can support more surface detail; a pot seen from indoors needs larger value contrasts that survive glass and distance. Keep the statement specific enough to edit by. If every attractive leaf fits the brief, the brief is not doing useful work.
Design the ordinary month, not the nursery peak. Photograph the intended location and sketch the pot with plants at mature foliage size. Leave flowers out of the first drawing. If the silhouette, value pattern and negative space already feel complete, blooms can enter without carrying the composition. If it looks empty, repair leaf hierarchy rather than adding a plant whose care conflicts with the root zone.
Keep trial watering and mature foliage as separate evidence
Use the named Georgia container as a bounded example, retaining its planting context when comparing another site. Check mature leaf spread, shared moisture needs and access before copying the group. The trial's watering frequency belongs to that setup. A different pot, exposure or winter plan needs its own moisture checks and may require separating the plants into coordinated containers.
Map the shade that the pot actually receives
Observe the position through the day and across the season. Shade beneath a deciduous canopy changes as leaves expand; a north wall may receive a sliver of strong summer sun; a covered porch can be bright but receive no rain. Record direct light, reflected light, roof shelter, wind and nearby heat-storing surfaces separately. The label shade cannot describe all of those conditions.
Map light and root-zone moisture as separate variables. Iowa State guidance requires plants sharing a container to have the same growing requirements for light and soil moisture, while Illinois notes that watering frequency changes with season, location, time in the pot, container type and plant material. A roof-sheltered shaded pot may dry faster than one that receives rain, but those are observed site conditions, not a universal dry-shade versus damp-shade taxonomy. Record the actual wetting and dry-down pattern, then choose plants that can share it.
Check the position at the hour leaves are most likely to scorch. Pale or thin leaves may react differently to an unexpected beam than sturdy dark foliage, and cultivar tolerances vary. Do not use variegation as proof of low-light tolerance. Verify each named plant's light range and watch the site after trees are pruned, neighboring objects move or the sun angle changes.
Preserve a move option for severe weather or seasonal protection without treating mobility as the ordinary cure for a bad site. A heavy mature pot should not shuttle daily between incompatible positions. Choose a stable home that supplies the principal conditions, then identify one nearby temporary shelter. Where structural loads are uncertain, use a ground-level approved location or seek qualified advice before filling a large container.
Choose the vessel from mature foliage outward
Draw the mature canopy and then select the container. A broad anchor needs enough visual and physical base to appear stable; an upright fine plant may need depth and ballast; a trailing edge needs clearance from steps and walking surfaces. The vessel should support the final plant forms without becoming so oversized that a small root system sits in a large volume of persistently wet unused mix.
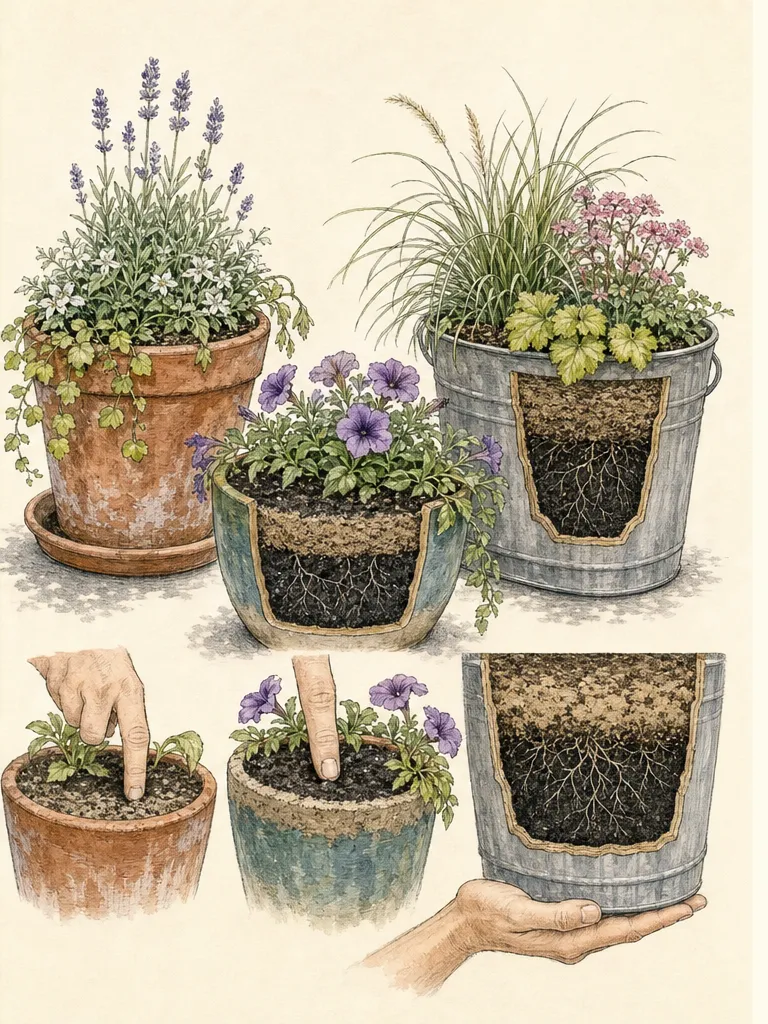
Require open drainage holes and a stable base. Shade slows drying in many situations, so water that cannot leave becomes a larger risk, not a useful reserve. Confirm that outlets remain open on the final surface and that decorative outer pots or saucers can be emptied. Pot feet may help where a flat base seals holes, but they must be stable and appropriate to the completed weight.
Use a container mix intended for pots and suited to the selected moisture pattern. Do not use garden soil alone in a vessel or assume a decorative gravel layer at the bottom creates drainage. The reliable path is compatible mix, open outlets and observed watering. Keep the finished surface below the rim so water can enter slowly without carrying material over the edge.
Make the pot serviceable. Leave a side from which the mix, crown bases and drainage can be inspected. A decorative container pressed into a corner may show foliage well while making watering and removal impossible. Rotate the empty pot and mark its public face and service face before planting. The design must work from both, even if only one is intended for display.
Build a broad-medium-fine leaf hierarchy
Assign the broad anchor first. It might be one substantial leaf fan, a rounded mound or a compact upright with a simple outline, chosen from plants documented for the light, moisture, container culture and region. Draw the full leaf arc rather than the nursery crown. The anchor should occupy enough visual area to calm the pot without covering every companion or hiding its own base.
Choose a medium bridge that relates to the anchor in one way and contrasts in another. It may repeat the anchor's color with a smaller leaf, echo its rounded edge with a more divided surface, or mediate between dark mass and pale fine texture. The bridge prevents a jump from one huge leaf to a fringe of tiny leaves. Give it a visible group rather than scattering separate stems through every opening.
Add one fine counterpoint. Narrow blades, delicate fronds or small repeated leaves can supply movement and release around the heavier forms. Fine texture does not mean weak growth or small mature size; verify spread and height. Keep it in one readable arc or tuft so the eye can distinguish texture from clutter. Do not shear a naturally arching plant into a rigid ball to hold the initial arrangement.
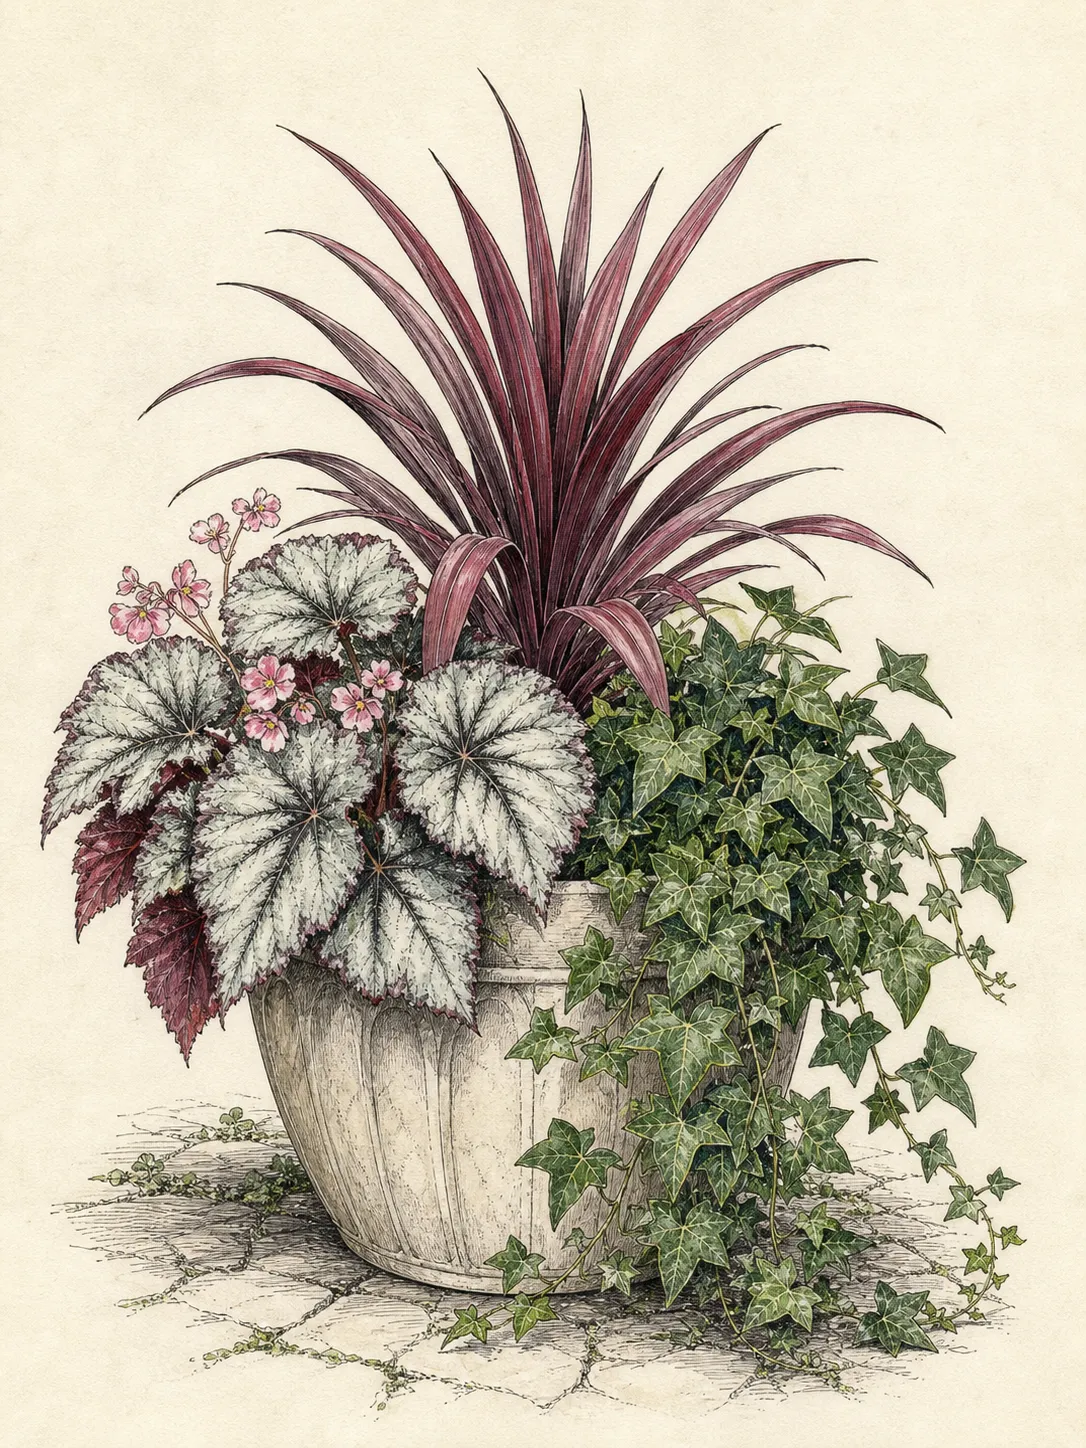
Test the hierarchy in silhouette. Photograph the nursery plants against a plain background and scale their outlines to mature dimensions on the pot drawing. Cover the color information and ask whether broad, medium and fine roles remain obvious. If two plants collapse into the same mass, replace one or simplify. Texture is a relationship across the composition, not a descriptive word attached to each label.
Use one UGA shade combination as a concrete starting point: Alocasia ‘Aurora’, Phaius tankervilliae (Nun’s orchid), Begonia ‘Benitochiba’, Talinum paniculatum (Variegated Jewels of Opal), Heuchera ‘Flameleaf’, Ledebouria socialis (Leopard plant) and Cryptanthus ‘Black Mystic’. In the trial photographs, Alocasia supplies the broad upper anchor; the orchid, begonia, talinum and heuchera make the middle and lower bridge; and the narrower, patterned ledebouria and cryptanthus articulate the edge. Keep those role groups readable rather than scattering every leaf type evenly around the rim.
Treat the recipe as a bounded trial record. UGA grew this shade combination in its 36-inch container series outdoors at Griffin, Georgia, in a bark-based commercial mix supplemented with slow-release fertilizer and a water-retention agent. The containers were planted in late April or early May 2009, watered two to three times per week and photographed two to three months after planting. The publication was reviewed in October 2022, but its photographs do not establish each plant’s ultimate mature dimensions, a universal watering schedule, present-day availability or year-round performance outside that Georgia summer trial.
Substitute by role only after checking the whole plant. Replace Alocasia with one locally available broad, upright shade anchor whose mature leaf arc and spread fit the vessel; replace the middle group with one or two mounding plants of smaller leaf scale that remain visible beneath the anchor; and replace the low edge plants with a restrained narrow-leaved or finely patterned form that will not close the watering gap. Every substitute must match the measured light, the shared moisture and drainage pattern, mature height and spread, local summer performance and the intended winter plan. If a currently available plant fails any one of those tests, use another role-equivalent plant or give it a separate pot.
Use value and surface with restraint
Arrange dark, middle and pale values so the pot reads in shade. A pale margin can lift a dark corner, a silvered surface can bridge green and white, and a deep glossy leaf can give visual depth. Repeat one light note instead of using several unrelated patterns. Too many cream edges, spots and veins create a restless mosaic that weakens the leaf-scale hierarchy.
Compare matte, glossy, corrugated and fernlike surfaces at the viewing distance. Gloss catches small points of reflected light; matte leaves hold broader quiet masses; ribbed or pleated surfaces create shadow within one leaf. Use one dominant surface relationship and let the third texture remain supporting. A close-up feature that vanishes from the doorway should not control the entire plan.
Keep color accountable to health. Pale leaves can scorch in an unexpected sunbeam, dark foliage can disappear in deep shade and a blue or silver coating may change with handling and exposure. Choose named cultivars for documented performance, not a color chip. If the site cannot keep the desired effect on healthy tissue, revise the palette while preserving broad-medium-fine roles.
Use flowers only after the foliage drawing works. A small seasonal group can echo a leaf vein, lift a dark mass or mark one month. It must share the pot's light and water conditions and fit within mature crown space. When flowers finish, their cleanup should not leave a structural hole or require cutting healthy foliage to preserve symmetry.
Make mature spread and water compatibility agree
Iowa State's container guidance states the decisive rule: plants sharing a container need the same light and soil-moisture requirements. Every root receives the same wetting event. One plant may occupy more of the water first, but the gardener cannot maintain a reliably dry private pocket beside a consistently moist one in the same ordinary pot. Reject the combination when annual moisture needs diverge.
Draw crown and root-ball positions beneath the leaf design. Keep crown bases visible and leave enough mix between nursery root balls for settling and new roots without assuming empty volume stays permanently separate. A large aggressive root system can capture the pot even when leaves appear compatible. Compare mature vigor and expected container duration, not only current pot size.
Overlay mature leaf arcs on those root positions. The anchor may shade the medium bridge, the fine plant may trail across the service side and the bridge may close the watering gap. Move plant centers until every role remains visible and the mix can still be reached. If the drawing needs routine trimming to hold the geometry, choose smaller cultivars or fewer plants.
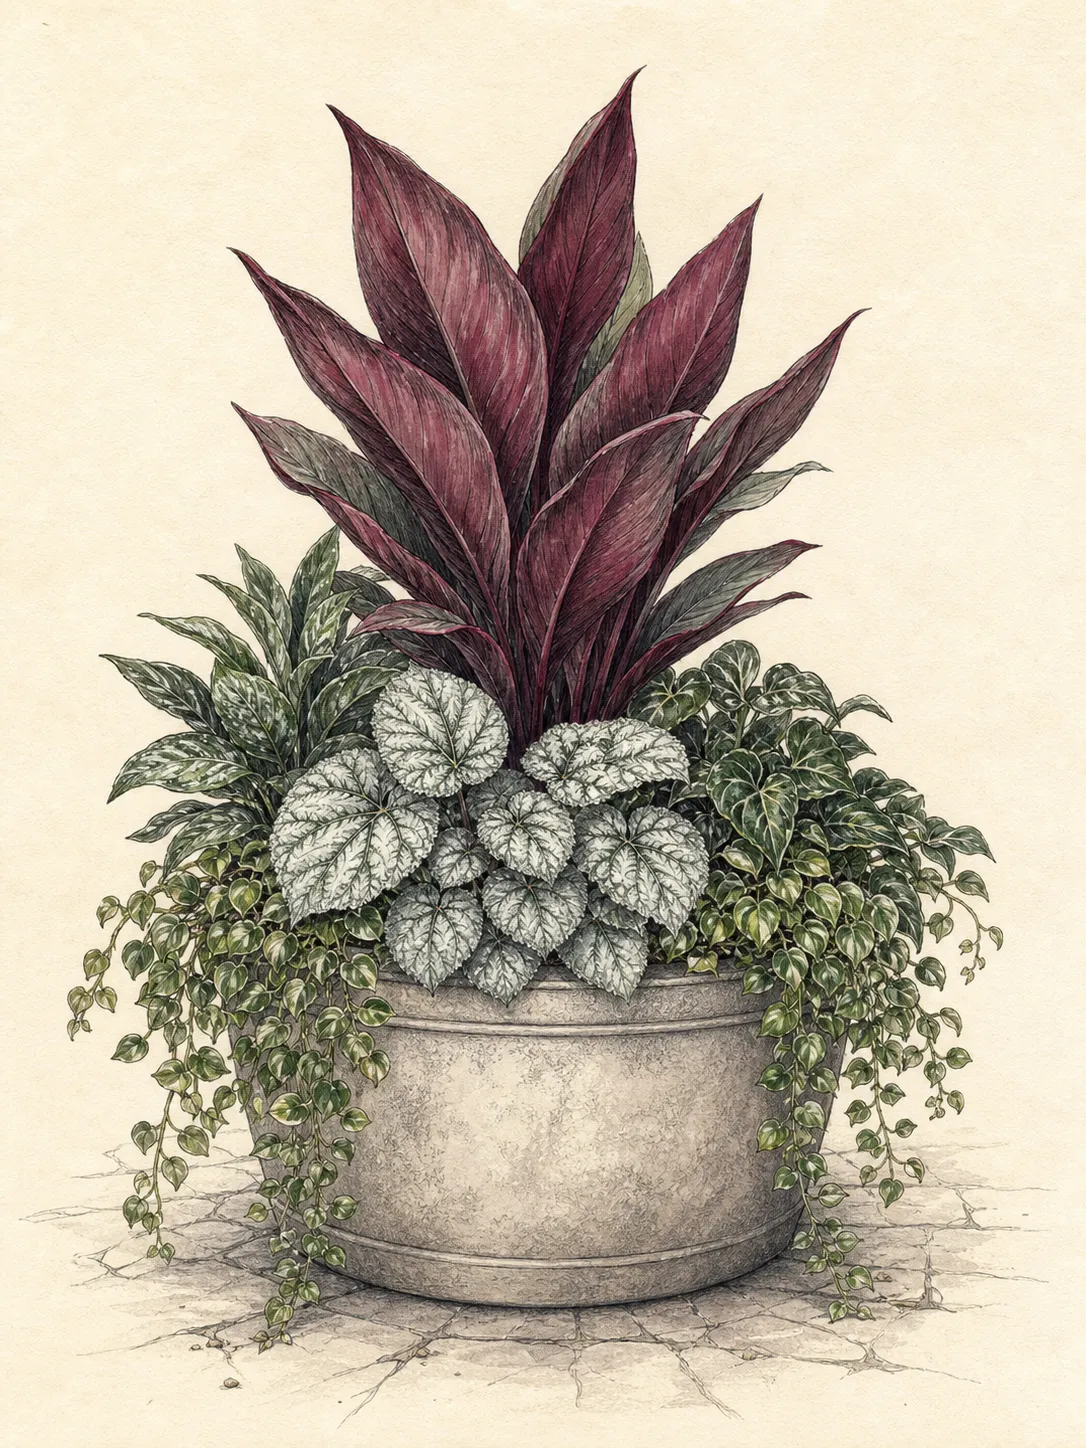
Reserve one inspection and watering gap from rim toward the center. It can be visually crossed by high foliage but should remain open at the surface. Use that route to test moisture, apply water and observe settling. The gap also gives room to remove one failed component without tearing through every neighboring crown. Negative space becomes part of both composition and care.
Set out the composition at full scale
Place nursery pots inside or over a paper outline of the empty container and use canes or paper shapes to extend leaves to mature spread. View from the public face, service face and the main indoor sight line. Move whole role groups rather than turning each plant toward its current best side. New growth will reorient; crown position and available space are more durable.
Keep the anchor slightly off center when an asymmetrical composition suits the view, then balance its visual weight with the medium group and fine arc rather than an equal plant. In a pot viewed from all sides, use a radial hierarchy with a clear center and repeating openings. Do not apply a thriller-filler-spiller formula mechanically; the leaf roles and mature behavior should explain every position.
Check circulation around the finished canopy. Trailing stems must not cross a step, and broad leaves should not brush everyone entering a doorway. Wind can enlarge the working arc beyond the still drawing. Move the container or choose a more compact habit instead of planning to remove healthy leaves whenever they meet the route.
Remove one proposed plant from the layout. If the composition collapses completely, decide whether that plant is a true anchor or whether the design is overdependent on a temporary accent. The remaining plants should still preserve a usable root zone and visual order. Editability matters because one component may need regional winter care or replacement while others remain sound.
Plant crowns and roots, not nursery pictures
Water root balls as their condition requires and inspect each plant before installation. Reject serious root or crown problems rather than hiding them in a full pot. Set the anchor first at the grade appropriate to its crown or stem base, then position the bridge and fine plant according to the root map. Do not sink a tall plant to shorten it or mound a low one above its roots to make it visible.
Backfill gently around root balls with the selected container mix, closing broad voids without compacting the pot. Preserve the watering gap and keep crown bases open. A plant leaning from a loose root ball should be reset and supported appropriately, not buried more deeply. Check the public view only after every root position is correct.
Water slowly across the occupied surface until excess drains, pause and test the center. Dry mix can channel water beside root balls, while a saturated root ball can remain wet inside drier surrounding media. The first watering commissions the root zone: correct gaps, settling, blocked outlets and exposed roots now. Do not interpret rapid runoff alone as proof of even moisture.
Label every named plant and record mature spread, light, moisture and winter plan. A foliage container often relies on cultivar-specific scale and color, so a replacement selected only by a common name may alter the composition. Keep the record on the service side or in a garden plan where it remains useful after leaves overlap labels.
Water the shared root zone from evidence
Shade does not remove the need to inspect water. A pot under a roof can be dry despite cool leaves; a pot beneath dripping branches can stay wet; wind can increase demand; mature roots can shorten the interval. University of Illinois emphasizes that container watering varies with time of year, location, how long the container has been planted, container type and plant material. Use those variables to set inspection frequency, not a permanent weekday.
Check below the surface through the reserved gap. Compare mix feel, plant posture and safe-to-test pot weight where practical. Water before severe wilt when the compatible planting's root zone has dried to its appropriate point. Apply enough to moisten the whole occupied volume and let excess leave. Do not leave the pot sitting in runoff or assume shade plants want constant saturation.
Read conflicting cues before adding water. Wilt over dry mix can support watering; wilt over wet mix calls for drainage, root or heat investigation. A pale leaf in deeper shade may be a light or cultivar issue rather than thirst. Keep one variable steady while checking another. Automatic extra water is especially risky in a foliage composition whose broad leaves conceal the surface.
Adjust as the canopy matures. Dense roots and larger leaf area may speed dry-down, while cooler weather and shorter days slow it. Reassign the inspection interval without changing the compatibility requirement. If one plant repeatedly wilts while the others remain in appropriately moist mix, the combination may be mismatched despite its appearance. Separate that component at a suitable time rather than distorting care for the whole pot.
Edit for leaf relationships through the seasons
Remove failed leaves individually where the plant tolerates that treatment, following the petiole to its origin without cutting neighboring crowns. Do not shear broad foliage into a pot outline or clip fine leaves into a uniform fringe. Repeated edge cutting shows that mature spread was underestimated. Record the conflict and choose division, relocation or a smaller cultivar in the appropriate season.
Protect the hierarchy as growth changes. The bridge may become an anchor, the fine arc may spread through the whole surface or a seasonal flower may leave a gap. Edit by role: reduce or remove the component that has changed assignment before adding another texture. Preserve one broad mass, one medium connection, one fine counterpoint and visible negative space.
Plan autumn and winter by exact plant and region. Some foliage plants are annual, some are tender and moved indoors, some are hardy in ground but vulnerable in a container, and some remain evergreen. Do not describe one mixed pot as perennial without a viable winter plan for every component. Separate roots in coordinated pots when different storage, temperature or moisture conditions are unavoidable.
Review household placement and plant-specific toxicity before using unfamiliar foliage where children or pets can reach it. Common-name groups can include different risks, and this design provides no universal safety list. Check authoritative species-level guidance and choose a safer position or plant when identification or exposure cannot be resolved. Keep this assessment separate from ornamental value.
A successful foliage-first shade container remains readable because its plants agree below the surface as well as above it. Broad, medium and fine leaves hold the composition, mature spread leaves room for care, and one compatible root zone can be watered honestly. Flowers may visit, but the pot does not wait for them to become a garden.
Design ideas
- Style
- Layered foliage composition with restrained value and textural contrast
- Space
- Large ornamental container for a shaded porch, courtyard, entry or seating area
- Climate
- Observe whether the final position is dry shade, damp shade, rain-sheltered bright shade or a site with brief direct sun; these are not interchangeable. Use named plants and cultivars documented for that light, one shared moisture pattern, the available root volume and the local summer and winter climate. Container hardiness, tender-plant storage and mature spread vary regionally. Separate plants into coordinated pots when their annual water or protection needs do not agree. The named UGA worked example is limited to a 36-inch tropical-foliage shade container trial in Griffin, Georgia, planted in late April or early May 2009 and photographed two to three months later; its reported two-to-three-times-weekly watering is trial context, not a universal schedule.
- 1Adapt the UGA 2009 shade recipe by role
Start with UGA’s complete 36-inch shade trial combination: Alocasia ‘Aurora’, Phaius tankervilliae, Begonia ‘Benitochiba’, Talinum paniculatum, Heuchera ‘Flameleaf’, Ledebouria socialis and Cryptanthus ‘Black Mystic’. It grew outdoors at Griffin, Georgia, in bark-based commercial mix with slow-release fertilizer and a water-retention agent, was planted in late April or early May 2009, watered two to three times weekly and photographed two to three months later. Those are trial limits, not current availability, full mature dimensions or universal care. Where a named plant is unavailable or unsuitable, preserve the broad anchor, smaller mounding bridge and low fine edge only with substitutes whose documented mature leaf scale and spread fit the pot and whose shade, shared moisture, local summer performance and winter plan agree.
- 2Anchor with one broad leaf fan
Choose one named plant with a bold, bounded leaf fan documented for the site's shade, moisture, container use and regional plan. Set it slightly off center and draw its full mature arc. Leave its crown visible and keep the watering gap beside, not beneath, the leaves. Use the anchor's simple outline to calm smaller textures rather than surrounding it with several competing broad-leaved specimens.
- 3Bridge with a repeated medium leaf
Place a small group of compatible medium-scale leaves between the broad anchor and fine edge. Repeat one value or edge from the anchor while changing surface or shape. Keep the group coherent enough to read as a bridge, with each root ball inside the shared moisture plan. If mature spread merges completely with the anchor, reduce the group or choose a smaller cultivar rather than relying on trimming.
- 4Arc one fine texture around an opening
Use a single fine-textured clump or restrained arc to frame the service gap, allowing foliage to cross above while the mix remains reachable. Verify mature height and spread because fine leaves can belong to a large plant. Keep the arc outside circulation and drainage outlets. Its movement should release the heavier masses, not form a dense fringe around the entire rim.
- 5Repeat one pale note, not every pattern
Echo a cream margin, silver surface or pale vein in two separated roles while keeping the remaining foliage plain. Place the brightest note where it can be seen against a dark mass from the principal view. Confirm that the named cultivars hold their markings in the measured shade. If one needs incompatible light or water, repeat the value with a different locally suitable plant or container finish.
- 6Design a dry-shade coordinated pair
Where one desired plant needs a drier root cycle than the main foliage group, give it a separate draining pot. Connect the vessels with repeated material, rim line and broad-medium-fine relationships. Keep both surfaces accessible and water each independently. The pair can read as one composition from the public view without pretending that dry-shade and steadier-moisture roots can occupy one wetting event.
- 7Hold a seasonal flower in one replaceable pocket
Reserve one reachable edge pocket for a compact flowering plant only after its light and moisture match the permanent foliage. Keep its root ball separate enough to remove without tearing established crowns, and choose a mature spread that does not close the service gap. When bloom ends, the broad-medium-fine framework must remain complete; an empty pocket is preferable to an incompatible replacement.
- 8Use three coordinated pots for winter differences
Assign broad, medium and fine foliage roles to three containers when the plants require different winter protection or root-zone water. Repeat one vessel color and vary size according to roots, then arrange the pots so mature leaf arcs overlap visually without blocking access. Each plant can move, drain and rest appropriately while the summer grouping still reads as a single foliage-first design.
Plants in this guide
Related reading
Sources
- New Trial Tropical Container Gardens. University of Georgia Cooperative Extension. Source record · Accessed 2026-08-19.
- All About Container Gardening. Iowa State University Extension and Outreach. Source record · Accessed 2026-08-19.
- Watering. University of Illinois Extension. Source record · Accessed 2026-08-19.