Tools · flower seedling grow light layout coverage
Choose a Grow-Light Layout for the Whole Flower-Seedling Canopy
Size fixture footprint, adjustable height, shelf spacing, timer, drainage, and electrical clearance around the largest seedling stage rather than one bright center pot.
Published Last updated
In this guide
- Size the system for the largest indoor stage
- Draw shelf geometry before comparing fixtures
- Compare usable output, not color marketing
- Design water and electricity as separate routes
- Set initial height by fixture guidance and seedlings
- Verify the layout with plant response
- Maintain the fixture, rack, and schedule
- Decide whether a second fixture is better than a stronger center
- Log the center and edges separately
- Tool notes
Size the system for the largest indoor stage
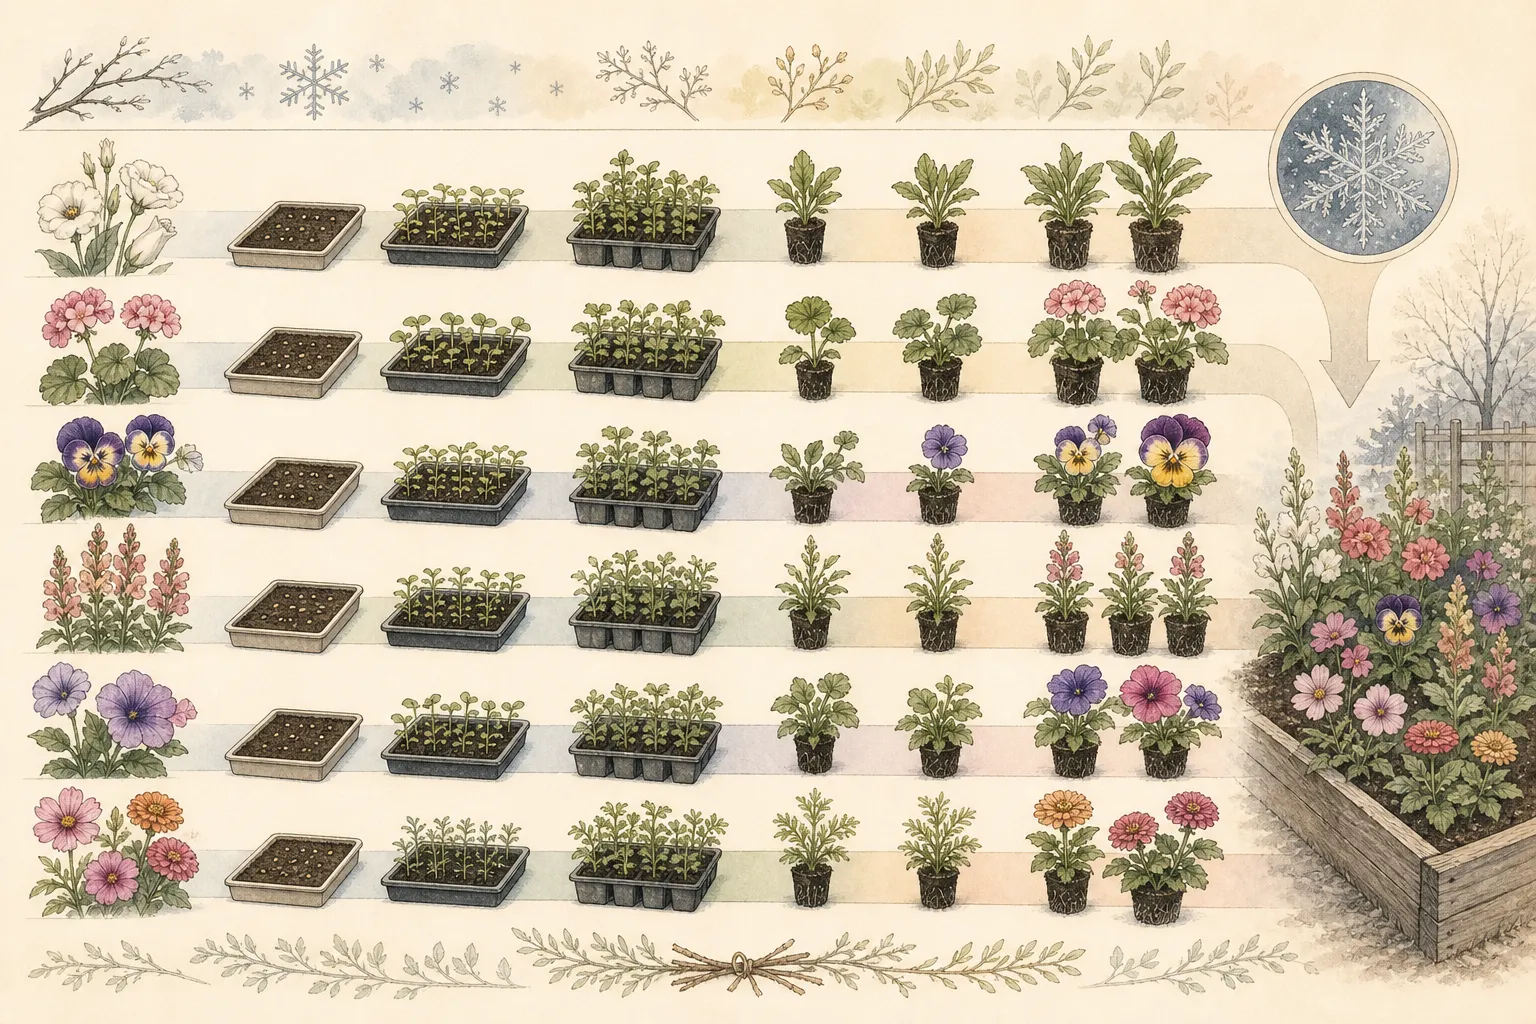
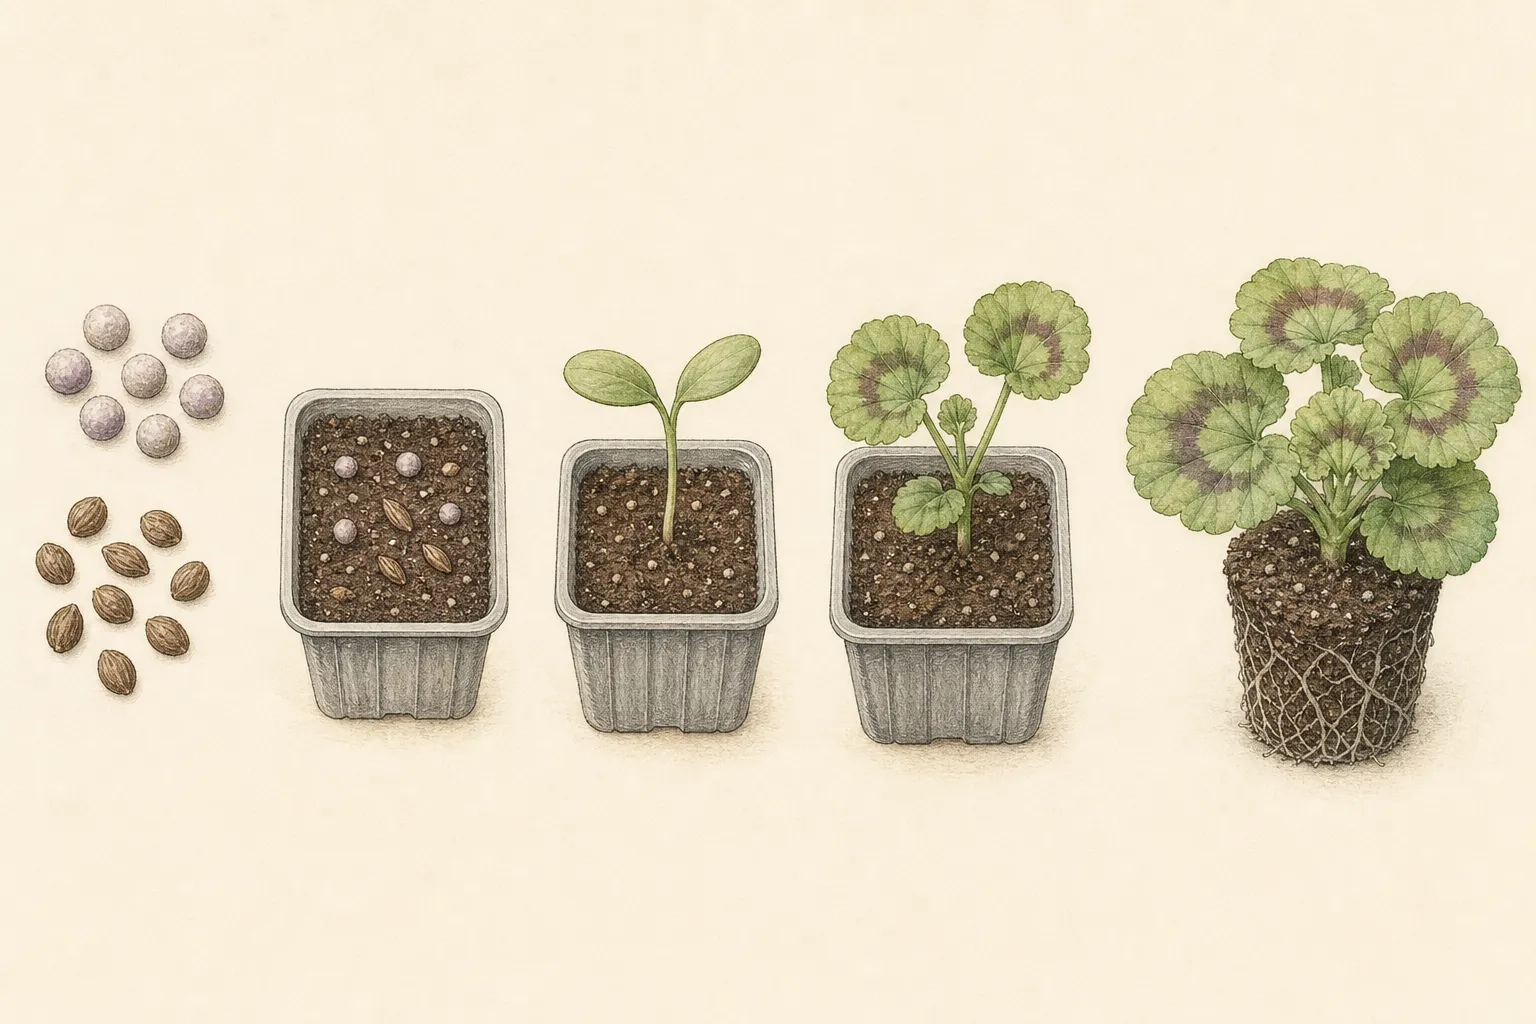
A seed tray is shallow and compact; potted flower seedlings are not. List every crop, quantity, container at sowing, next pot, expected indoor height, hardening date, and overlap week. Draw the peak canopy footprint. A light chosen because it covers one germination flat can leave half the later pots outside useful light when seedlings are most valuable and outdoor conditions still prevent planting.
Separate crops by height and schedule. Tall snapdragons, compact pansies, spreading geraniums, and newly emerged fine seedlings cannot share one fixed fixture plane indefinitely. Reserve shelves or zones for similar canopy height, or use independently adjustable fixtures. Do not raise the whole light for one tall plant and accept stretched short crops below. Pot spacing and light height must change together.
Count working access. Trays need to slide out without striking a hot or fragile fixture, stems need room to approach the light safely, and hands need to water and inspect every edge. Include labels, fan if used, thermometer, timer, cords, and a dry service side. A tightly packed rack that looks space-efficient can prevent early detection of standing water, pests, and leaf contact.
Reserve quarantine space under useful light. A suspect tray moved away from healthy seedlings should not be placed in darkness where diagnosis is confounded. Empty capacity also receives early germinators and pots awaiting hardening. The layout is complete only when unexpected biological variation can be managed without crowding healthy crops.
Draw shelf geometry before comparing fixtures
Measure shelf width, depth, vertical clearance, load capacity, wall distance, room circulation, outlet position, and route for watering. Draw the waterproof catch tray and mature canopy, then the adjustable fixture above it. Include the manufacturer’s required clearance from leaves, shelves, curtains, and combustible material. Do not infer safe clearance from a cool-looking LED housing.
Fixture footprint and light footprint are not identical. Light intensity usually falls toward edges and changes with height. Manufacturer maps can help when they state test height and conditions, but plant response still needs verification. A narrow bar centered over a wide tray encourages edge seedlings to lean inward. Two evenly spaced bars or a broader fixture can distribute light more usefully than one intense center.
Plan vertical adjustment through the entire crop. Chains, cables, ratchets, or a movable shelf must raise levelly and lock securely. The fixture should not swing into stems when a tray is removed. Test adjustment with power disconnected. A system that requires untying knots above wet plants or balancing on a chair will not be adjusted often enough to maintain good canopy distance.
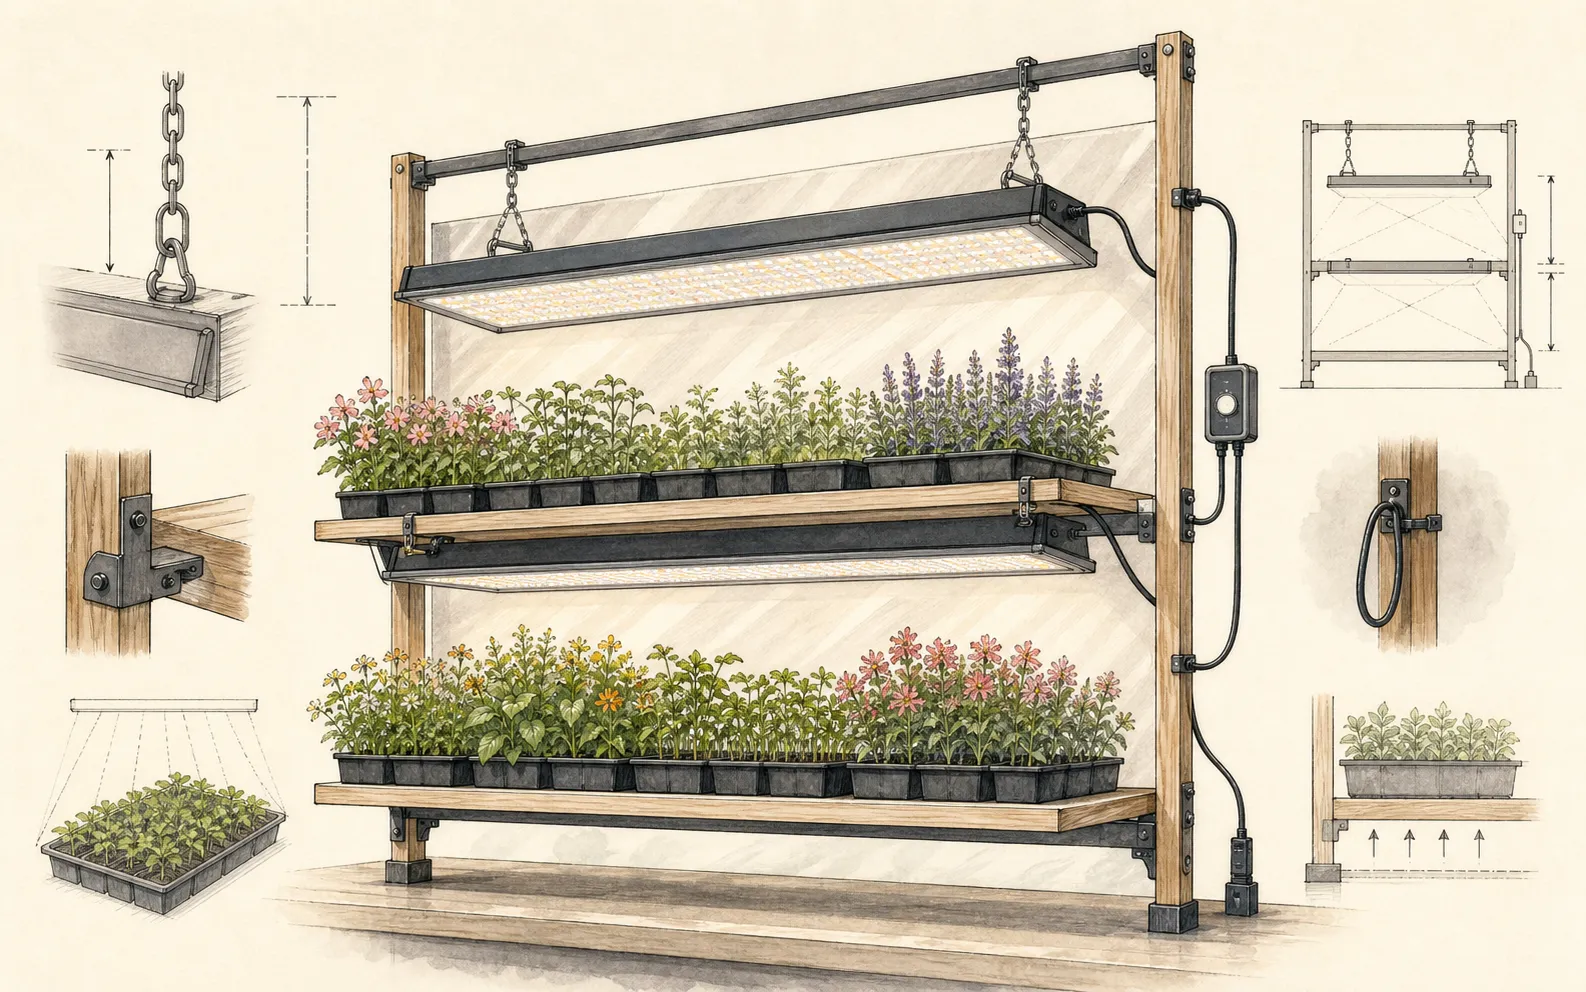
Provide a daily dark period with a reliable timer. Extension guidance commonly recommends long artificial-light periods for seedlings, but exact duration, intensity, and distance depend on fixture and crop. Use source and manufacturer information, then observe plants. Continuous light is not the default solution to a weak fixture and can interfere with normal plant processes while adding heat and energy use.
Compare usable output, not color marketing
Look for fixture information that can be related to plant growth: intended horticultural use, measured coverage at stated distance, power draw, thermal management, dimming if provided, and warranty. Terms such as full spectrum, sunlight, or equivalent watts are not enough by themselves. Avoid a product that offers only dramatic color charts without a coverage plan for the shelf dimensions.
White broad-spectrum fixtures make leaf color and symptoms easier to inspect, while specialized spectra can also grow plants when correctly designed. The practical home system needs useful output across the canopy, safe heat handling, and observable plants. Do not choose purple light solely because it looks technical or reject a fixture solely because it looks white. Match performance data and plant response.
Dimming can help when the fixture has more output than young seedlings need or when height is limited, but it should not compensate for poor edge coverage. A dimmed center hot spot still leaves dark corners. Independent switches or dimmers can separate crops by stage. Confirm controls retain settings with a timer and are rated for the load; do not overload a consumer timer with multiple fixtures. Evaluate heat at leaf and shelf level over a full cycle. LEDs can feel cooler than older lamps but drivers and housings still release heat. Enclosed shelving accumulates warmth, and a heat mat below adds another source. Measure root-zone and canopy temperature. Ventilate the room gently without blowing continuously across small cells or relying on airflow to make an unsafe fixture clearance acceptable.
Design water and electricity as separate routes
Use listed electrical equipment and outlets appropriate to the location. Keep plugs, power strips, timers, drivers, and connections above and away from irrigation, with drip loops in cords. Mount strips securely rather than leaving them on the floor or a catch tray. Do not run extension cords as permanent wiring or daisy-chain power strips. Follow local electrical requirements and manufacturer instructions.
Water trays at a sink or on a protected shelf where excess can drain without crossing cords. Empty standing water after bottom uptake. Use catch trays without cracks and confirm inserts do not seal their drains against the base. A watering can should reach without passing over a fixture. If the layout requires lifting open water above live electrical equipment, redesign the route.
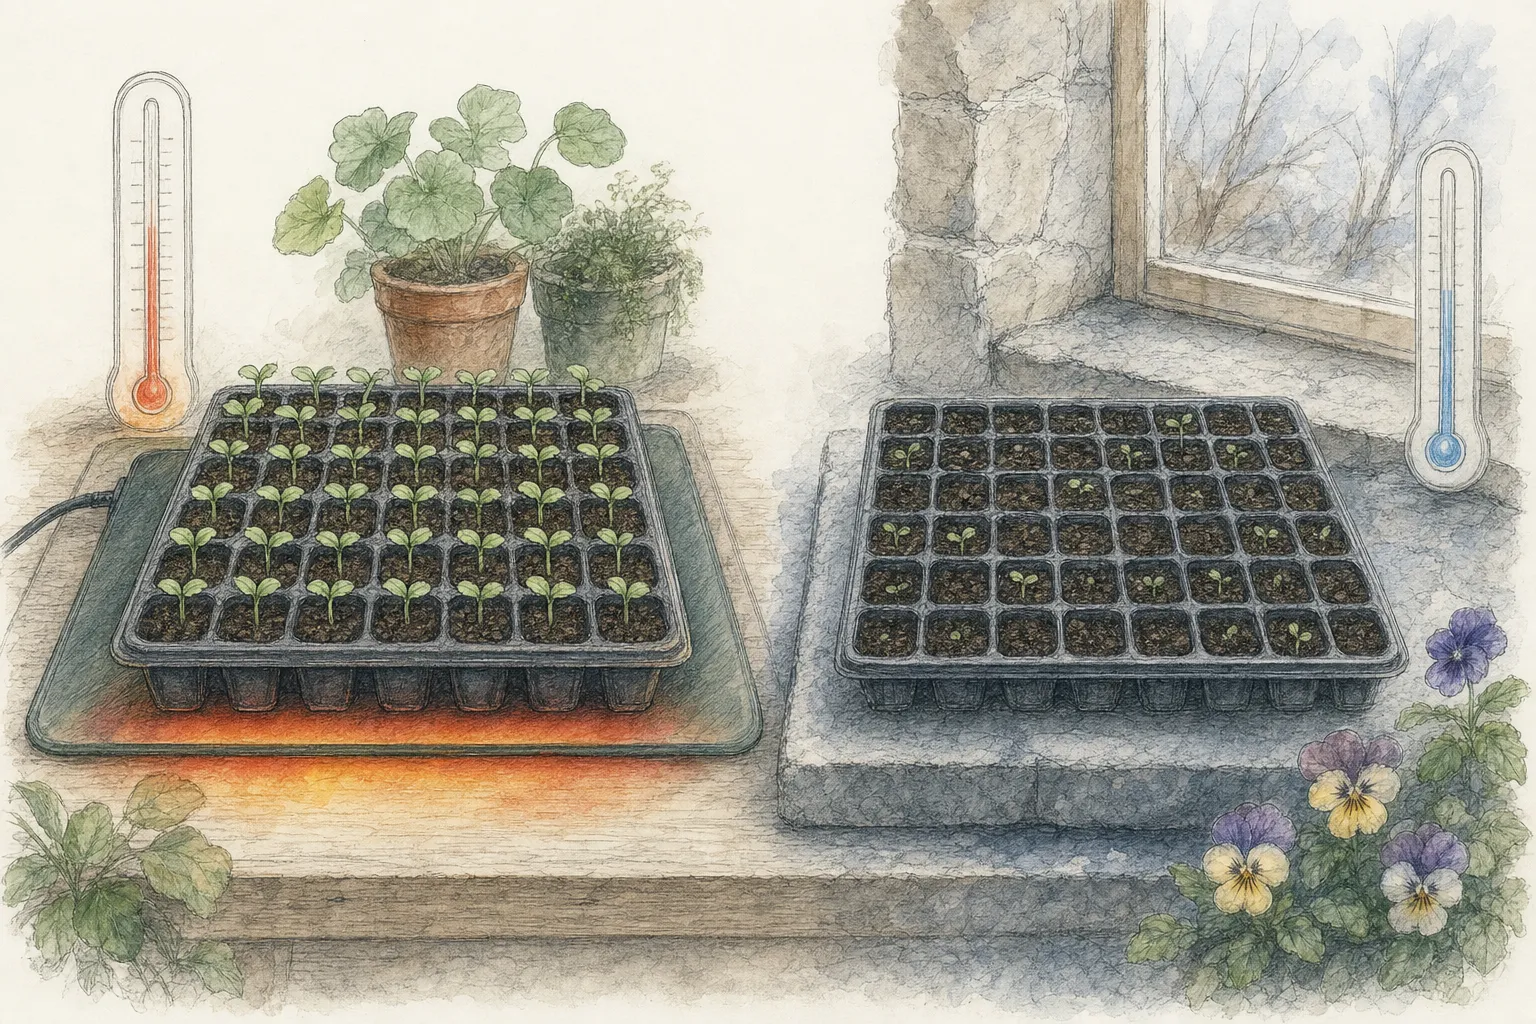
Separate heat mats from water according to their listing and instructions. Use thermostatic control when supported and place the probe correctly. Root-zone warmth can accelerate drying and interact with light heat. Do not put an ordinary household heating pad beneath seedlings or wrap electrical devices in plastic. Inspect cords and mats for damage before each season and remove defective equipment.
Plan spill response: power can be disconnected without stepping into water, trays can be removed, and a dry towel or cleanup kit is nearby. Keep children and pets from cords and shelves. Anchor the rack to prevent tipping where appropriate. A propagation system combines water, weight, glass or brittle fixtures, and electricity; stability and access are part of horticultural performance.
Set initial height by fixture guidance and seedlings
Begin with the manufacturer’s horticultural distance and a regional seed-starting reference, then watch the crop. Newly emerged seedlings should move promptly into useful light. Keep the canopy level by grouping containers of similar height or raising shorter trays on stable waterproof platforms. Do not place loose boxes beneath wet trays where they soften or tip.
Raise the fixture as leaves approach its safe minimum distance, keeping it level. Measure from the tallest representative canopy, not from the shelf. If one plant is unusually tall from earlier low light, separate or correct that plant rather than lifting the fixture for the whole crop. Inspect leaves for contact, bleaching, curl, or heat and stems for elongation.
Rotate trays only as a diagnostic or minor equalizer, not as a daily substitute for poor coverage. Persistent inward lean at both edges means the light footprint is narrow. Pale slow edge growth can indicate insufficient intensity; scorched center leaves can indicate a hot spot or excessive proximity. Adjust fixture spacing, height, dimming, or crop footprint based on the map. Clean reflective walls or trays can increase useful distribution, but improvised foil creates wrinkles, glare, sharp edges, and moisture traps. Use stable light-colored surfaces that remain serviceable and outside heat clearances. Do not enclose the shelf tightly to capture light without accounting for air, temperature, inspection, and fire safety.
Verify the layout with plant response
Choose representative plants from center, corners, and edges and photograph them weekly from the side and above. Measure internode length or at least compare compactness, leaf angle, color, and direction. Keep cultivar and watering differences in mind. A geometric pattern across the same batch is strong evidence of light distribution; random weak plants may reflect roots, disease, or seed vigor.
Compact growth with normal leaf color and even orientation suggests the layout is serving the crop. Elongated thin stems, wide pale internodes, and strong leaning indicate insufficient or one-sided light, often worsened by excess warmth. Bleached patches, upward or downward leaf curl, and dry hot media near the center can indicate excess light or heat. Diagnose water and temperature alongside the fixture.
Check flowering and hardening consequences. Seedlings raised under inadequate light can be tall and fragile outdoors; plants under very sheltered dense canopies may still need gradual sun exposure. A grow light does not eliminate hardening. Record fixture height, timer, dimmer, pot spacing, and outdoor response so the next batch starts from measured settings rather than visual memory.
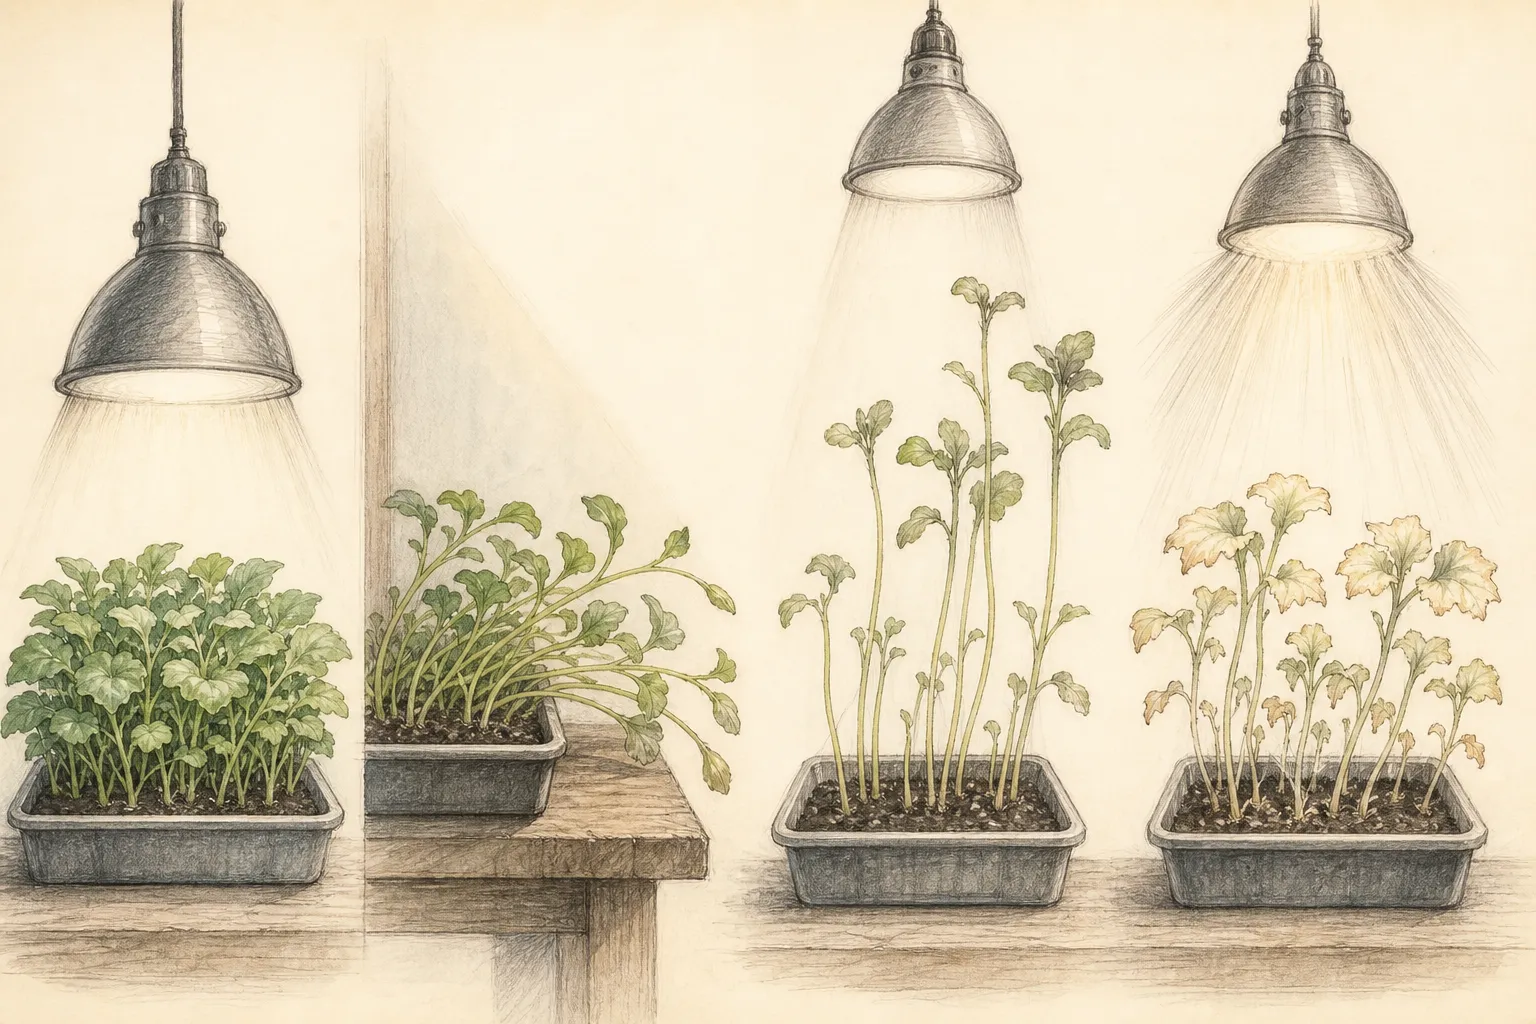
Use a light meter only with an understanding of what it measures and how the fixture data are specified. A phone application may show relative differences but is not automatically a calibrated horticultural instrument. Even without a meter, a fixed photographic grid and plant comparison can reveal edge loss. Do not invent precise intensity claims from an uncalibrated reading.
Maintain the fixture, rack, and schedule
Disconnect power and let equipment cool before cleaning. Remove dust from fixtures, reflectors, shelves, and ventilation openings using the manufacturer’s method. Dust reduces output and can trap heat. Do not spray cleaner onto electrical parts or wipe a live fixture above seedlings. Inspect mounting points and suspension after every adjustment and before loading a new crop.
Check cords, plugs, timers, drivers, dimmers, chains, anchors, and shelf stability. Replace damaged components with approved parts. Keep fixture model, manual, purchase date, and warranty information. If output appears to decline, first clean and compare plant response under controlled spacing; replace aging lamps or fixtures according to manufacturer performance, not a guessed calendar.
Reset the timer after power interruptions and seasonal clock changes. Verify the fixture actually turns off and provides darkness. Keep a simple log of on time, height, dimmer setting, crops, and canopy response. The settings for one fixture do not transfer automatically to a different model, shelf surface, or room temperature.
At season end, remove empty trays, dry the rack, and store equipment protected from impact and moisture. Do not leave cords coiled around hot drivers or fixtures suspended where they can fall. Review the peak-week capacity and whether quarantine was used. A smaller reliable layout that keeps every plant under controllable light is better than a large improvised rack with permanent dark edges.
Decide whether a second fixture is better than a stronger center
When edge seedlings remain weaker after height, spacing, cleanliness, temperature, and tray position are corrected, map the actual canopy against the fixture footprint. Raising one lamp widens coverage but reduces intensity everywhere; lowering it improves the center while darkening edges. A second lower-output bar spaced across the width can sometimes create more usable uniformity than replacing the center with a higher-powered hot spot. Compare manufacturer maps at the intended height and test the revised layout with the same crop.
Connect added equipment only within outlet, timer, circuit, strip, and manufacturer load limits. Each fixture needs rated suspension and clearance, and drivers need ventilation. Do not daisy-chain strips or create a web of extension cords behind a wet rack. If the room cannot support the electrical and thermal load safely, reduce the plant footprint or use another properly wired location rather than treating a larger crop as a reason to bypass the system.
Keep controls understandable. Label which switch, timer, or dimmer serves each shelf and record the intended schedule. Independent fixtures can support different crop heights, but accidental all-night operation or a disabled shelf can go unnoticed. Confirm the dark period and inspect edge response after every layout change. Expansion is successful only when it improves plant uniformity without reducing water access, quarantine space, service clearance, or safe shutdown.
Log the center and edges separately
Make a layout record with shelf dimensions, largest pot count, fixture model, manufacturer clearance, actual height, timer setting, verified dark period, center response, edge response, watering access and service access. Repeat the record after pots or fixtures move. An improvement at the center is insufficient if edge seedlings still stretch or the new arrangement blocks safe watering; the whole occupied footprint is the comparison unit.
Tool notes
- Type
- Adjustable horticultural LED or fluorescent fixture system for flower seedlings
- Purpose
- Provide broad, even, adjustable light across the complete ornamental-seedling canopy from emergence through the largest indoor pot stage, while preserving daily darkness, drainage access, electrical separation, temperature control, quarantine capacity, and safe maintenance. The layout—not the lamp alone—must fit fixture footprint, mature canopy height, weekly pot count, watering route, timer load, and the manufacturer’s clearance requirements.
- Affiliate
- No commercial links
Maintenance
- Disconnect power, allow cooling, and clean fixture lenses, reflectors, housings, and ventilation openings by the manufacturer’s method. Remove shelf dust and algae separately, keep liquids out of electrical parts, and dry the system before reconnecting.
- Inspect suspension, chains, ratchets, anchors, shelf load, level, and fixture swing before each crop. Raise and lower through the complete range without plants present, then confirm the fixture locks level and cannot fall into the waterproof tray.
- Test the timer after power changes, verify both on and off periods, and confirm any dimmer or controller retains its setting. Record fixture height, schedule, crop, and canopy response because settings do not transfer reliably across models or shelves.
- Check cords, plugs, power strips, drivers, heat mats, probes, and connectors for wear and heat. Replace only with compatible approved parts, keep manuals and model numbers, and avoid permanent extension-cord or daisy-chain arrangements.
- Map center and edge plant response weekly. Clean first, then adjust fixture spacing, height, dimming, crop footprint, or grouping when lean, elongation, bleaching, hot spots, or uneven color form a repeated geometry across the tray.
- At season end, remove and dry trays, clean the rack, protect fixtures from impact and moisture, and store cords without loading connectors. Review the peak potted footprint and quarantine demand before expanding or replacing equipment.
Related reading
Sources
- Lighting for Indoor Plants and Starting Seeds. University of Minnesota Extension. Source record · Accessed 2026-08-19.
- Starting Seeds Indoors. University of Minnesota Extension. Source record · Accessed 2026-08-19.
- Starting Seeds Indoors: Materials. Utah State University Extension. Source record · Accessed 2026-08-19.