Grow · annual geranium fall cuttings
Take Annual Geranium Cuttings Before Frost
Save a favorite annual geranium as compact rooted cuttings: choose healthy Pelargonium shoots, prepare an airy medium, manage humidity, and pot only after roots form.
Published Last updated
In this guide
- Choose cuttings instead of moving the whole plant
- Reject the wrong parent before you cut
- Build the rooting station before the first cut
- Choose a short terminal shoot
- Prepare the lower nodes and stick the cutting
- Root in bright indirect light without saturation
- Wait for roots, not the shortest calendar promise
- Pot rooted cuttings for the winter
- Return outside only after frost danger
- Steps
Choose cuttings instead of moving the whole plant
Take cuttings from a favorite annual geranium before the first fall frost if you want to keep its exact flower color or leaf pattern without finding indoor space for the mature plant. A few rooted tips occupy much less room, but they still need a bright winter position after rooting. Set up that space first; a successful cutting with nowhere bright to grow merely postpones the problem.
Here, “annual geranium” means Pelargonium, the tender bedding and container plant, not a winter-hardy cranesbill in the genus Geranium. Iowa State, Illinois, and New Hampshire Extension all describe taking Pelargonium cuttings as an overwintering method. Work ahead of frost damage and use the local first-frost date as a deadline rather than waiting for a visibly cold-injured parent.
Reject the wrong parent before you cut
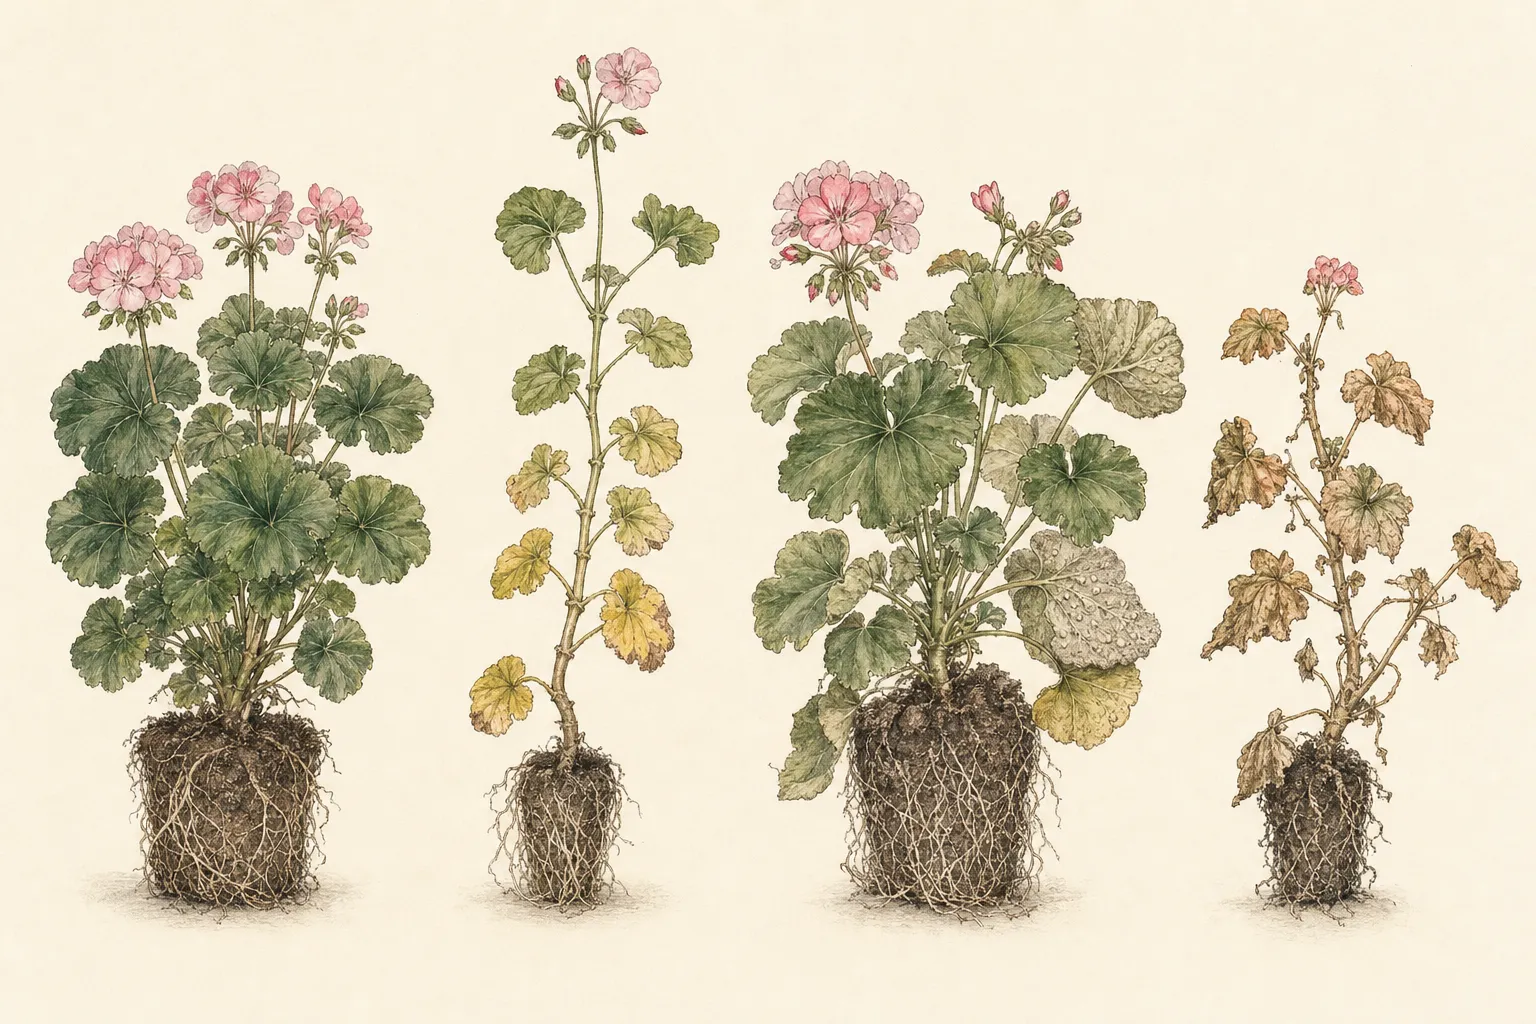
Choose a plant that is vigorous, correctly labeled, and worth carrying forward. Illinois Extension advises rejecting plants with leaf or stem spots, discoloration, wilting, shriveling, rot, or insect infestation before overwintering. A cutting is a copy of the parent, not a reset button for a plant already declining from an unresolved problem.
Inspect stems in daylight and compare several shoots. Keep firm green tips with normal leaves; skip soft, blackened, collapsed, or badly scarred growth. If the entire plant is questionable, let it finish outdoors and replace it next season. Indoor propagation places young plants close together, so selection at the parent is more useful than trying to rescue every cultivar after symptoms spread through the rooting tray.
Build the rooting station before the first cut
Use a clean pot or cell tray with open drainage holes and fill it with an airy, low-nutrient rooting medium. Iowa State lists vermiculite, perlite, or a perlite-and-sphagnum-peat mixture; Illinois also names perlite, vermiculite, and a sand-peat mixture. Pre-moisten the medium evenly, then let free water drain. Dense garden soil and a decorative cachepot with no drainage make moisture harder to control around a bare stem.
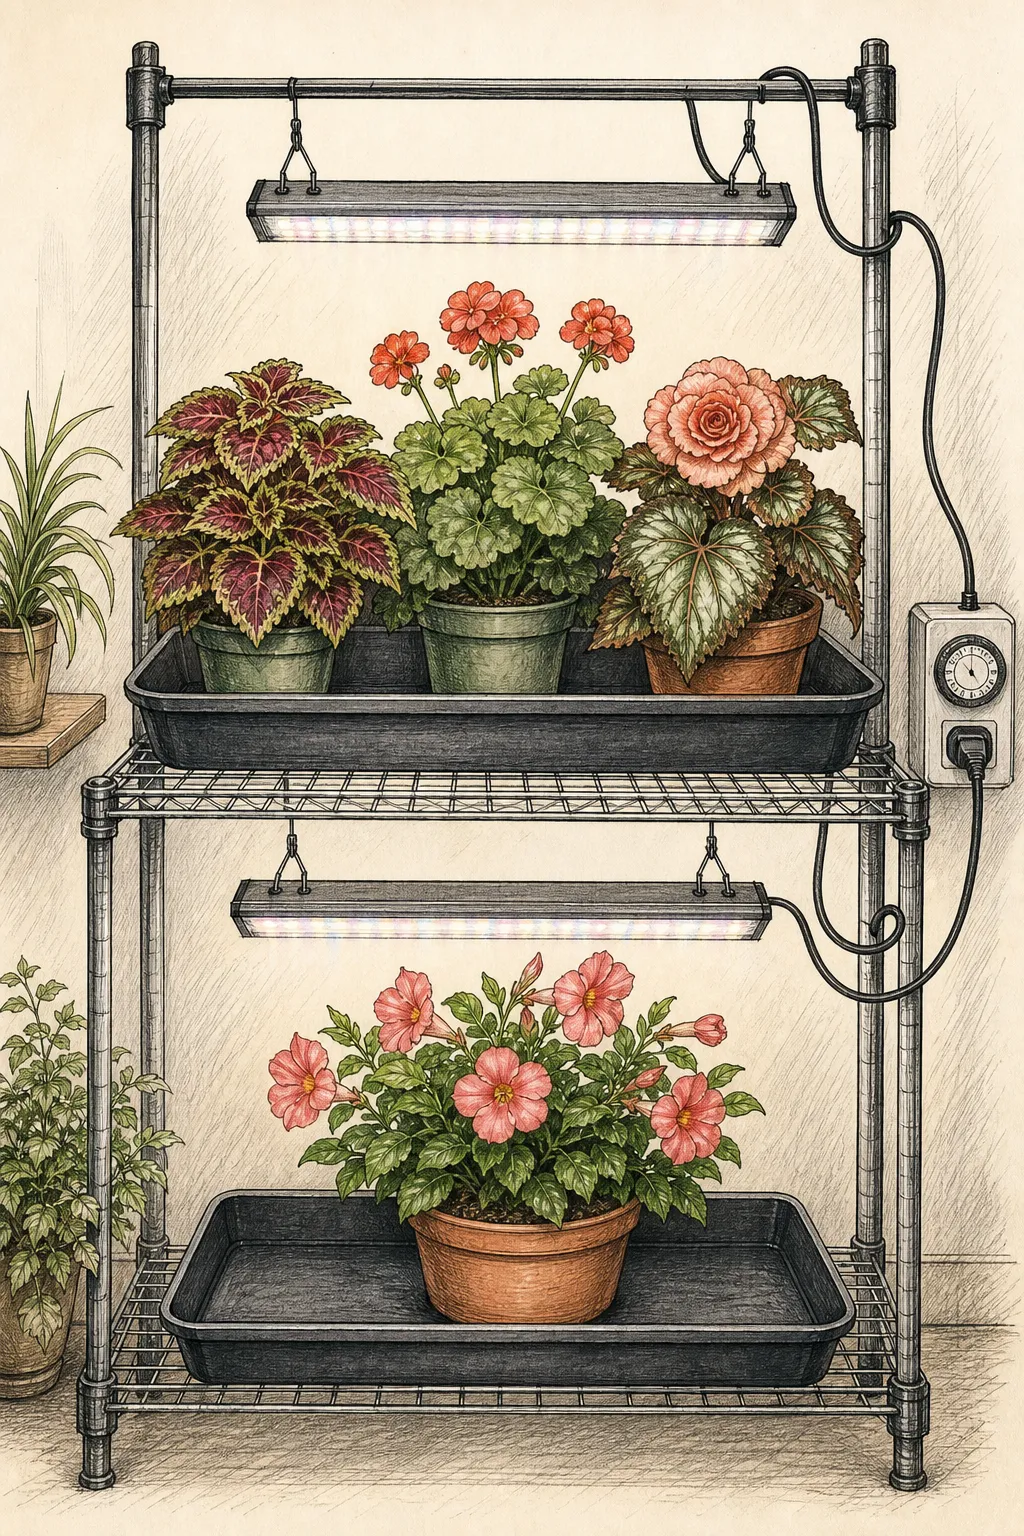
Place a label, a small dibber or pencil, and an optional clear humidity cover beside the container. Choose a position with bright indirect light during rooting. Direct sun through clear plastic can overheat and wilt cuttings, while a dim shelf leaves too little light for the retained leaves. The final rooted plants will need brighter winter light or an appropriate grow-light station, so reserve that area now.
Choose a short terminal shoot
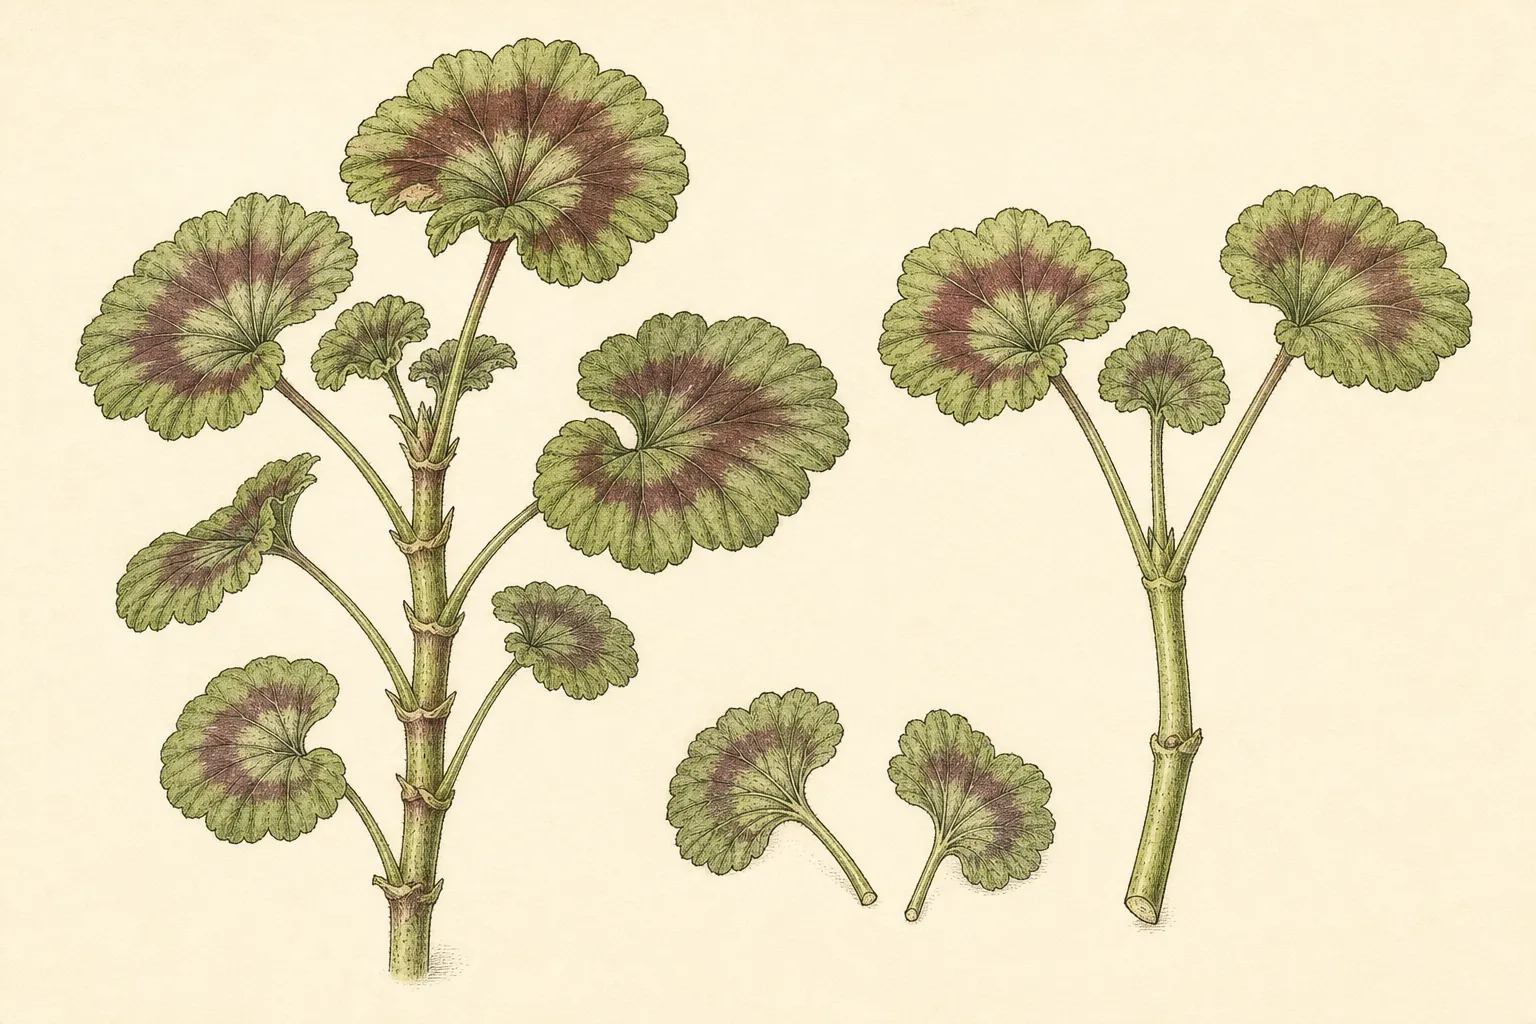
Take a three- to four-inch section from the terminal end of a healthy shoot. That exact range appears in the Pelargonium instructions from Iowa State, Illinois, and New Hampshire. Make one clean cut through firm stem tissue and keep the cutting oriented upright. If you are taking several colors, label each one as it leaves the parent rather than trying to identify leaf patterns after flowers are gone.
Prefer a compact leafy tip that is not carrying an open flower cluster. Remove a flower or obvious bud from an otherwise suitable tip, and discard any stem whose base is hollow, dark, or soft. Do not make one long cane into a collection of weak, untracked pieces merely to increase the count; the retained guidance specifically starts with terminal shoots.
Prepare the lower nodes and stick the cutting
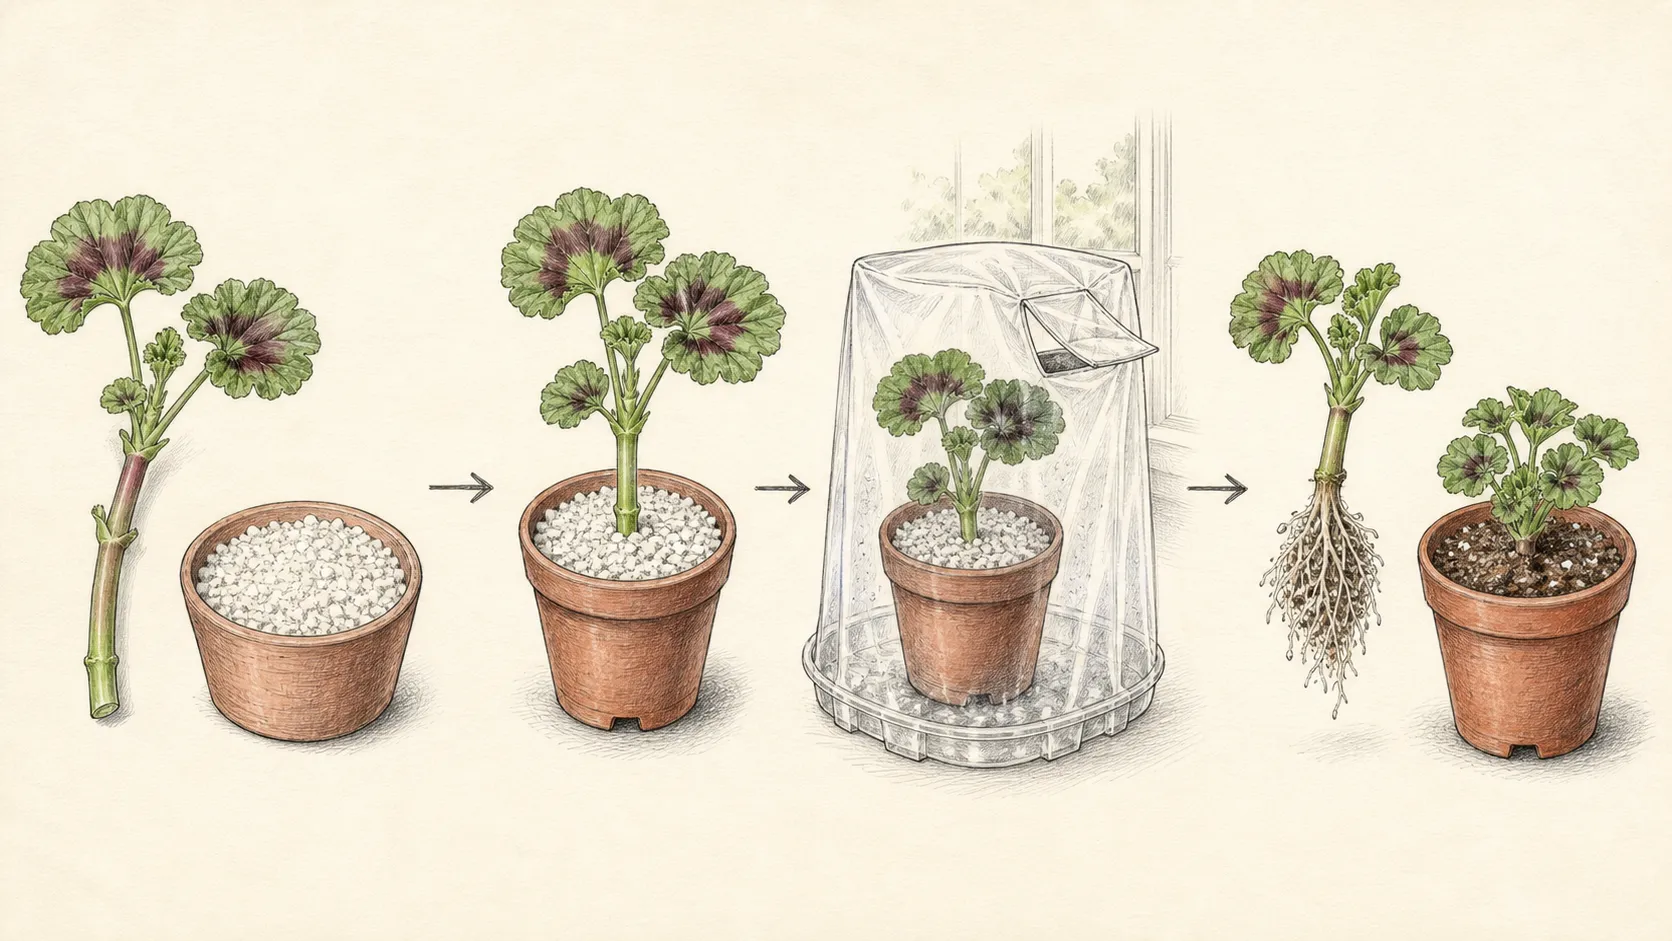
Remove the leaves from the lower part of the stem while keeping a modest canopy at the top. No leaf blade or petiole should be buried in the rooting medium. Make a pilot hole, lower the stem just far enough to stand securely, and press the medium gently around it. Crowning the surface with stem pieces or forcing a thick cutting through dry perlite creates poor contact and unnecessary wounds.
Rooting hormone is optional for the workflow, though the three retained Pelargonium instructions all allow or recommend it. If you use one, follow its label, treat only the stem base, and prevent used material from returning to the original container. After all cuttings are placed, water the medium and allow it to drain completely; do not leave the pot standing in a water-filled saucer.
Root in bright indirect light without saturation
A loose clear bag or dome can reduce early wilting, but it is a monitored tool rather than a sealed display case. Iowa State recommends a clear cover and indirect light; Illinois also allows a bag while warning gardeners to watch for mold. Keep foliage from pressing against wet plastic, provide a small vent, and open the cover when condensation is heavy. Remove a discolored or moldy cutting promptly.
Keep the medium lightly moist through the occupied zone, then wait until it needs water again. The New Hampshire instructions emphasize sparse watering, while Iowa State and Illinois emphasize preventing the medium from drying out. Those directions meet at the same practical boundary: living tissue must not shrivel, but the stem base must not sit in saturated medium or standing water. Check the pot itself instead of watering by a fixed daily schedule.
Wait for roots, not the shortest calendar promise
Extension estimates vary with method and conditions: New Hampshire gives roughly three to four weeks, Illinois four to eight weeks, and Iowa State six to eight weeks for its geranium method. Treat that spread as evidence that temperature, light, cutting condition, and medium change the pace. A date can tell you when to inspect; it cannot certify a root system.
Look for steady new growth and roots visible at a drainage opening or along a transparent cell wall. A very gentle resistance check can be a clue, but repeated tugging tears new roots and does not show how extensive they are. Keep any unrooted but healthy cutting in the rooting setup. Discard a cutting that collapses, blackens at the base, or develops spreading decay instead of moving it into richer potting mix.
Pot rooted cuttings for the winter
Move each genuinely rooted cutting into its own small drained pot; Illinois specifies a three- to four-inch pot. Use fresh potting mix, settle the rooted section at the same stem level it held in the propagation medium, water once to settle the mix, and empty the saucer. A pot much larger than the young root system makes it harder to judge how much of the mix is actually occupied.
Place the young plant in bright light or under the prepared grow lights and turn it regularly if a window lights only one side. Water from the pot’s moisture and weight cues, not from the outdoor schedule the parent needed in summer. Pinch later only if active growth becomes leggy and the plant is well rooted. The winter goal is a compact, healthy stock plant, not continuous bloom at any cost.
Return outside only after frost danger
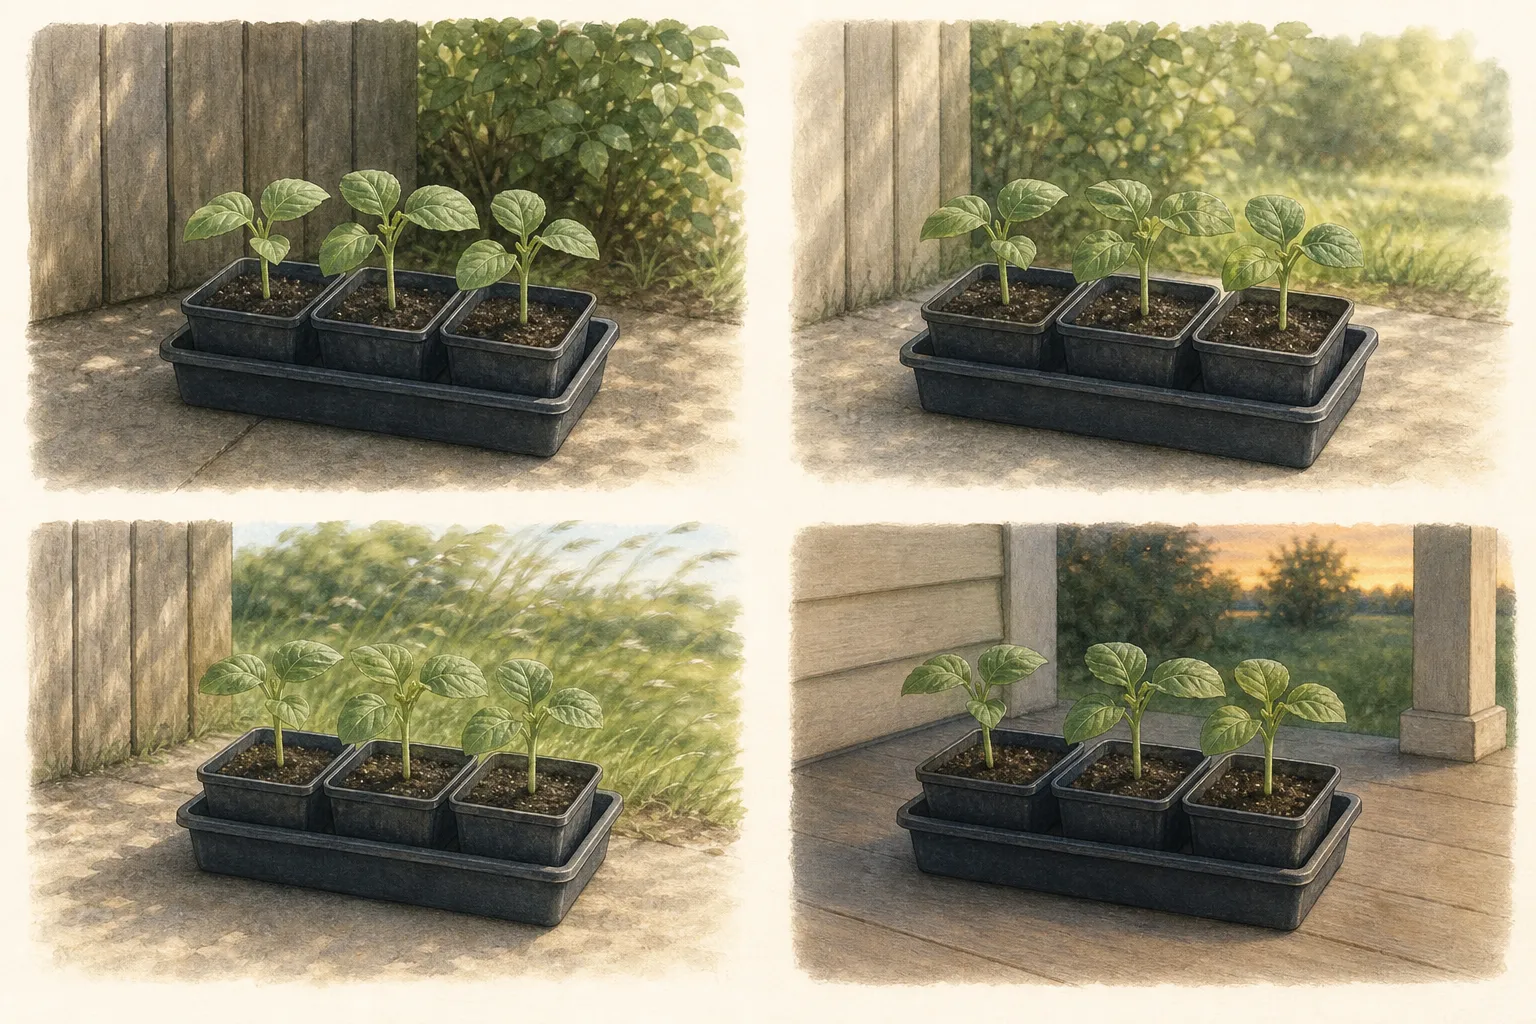
Keep rooted Pelargoniums indoors until the local danger of frost has passed. A plant grown behind glass or under lamps is not ready for full outdoor sun and wind in one move, even when the air temperature is mild. Use a gradual hardening-off sequence and protect the small root ball from drying during that transition.
Before planting, compare the label with the original parent record and choose the same suitable light and drainage unless the summer performance showed a reason to change. If only some cuttings survived, keep the healthiest one rather than crowding weak plants into a container. The point of the fall cutting was to preserve a chosen Pelargonium in a manageable form; one vigorous rooted plant completes that job.
Steps
- Level
- moderate
- Time
- Thirty to forty-five minutes to prepare and stick several cuttings, plus three to eight weeks of rooting checks
- Tools
- Sharp knife or pruning shears, Small dibber or pencil, Plant labels
- Materials
- Healthy annual geranium (Pelargonium) parent plant, Drained propagation pot or cell tray, Perlite, vermiculite, or another supported airy rooting medium, Optional rooting hormone, Optional clear humidity cover, Small pots and fresh potting mix for rooted cuttings
- 1Reserve the winter light
Choose a bright indirect rooting position and a brighter winter-growing position before cutting. Prepare a drained container, pre-moistened airy medium, labels, and an optional clear cover.
- 2Select the parent
Use only a correctly identified, vigorous Pelargonium without suspicious spots, wilting, rot, or insect infestation. Take cuttings before the local first fall frost.
- 3Take terminal cuttings
Cut healthy three- to four-inch terminal shoots, keep each upright, remove any flower or bud, and label cultivars immediately.
- 4Clear and insert the base
Remove lower leaves, optionally apply rooting hormone by its label, and insert the stem into a pilot hole just deeply enough to stand with all leaves above the medium.
- 5Set moisture and light
Water once and drain fully. Keep the medium lightly moist in bright indirect light; vent an optional clear cover and remove discolored or moldy material.
- 6Confirm a root system
Begin checking within the three-to-eight-week evidence range, but pot only after roots and steady growth confirm establishment. Do not use the shortest calendar estimate as proof.
- 7Pot and grow compactly
Move each rooted cutting to a small drained pot at the same stem level, then provide bright winter light and water according to the occupied root zone.
- 8Harden off after frost
Keep the plant indoors until local frost danger has passed, then acclimate it gradually to outdoor sun and wind before returning it to a container or bed.
Related reading
Sources
- How can I over-winter my geraniums indoors?. Iowa State University Extension and Outreach. Source record · Accessed 2026-08-25.
- How to overwinter geraniums for next year’s garden. University of Illinois Extension. Source record · Accessed 2026-08-25.
- Overwintering Geraniums. University of New Hampshire Cooperative Extension. Source record · Accessed 2026-08-25.
- 13. Propagation. NC State Extension. Source record · Accessed 2026-08-25.
- Starting a Garden: Hardening Off Indoor Seedlings. University of Illinois Extension. Source record · Accessed 2026-08-25.