Grow · pansy seed cool season transplant production
Start Pansies from Seed for a Cool-Season Garden Display
Plan backward from a locally useful cool-season planting window, then manage darkness, temperature, close light, roots, and acclimation for compact pansy transplants.
Published Last updated
In this guide
- Choose the garden season before the sowing date
- Prepare a stable cool-season propagation station
- Sow a measured batch into clean cells
- Move emergence into strong light and cooler growth
- Water and feed from roots and leaves
- Pot before roots and foliage become congested
- Harden for the actual bed or container
- Manage the shift from cool spring into warmer weather
- Steps
Choose the garden season before the sowing date
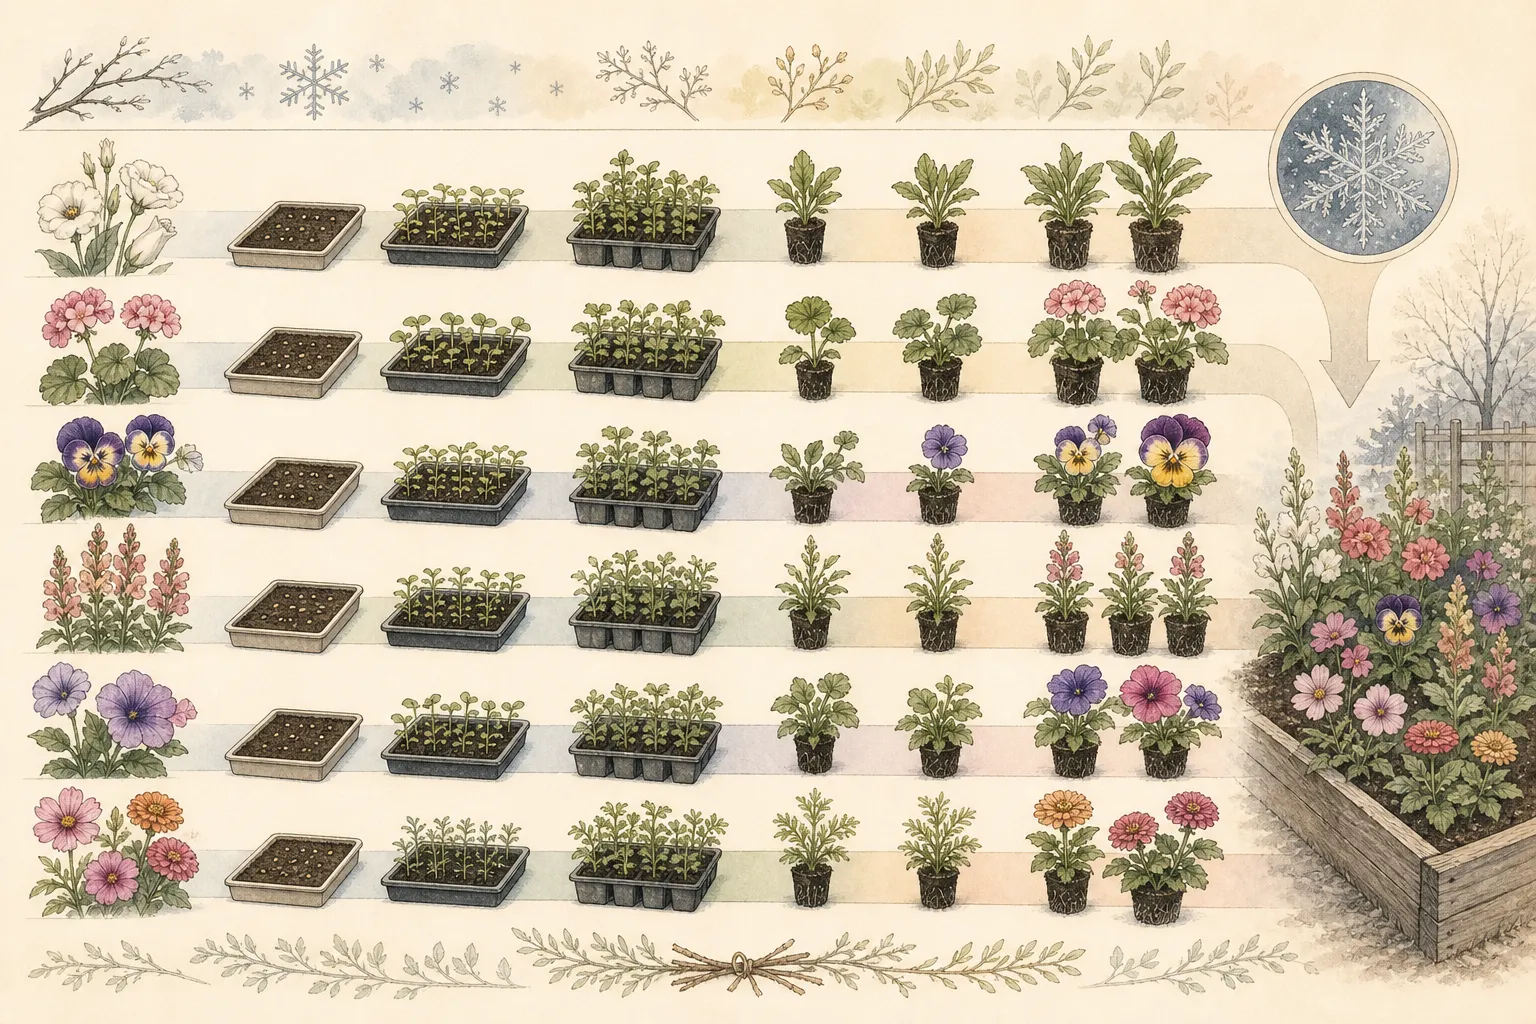
Pansies are cool-season ornamentals, but the useful planting window differs sharply by climate. In cold regions they often serve spring and autumn; in mild regions they can flower through much of winter. Begin with regional Extension guidance, local frost and heat patterns, and the intended bed or container. A February sowing can be timely for one garden and too late or too early for another.
Choose the display role and cultivar. Large-flowered, spreading, compact, and mixed-color series differ in habit, uniformity, and response. Read the current packet for weeks to transplant or flower, germination instructions, mature dimensions, and heat tolerance. A cultivar selected for autumn containers may not meet the same schedule as one intended for an early spring border.
Count backward through hardening, final pot stage, earlier plug growth, expected emergence, and sowing. Build a range, not one date. Pansies grow slowly enough from seed that starting late can miss cool weather, but starting excessively early produces crowded roots and flowers on the shelf. Reserve future pot and light area before deciding how many seeds to sow. Set a plant count from mature positions. Pansies are often planted closely for mass, yet the packet or cultivar dimensions should govern spacing. Draw the actual container or border and add a modest allowance for germination and transplant loss. Do not sow the whole packet as insurance when only twelve plants fit; thinning hundreds of slow seedlings wastes both seed and propagation capacity.
Prepare a stable cool-season propagation station
Use clean divided cells or a flat that can be transplanted before roots tangle, with open drainage and a waterproof catch tray. Fill with fresh seed-starting medium, pre-moisten uniformly, settle gently, and refill low cells. Avoid garden soil and heavy compression. Pansy seed is small enough that uneven surfaces and forceful watering produce variable depth and moisture.
Measure temperature at medium level. Pansy germination guidance is cooler than that used for many warm-season annuals, and excessively warm media can reduce success. Use the packet and current regional sources for the exact range. Do not place the tray on a generic heat mat merely because seed is being started indoors. If controlled warmth is needed, use a thermostat and verify several cells.
Prepare broad adjustable light before sowing even when the seed germinates under cover or darkness. As soon as shoots appear, the tray needs useful light across every edge. A bright room is not enough during short winter days. Set a timer and safe fixture suspension, keep water away from electricity, and leave enough height for potted plants later.
Label cultivar, lot, sowing date, and cell map. Keep the packet. Pansy mixtures can produce seedlings that look similar before bloom; a lost label makes color placement impossible. If several cultivars differ in timing, use separate rows or trays so emergence and potting can be managed independently rather than holding one batch too wet for the sake of another.
Sow a measured batch into clean cells
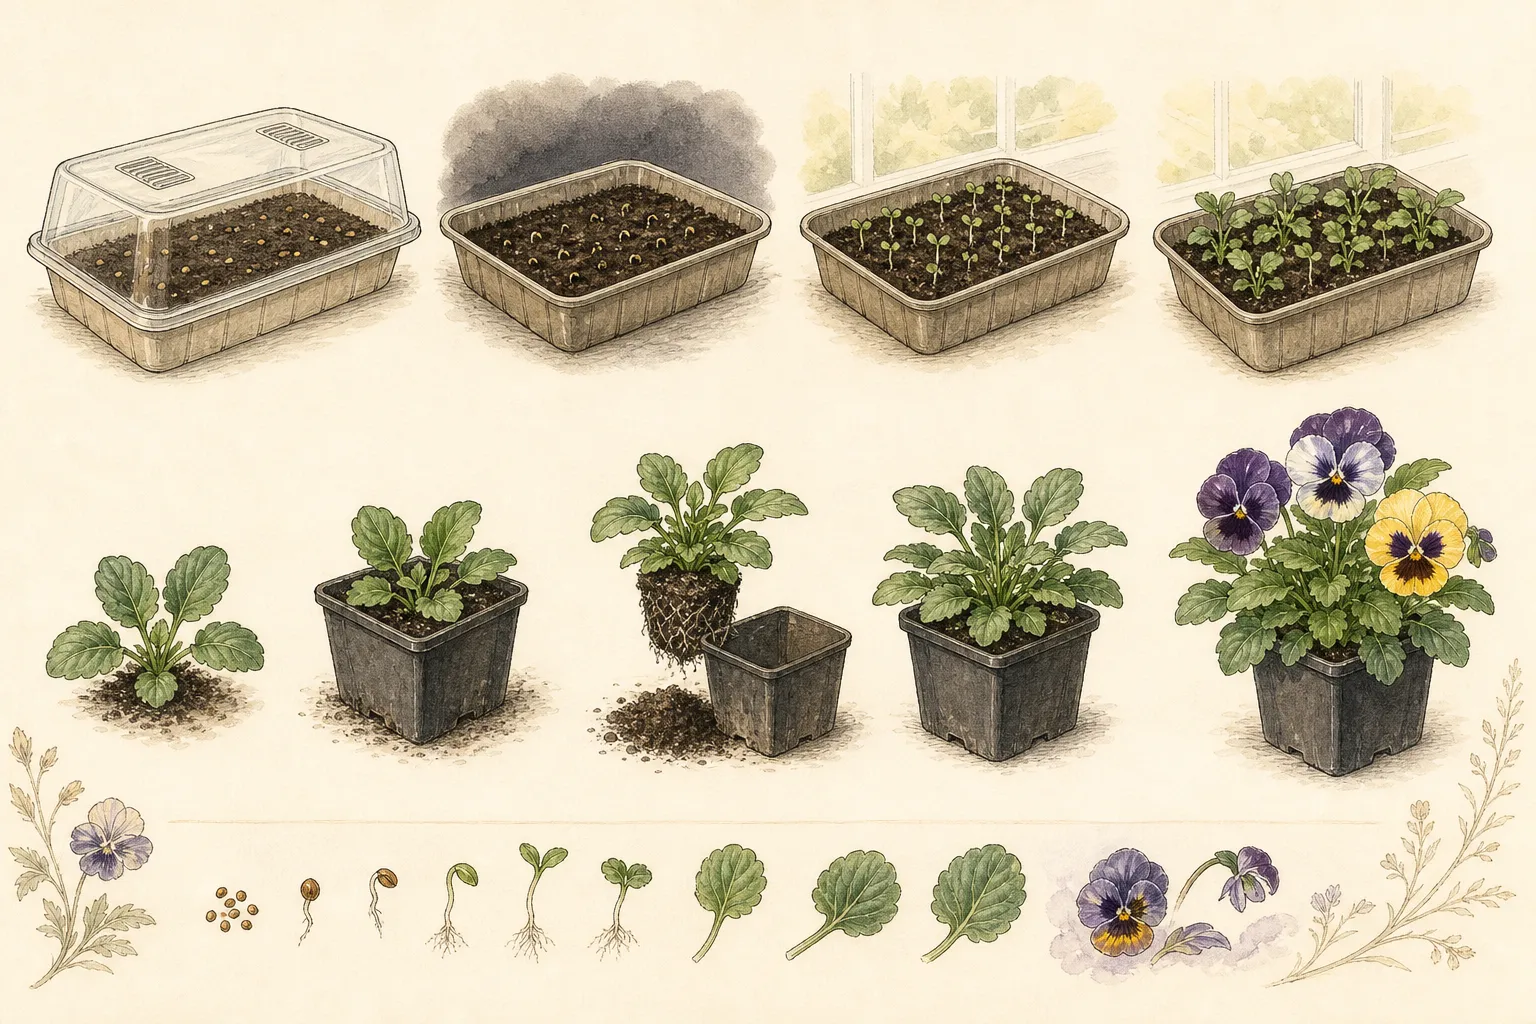
Place one seed in each cell where seed quality and quantity permit, or distribute a counted sample evenly in a flat. Follow the packet’s depth and light instructions. Pansy seed is commonly covered because darkness supports germination, but the covering must remain shallow and uniform. Do not bury fine seed deeply to keep it moist; stabilize humidity by the propagation system.
Water the prepared medium before sowing or use a very fine method afterward so seed is not washed into corners. A humidity cover can reduce evaporation, but it should not create standing condensation that drips continuously. Keep the covered tray out of direct sun. Inspect moisture and temperature without repeatedly scraping the surface for seed.
Record the exact count and expected interval. Germination may not be perfectly simultaneous. Do not reseed empty cells before the credible range ends. If emergence is poor, inspect temperature, depth, moisture, seed age, and a small sample before adding more water or heat. A measured germination test can separate old seed from a tray-specific error. Avoid fertilizer at sowing. The seed supports initial emergence, and fresh soilless medium may be nutrient-free or lightly charged. Read the product label. Fertilizer does not break dormancy or correct wrong temperature, and concentrated salts can injure emerging roots. Feeding belongs only after true leaves and active roots create a demonstrated need.
Move emergence into strong light and cooler growth
Remove or vent the cover as shoots stand and move the tray into strong broad light immediately. A delay of a few warm dim days can elongate stems. Keep the fixture at the manufacturer-supported distance and raise it with the canopy. Inspect edge cells for leaning. Rotate only as a minor equalizer; persistent inward lean means coverage needs redesign.
Maintain a cooler post-emergence environment within the cultivar and regional guidance. Warm rooms accelerate extension and can produce soft plants. Measure day and night near the leaves rather than relying on a thermostat elsewhere. Keep trays away from radiators, hot appliance tops, and cold window glass. Useful light and appropriate cool temperature must work together.
Provide gentle room air exchange without constant direct wind. Dense wet seedlings are vulnerable to damping-off, but a fan aimed at one edge dries cells and chills foliage. Sanitation, open drainage, cover removal, spacing, light, and watering are the primary controls. Map any collapse and isolate the tray before treating an unidentified disease.
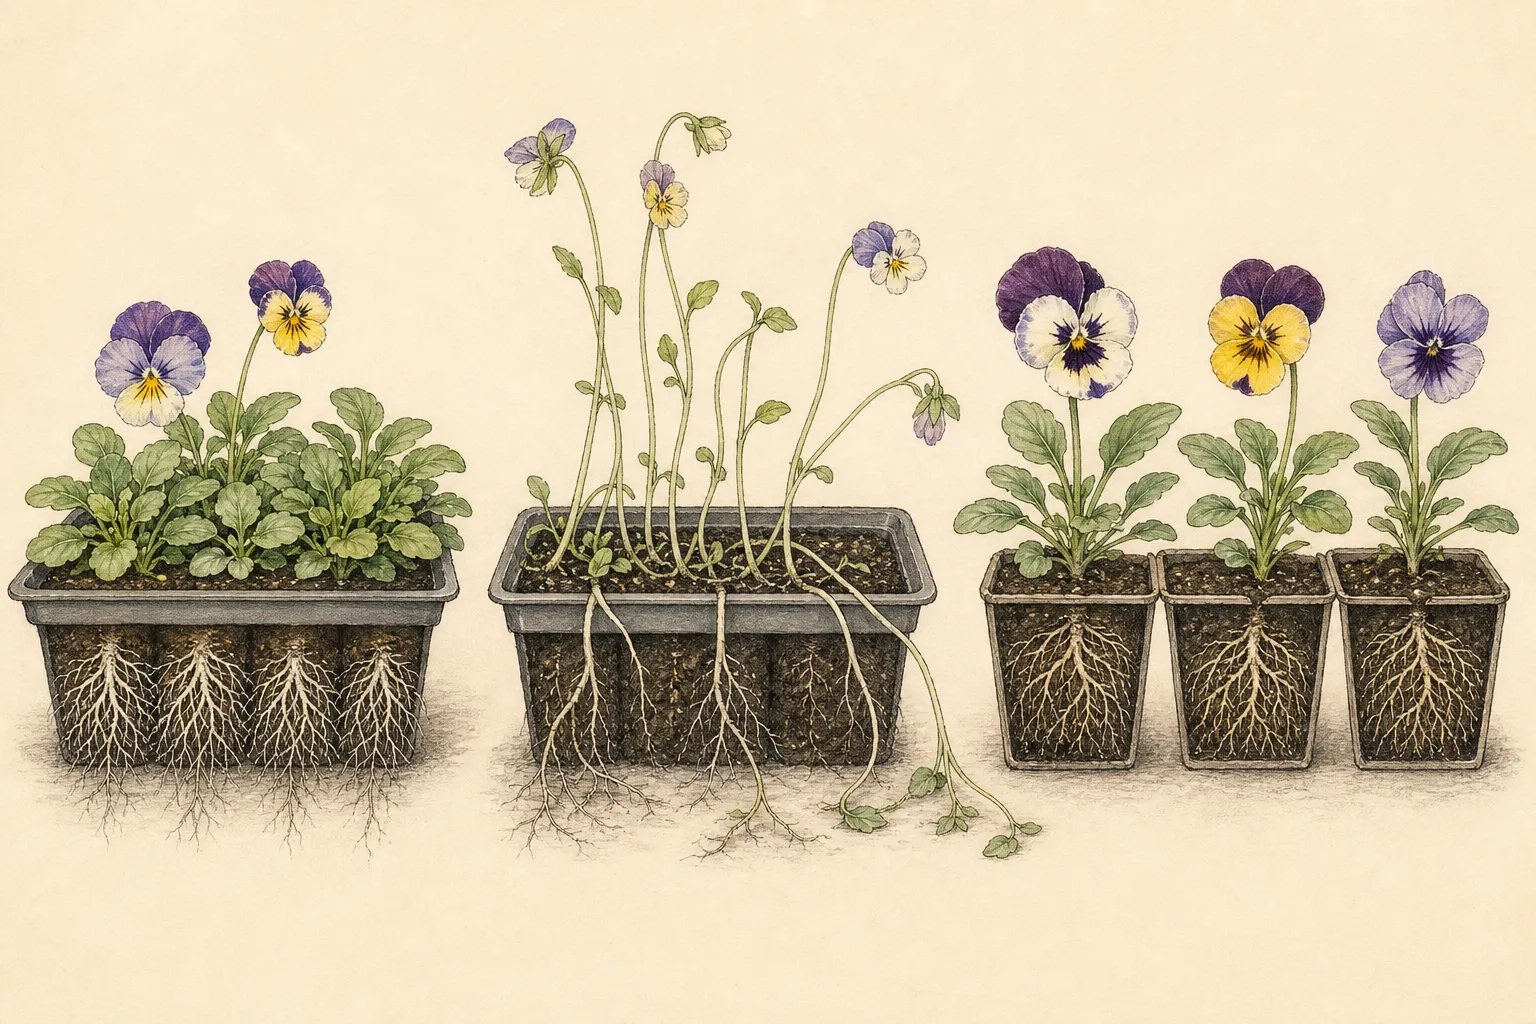
Thin early when multiple seedlings share a cell. Snip extras at the surface to preserve the chosen roots, or transplant while roots separate if the method and plant stage support it. Select normal compact seedlings, not only the tallest. A tall early plant may reflect shallow placement or weak light rather than superior vigor.
Water and feed from roots and leaves
Learn the tray’s drained weight and check representative center and edge cells. Water enough to wet the root profile, then empty standing water. A damp-looking surface can hide dry lower medium, while a heavy tray can conceal saturation. Bottom watering limits surface disturbance once roots are active, but containers should not remain immersed.
Pansy seedlings prefer steady moisture without waterlogging. Repeated wilt checks growth, while constantly wet roots lack oxygen. Adjust frequency as foliage expands and room conditions change. Do not preserve a fixed every-other-day schedule. Separate porous or edge-drying containers from deep plastic cells if their moisture rhythms diverge.
Begin dilute feeding only after true leaves and root growth, accounting for nutrients already in the mix and following regional guidance and the fertilizer label. Apply to moist roots. Pale leaves can also reflect cold roots, saturation, high salts, low light, or disease. Compare the tray pattern before increasing concentration. Fertilizer should support compact growth, not drive soft extension. Inspect leaf undersides and crowns during watering. Sticky cards can monitor flying pests but do not diagnose the cause of damage. Quarantine visible insects or unexplained spotting and seek an accurate identification. Do not apply a broad houseplant pesticide to pansy seedlings unless the pest, crop, setting, life stage, and current label all match.
Pot before roots and foliage become congested
Move plugs when roots hold the medium but remain pale and uncircled, and before leaves overlap heavily. Prepare clean pots and fresh free-draining medium first. Water the tray so plugs are cohesive without dripping. Ease each plug from below, supporting by a leaf if needed. Never pull the stem upward against the cell wall.
Set the seedling at the same crown depth unless plant-specific guidance indicates otherwise. Fill around the plug without burying leaves or compacting the pot. Water to settle and drain. An oversized pot can stay wet around small roots, so step up only enough for the remaining indoor interval. Label every pot before the tray map is lost.
Return potted plants to useful even light with enough spacing for air and inspection. Expand the shelf as planned. Pinching is cultivar- and schedule-dependent; many modern pansies branch without it, and an unnecessary pinch can delay flower. Correct low light or warmth before reshaping a stretched seedling. Cutting the tip does not improve the environment.
If buds form long before the garden window, review sowing date, temperature, pot space, and cultivar. Removing early flowers may redirect some growth, but it cannot make an overgrown root-bound crop younger. Maintain health and adjust next year’s schedule. Avoid holding plants in tiny pots or dim light merely to preserve a target calendar.
Harden for the actual bed or container
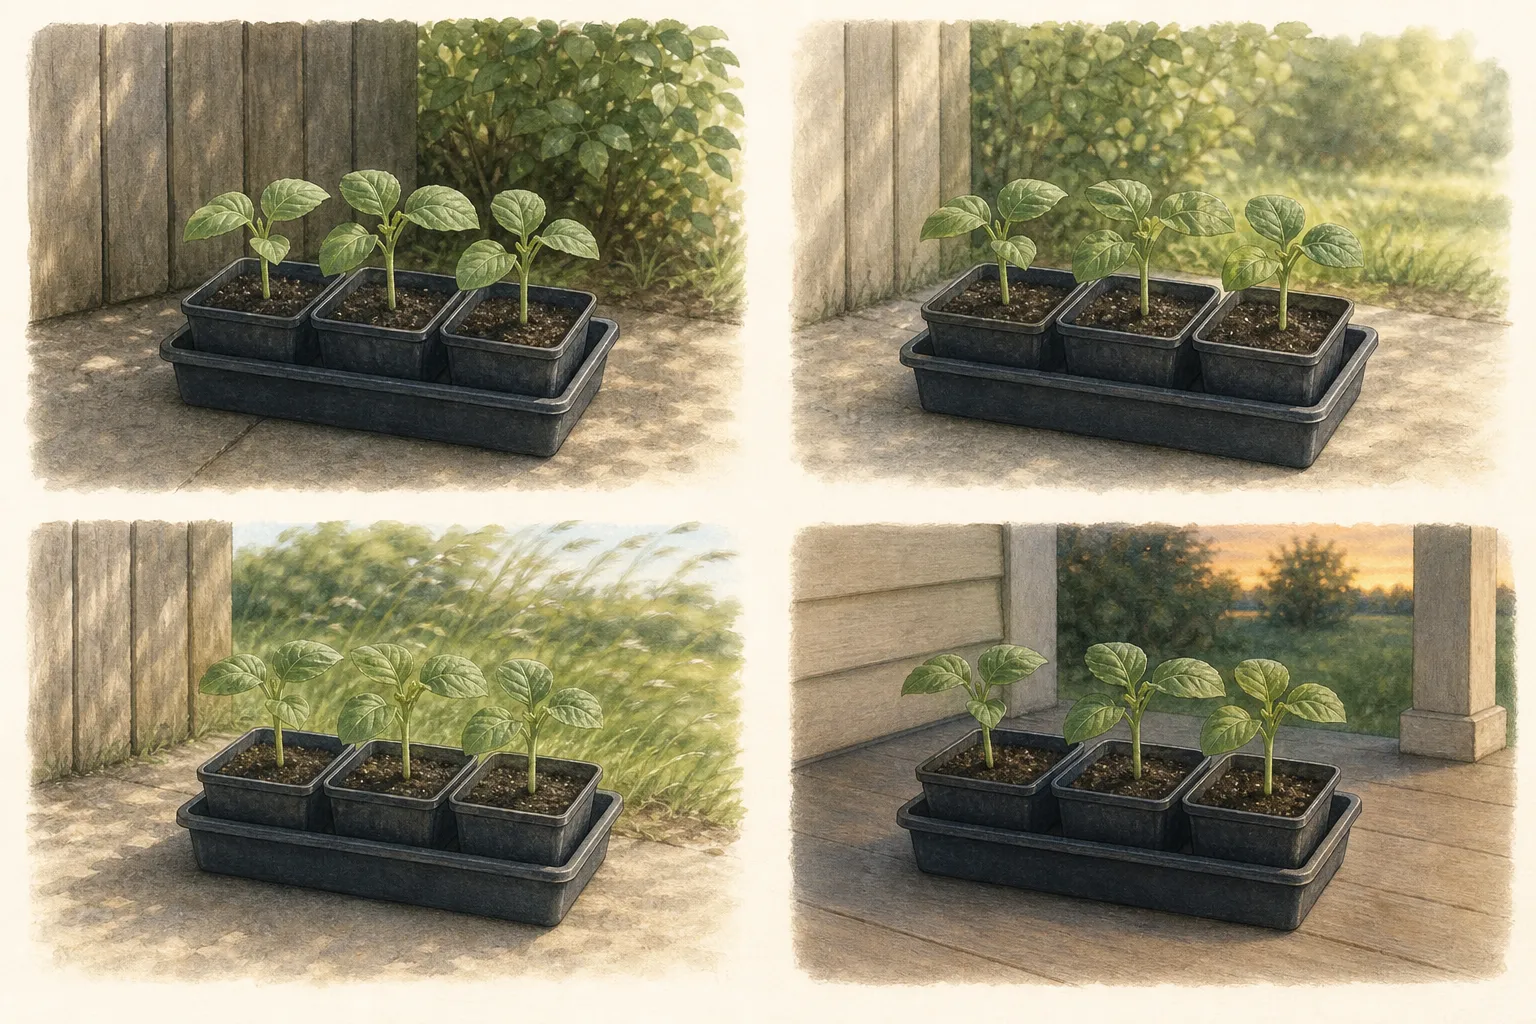
Begin acclimation when roots hold the pot and the local installation window approaches. Pansies tolerate cool conditions better than tender summer annuals, but indoor leaves still need gradual exposure to direct sun, wind, and outdoor temperature swings. Start with short protected periods and increase exposure over roughly a week or more as weather and plant response allow.
Match the destination. Plants for a sunny spring container need increasing sun; plants for bright partial shade should not be hardened permanently in deep shade. Keep pots from drying in wind and protect them from severe cold beyond the cultivar’s acclimated tolerance. Use forecasts and return space rather than a rigid daily chart during a cold front.
Prepare soil or potting mix with open drainage. Pansies decline in waterlogged roots and often fade as heat arrives. Place crowns at their pot depth, space for mature habit, water the root balls and surrounding medium, and keep mulch from burying small crowns. In containers, confirm drainage holes and empty decorative sleeves after watering.
Record first flower, peak display, heat decline, disease, and survival. If the intended spring display began late, distinguish slow germination, cool growth, transplant delay, or a late garden window before sowing dramatically earlier. A measured one- or two-week change is more useful than doubling the indoor season and creating another crowded crop.
Manage the shift from cool spring into warmer weather
Pansies often reach their best display while days and nights remain cool, then stretch, flower smaller, or decline as heat builds. Anticipate that seasonal role instead of trying to force the same plants through conditions that no longer suit them. Place spring containers where morning light and later protection match regional guidance, maintain even drainage, and avoid using excess fertilizer or water to preserve a heat-stressed display.
Deadhead where continued bloom and garden sanitation justify it, tracing the flower stalk without removing healthy crown foliage. Some plantings may be allowed to set seed; others should be removed before a mixed container becomes congested. Watch for heat, root disease, and pest patterns separately. A wilted midday plant in hot sun may recover by evening, while a plant with wet roots and crown collapse needs diagnosis.
Plan the handoff before planting. A container can receive a warm-season ornamental after pansies decline, but the replacement must have clean potting conditions, adequate volume, and compatible companions. In a border, later perennials can expand around the cool-season group without burying crowns in spring. Do not hide failing pansies beneath new plants and leave diseased roots in place without assessment.
At removal, photograph roots and crown, record the date and weather, and decide whether the plants completed their intended season. Compost only healthy material in a suitable system and dispose of diseased plants according to local guidance. Clean reusable containers. The useful measure is not indefinite survival; it is a compact, timely display followed by a clean transition to the next ornamental layer.
Steps
- Level
- moderate
- Time
- 20 minutes to sow, then 10–14 weeks of staged care
- Tools
- Clean cell tray and draining catch tray, Adjustable broad grow light and timer, Root-zone thermometer, Small lifting spoon or label, Durable labels
- Materials
- Fresh pansy seed, Fresh seed-starting medium, Free-draining potting mix, Appropriately sized next pots
- 1Set the local display window
Use regional cool-season guidance, frost and heat patterns, cultivar purpose, and the actual bed or container to choose installation and target bloom ranges.
- 2Count backward with capacity
Map hardening, potting, plug growth, emergence, and sowing, then reserve the largest pot footprint under useful light. Reduce seed count before creating overflow.
- 3Prepare cool measured conditions
Use clean draining cells, uniformly moist fresh medium, a root-zone thermometer, and packet-supported germination temperature. Do not add generic heat automatically.
- 4Cover at the documented depth
Place counted seed evenly, follow packet darkness and depth instructions, water without displacement, and stabilize humidity without direct sun or pooled condensation.
- 5Light emergence immediately
Vent or remove the cover, provide broad close light and a daily dark period, and maintain source-supported cool growth. Correct edge lean and warmth before stems stretch.
- 6Water the full root profile
Use tray weight and representative cells, wet evenly, drain completely, and feed dilute only after true leaves and roots while accounting for the medium.
- 7Pot before congestion
Move a cohesive uncircled plug into a modestly larger pot at the same depth, restore spacing and light, and preserve labels. Do not use pinching to compensate for poor conditions.
- 8Harden to the destination
Increase outdoor sun, wind, and temperature exposure gradually, respond to forecasts, install at crown depth in drained soil, and record flowering and heat decline.
- 9Check center and edge seedlings
Compare internode length, leaf color, root occupancy, and moisture across the tray. Correct a geometric light, heat, or watering pattern before potting. Do not select only the tallest seedlings when height may record weak light rather than useful vigor.
- 10Preserve the cool-season role
After installation, manage drainage, deadheading, and measured moisture while temperatures remain suitable. Recognize heat-related decline and avoid excessive feeding, constant saturation, or severe cutting intended to force an exhausted planting through summer.
- 11Plan the ornamental handoff
Identify the later container or border layer before pansies decline, protect perennial crowns and soil health, remove failing plants cleanly, and record roots, weather, flowering, and removal date so next year’s sowing window reflects the actual display.
Related reading
Sources
- Growing Pansies and Violas. Iowa State University Extension. Source record · Accessed 2026-08-19.
- Growing Pansies. Utah State University Extension. Source record · Accessed 2026-08-19.
- Starting Seeds Indoors. University of Minnesota Extension. Source record · Accessed 2026-08-19.