Grow · lisianthus seed starting long season
Start Lisianthus from Seed Without Losing Tiny Seedlings
Raise lisianthus from extremely small seed with an early schedule, surface sowing, controlled warmth, prompt light, careful moisture, and staged pot space for slow young plants.
Published Last updated
In this guide
Count backward through a long indoor season
Lisianthus needs an earlier start than most annual flowers. Iowa State gives Eustoma grandiflorum about 14 weeks from sowing to an outdoor transplant, while Minnesota's regional calendar holds it indoors for 16 to 17 weeks and places a Minnesota sowing in mid-January. The Washington State University Skagit guide says bloom may take at least six months from sowing. Use those as planning evidence, then count backward from the locally safe planting window and the cultivar's own series information rather than adopting January as a universal date.
Reserve the whole propagation footprint before sowing. A tray that fits under one light in week one may require several trays or pots after true leaves develop. Minnesota advises planning enough space for later transplanting and additional lights. Set aside a clean germination shelf, a cooler post-emergence shelf, and hardening space so slow seedlings are not displaced to a dim windowsill midway through their long indoor season.
Choose fresh, accurately labeled seed. The WSU guide notes that lisianthus seed is dust-fine and that pelleted seed is easier to handle. Keep each cultivar or flowering series in a separate row or tray because height, color, and development can differ. Sow only the number that can receive one labeled cell, steady light, and repeated moisture checks through the indoor period.
Put measurable checkpoints on the calendar: sowing, expected 10-to-14-day germination, first true leaves, thinning, first pot move if needed, hardening, and local planting. These dates trigger inspection, not automatic handling. A seedling stays in its cell while the root ball is loose, and a tray remains protected while nights are outside the local planting limit.
Prepare the small seed environment precisely
Use a clean divided tray with drainage holes and fresh fine seed-starting mix. Minnesota recommends soilless mix because its light texture and porosity suit tiny seedlings; its damping-off guidance adds clean trays and new mix as core prevention. The WSU lisianthus guide likewise rejects garden soil and recommends a fine sterile medium. Sift out coarse pieces only if needed, then fill cells evenly without pressing the mix into a waterlogged block.
Pre-moisten the mix, let it settle, top up low cells, and drain the tray before seed is opened. A level surface keeps a fine seed or pellet from rolling into a wet corner. Place one pellet or visible seed per cell when supply allows. Mark the cultivar, series, source, and sowing date at both ends of the row so a displaced tag does not merge two nearly identical seedling lots.
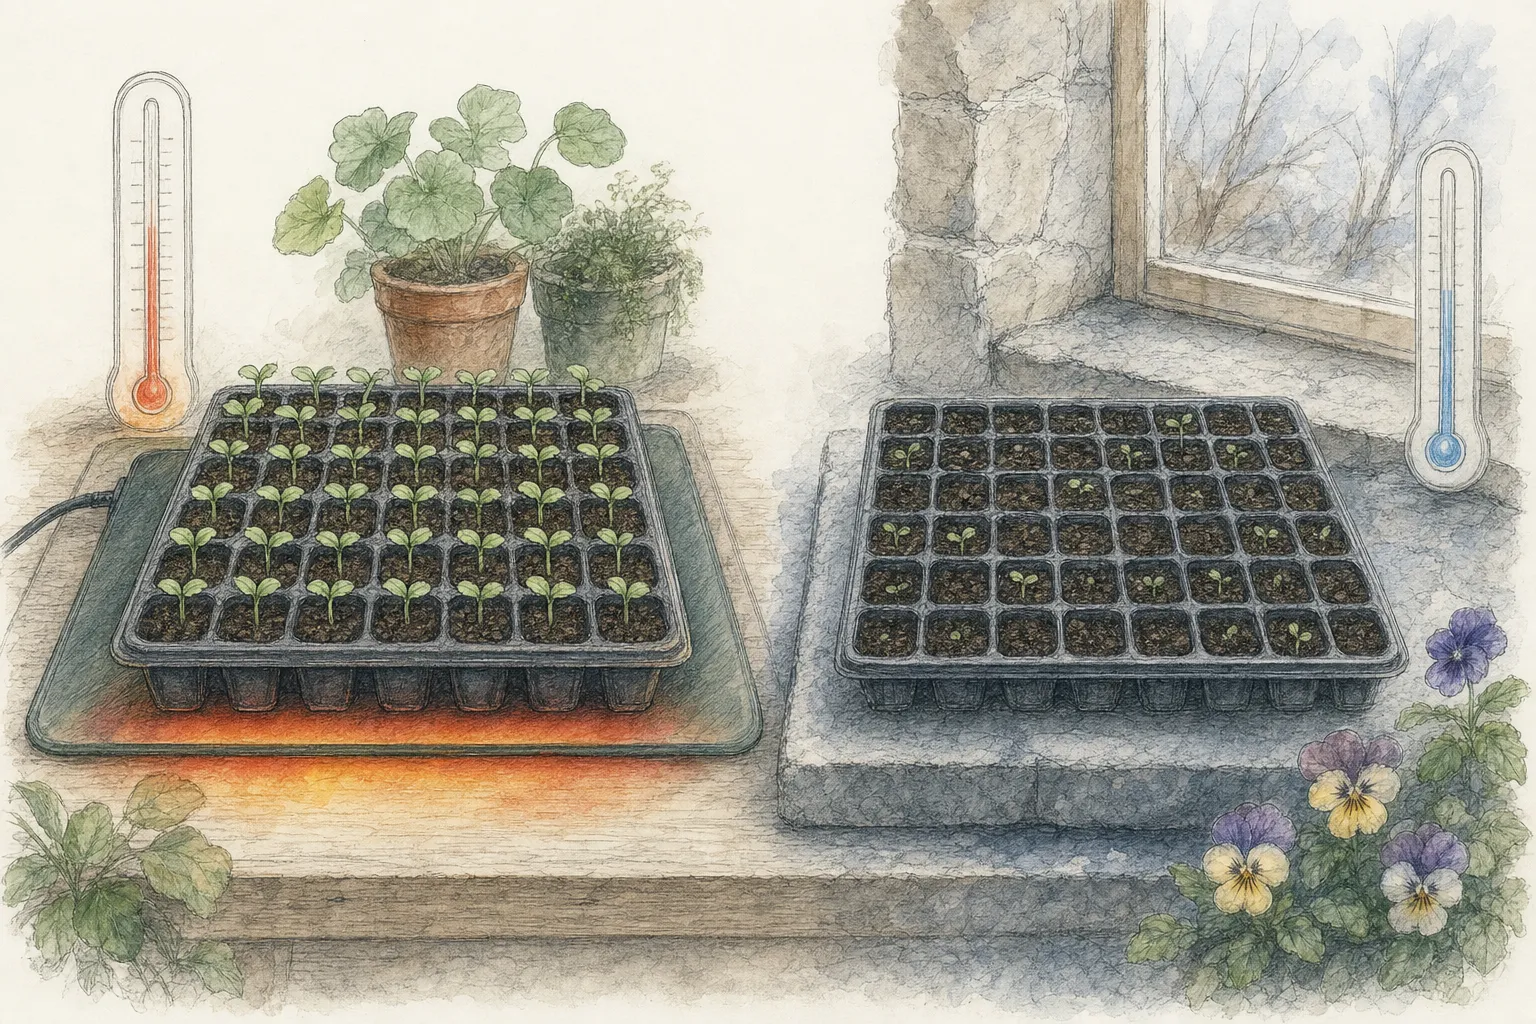
Set a root-zone thermometer at tray level and install the light before sowing. Iowa State gives lisianthus a 75°F germination temperature and a light requirement; WSU reports best germination near 70°F. That supports a measured 70-to-75°F starting range when the cultivar packet does not narrow it. A thermostat setting or warm room is not enough if the mix itself remains cooler or a heat mat creates a hot center.
Provide a clear humidity cover that fits without touching the surface, a fine mister or bottom-watering tray, and a destination for runoff. Check that the shelf is stable and water cannot reach plugs or controllers. The cover belongs only to germination moisture control. The post-emergence shelf must already provide bright adjustable light and open air so seedlings can move as soon as they appear.
Surface-sow into a clean, level medium
Lisianthus needs light to germinate. Iowa State marks it L, meaning press seed into the germination medium without covering it, and WSU also directs surface sowing. Place each seed or pellet on the level moist mix and press just enough for contact. Do not add an arbitrary layer of soil or vermiculite over the crop; even a thin cover can reduce the light reaching a buried seed.
Moisten the pellet and surrounding surface without moving either. A fine mist can wet the exposed coating, while bottom watering can restore moisture through the whole cell. In both cases, remove free water from the tray. The pellet should remain visible in its assigned cell, and the mix should look uniformly moist rather than glossy or flooded.
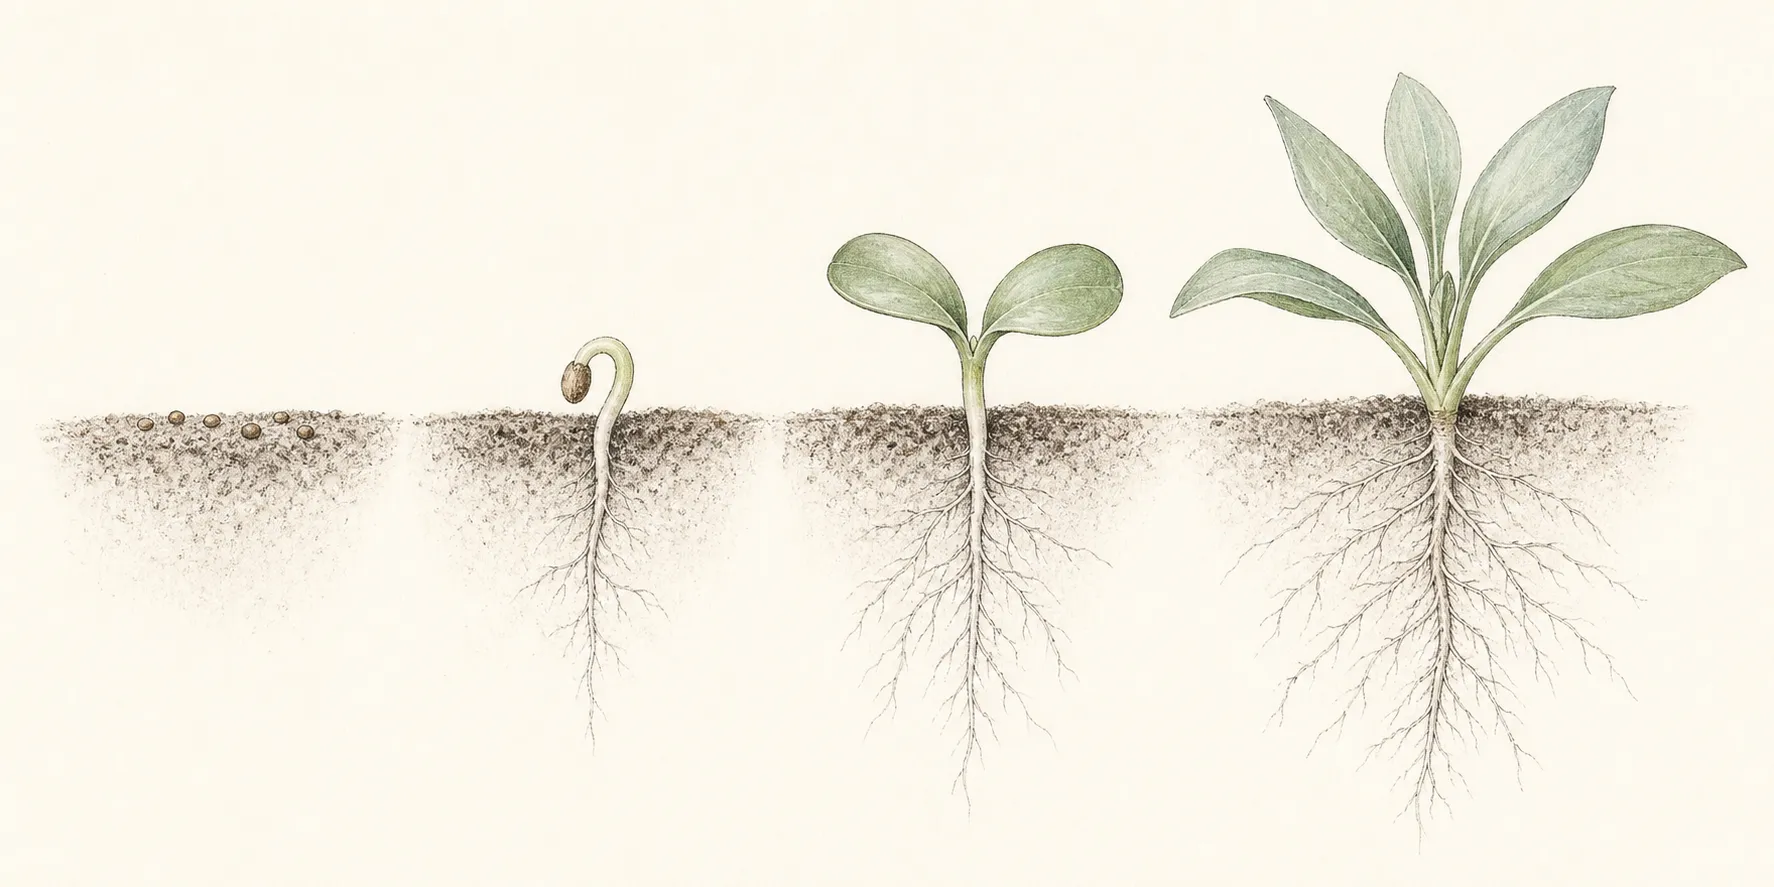
Close the clear dome and keep the measured root zone within the packet range or the 70-to-75°F institutional range. Check at least daily for condensation, dry pellets, temperature drift, standing water, and the first green emergence. Open a vent when drops run down the walls; moisture retained as high humidity is useful, but water falling repeatedly onto one row creates uneven saturation.
Expect germination in about 10 to 14 days under the Iowa State and WSU schedules. Do not scratch the surface or add more seed during that interval. Map empty cells and record the first day of emergence. If the tray remains empty after the stated window, verify seed age, light exposure, actual root-zone temperature, and moisture before changing more than one condition.
Change the environment immediately after emergence
Put seedlings under broad light as they emerge. The WSU home-garden method removes the dome when about half the seeds have germinated; before that point, vent enough to prevent dripping condensation. Once the dome is off, keep it off unless the mix is being lost to an identified environmental problem. Newly exposed cotyledons need air and light, while the root zone still needs close moisture checks.
After germination, Iowa State says nearly all annual seedlings grow best around 65 to 70°F by day with nights a few degrees cooler. Remove or lower germination heat unless the cultivar's current culture sheet directs otherwise. Measure the mix after the change. A heat mat left at the germination setting can keep tiny lisianthus roots warmer than the air and accelerate drying in the center cells.
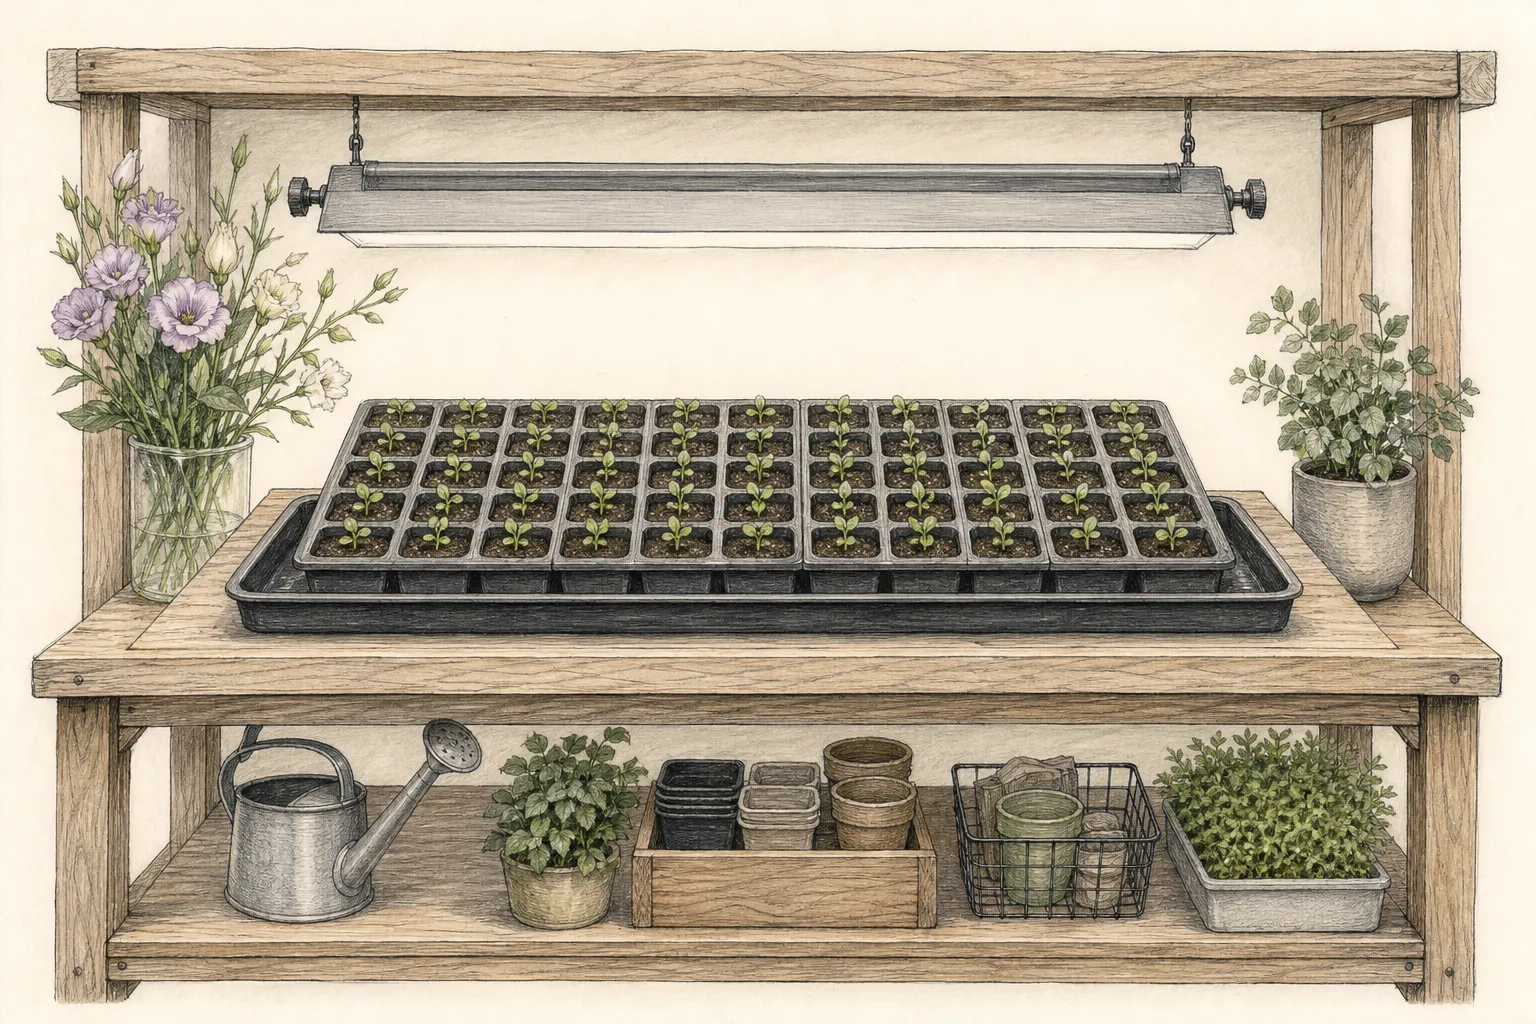
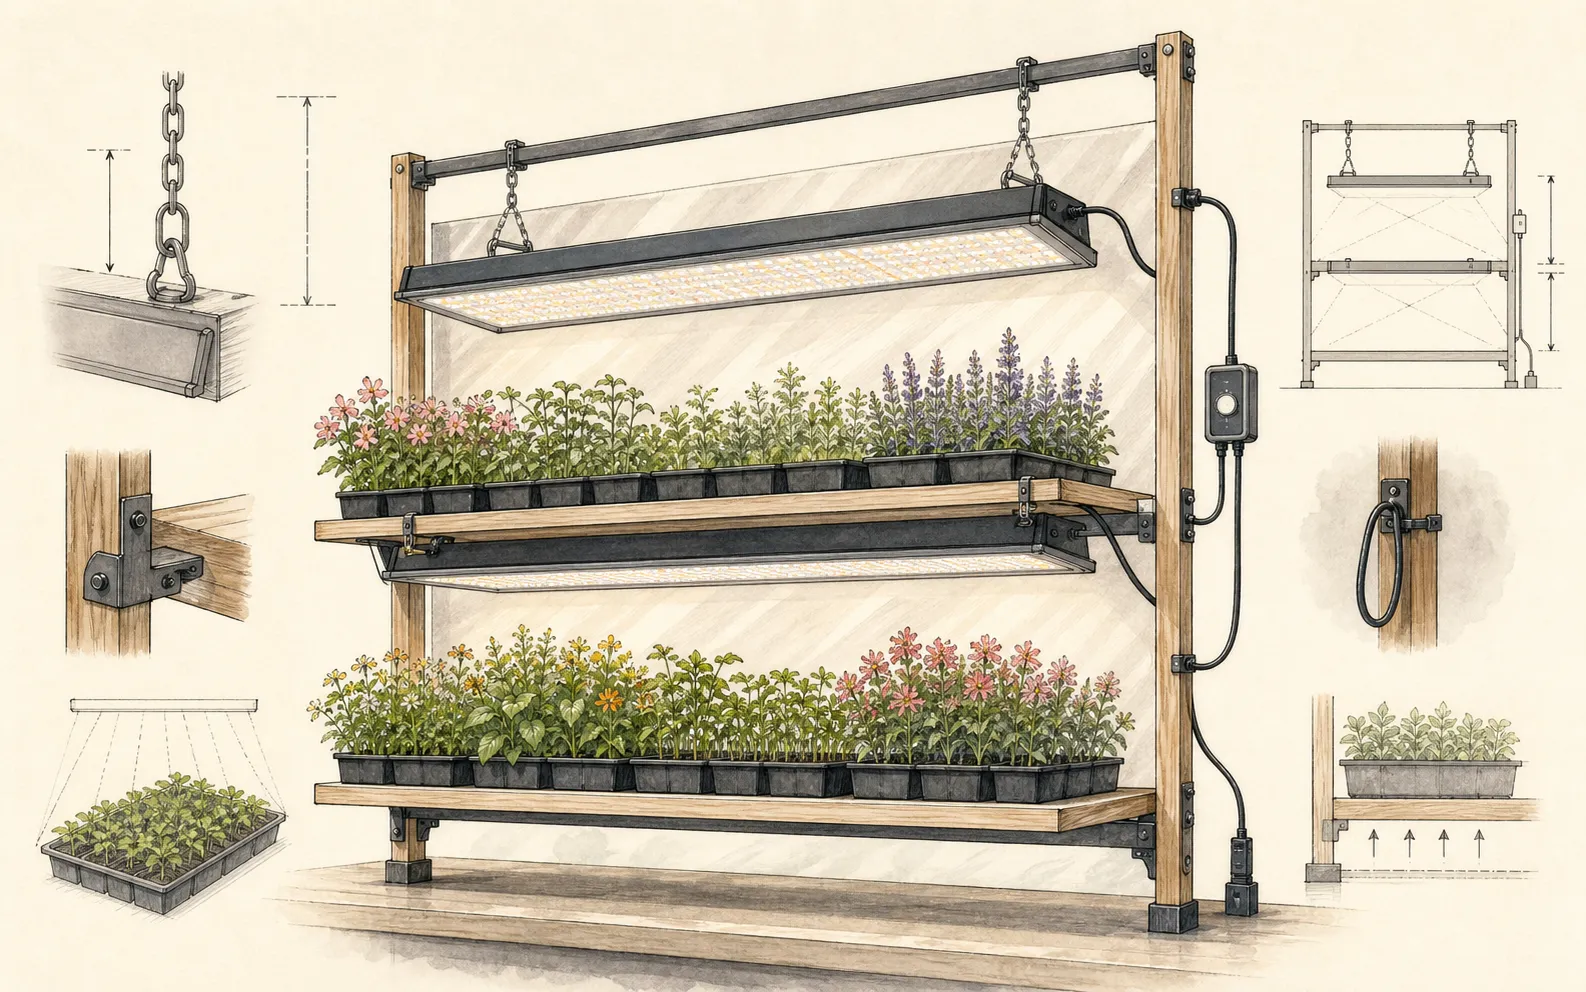
Minnesota's general seedling setup supplies 12 to 16 hours of artificial light daily and keeps the fixture two to four inches above the canopy. Begin with that geometry, then follow the light maker's clearance and watch leaf response. Keep the fixture parallel to the tray, raise it as plants grow, and correct a dim edge before seedlings lean. Do not leave lights on continuously; preserve a nightly dark period. Record the distribution of emergence. Empty cells scattered through one cultivar suggest a different issue from a dead strip beside a heater or a wet low corner. Keep a map of the row and remove collapsed tissue with clean tweezers. The stage is established when the dome is off, seedlings remain upright in bright light, and the root zone cycles from evenly moist toward ready-to-water without becoming bone dry.
Water the root zone, not the anxiety
Judge moisture by tray weight, mix color, and a check below the surface. A pale top does not prove the whole cell is dry. Bottom-water only until moisture reaches the root zone, then lift the flat and empty all runoff. Alternate cells should not remain in shared standing water, and a small lisianthus plug should not be moved into a large wet pot merely to reduce watering frequency.
Protect the early crop from damping off with clean containers, new mix, drainage, and open post-emergence conditions. Minnesota identifies warning signs as failed emergence, water-soaked or threadlike stem bases, gray-brown tissue, stunted discolored roots, and fluffy growth in high humidity. Remove an affected seedling and its loose debris. Do not simply add fertilizer or keep the dome closed when several stems begin to pinch at soil level.
The retained sources differ on first feeding. WSU uses a light weekly feed after germination, while Minnesota says seedlings do not need fertilizer until several sets of true leaves and then uses a quarter-strength general product weekly for soilless mix. Resolve that difference with the cultivar producer's current culture sheet and the fertilizer label. A conservative home method waits for active true-leaf growth and keeps feed at the labeled dilute concentration while moisture, temperature, and light are corrected separately.
Slow growth is normal for this crop, but a stalled wet row deserves a root-zone check. Compare its weight, temperature, and light with a sound row from the same cultivar. Green algae on the mix indicates a persistently lit wet surface; sudden collapse indicates a plant problem rather than harmless slow development. Correct drainage and watering frequency, clean away failed tissue, and keep healthy cells labeled.
Pot on by root and leaf evidence
Thin crowded cells after true leaves appear. Minnesota recommends cutting the extra seedling at the surface rather than pulling it and disturbing the retained root. Keep the plant with the stronger crown and soundest leaves, not simply the first one to emerge. Remove the cut seedling from the tray so it does not decay beside the survivor.
Move a plant when roots hold the plug and leaves need more space. Minnesota recommends lifting the root ball with a spoon or plant tag, steadying a leaf lightly, and keeping fingers off the stem. Work with moist, drained mix. If the plug falls apart, return it to the cell and wait for more root occupation unless disease or crowding requires immediate action.
Choose a draining container only one stage larger; Minnesota's general guidance uses a pot one to two inches wider than the cell pack. Set the lisianthus crown at the same grade, fill around the plug without burying the growing point, water once, and drain. Restore bright protected conditions immediately and keep the newly enlarged mix from staying wet around a small root ball.
Reproduce the cultivar label at every move. WSU uses four sets of true leaves as its garden-ready cue, but a long indoor season may require an intermediate pot before local planting weather arrives. Let roots and leaf spacing decide that move. Discard seedlings with persistent crown rot, distorted collapse, or badly damaged growing points rather than crowding healthy plants off the lighted shelf.
Harden for the real garden conditions
Harden lisianthus over about two weeks using Minnesota's general seedling method. Start with a few afternoon hours in protected shade, bring plants in before temperatures drop, then lengthen the exposure and add direct sun gradually. Keep the root balls moist and change one stress at a time. The first outdoor day should not combine full sun, drying wind, a fertilizer change, and a cold night.
WSU's Skagit guide plants seedlings with four sets of true leaves as early as six weeks before the local last frost. Treat that as a Pacific Northwest regional example, not a universal frost rule. Use the current cultivar guidance, local forecast, and local Extension advice to set the actual date. Delay planting when saturated soil, a hard freeze, or an exposed hot site would exceed the hardened plant's conditions.
Prepare a sunny well-drained site, which the WSU guide specifies for garden lisianthus. Space and support plants according to the named series because stems can differ substantially in height. Transplant late in the day or under cloud, keep the root ball intact, preserve crown grade, water the surrounding soil, and protect the new planting from an exceptional first-day wind.
Record sowing date, germination interval, thinning, pot stages, hardening dates, planting conditions, survival, and first bloom under the cultivar name. Compare those events with the 14-to-17-week indoor planning ranges and the six-month bloom expectation. The following season can then start that cultivar from a local result rather than shifting every lisianthus date after one slow or unusually early plant.
Steps
- Level
- advanced
- Time
- 45 minutes to sow; daily observation over a long indoor season
- Tools
- Clean divided tray, Fine mister or bottom-watering tray, Adjustable broad grow light, Root-zone thermometer, Small transplanting tool
- Materials
- Fresh lisianthus seed or pellets, Fresh fine seed-starting mix, Free-draining potting mix, Successive small pots, Durable cultivar labels
- 1Set the calendar and capacity
Count back roughly 14 to 17 indoor weeks from the locally safe planting window, then check the cultivar series. Reserve enough lighted space for later cells or pots and two weeks of hardening. Mark germination, true leaves, thinning, pot moves, and planting as inspection points rather than automatic dates.
- 2Prepare a fine level surface
Clean a divided draining tray, fill it evenly with fresh fine soilless mix, pre-moisten, level, and drain. Install the light and root-zone thermometer. Label each cultivar at both ends of its row, then place one fresh pellet or seed per cell where supply allows.
- 3Surface-sow accurately
Place seed or pellets on the moist surface and press for contact without covering them; lisianthus requires light to germinate. Mist the pellet or bottom-water without displacing it, remove runoff, fit a clear dome above the tray, and keep the light on during germination.
- 4Stabilize germination
Hold the root zone within the packet range or about 70 to 75°F, keep the surface evenly moist, and inspect daily for dry pellets, dripping condensation, standing water, and emergence. Expect many lots to germinate in 10 to 14 days; verify light, temperature, moisture, and seed age before changing an empty tray.
- 5Open at emergence
Vent as seedlings appear and remove the dome when about half the cells have germinated. Shift to roughly 65 to 70°F days with nights a few degrees cooler unless the cultivar sheet differs. Supply 12 to 16 hours of broad light with the fixture two to four inches above the canopy.
- 6Water by root-zone evidence
Lift the tray and check below the surface before watering. Bottom-water only until the root zone is moist, then empty all runoff. Remove seedlings with water-soaked, threadlike stem bases or collapsing roots. Begin measured dilute feeding only when true growth and the cultivar guidance support it.
- 7Pot only established plugs
Cut extra seedlings at the surface after true leaves appear. Move the retained plant only when roots hold the plug and leaves need room. Lift the root ball from below, steady a leaf rather than the stem, set the crown at its prior grade in a pot one stage larger, drain, and restore bright light.
- 8Harden and plant deliberately
Harden over about two weeks, starting with protected shade and adding time and sun gradually. Use local forecasts and cultivar guidance rather than treating WSU's six-weeks-before-frost example as universal. Plant an intact root ball at crown grade in sunny well-drained soil and record survival and first bloom.
Related reading
Sources
- Starting seeds indoors. University of Minnesota Extension. Source record · Accessed 2026-08-30.
- Germination Requirements for Annuals and Vegetables. Iowa State University Extension and Outreach. Source record · Accessed 2026-08-30.
- How to prevent seedling damping off. University of Minnesota Extension. Source record · Accessed 2026-08-30.
- How to Grow Lisianthus. Washington State University Skagit County Extension Master Gardeners. Source record · Accessed 2026-08-30.