Grow · warm soil caladium tuber planting
Plant Caladium Tubers Only After Soil and Nights Turn Warm
Use soil warmth, settled night temperatures, drainage, and cultivar-specific light needs to give ornamental caladium tubers a reliable garden start.
Published Last updated
In this guide
- Wait for a stable warm pattern
- Let soil warmth and cultivar light needs control the move
- Know whether you have a dormant tuber or a growing plant
- Match the cultivar to the light, not the leaf shape
- Build a warm, draining root zone
- Orient and cover each tuber without guesswork
- Water for active roots, not for an empty calendar square
- Manage emergence as a variable stage
- Edit the display after the first full leaves
- Close the season with useful records
- Steps
Wait for a stable warm pattern
Caladium is a tropical foliage plant, so the last frost date is permission to begin measuring rather than an automatic planting appointment. University of Minnesota Extension places tender bulbs and tubers outdoors after frost danger and after the soil has warmed. University of Illinois Extension adds a useful night-temperature cue: nights should remain in the 50s Fahrenheit range. University of Florida IFAS gives 60–70°F as the warm-soil planting range; use 60°F at the intended tuber depth as the lower Florida-source gate, not as a universal calendar date. A sheltered city courtyard, an exposed inland bed, and a cool coastal garden can reach those conditions weeks apart.
Check the actual planting zone for several days. A bed can feel pleasant at noon yet stay cold and saturated below the surface after rain. Press a hand trowel to the intended depth in the morning, inspect whether water drains, and compare the forecast for successive nights. Delay if the ground is cold, sticky, or repeatedly chilled. Dormant tubers wait more safely in dry, ventilated storage than in a cold wet hole where active roots have not begun to use moisture.
Containers warm sooner than open ground, but that advantage can disappear beside a cold wall or during a clear, windy night. A black nursery pot in afternoon sun may also become much hotter than the adjacent border. Make the decision for each microclimate, and keep a lightweight movable container under cover during an unexpected cool spell. The aim is not the earliest possible leaf; it is a continuous transition from dormancy into active growth without a cold-soil interruption.
Let soil warmth and cultivar light needs control the move
Use the end of frost risk as a reason to check the site, not as the whole planting test. Confirm suitable warmth, drainage and the named caladium's light needs before planting. During emergence, assess moisture before adding water to a gap. Once leaves open, compare exposure and root-zone evidence before changing several care conditions together.
Know whether you have a dormant tuber or a growing plant
A dry dormant tuber and a leafed nursery caladium need different handling. The tuber has no functioning canopy and can be held until the bed is ready. A growing plant is already losing water through leaves, has roots adapted to nursery conditions, and may need gradual exposure to outdoor wind and light. Do not use the unopened tuber timeline to justify placing a greenhouse-grown plant directly into bright sun or a cold night.
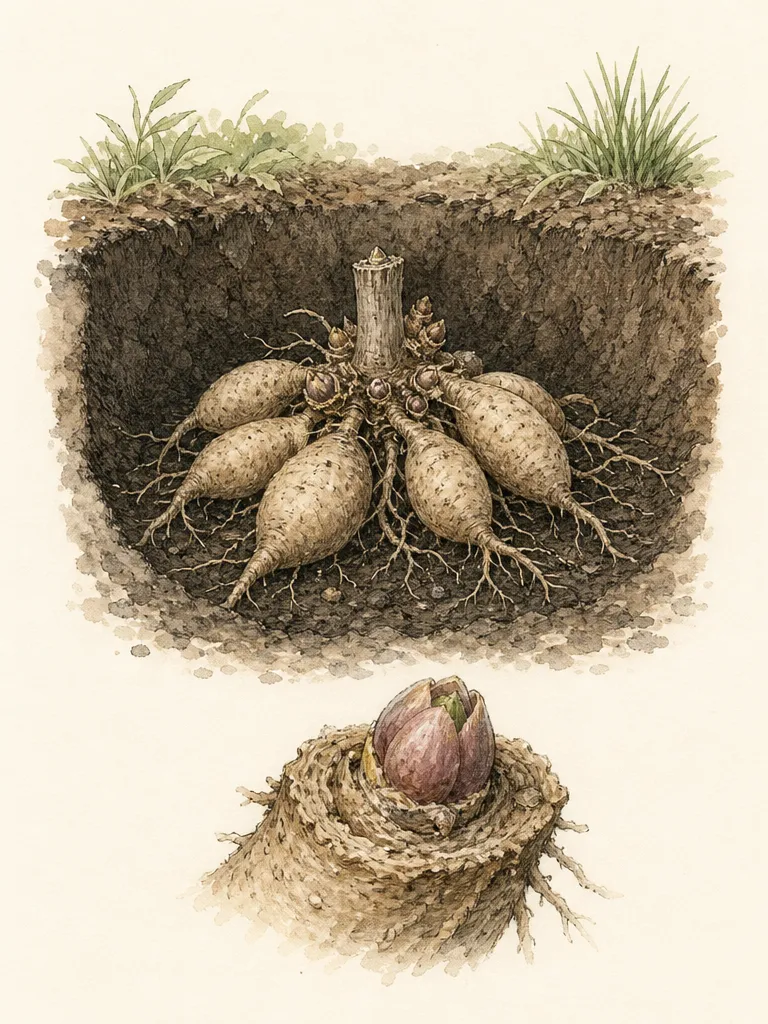
Inspect dormant stock in good light. Keep firm, intact pieces and reject material that is collapsing, extensively soft, or foul-smelling. Surface scars and irregular form are not, by themselves, planting instructions; compare the piece with the supplier's label or diagram to locate the budded side. Handle it gently. University of Minnesota Extension cautions against bruising tender storage organs, a practical reason to use a tray rather than carrying loose tubers with metal tools.
Keep cultivar labels with individual lots. Leaf color is not visible at planting, and mixed tubers make later light adjustments and design edits harder. If a package lacks a cultivar name or light recommendation, treat the plant as an unknown: begin in bright filtered light or gentle morning sun, then judge the emerging foliage before committing it to a harsher exposure. This conservative approach is more reliable than guessing tolerance from the eventual leaf shape.
Do not ingest caladium tubers or foliage. Keep both out of reach of children and pets, and wear gloves if damaged tissue or sap may contact skin. UF/IFAS gives the general ingestion and supervision caution; North Carolina State's warning is for Caladium bicolor, and the ASPCA pet listing is for Caladium hortulanum, so this article does not assign one precise toxicity classification to every cultivated caladium. Seek poison-control advice after suspected human ingestion and veterinary or animal-poison-control advice after suspected animal ingestion.
Match the cultivar to the light, not the leaf shape
University of Florida IFAS notes that many caladiums perform with a few hours of direct light and otherwise partial shade, while selected cultivars have been bred for brighter sites. Its cultivar guide is more revealing than a generic label: some named selections are suitable in sun or shade, others keep their best color in partial shade, and still others are presented for sunny conditions. The useful rule is therefore cultivar-specific placement, not the claim that every strap-leaf or fancy-leaf caladium shares one exposure limit.
Translate the label into the garden's real light pattern. Gentle morning sun followed by open shade is not equivalent to reflected late-afternoon heat beside paving. High tree shade may be bright enough for strong color, while a narrow, enclosed side yard can be too dim despite being outdoors. Map direct sun by time of day, note reflected heat, and reserve the most exposed positions for cultivars whose current supplier or institutional description supports them.
Observe after emergence rather than defending the original plan. Bleached or crisping leaf areas that correspond to the brightest period suggest excessive exposure or heat stress, although water loss and transplant shock can look similar. Very long, leaning petioles and sparse color can indicate insufficient light. Change one factor at a time, using containers or a shade panel for a reversible adjustment, and remember that tolerance can differ with climate, irrigation, and nursery conditioning.
Build a warm, draining root zone
Caladium foliage looks lush, but the dormant tuber should not begin in stagnant soil. Choose a bed or container where excess water can leave after irrigation. In a heavy garden soil, improve the whole planting area with well-finished organic matter and shape a broad, slightly raised zone rather than creating a small amended pocket that can collect water. In a pot, use a clean container with open drainage holes and a fresh, free-draining mix intended for containers.
Warmth and drainage work together. A saturated bed warms slowly because water occupies the pore space, while a loose but extremely dry mix may shed water around the tuber. Moisten container mix evenly before filling, then allow it to drain. In the ground, test after a normal watering: the soil should hold together lightly but separate when pressed, with no water pooling at the intended depth. Correct drainage before planting instead of trying to rescue a cold, buried tuber later.
Plan the foliage mass at the same time. University of Florida IFAS describes caladium as a warm-climate ornamental used in beds and containers, but final height and spread vary by cultivar. Use the supplier's mature dimensions for spacing. Leave air and visual room around smaller companions, and avoid placing the tubers where vigorous neighboring roots or a roof drip line will create alternating drought and saturation. The planting zone should remain accessible for moisture checks without trampling new shoots.
Orient and cover each tuber without guesswork
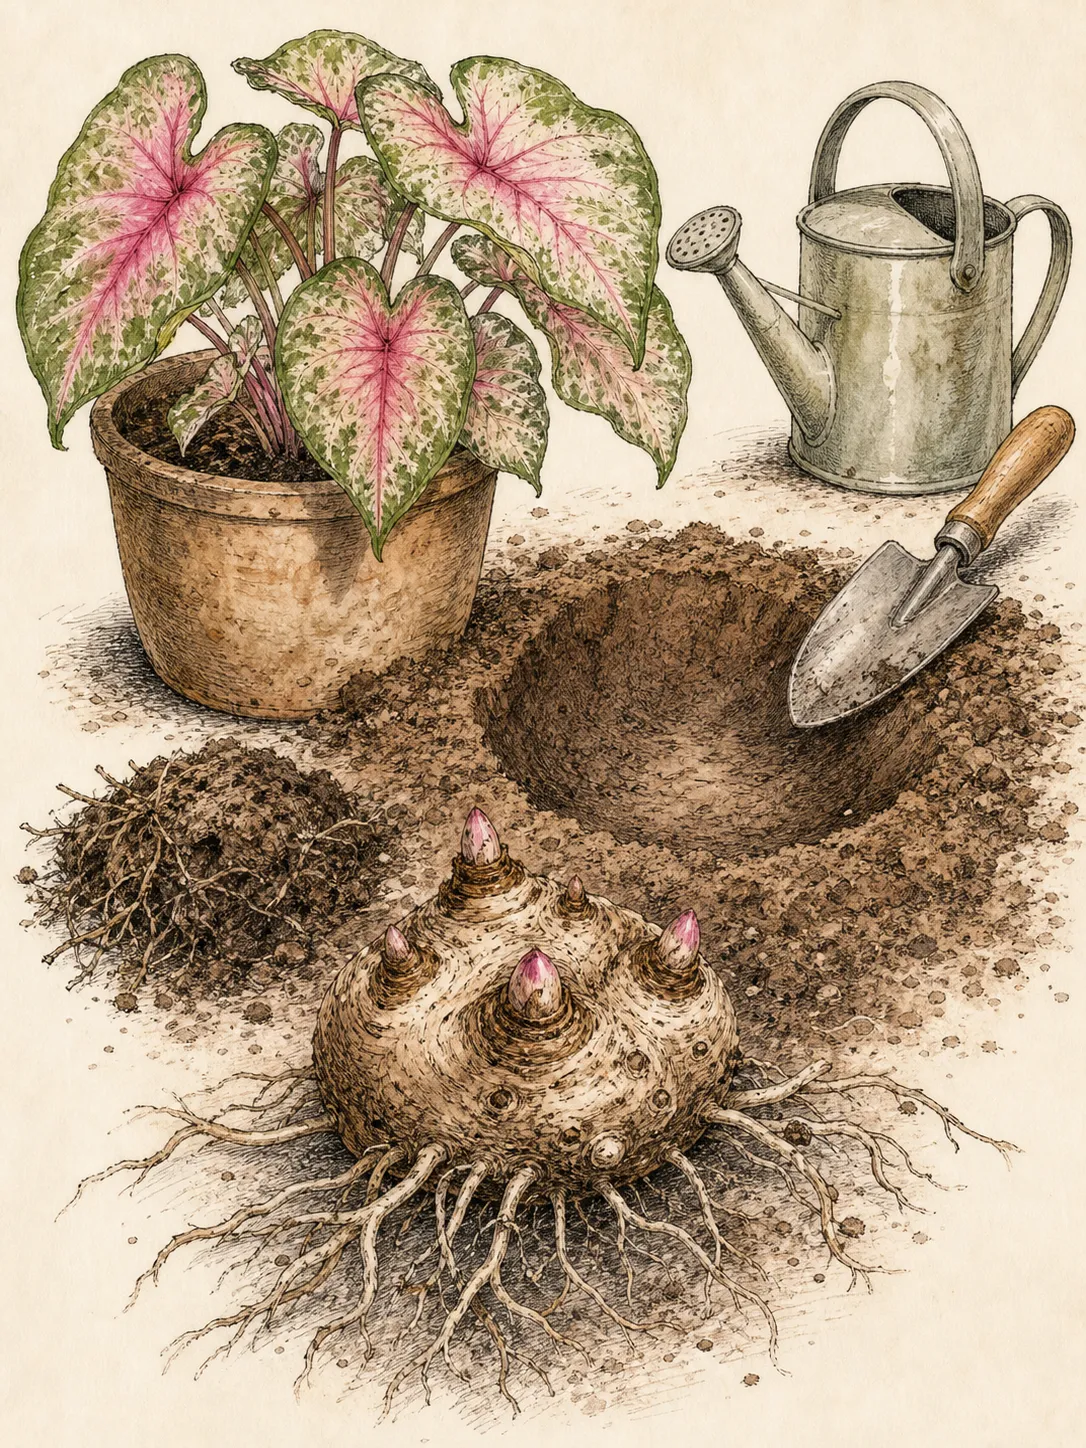
Lay out the design on the soil surface while every label is visible. UF/IFAS directs gardeners to place the tuber's eye side upward. Turn each tuber so its obvious eyes or growing points face up; if the top is genuinely unclear, consult the named supplier rather than carving or cutting the tuber. An intact piece with a slight angle can redirect growth, while damage made in search of a perfect surface cannot be reversed.
For ordinary ornamental beds under the Florida conditions addressed by UF/IFAS, cover tubers with about 2 inches of soil and space them 8–12 inches apart. Treat those as Florida-source starting values outside that scope, not as universal dimensions. Override them only when a named cultivar, tuber grade, product label, or regional authority gives a direct conflicting instruction; otherwise retain the values. Keep finished grade level so rain does not settle in a depression.
Backfill with the prepared soil without pressing hard over the buds. Firm only enough to remove large voids and stabilize the tuber. Water gently to settle the surrounding soil, then stop when the root zone is uniformly moist and excess has drained. The first watering is not an instruction to keep the unrooted tuber constantly saturated; the next decision should come from a moisture check and weather, not from a daily alarm.
Water for active roots, not for an empty calendar square
During the pre-emergence interval, check beneath the surface with a finger, wooden skewer, or narrow trowel. Water when the planting layer is becoming dry, and postpone when it remains cool and wet. Rainfall, container material, wind, shade, and root activity change the interval. A fixed daily splash can wet only the surface in hot weather, yet keep the whole profile dangerously damp during a cool week.
Once leaves expand and warm weather settles, caladiums use more moisture. University of Florida IFAS describes them as favoring moist, well-drained soil, a pairing that means even access without standing water. Apply water across the root zone and verify that it reached the mix below the surface. Empty saucers after drainage, move pots out of roof runoff, and add a thin mulch in beds only after the soil has warmed; a deep early mulch can preserve the very cool conditions the planting delay was meant to avoid.
Read the plant in context. Temporary midday softness during exceptional heat does not always mean a dry root ball, and adding water to already wet soil compounds the problem. Check first. If the root zone is dry, water thoroughly and reassess. If it is wet, investigate blocked drainage, cold weather, damaged stems, or a sudden exposure change. Keep irrigation aimed at the soil so the foliage remains an ornamental surface rather than the target of every watering.
Manage emergence as a variable stage
Emergence is not a race between neighboring tubers. Storage history, cultivar, tuber condition, planting warmth, and bud development can produce different start times in the same display. Before disturbing a quiet position, confirm that the soil has actually stayed warm and draining and compare it with a labeled tuber that has emerged. Repeated digging breaks roots and buds just when they are beginning to organize below the surface.
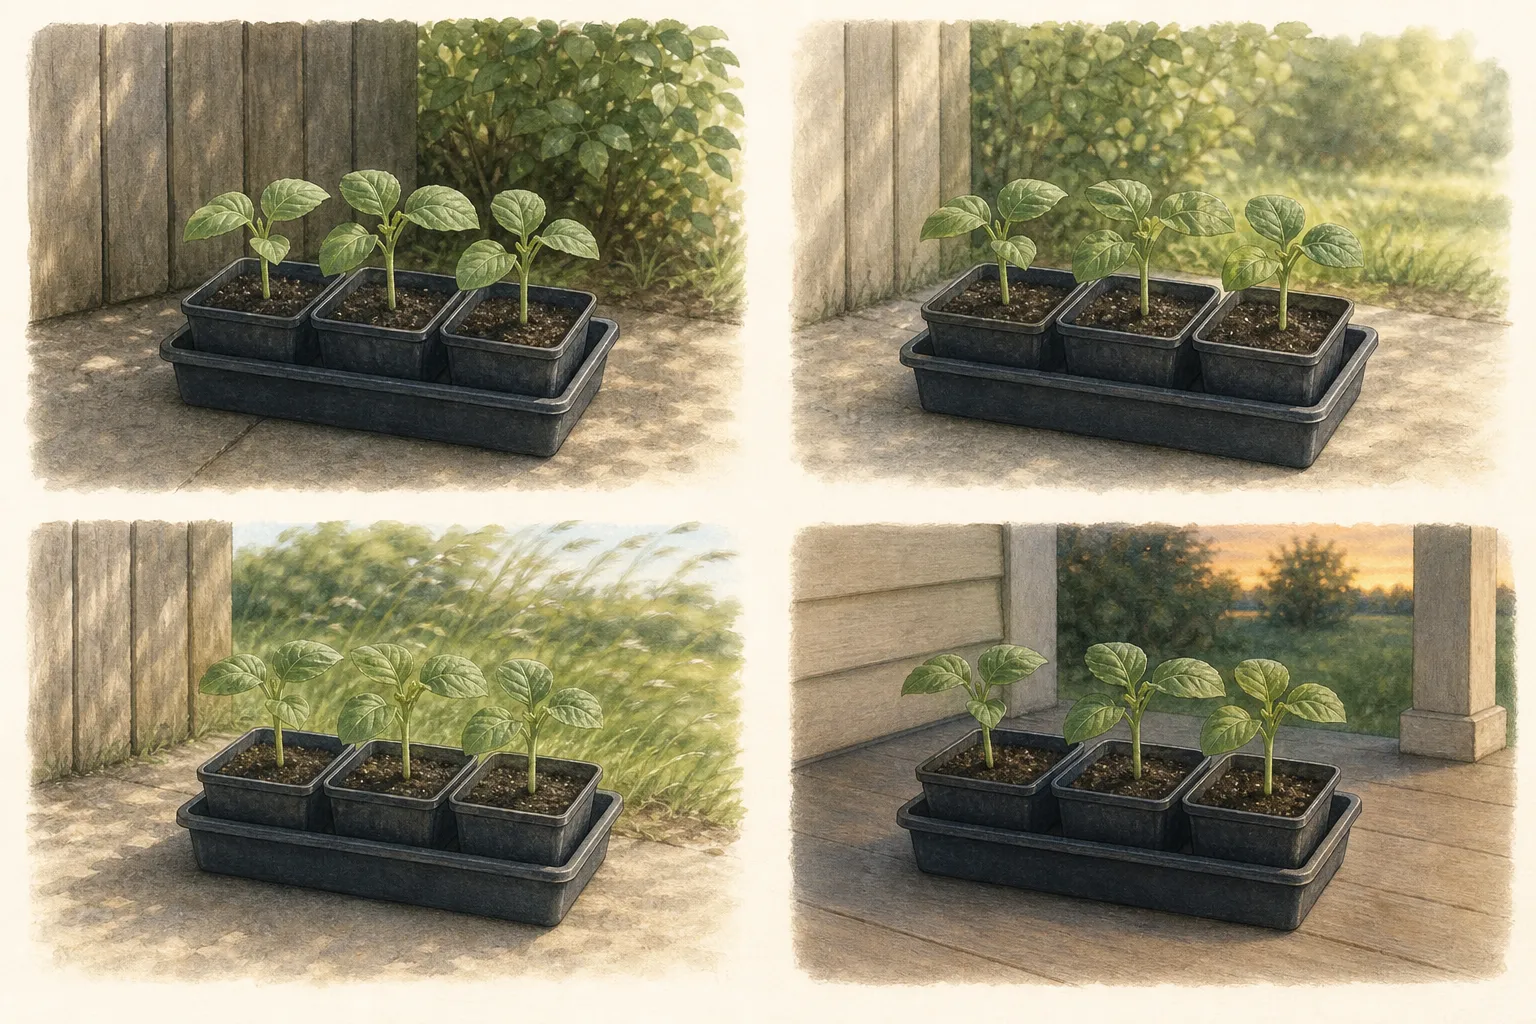
Protect the first leaves from abrupt exposure. If a newly emerged container was sheltered during a cool spell, return it to the garden over several days, beginning in its intended gentler light. Guard shoots from foot traffic, hoses, and moving furniture. Replace labels that are becoming hidden, and photograph the bed from one fixed point so cultivar vigor and color can be compared without relying on memory.
Do not use fertilizer to force a delayed tuber through cold soil. First correct warmth, drainage, and moisture. If the plant is actively growing and the medium needs nutrients, follow a soil or container-mix recommendation and the product label at an appropriate rate. Cultivar color patterns naturally include pale, white, pink, or red sectors; do not diagnose a normal leaf pattern as a nutrient shortage simply because it is not uniformly green.
Edit the display after the first full leaves
The first complete leaves reveal whether the paper plan works. Check that each cultivar is visible, that its color is not swallowed by a neighbor, and that paths remain clear of broad foliage. Move containers before roots fill the pot. In beds, avoid transplanting a newly rooted caladium merely to achieve perfect symmetry; a removable companion or small edge adjustment may solve the composition with less disturbance.
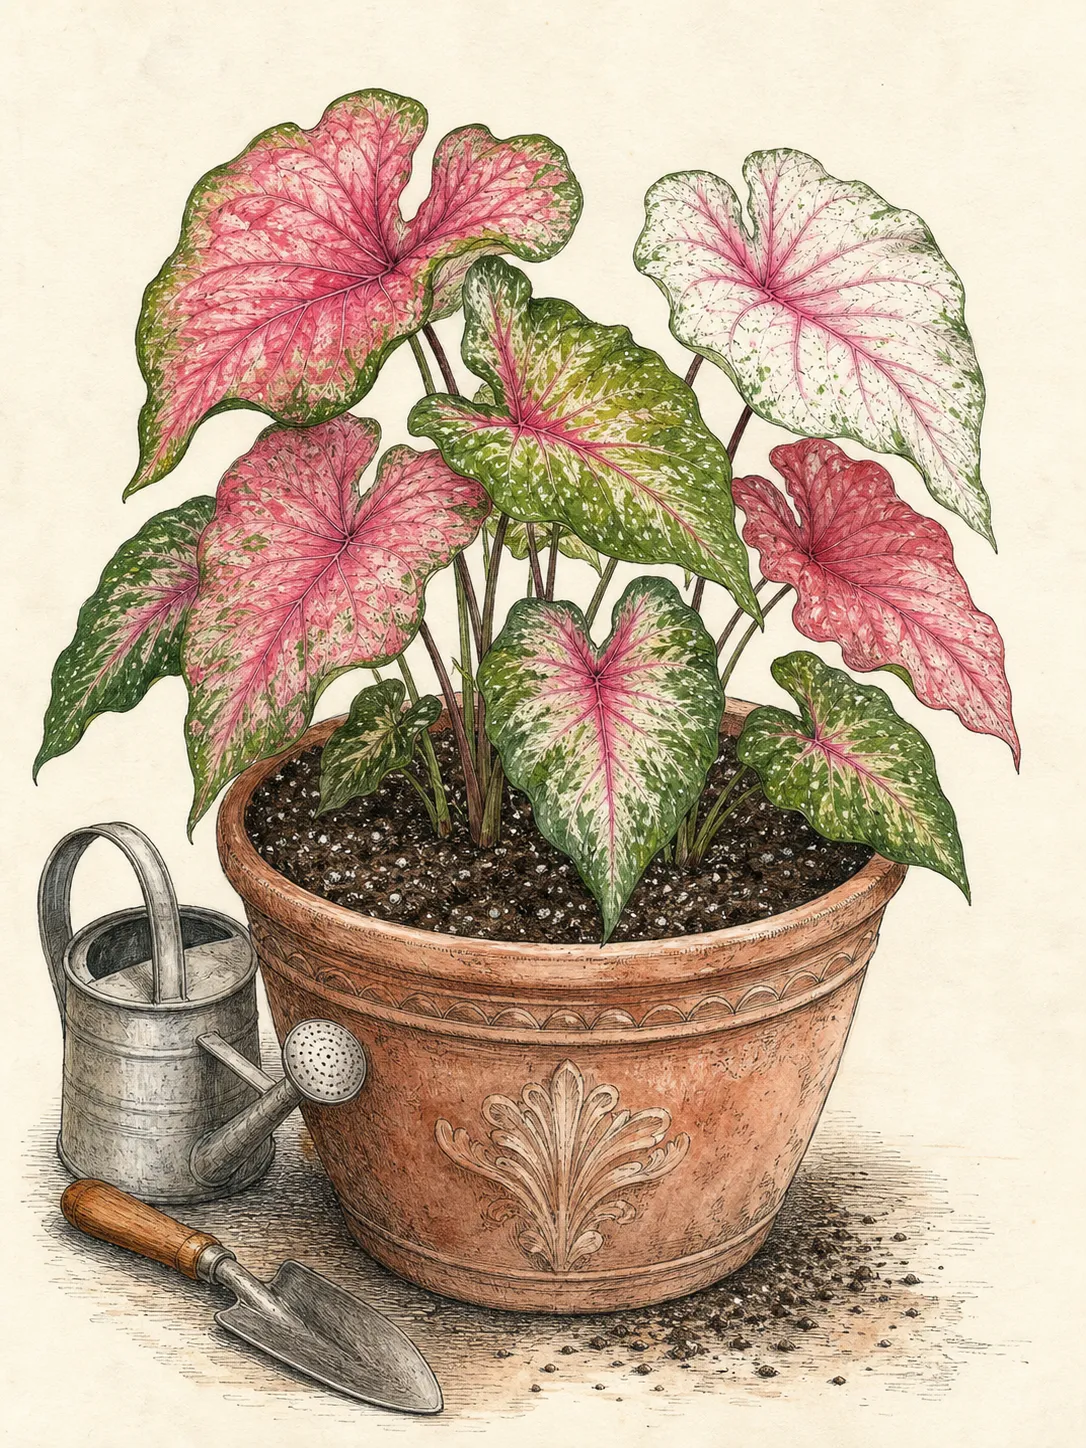
Use repetition to make mixed cultivars coherent. Repeat one leaf color near the front and back, or carry a white-veined selection between two shaded seating areas. Let a bold cultivar serve as the focal patch rather than scattering single plants through unrelated conditions. This design discipline also improves care because repeated groups can share light and irrigation, while individually mismatched plants demand contradictory treatment.
Keep regional expectations explicit. In frost-free or nearly frost-free climates, caladium timing and persistence follow local seasonal heat and moisture rather than a northern spring calendar. In cold-winter regions, the outdoor display is seasonal and tubers are not assumed hardy in the ground. Follow local extension guidance for lifting or replacing tubers, and use cultivar records to decide which combinations deserve space the following year.
Close the season with useful records
Record the planting date, the week nights stabilized, the bed's morning soil condition, and the first full leaf. These notes turn a vague instruction such as plant after frost into a garden-specific pattern. Add the cultivar's actual light window and whether color, posture, and leaf finish remained satisfactory through the brightest part of summer. One season cannot define every future spring, but it can expose a consistently cold pocket or an unexpectedly bright site.
Before cool weather returns, decide whether the display will be treated as annual or whether tubers will be stored under regionally appropriate conditions. That decision depends on climate, available storage, cultivar value, and plant health. Do not promise perennial return from a general article. University extension guidance is written for particular regions, and local frost timing and storage humidity can differ materially from the conditions in Florida, Illinois, or Minnesota.
Keep the best labels with photographs rather than relying on leaf-color descriptions. Note which cultivar tolerated morning sun, which needed filtered light, and which container dried too quickly. The next planting then begins with evidence: wait for warmth, prepare drainage, place by cultivar, and water by the root zone. Those decisions matter more than gaining a few premature days of foliage.
Steps
- Level
- easy
- Time
- Thirty to sixty minutes to assess and plant one prepared bed or several containers, followed by brief moisture checks through emergence
- Tools
- Hand trowel, Soil thermometer or reliable local soil-temperature report, Watering can or hose with a gentle breaker, Plant labels and weatherproof pencil, Gloves
- Materials
- Firm, labeled caladium tubers, Well-drained garden soil or fresh container mix, Containers with open drainage holes when potting, Finished organic amendment where a broad bed requires it
- 1Confirm a genuinely warm planting window
Wait until frost danger has passed, successive night forecasts are staying in the 50s Fahrenheit range or warmer, and soil at the intended depth is at least 60°F. UF/IFAS gives 60–70°F as its warm-soil range; use the lower value as a Florida-source planting gate and adjust only for direct regional guidance and the actual bed. Delay during a cold, wet pattern even if the calendar date looks conventional.
- 2Identify the stock and preserve the labels
Separate dormant tubers from already leafed plants. Group dormant pieces by named cultivar, keep each label attached to its tray, and inspect for firmness and integrity. Handle gently to avoid bruising. A growing nursery plant needs acclimation to outdoor light and wind; a dormant tuber needs a warm root zone, not the same transition treatment.
- 3Map light by cultivar
Read the named cultivar's current light guidance, then map direct morning light, filtered canopy light, reflected heat, and strong afternoon exposure. Many caladiums suit partial shade, while particular cultivars tolerate or prefer brighter conditions. Place unknown stock conservatively where light is bright but filtered and where a container can be moved if foliage objects.
- 4Prepare drainage before opening a hole
Test the intended layer after watering. Correct pooling, compaction, or blocked container holes before planting. Loosen a broad bed rather than filling a small basin with fluffy amendment, and pre-moisten container mix so it accepts water evenly. The finished root zone should be moist, aerated, and able to drain during a rainy cool interval.
- 5Lay out, orient, and plant
Arrange labeled tubers with the eyes upward. In an ordinary ornamental bed, begin with the UF/IFAS Florida values of about 2 inches of soil over the tuber and 8–12 inches between tubers. Override them only when a named cultivar, tuber grade, product label, or regional authority supplies a direct conflicting instruction. Do not cut or bruise a sound tuber to make its anatomy easier to read.
- 6Settle the soil once
Backfill without hard compression and water gently across the planting zone until surrounding soil is evenly moist and drainage is visible. Empty container saucers. Do not convert this settling irrigation into automatic daily watering; the unrooted tuber has little capacity to use excess moisture, especially when a cool spell follows planting.
- 7Check moisture through emergence
Probe below the surface and water when the planting layer is becoming dry. Postpone when it remains cool or wet. Allow for uneven emergence between cultivars and avoid exploratory digging while conditions remain appropriate. Protect first shoots from traffic and reintroduce sheltered containers to their intended light over several days.
- 8Review light, water, and records
After full leaves open, assess color, crisping, leaning, and the verified root-zone moisture before changing care. Move a container or add temporary filtering rather than making several corrections at once. Record cultivar, planting warmth, first leaf, actual light window, and seasonal performance so next year's timing and placement reflect this garden rather than a generic date.
Related reading
Sources
- Tropical Plants. University of Illinois Extension. Source record · Accessed 2026-08-19.
- Planting Bulbs, Tubers and Rhizomes. University of Minnesota Extension. Source record · Accessed 2026-08-19.
- Caladiums. University of Florida IFAS Extension. Source record · Accessed 2026-08-19.
- Caladium Cultivars. University of Florida IFAS Extension. Source record · Accessed 2026-08-19.
- Caladium bicolor. North Carolina State Extension. Source record · Accessed 2026-08-19.
- Toxic and Non-toxic Plants: Caladium. ASPCA Animal Poison Control Center. Source record · Accessed 2026-08-19.