Grow · bare root peony early fall planting
Plant Bare-Root Peonies in Early Fall at the Right Depth
Set dormant herbaceous peony divisions shallowly, with room for the mature crown, before autumn soil cools and winter closes the planting window.
Published Last updated
In this guide
- Use the fall window for the right kind of peony
- Read the dormant division before digging
- Choose sun, drainage, and space before amending soil
- Build a broad, stable planting base
- Set the eyes shallowly, measured from finished grade
- Backfill and water without lowering the crown
- Give the mature crown a permanent place
- Use winter protection without burying the eyes
- Steps
Use the fall window for the right kind of peony
This method is for dormant divisions of herbaceous peonies: the familiar garden peonies whose stems die to the ground each winter and rise from buds, commonly called eyes, on a fleshy crown. It is not a planting-depth rule for grafted tree peonies. Those woody plants are handled differently, and a graft may deliberately be buried. Intersectional peonies also deserve the nursery's cultivar-specific instructions. Confirm the label before the soil is opened; a shallow herbaceous crown and a grafted woody peony should never be treated as interchangeable packages.
Early fall is useful because the soil can remain workable after summer heat has eased while the dormant crown has time to settle before hard winter conditions. The calendar is regional rather than universal. Iowa State University Extension identifies September as the best transplanting period in Iowa. University of Minnesota Extension gives a broader northern rule for spring- and summer-flowering perennials: divide in fall with roughly four to six weeks before the ground freezes. The Royal Horticultural Society places bare-root herbaceous peony planting in late autumn under UK conditions. Use soil condition and the approach of freeze, not a copied month alone, to translate that guidance to a garden.
Do not rush a crown into saturated ground merely because a parcel has arrived. Peonies need a site that drains and a hole whose soil can be worked without smearing into a glazed basin. If prolonged rain has made the chosen bed airless, hold the dormant plant exactly as its supplier directs while conditions improve, or ask the supplier about a temporary pot. The durable decision is the permanent grade and drainage route; losing those to meet a shipping date is a poor exchange for a plant expected to remain for decades.
Read the dormant division before digging
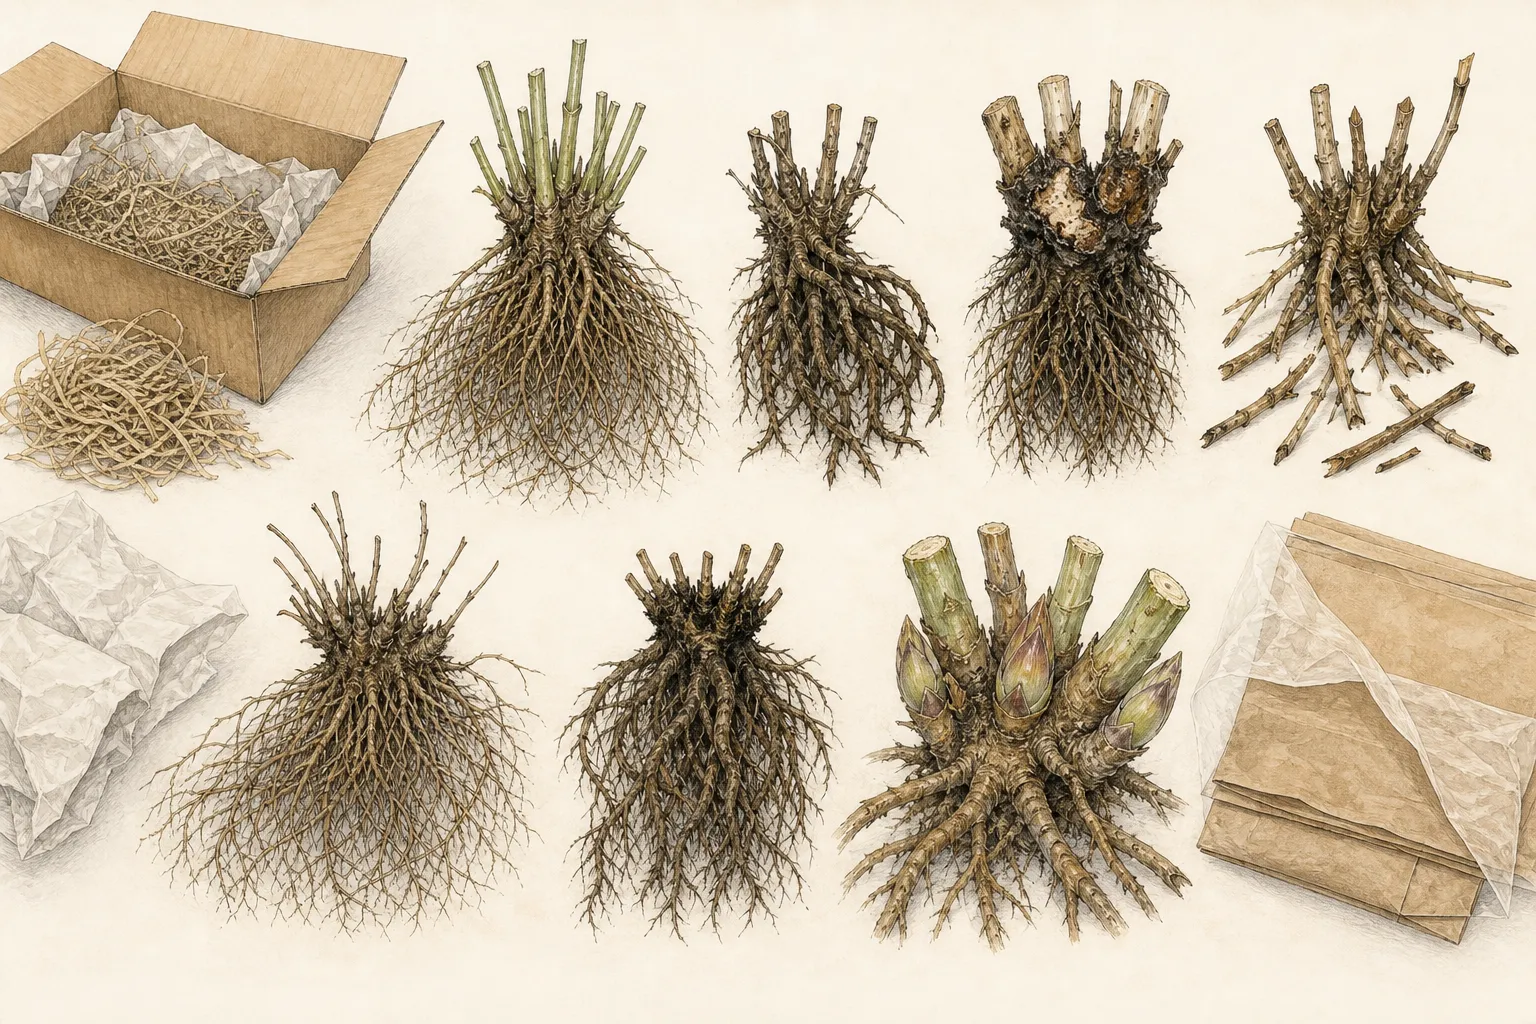
Open the package in shade and keep the name attached to the crown. A useful division has firm fleshy roots and recognizable live eyes rather than a soft, collapsing center. Iowa State describes divisions with three to five eyes; Missouri Botanical Garden likewise recommends roots carrying three to five pink eyes for fall planting. Size alone is not a promise of immediate bloom, but a coherent crown with several sound buds is easier to orient and establish than scattered fragments. Photograph damage before trimming or discarding packing, especially when a supplier claim may be needed.
Distinguish dormancy from decay. Dry outer scars and old stem bases can look rough without being active rot. More concerning signs are softness spreading through the crown, a sour or foul odor, wet dark tissue, or roots separating from a collapsing center. Remove only clearly broken or dead tissue with a clean sharp tool; exploratory cutting through healthy crown tissue creates a wound without improving the diagnosis. If condition or identity remains doubtful, isolate the division and contact the supplier rather than planting uncertainty beside an established collection.
Find the eyes before setting the crown down. They are the pointed pink, red, cream, or pale buds clustered around the upper crown; the fleshy roots extend below and outward. Lay the division on the soil once before final placement and let the roots take their natural directions. A hole is too narrow if roots must be braided, curled tightly upward, or snapped to fit. The goal is not a perfect radial display, but an unforced crown whose eyes can face upward at one consistent shallow grade.
Choose sun, drainage, and space before amending soil
A peony planting hole cannot compensate for a poor permanent site. Iowa State recommends a sunny, well-drained position receiving at least six hours of direct sun daily. RHS guidance similarly favors full sun and fertile soil that does not become waterlogged. A little moving shade at an edge may be acceptable, but dense overhead canopy brings both reduced light and aggressive root competition. Check the site on a clear day and note where roof runoff, irrigation, or a slight hollow sends water after a storm.
Test drainage as a pattern in the bed, not as a moment in a small hole. Soil that remains saturated around the crown in cool weather is a larger risk than soil that merely feels moist after rain. Where water collects, change the bed grade or choose a better site rather than placing gravel beneath the root like a sump. Improve the wider planting area with appropriate organic matter if the soil needs structure, while retaining enough native soil that the root zone does not become a soft isolated pocket that settles below the surrounding grade.
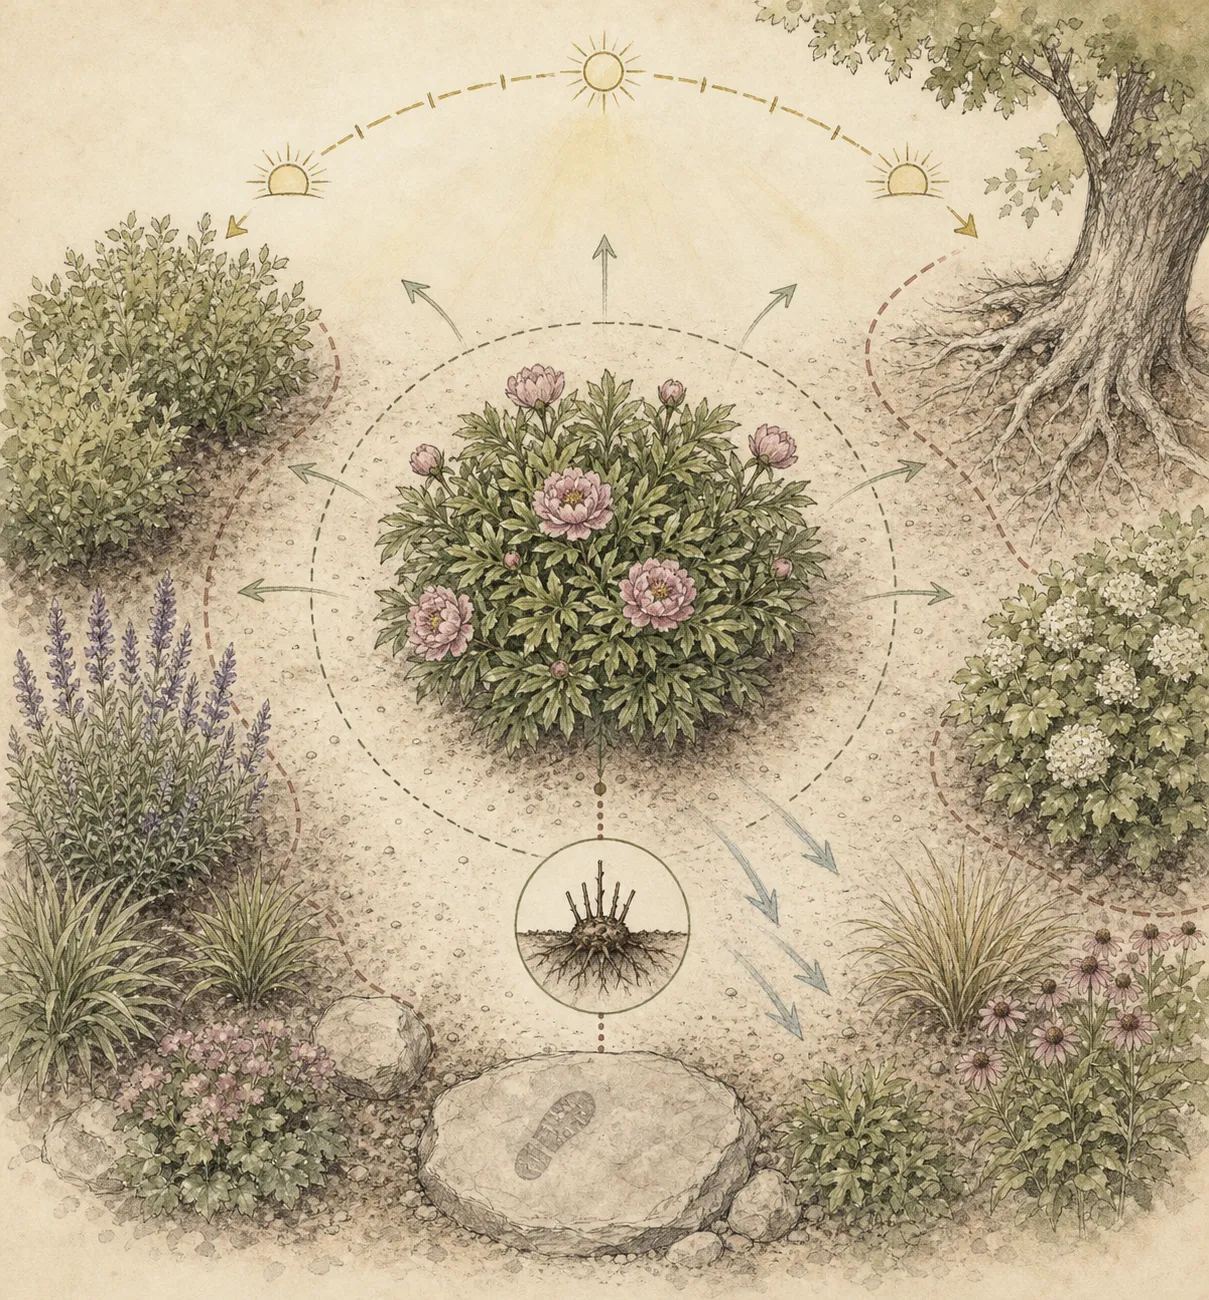
Reserve the mature footprint now. Iowa State advises spacing peonies about three to four feet apart; Missouri Botanical Garden describes plants occupying about a three-foot diameter, while RHS suggests roughly one metre between herbaceous peonies. Those figures converge on the same design truth: a small dormant root becomes a broad, long-lived clump. Mark the center, then stand at the bed edge and confirm that future stems will not block a path, press into a shrub, disappear behind taller growth, or become unreachable when supports and post-bloom care are needed.
Build a broad, stable planting base
Clear perennial weeds beyond the eventual hole, especially running roots that would be difficult to remove from a peony crown later. Dig broadly enough to accept the roots without forcing them. Loosen compacted soil beneath and around the planting zone, but avoid leaving a deep pillow of fluffy fill directly under the crown. That loose layer can collapse after watering and carry correctly placed eyes too deep. Re-firm the base with the flat of a hand until it supports the division while still crumbling rather than polishing.
Blend amendments through the wider root zone instead of making a rich central bowl. Compost can improve suitable soil, but fertilizer is not a substitute for structure, and concentrated material should not touch dormant roots. The final mixture should drain in continuity with the surrounding bed. On heavy soil, a modest raised grade across the bed may be more reliable than a deep amended pit. On very sandy soil, organic matter distributed broadly helps moderate rapid drying without turning the crown itself into a buried reservoir.
Before setting the plant, place a straight board or tool handle across undisturbed soil on both sides of the hole. This line represents finished grade, not the bottom of nearby mulch and not the temporary mound of excavated soil. Keep it available through backfilling. The most consequential measurement in this job is taken from that line to the upper eyes after soil has been firmed, because the surface seen during digging may move once water removes hidden air pockets.
Set the eyes shallowly, measured from finished grade
Place the crown on the firm base with eyes facing upward and roots spreading down and outward. Add or remove soil beneath whole sections of the root rather than balancing the crown on one narrow lump. The division does not need to be perfectly level if its anatomy is irregular; the live eyes need to finish at the intended depth. Hold the board across the hole and measure vertically from its underside to the upper eye cluster.
Published depths vary slightly with regional guidance, but all are notably shallow for herbaceous peonies. Iowa State specifies one to two inches of soil above the buds. University of Minnesota recommends replanting peonies at about one and a half inches, and Missouri Botanical Garden says the eyes should be no more than one and a half inches below the surface. RHS guidance for UK gardens is shallower still: eyes no more than about one inch, or 2.5 centimetres, below the surface. Follow the closest local authority and cultivar instructions within this narrow range rather than averaging the numbers into false precision.
Depth is measured after the soil returns, not while the crown sits exposed in an oversized crater. Begin backfilling around the lower roots, working soil gently between them so large voids do not remain. Recheck the crown before covering the eyes. If a label, mulch layer, or decorative top-dressing will be added later, none of it should silently increase the biological planting depth. Keep organic mulch away from the crown zone and treat finished mineral soil as the reference plane.
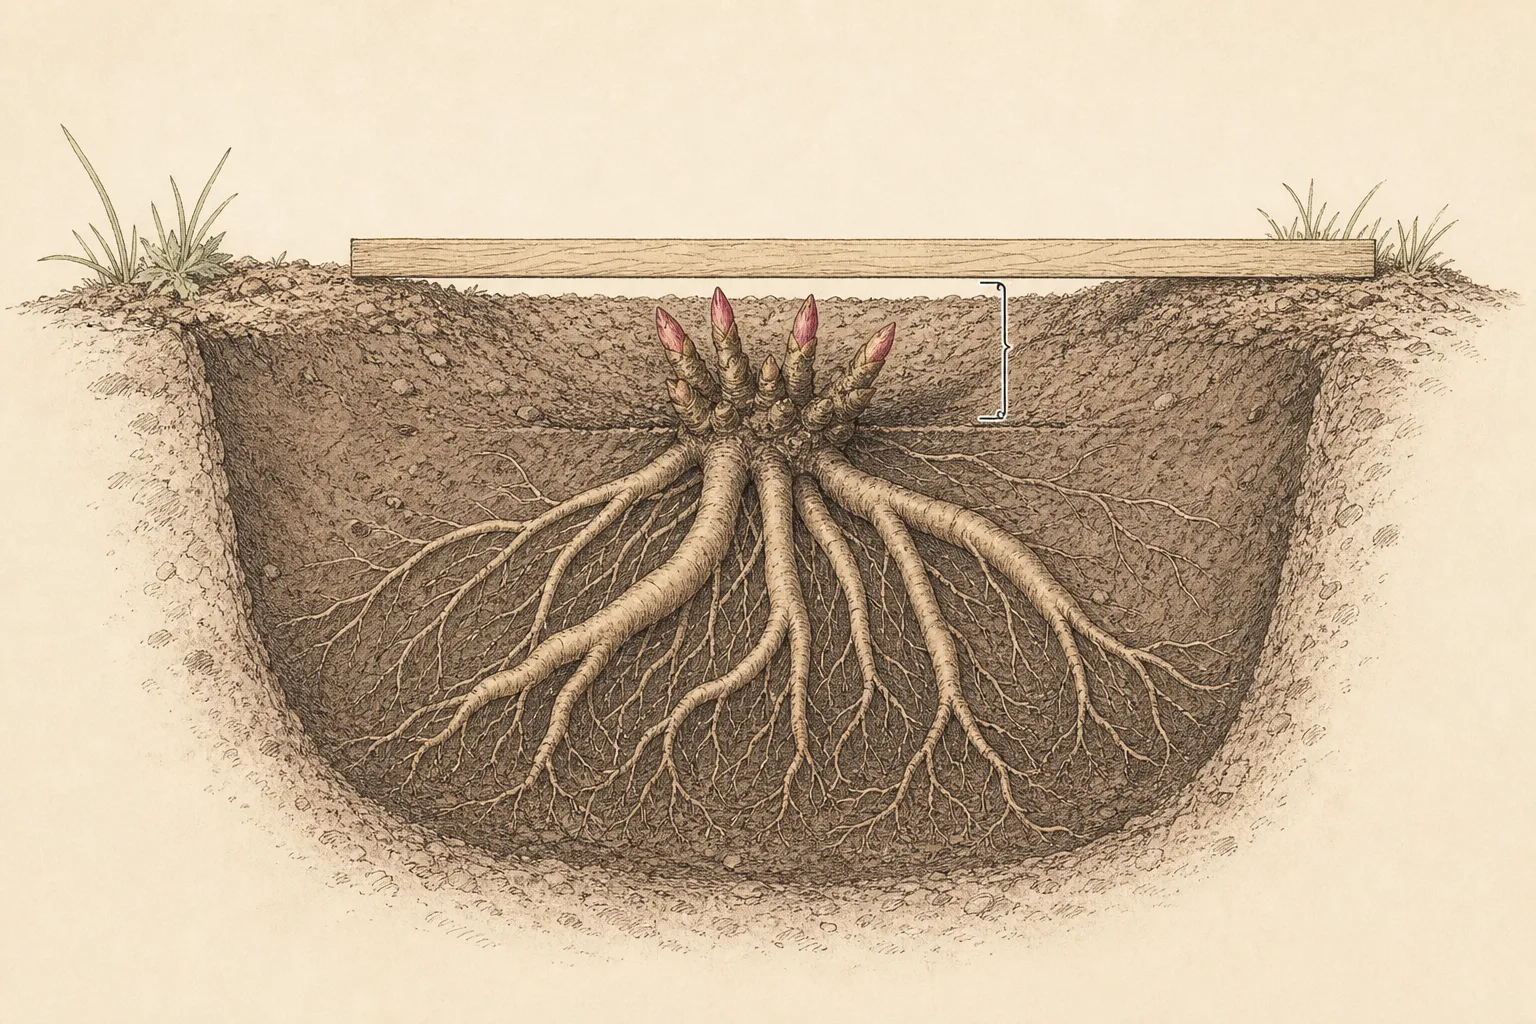
Planting too deeply is a classic reason an otherwise healthy peony produces foliage but little or no bloom. The response is often delayed, which makes the original mistake easy to forget. Record the measured depth, take a photograph with the board in place, and mark the crown center. That small record is more useful next spring than digging around new shoots to rediscover where the eyes were set.
Backfill and water without lowering the crown
Return soil in stages, crumbling clods and supporting roots as the level rises. Firm with hands rather than stamping around the fleshy crown. Heavy foot pressure can compact a wet planting zone or break roots while still leaving a void under the center. When the hole is nearly full, check the board and eye depth again. Correct the grade now; pulling a settled crown upward after every root has been buried is much more disruptive.
Water thoroughly enough to settle soil around the roots, then watch where the surface drops. The purpose is root-to-soil contact, not a permanently soaked basin. If the crown sinks below the planned grade, reset it before finishing rather than adding a label that says it began correctly. Restore the surrounding surface so water can enter the root zone but excess does not funnel into the crown from paths, downspouts, or a raised neighboring bed.
During the first autumn, keep the root zone evenly moist when rainfall is insufficient, while allowing drainage and cool-season oxygen around the crown. RHS guidance emphasizes watering newly planted peonies through the first year. There is no benefit in repeatedly flooding dormant roots on a fixed schedule. Check the soil a short distance from the crown, account for rain and temperature, and water when conditions indicate that the establishing roots need it.
Give the mature crown a permanent place
Replace temporary center markers with a durable label set slightly outside the crown, where it will not spear a root during future work. Map the mature circle rather than planting companions against the tiny dormant package. Low spring bulbs can share visual space, but a vigorous groundcover, woody shrub, or dense perennial should not close the air and access around emerging peony stems. Leave a reachable route for staking, deadheading, inspection, and autumn cleanup.
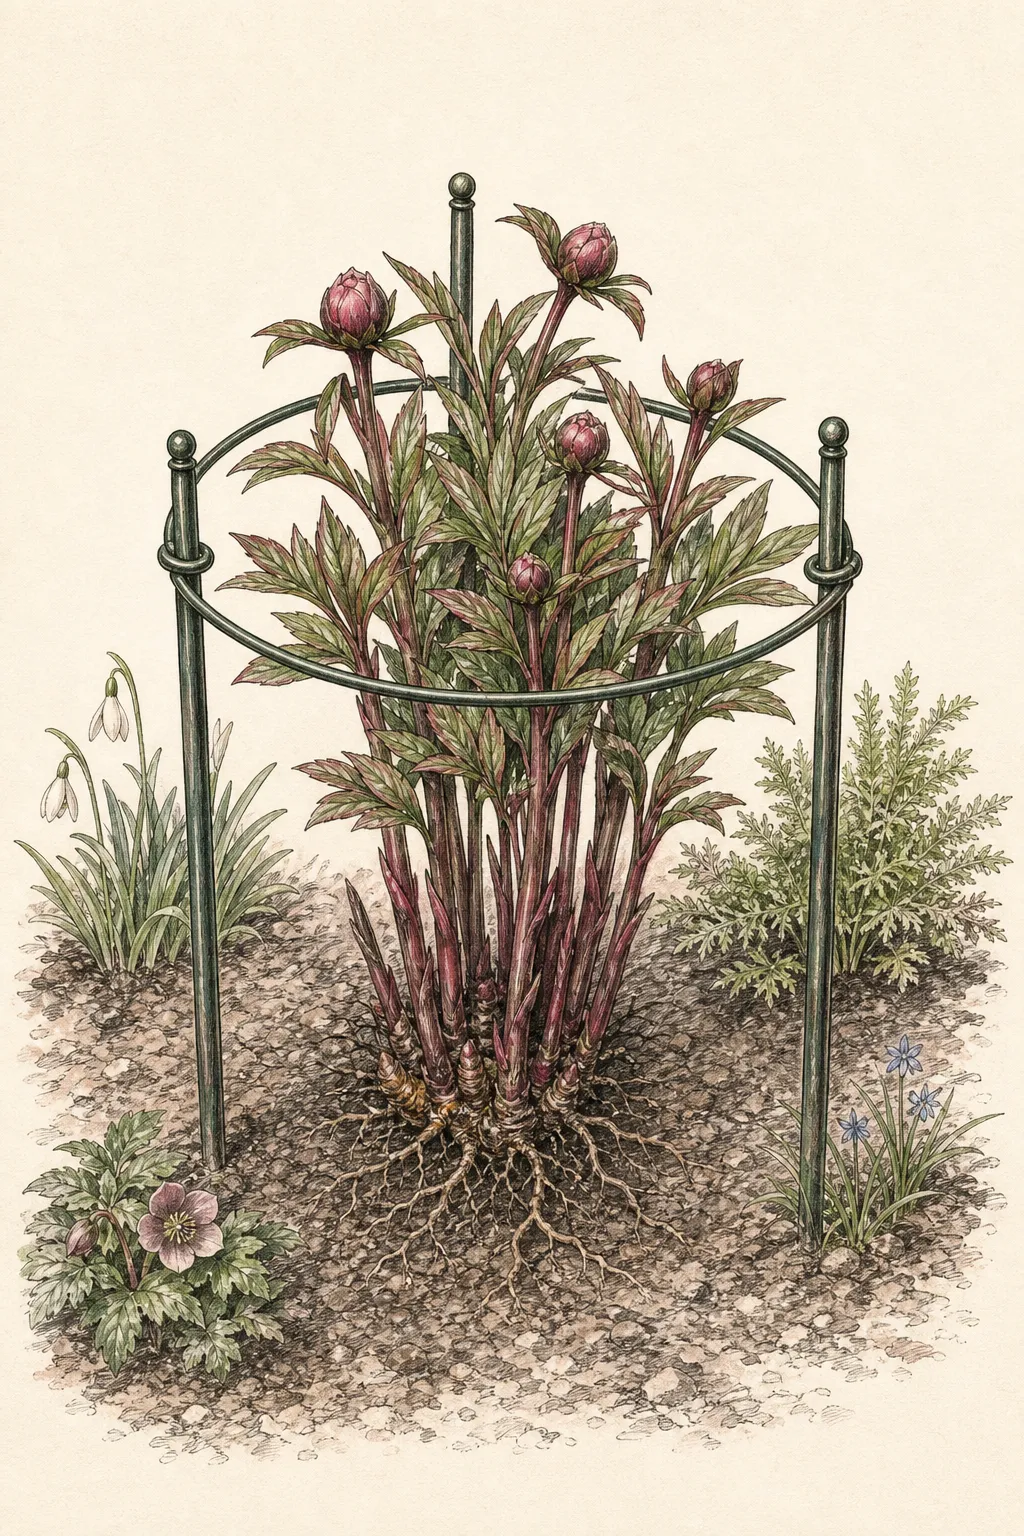
Consider the view after bloom as carefully as the brief flowering peak. Peony foliage can remain a substantial green mass through summer, so arrange neighboring plants to complement that volume without leaning across it. If the cultivar is known to carry heavy double flowers, decide where an unobtrusive support can be installed before stems lengthen next spring. Do not place a permanent ring over a new division in fall; simply preserve the access and label the intended support position.
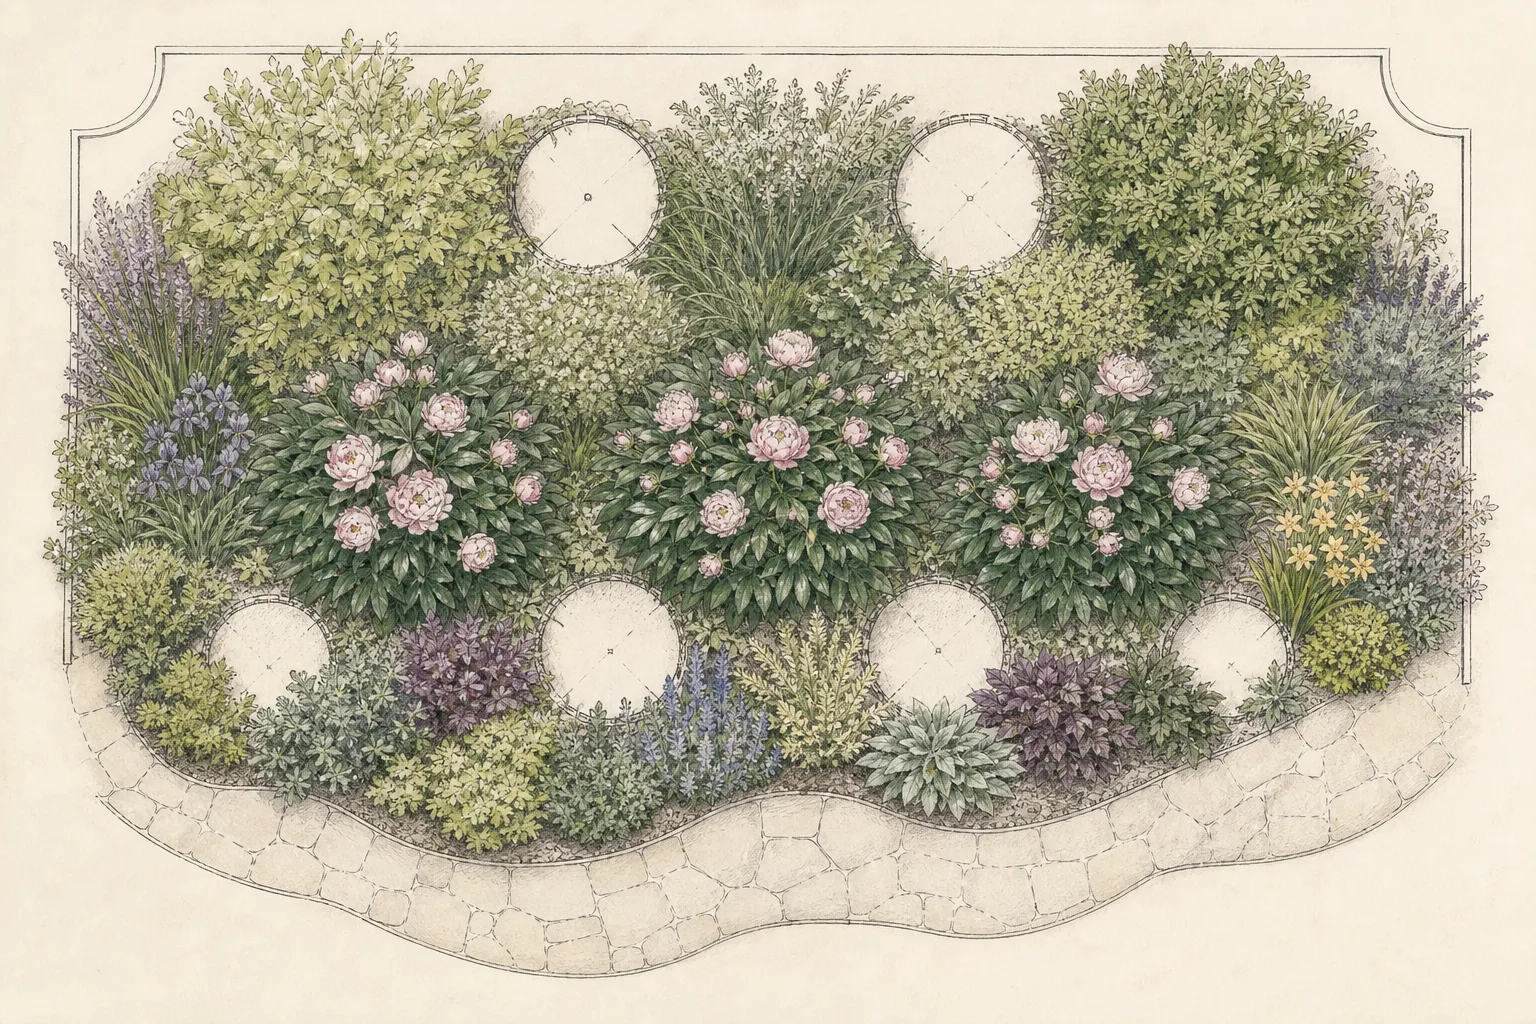
Protect the new site from accidental disturbance. A bare autumn bed invites later bulbs, edging work, and winter foot traffic precisely where shallow eyes lie. Use a discreet perimeter marker or planting map rather than piling material over the crown. The open circle in the plan is functional: it preserves sunlight, airflow, drainage, and room for the plant to achieve its expected three- to four-foot spread without annual rescue pruning around it.
Use winter protection without burying the eyes
Winter treatment depends on climate. Iowa State advises applying four to six inches of mulch to newly divided peonies in mid to late November, then removing it in early spring. That is cold-climate establishment protection applied after the season has advanced, not permission to leave a deep blanket over the crown year-round. In milder or wetter regions, thick moisture-holding mulch can create a different problem. Follow local Extension or comparable regional guidance and keep the shallow planting grade legible.
Where freeze-thaw heaving is a concern, inspect after the soil first settles and again near spring thaw without excavating the crown. If soil has eroded, restore the finished grade gently. If protective mulch was used, draw it away as growth begins so the eyes are not converted into deeply buried buds. Keep records of unusual winter exposure—standing water, animal digging, early warm spells, or repeated heaving—because those observations explain spring condition better than a generic calendar note.
Do not expect the planting to repay careful work with a full flower show immediately. University of Minnesota notes that divided peonies can take years to bloom, and Missouri Botanical Garden says divisions may need two or three years to regain abundant flowering. The first useful signs are firm emergence, expanding stems, and a stable crown at grade. Avoid lifting a quiet plant merely to inspect it; give sound roots time unless odor, collapse, standing water, or another specific sign points to failure.
Steps
- Level
- moderate
- Time
- 45–75 minutes per division, excluding site improvement
- Tools
- Spade or garden fork, Straight board or tool handle, Ruler, Clean sharp knife or pruners, Watering can or hose
- Materials
- Labeled herbaceous peony division, Site soil and appropriate mature compost, Durable plant label, Regional winter mulch if required
- 1Confirm the plant type
Verify that the package contains a dormant herbaceous peony division, retain the cultivar label, and use separate nursery guidance for grafted tree peonies or any crown whose identity is uncertain. Photograph the unopened label and crown together so identification survives planting and later questions about growth habit or depth.
- 2Choose the regional window
Plant while soil is workable and cool, allowing roughly four to six weeks before ground freeze in northern climates; postpone work in saturated soil and translate calendar advice through local conditions. Check the forecast, present soil moisture, and local freeze pattern rather than treating a national month name as a planting deadline.
- 3Inspect crown and eyes
Look for firm fleshy roots and several recognizable live eyes, document shipping damage, isolate soft or foul-smelling decay, and trim only tissue that is clearly broken or dead. Keep each cultivar separate and preserve supplier evidence before changing a damaged division enough to obscure its arrival condition.
- 4Reserve the mature site
Choose well-drained ground with strong direct sun and mark a three- to four-foot mature footprint clear of aggressive tree roots, path conflicts, and dense neighboring crowns. Observe runoff direction and retain a reachable edge for future support, inspection, deadheading, and autumn cleanup.
- 5Prepare a stable hole
Dig broadly enough for unforced roots, improve the wider soil rather than creating a rich sump, and re-firm loose fill beneath the crown so later watering cannot pull the eyes downward. Lay a straight board across undisturbed ground before setting the division to preserve an honest finished-grade reference.
- 6Measure the eye depth
Set eyes upward and use a board across finished grade to place them within locally recommended shallow depth—commonly about one to two inches—before and during backfilling. Measure to the upper live eye cluster and exclude mulch or decorative top-dressing from the soil-depth calculation.
- 7Settle without sinking
Firm soil by hand around the roots, water to remove voids, inspect the settled surface, and immediately reset any crown that has dropped below its measured planting grade. Restore the surrounding grade so rainfall enters the bed without being concentrated over the crown.
- 8Protect and record
Label the crown outside its root center, keep autumn moisture even but drained, apply regional winter protection only when advised, remove it in spring, and retain depth and site photographs. Judge first-year success by stable emergence and establishment rather than demanding a full flower display from a newly divided plant.
Related reading
Sources
- Transplanting and Dividing Peonies. Iowa State University Extension and Outreach. Source record · Accessed 2026-08-20.
- Dividing Perennials. University of Minnesota Extension. Source record · Accessed 2026-08-20.
- Herbaceous Peony Growing Guide. Royal Horticultural Society. Source record · Accessed 2026-08-20.
- How Do I Grow Peonies?. Missouri Botanical Garden. Source record · Accessed 2026-08-20.