Grow · tropical hibiscus indoor winter care
Overwinter Tropical Hibiscus Indoors as Autumn Light Fades
Prepare a bright indoor winter home for tropical hibiscus, adjust water as growth slows, and distinguish autumn leaf loss from problems needing attention.
Published Last updated
In this guide
- Bring tropical hibiscus in while nights are still mild
- Choose the winter conditions you can actually provide
- Set the pot beside the window with room to inspect it
- Prepare the branches and inspect the returning plant
- Replace the summer watering routine with a pot check
- Read leaf and bud loss before changing the care
- Hold fertilizer and major pruning for renewed growth
- Plan the return to the patio
- Steps
Bring tropical hibiscus in while nights are still mild
Move a potted tropical hibiscus into a bright, protected indoor position before autumn nights become cold, then reduce watering as its growth slows. For Hibiscus rosa-sinensis, the RHS advises bringing outdoor pots inside before temperatures fall below 12°C (59°F). Mid-October can be a useful preparation window in some temperate gardens, but a colder local forecast calls for an earlier move. Waiting for blackened leaves would leave this leafy shrub exposed to conditions the indoor move is meant to prevent.
Confirm the name on the nursery label first. Hibiscus rosa-sinensis is the tropical woody hibiscus often sold for summer patios. A hardy perennial rose mallow and a woody rose of Sharon have different winter habits. Flower size or a red flower alone cannot settle the identity. Keep the original label, cultivar name and a whole-plant photograph together if the pot arrived simply labeled hibiscus; ask the supplying nursery to resolve an uncertain name before choosing winter accommodation.
Plan to preserve a usable plant for next summer. Flowers indoors are a possible extra, and their absence does not by itself mean the winter care has failed. A large summer canopy may lose leaves after its move. Reserve a place where you can inspect the branches and the pot, tolerate some fallen foliage, and keep the plant for several months. A temporary doorway display is awkward accommodation for a shrub that must eventually be moved again.
Choose the winter conditions you can actually provide
For a plant that will retain foliage, choose the brightest suitable room or conservatory available. Minnesota Extension describes a sunny south or west exposure with four to five hours of direct light for good indoor bloom, and daytime temperatures of 65–75°F (18–24°C) as best. Treat these as flowering conditions. A hibiscus kept simply to carry it through winter may grow much more slowly, especially when daylight is short.
RHS guidance describes bright filtered light and a cooler protected regime, with minimum nights around 7–10°C (45–50°F). It allows for semi-dormancy and reduced watering in cool conditions. Maryland also describes dormant storage as an option. Those recommendations do not make a dark garage equivalent to a bright living room. Choose a bright indoor position for the leafy plant; cooler storage requires care matched to reduced growth throughout that period. The difference in light advice also matters: Minnesota describes direct window light for flowering, while RHS favors filtered light. Match the position to your actual glazing and exposure, and reassess if foliage shows scorching.
Write down which space you are using and what it offers: window direction, shade outside the glass, typical overnight temperature and access for watering. A south-facing window beneath a deep porch can be much dimmer than its compass direction suggests. Stand where the leaves will be, then look toward the sky. Check again later in the day. This simple site assessment is more useful than assigning the pot to the only empty decorative corner.
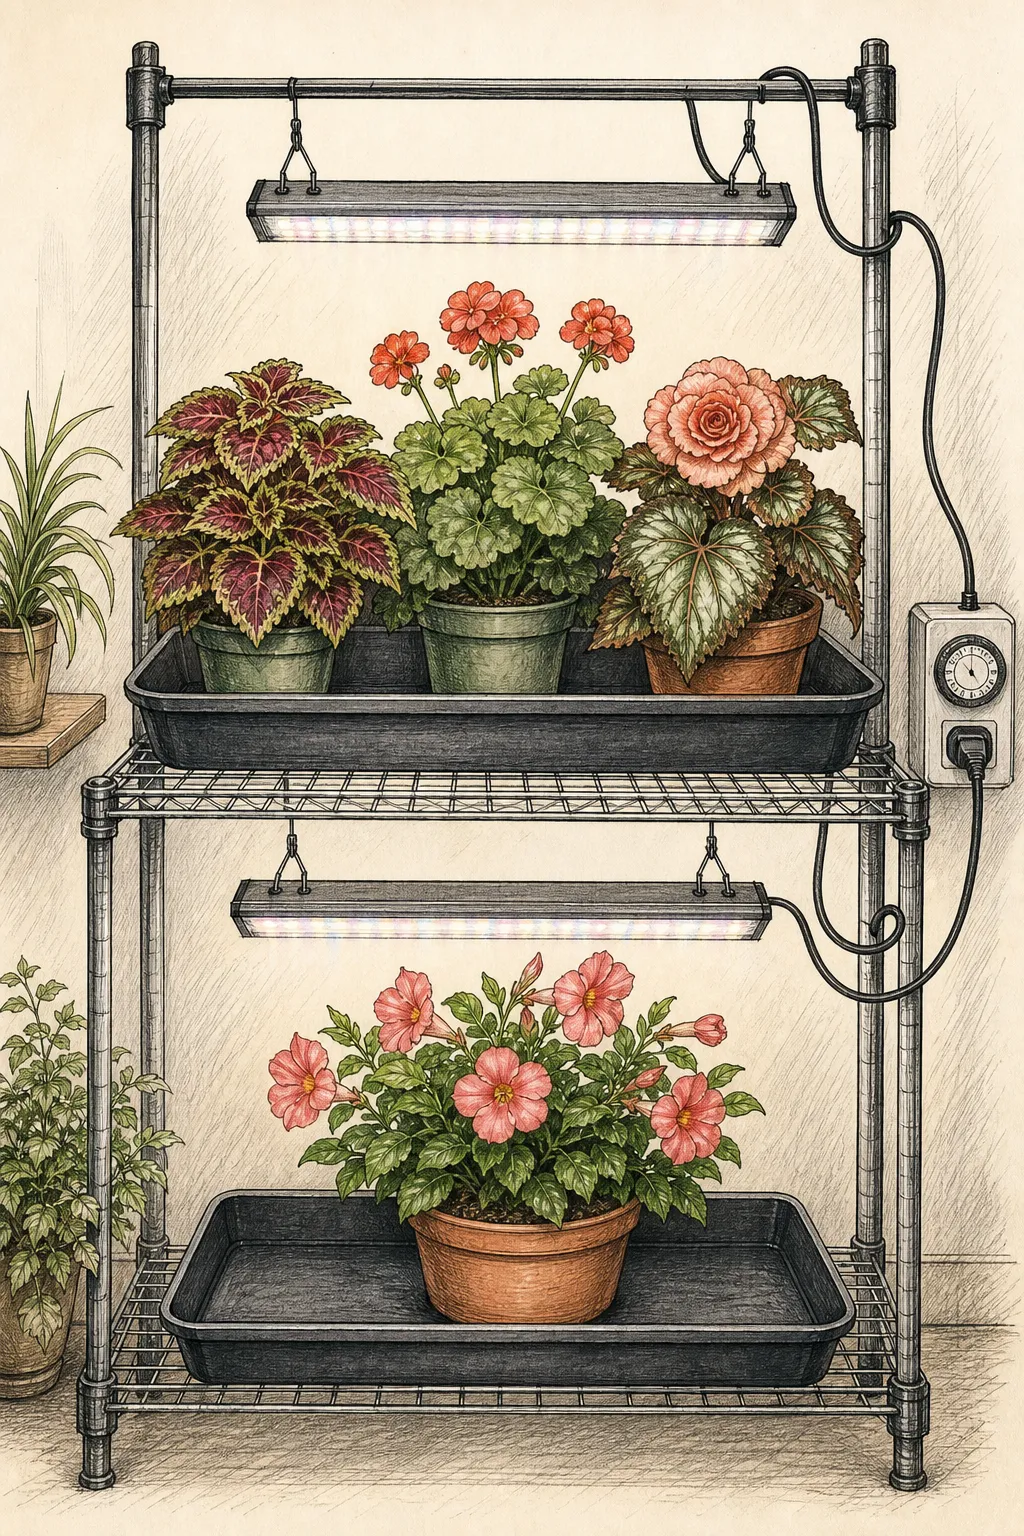
If natural light is inadequate, arrange supplemental lighting before the shrub arrives. The linked grow-light guide covers fixtures and canopy spacing. Consider the entire branched outline when assigning space: a small light centered above the tallest stem may leave the lower foliage in shadow. Make sure the final arrangement lets you reach both sides of the plant and remove the saucer. A tightly packed collection makes every later inspection harder.
Set the pot beside the window with room to inspect it
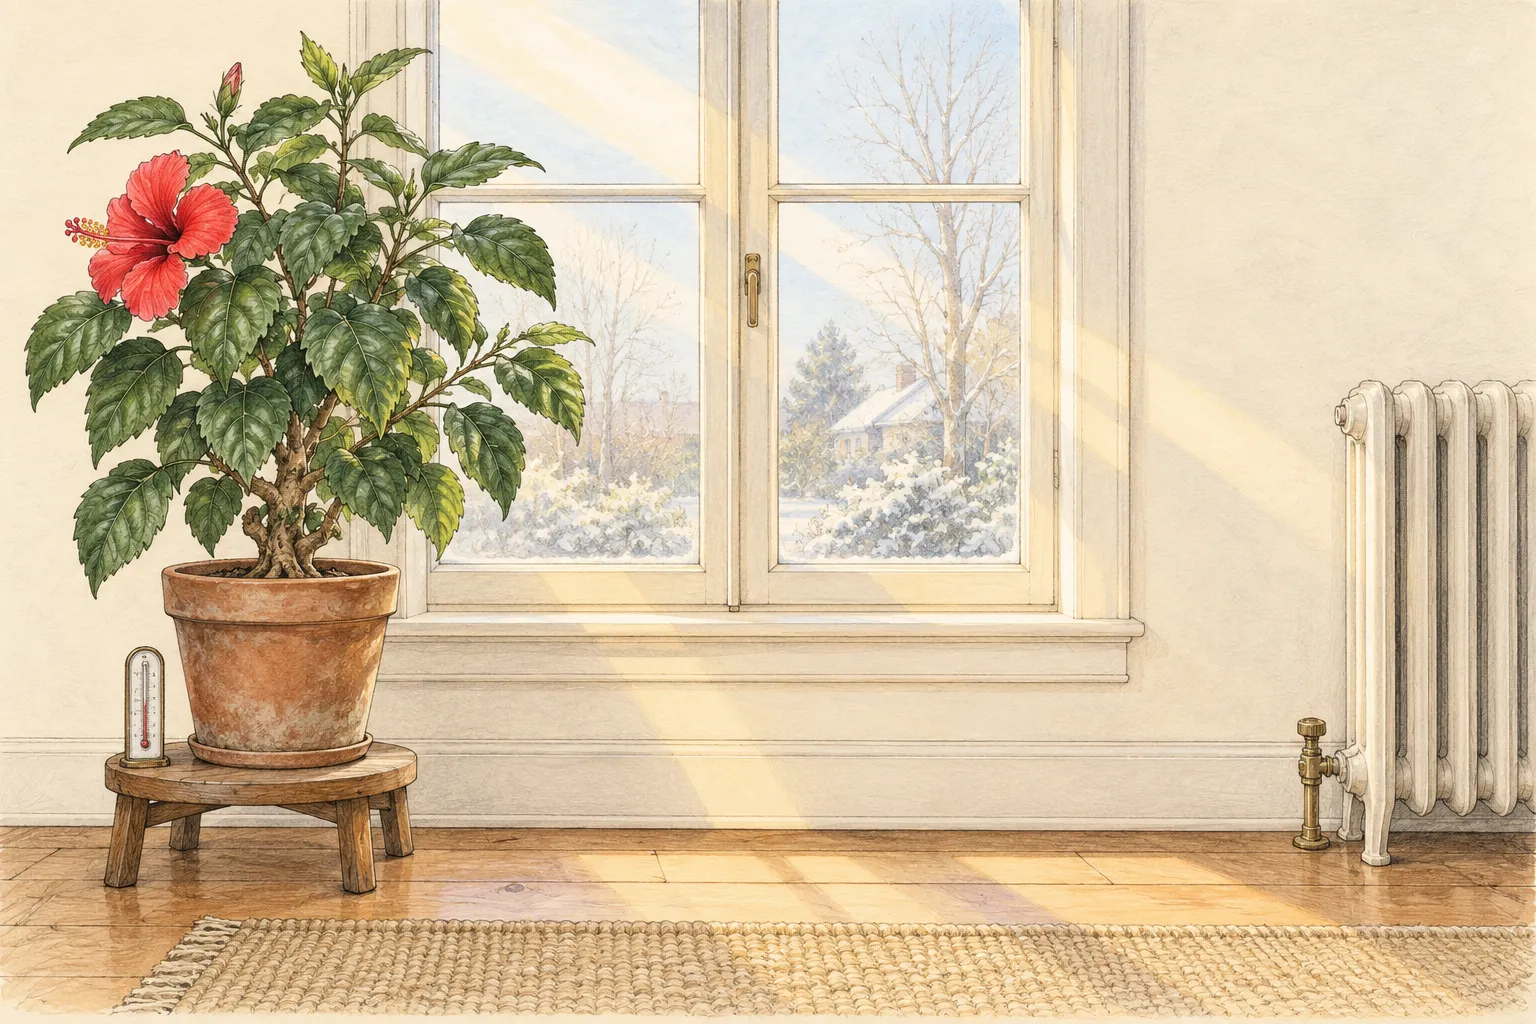
Keep foliage clear of cold glazing, radiator heat and the stream of air from an opening exterior door. RHS and Minnesota both caution against drafts and nearby heat sources. A bright windowsill is useful only if the plant fits there securely. For a large specimen, use a stable stand or floor position where the branches receive light and the pot cannot be knocked by curtains or people passing.
Place a thermometer near the plant and check the overnight minimum when colder weather arrives. The temperature at the room thermostat may tell you little about the window recess behind a closed curtain. If that recess becomes too cold, move the plant clear of it while retaining as much light as possible. Mark a suitable alternative position in advance so frost outside does not force a hurried decision about a heavy container.
Look down as well as up. Set the drainage saucer where it can be removed or emptied, and keep a clear route for the watering can. An ornamental outer pot can hide accumulated runoff. Lift the inner pot out for the first watering so you know how the arrangement drains. Keep the label accessible at the rim; it will still be useful when the last summer flower has fallen and several similar pots are sharing the room.
Prepare the branches and inspect the returning plant
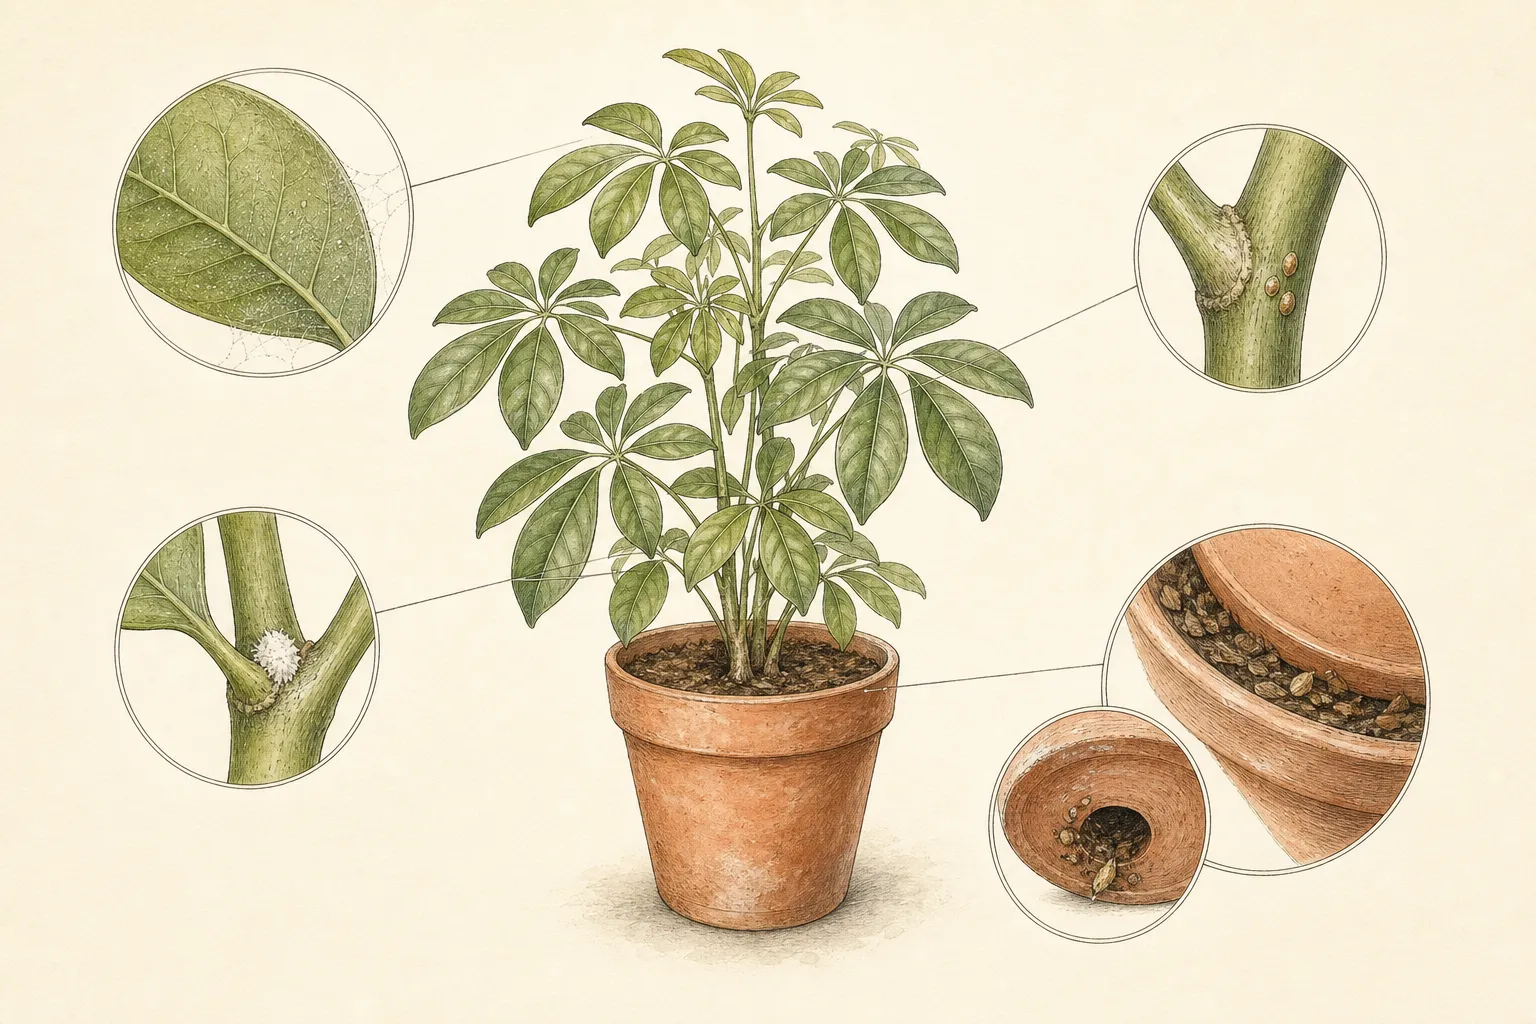
While the hibiscus is still accessible outdoors, remove spent flowers, fallen leaves and broken growth. Examine leaf undersides, shoot tips and branch joints before washing dust from the foliage. Maryland lists spider mites and scale among this plant's indoor problems. Look for changes worth investigating, including webbing, fine pale spotting or fixed bumps on stems. These signs justify a closer inspection; leaf yellowing on its own cannot identify an insect.
Keep a suspect plant separate from established indoor plants while its condition is assessed. Iowa State recommends a three-to-four-week isolation period for returning houseplants. Use that interval to inspect the hibiscus repeatedly as you check its compost. If you find something unfamiliar, photograph the affected surface in focus and include an image of the whole branch. A local extension service or qualified nursery can help identify the problem before a treatment is chosen.
Trim only what is needed to fit the planned space at this stage. Maryland allows size reduction for large hibiscus, while Minnesota and RHS place structural pruning in late winter. These are different jobs. Clearing a branch that catches the doorway is an immediate access decision; cutting every stem back severely is a planned reshaping operation. Trace any proposed cut back into the canopy before using the shears, so you can see what foliage and buds will be removed.
Keep a healthy, draining root ball in its existing pot during the move unless there is a specific problem to solve. Reserve routine repotting for the late-winter period described by RHS. Make a note of a cramped or awkward container for the late-winter review. Combining a new room, a drastically reduced canopy and a freshly disturbed root system makes later leaf loss harder to interpret.
Replace the summer watering routine with a pot check
Let the upper layer of potting mix dry before watering in the slower winter regime described by RHS. Check that layer directly, then consider how heavy and damp the rest of the container remains. Minnesota advises a little more drying between winter waterings while preventing wilting. Together these cues mean that the plant should receive water when needed, with a longer interval if the pot is still moist. They do not prescribe complete drying of the entire root ball.
When watering is due, wet the mix thoroughly and allow excess to leave through the drainage holes. Empty the saucer afterward. A small repeated surface splash can make it difficult to tell whether the lower root zone has received water, while a pot standing in runoff obscures whether drainage is working. Keep the same accessible container arrangement through winter so you can compare its condition at successive checks.
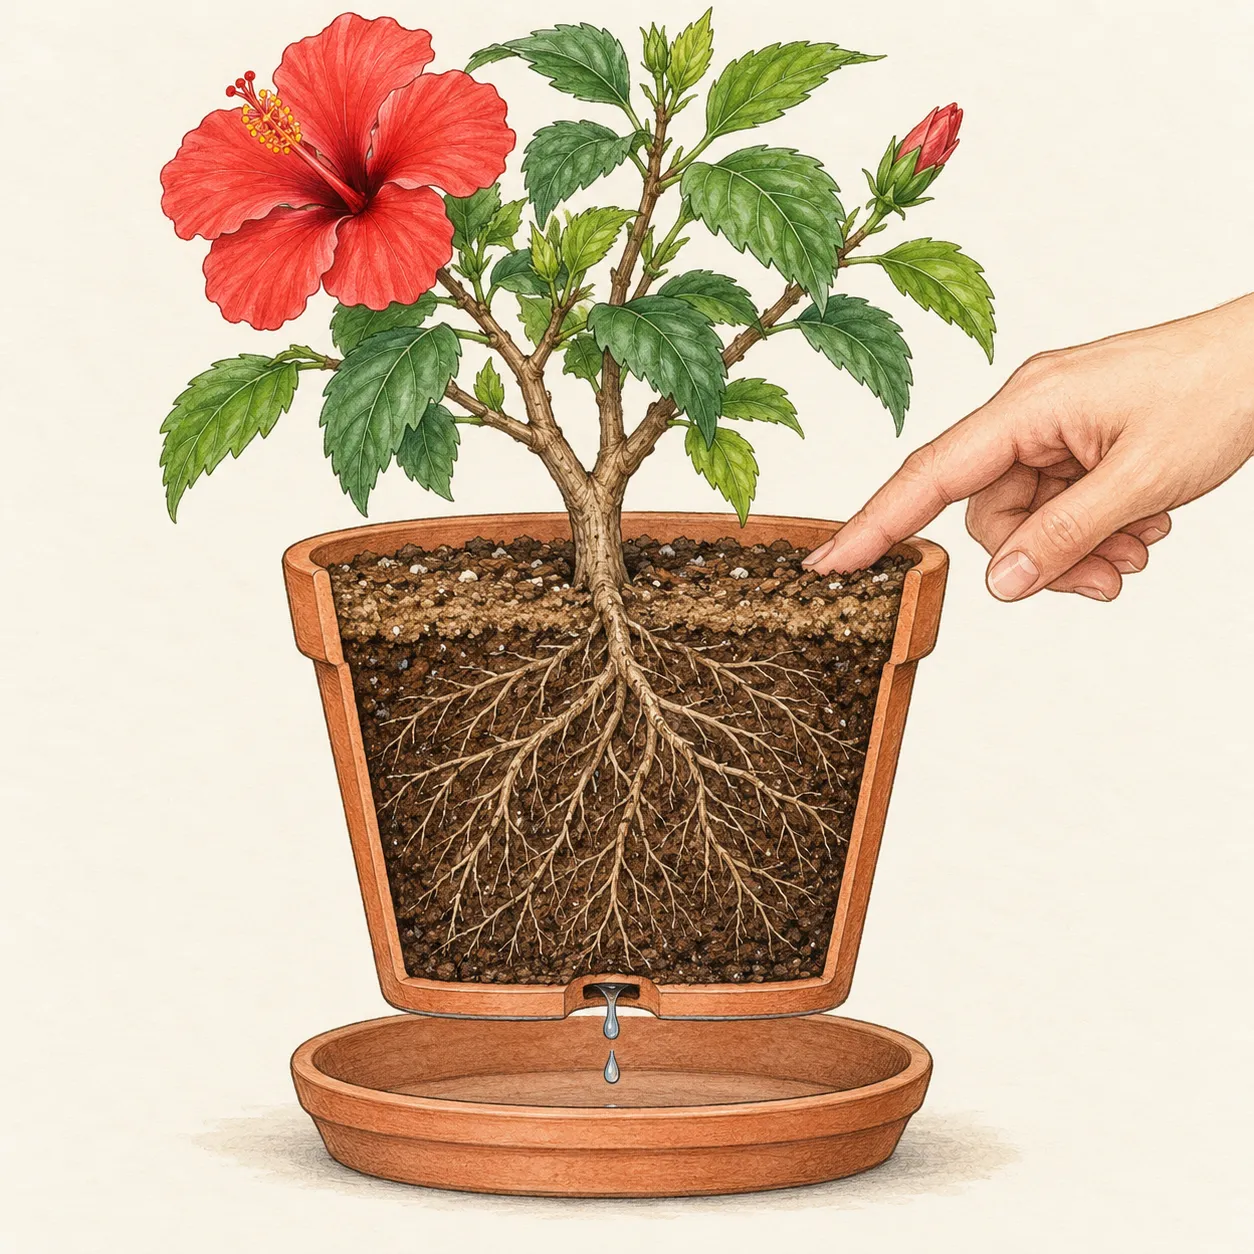
Leaf loss changes the picture. A hibiscus with a much thinner canopy may use water more slowly than it did when it arrived, particularly in a cooler position. Maryland specifically pairs the adjustment period with reduced watering and a pause in feeding. If the pot is still damp when your old watering day arrives, leave the can aside and check again later. Put the observation on the pot label or in a short note: damp, drying, or watered and drained.
For a large pot that is difficult to lift, use a consistent inspection point near the rim and observe drying over several checks. Move surface debris aside so you are touching potting mix. Compare the same area each time, and examine drainage whenever the pot behaves unexpectedly. A container that remains heavy and wet while the plant wilts calls for investigation of the root zone and drainage before further watering.
Read leaf and bud loss before changing the care
A fallen spent flower is ordinary: Minnesota notes that an individual tropical hibiscus bloom is often open for only a day. Unopened buds dropping, leaves yellowing across the canopy, and flowers naturally finishing are separate observations. Collect a few examples beside the pot before clearing them away. That simple distinction keeps a normal short-lived bloom from becoming a reason to change otherwise suitable winter care.
Some leaf loss after the move is expected, and low winter light can contribute to leaf and bud drop. Begin with the recent changes: location, heating, a cold night beside the window, or a watering interval that stayed on its summer schedule. Compare a photograph taken on arrival with the current plant. Look for whether the loss is settling, whether new shoots remain sound, and whether any fresh damage is appearing on leaves that were previously clean.
Continue checking the leaves and stems for pest evidence even when a change of light seems the likely explanation. If you find webbing or fresh spotting, separate the pot for closer assessment and record where the signs occur. A bare branch alone gives little information about the cause. Keep photographs of the affected leaves before discarding them, and include details of the moisture and indoor location when asking for help.
Change the factor your observations identify. A cold window recess calls for a placement correction; a damp, slow-drying pot calls for restraint with water and a drainage check. Fertilizer is a poor first response to unexplained autumn yellowing. Once you have made a correction, keep the remaining conditions steady enough to assess what happens next. Repeatedly moving, cutting and feeding the same shrub leaves no clear basis for deciding which adjustment helped.
Hold fertilizer and major pruning for renewed growth
During slow winter growth, pause feeding in the bright-window method used here. Maryland recommends waiting for new growth, while RHS says to cease feeding during overwintering; Minnesota allows less frequent winter feeding in its growing regime. These recommendations reflect different levels of activity. A warm, effectively lit plant making sustained new growth may need a different program from a cool shrub shedding leaves. Use growth and the applicable fertilizer label when reassessing, keeping the winter pause as the starting point.
Review the branch framework in late winter as light improves. Minnesota recommends late-winter pruning, and RHS places it in February or early March. That is the time to decide which long shoots need shortening and which crowded or weak growth should come out. Set the pot where you can see the entire outline, turn it, and mark the few branches that determine its size before making cuts.
Remember that shortening shoots also removes potential flowers and can delay the next bloom. Keep a photograph of the finished framework so subsequent growth can be compared with it. If repotting is necessary, RHS also places that work around late winter. Check the root ball and the chosen container at that review; entering the house is no reason by itself to change pots.
Plan the return to the patio
Keep the hibiscus indoors until outdoor frost risk has passed and conditions are suitable for a tropical plant. A pleasant afternoon alone is insufficient evidence; include the following nights in the decision. Minnesota recommends easing it through sheltered conditions and filtered light before full sun. Iowa State's general overwintering guidance suggests an outdoor acclimation over two to three weeks, with the actual pace adjusted to weather and plant response.
Choose the first outdoor position before carrying the container out. It should let you inspect new leaves and return the pot to protection if needed. As exposure increases, reassess moisture instead of preserving the indoor interval. Retain the winter notes until you can judge the new growth. The useful record is the combination of location, leaf retention and watering behavior that carried this particular hibiscus through your home, ready to inform the next autumn move.
Steps
- Level
- moderate
- Time
- One preparation session, then regular checks through winter
- Tools
- Watering can, Minimum–maximum thermometer, Clean pruning shears, Hand lens
- Materials
- Potted Hibiscus rosa-sinensis, Bright indoor space, Drainage saucer, Plant label
- 1Identify and allocate space
Read the botanical or nursery label and confirm that the plant is tropical Hibiscus rosa-sinensis. Photograph its summer outline, then assign an indoor position that fits the full canopy and allows access to the pot. Check the local night forecast against the RHS bring-in guidance of 12°C (59°F), moving earlier when necessary. Keep that forecast separate from the cooler temperatures used in a controlled winter holding space.
- 2Check the winter location
Place an empty saucer and stand in the chosen window position before moving the shrub. Test whether the curtain, door and heating outlet interfere with it. Put a thermometer near the future canopy and examine the light reaching that position during the day. Solve a light shortage before arrival, using the grow-light guide if a fixture is needed. Leave sufficient space to turn and inspect the plant.
- 3Clean and inspect the canopy
Remove fallen debris and spent flowers, then look beneath leaves and along woody stems for fresh pest signs. Take close photographs of anything uncertain. Trim a branch only when clearance requires it, and keep the broader late-winter reshaping decision for later. Set the returning plant apart from the established indoor collection during its observation period, using a saucer that belongs to that pot.
- 4Establish the first moisture reference
At arrival, note whether the mix is wet, moist or drying. Check the top layer at the same accessible rim position on later visits. When watering is needed, water thoroughly, observe the drainage and empty the saucer. Keep a short record of that first interval. If the plant subsequently sheds many leaves, reassess drying before repeating the earlier watering frequency.
- 5Investigate a change with the pot in view
Separate normal spent flowers from unopened fallen buds and yellow leaves. Compare the canopy with its arrival photograph, feel the mix, read the overnight temperature and inspect the leaf undersides. Record the evidence before adjusting the care. A continuing unexplained decline deserves local horticultural advice with photographs and a description of the indoor site; adding fertilizer before identifying the problem can obscure the assessment.
- 6Schedule the late-winter review
As light and growth return, examine the branch framework and container together. Decide whether pruning or repotting is needed, and reassess feeding according to actual growth. Plan the eventual outdoor return after frost danger, beginning in a sheltered place and increasing exposure gradually. Retain the original label and winter notes so that next autumn begins with a known plant and a tested indoor location.
Related reading
Sources
- Hibiscus rosa-sinensis. Royal Horticultural Society. Source record · Accessed 2026-10-01.
- Hibiscus. University of Minnesota Extension. Source record · Accessed 2026-10-01.
- Overwintering Tropical Plants. University of Maryland Extension. Source record · Accessed 2026-10-01.
- Moving Indoor Plants Outside for the Summer. Iowa State University Extension and Outreach. Source record · Accessed 2026-10-01.
- How to Overwinter Plants. Iowa State University Extension and Outreach. Source record · Accessed 2026-10-01.