Grow · canna rhizome storage
Lift and Store Canna Rhizomes for Winter
A canna-specific autumn method for lifting horizontal rhizomes after frost, preserving sound buds, and holding them cool, lightly buffered, and frost-free.
Published Last updated
In this guide
- Treat a canna as a rhizome, not a dahlia
- Mark the clump and read its spread
- Free the horizontal mass
- Keep sound nodes and remove reservoirs of rot
- Dry the surface without drying the rhizome
- Choose a moisture-buffered storage format
- Match the container to rhizome behavior
- Handle potted cannas and the winter handoff
- Steps
Treat a canna as a rhizome, not a dahlia
Canna grows from a thick horizontal rhizome with buds at nodes and fibrous roots below. That architecture changes the lifting job. A dahlia clump asks you to protect narrow tuber necks radiating from a crown; a canna asks you to follow a spreading, jointed rhizome without slicing through every growing point. The winter objective is still living underground storage tissue, but the useful unit, the way it expands, and the way it can later be divided are different. Keep the methods separate even when both plants leave the ground after frost.
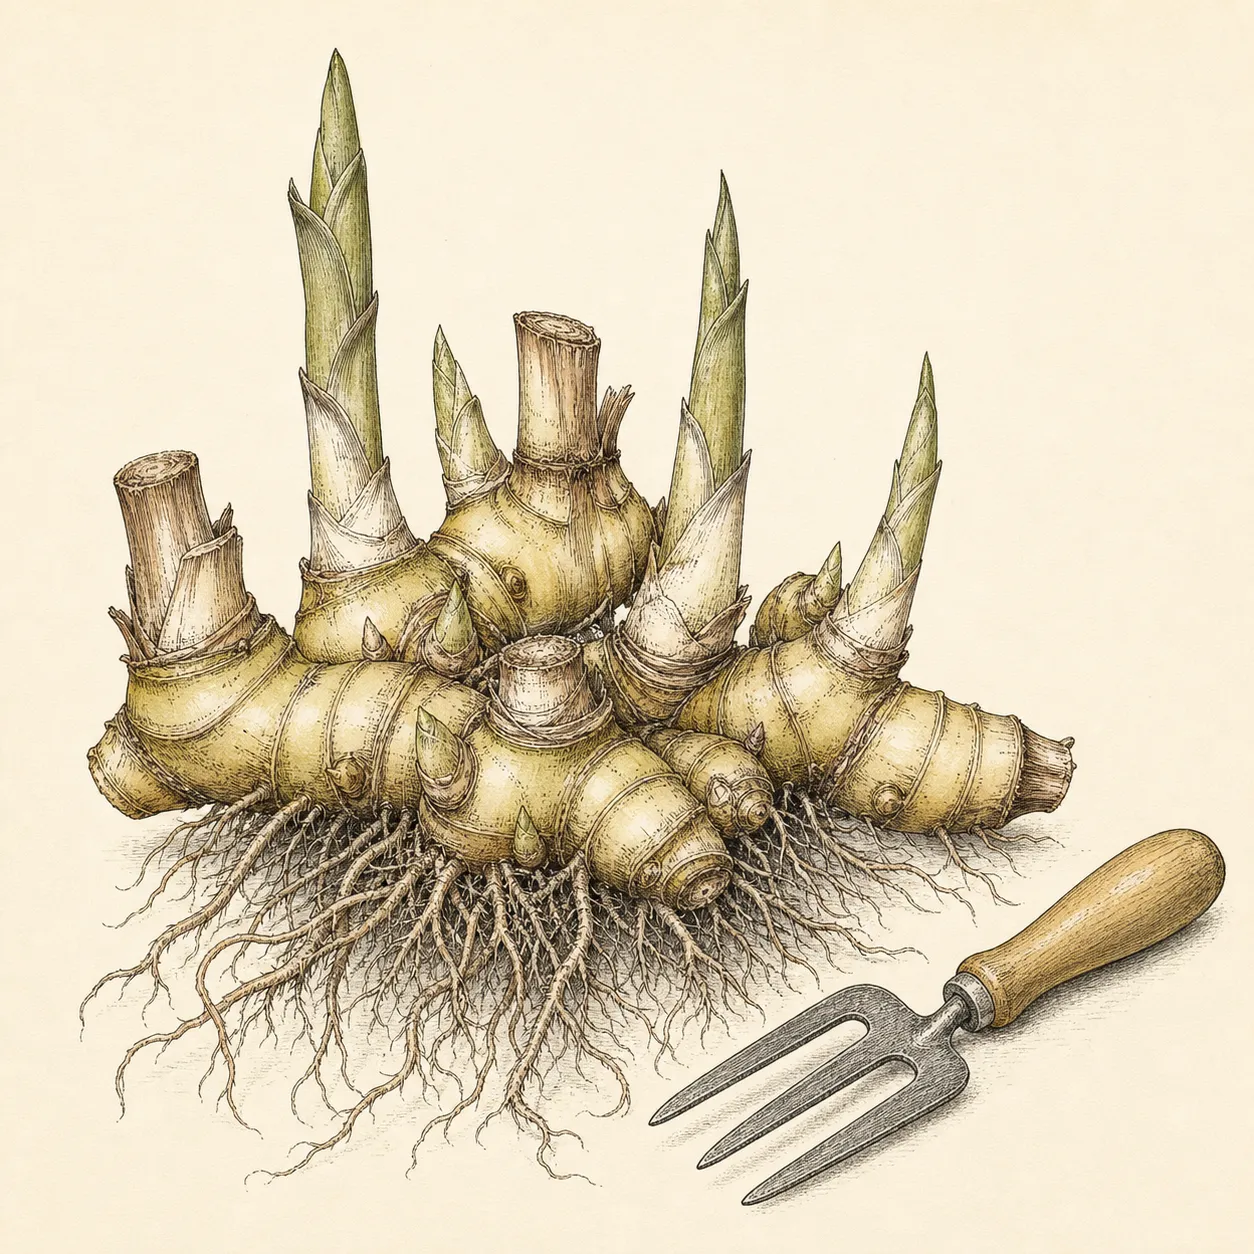
This operation is for gardeners in climates or sites where cannas are not dependably winter-hardy in the ground. It begins after frost has blackened or collapsed the foliage and before a hard freeze penetrates the rhizome zone. North Dakota State University Extension directs gardeners to dig canna rhizomes after frost has killed the foliage; the Royal Horticultural Society likewise uses blackened foliage as the lifting cue for tender plants. A forecast matters because dead leaves do not protect an exposed crown indefinitely.
Start by deciding whether the plant will be lifted bare, kept as a whole clump, or stored in its pot. That decision depends on container size, available space, and the plant’s condition—not on a rule that every rhizome must be scrubbed and divided. Prepare the frost-free room and trays first. A dug clump left overnight in an open wheelbarrow can freeze even though the same rhizome was protected by soil the day before.
Mark the clump and read its spread
Label cultivar name, flower color, and height while remnants of the planting are still mapped. Tie the label to a short stem stub or place two labels with the clump. Cannas from mixed borders become remarkably alike after top growth is removed. If virus-like streaking, persistent distortion, or unusual mottling was observed during active growth, record it and isolate the plant rather than letting an attractive flower color erase a health concern.
Cut frost-killed stems to short stubs of roughly two inches, matching the practical RHS guidance for lifted tender plants. Short stubs show where the crown sits and make the clump easier to orient, but they are not handles. Thick canna stems may hold water, so shelter the cut plant from rain. Remove fallen leaves and soft stem sheaths that would otherwise travel into storage and hold moisture beside the rhizome.
Trace the outside of the planting with a hand fork. Rhizomes may have traveled beyond the visible stems, especially in loose fertile soil. Begin a generous distance out and probe gently for resistance. A firm object in the expected plane may be a rhizome, not a stone. Move the excavation line outward rather than driving a spade through it. This wide reading pass often saves more viable buds than any later trimming technique.
Free the horizontal mass
Push a garden fork down outside the traced edge and rock it back only enough to loosen soil. Repeat around the perimeter, then work underneath. The clump may be much heavier than it appears because a plate of soil remains threaded with fibrous roots. Raise one side, allow soil to crumble, and reposition the fork before trying to lift the whole mass. Illinois Extension warns that wounds to stored underground organs invite pathogens, so clean leverage is preferable to speed.
Support the rhizome plate from below with both hands or slide it onto a tarp. Do not twist a stem cluster until it tears free; that can remove buds and leave ragged moist wounds. If the mass is too large to handle, expose a natural narrow connection and cut there with a sanitized, sharp blade while the clump is supported. Each retained section should include firm rhizome tissue and at least one clear bud or eye.
Move the lifted clump directly under cover. Knock off soil that releases with a light tap, then use fingers or a soft brush around buds. Washing is optional and may be helpful where sticky soil hides rot, but it substantially increases surface water. If you wash, use a gentle stream, keep labels secured, and plan enough ventilated time for all crevices to become surface-dry before packing.
Keep sound nodes and remove reservoirs of rot
Inspect the upper rhizome surface where buds emerge, the underside where roots attach, and every accidental cut. Healthy rhizomes are firm, with solid interiors and attached buds. Discard collapsed, slimy, foul-smelling, or extensively discolored tissue. Trim a small localized injury back to clean firm tissue with a sanitized knife, then keep that wound open to the air while it dries. Never bury a wet cut immediately in damp medium.
Do not confuse ordinary fibrous roots with decay. Roots can be shortened for manageable packing, but the fleshy horizontal rhizome is the stored reserve. Equally, do not preserve a soft section merely because it has a large bud; decay that reaches a junction can travel through the stored piece. Separate questionable material into its own tray and label the reason for isolation so it is checked first.
Division can be postponed. North Dakota State University Extension notes that cannas can be divided and that a viable piece needs an eye, but a just-lifted clump does not need to become a pile of small pieces. Larger sound sections lose moisture more slowly and create fewer cut surfaces. Divide now only to remove disease, reduce an unmanageable mass, or meet a deliberate propagation plan. Fine spring division is easier when buds are swelling and the storage outcome is already known.
Dry the surface without drying the rhizome
Lay clumps or large sections in a single layer in a shaded, airy, frost-free place. Keep them off wet floors and turn them once so pockets beneath the roots can release moisture. North Dakota State University Extension advises allowing lifted cannas to dry before boxing; Illinois provides a short curing concept for many summer-blooming underground structures. Use the tissue as the endpoint: soil no longer smears, cut faces are dry to the touch, and stem cavities do not hold droplets.
This interval is normally measured in days, not a warm-room cure designed to harden an onion skin. Canna rhizomes are living, fleshy stems. Strong heat, sun, or a fan aimed continuously at them can produce shriveling before storage even begins. Conversely, a crowded pile under plastic retains humidity at wounded joints. Spread the material, ventilate the room, and protect it from both frost and rain.
Reinspect every cut while the rhizomes are exposed. A sound cut becomes dull and firm. A suspect one grows darker, softer, or wet at the edge. Trim and extend drying only for localized damage; discard material when the change continues through a node. This physical check is more reliable than packing on a preset evening because autumn humidity, soil texture, clump size, and whether the roots were washed all change the drying time.
Choose a moisture-buffered storage format
Place sound rhizomes in shallow ventilated boxes. The RHS describes storing lifted tender roots in trays of sand, coir, or vermiculite with the crown visible and the medium kept only just moist. For cannas, settle the lower surface into a restrained amount of medium while leaving the top and buds readable. The goal is to buffer rapid water loss, not to simulate a wet garden bed. Medium that squeezes out water or coats the rhizome with mud is too wet.
North Dakota State University gives about 45 to 50°F for boxed cannas, within Illinois Extension’s broader 40 to 50°F guidance for many stored summer bloomers. Keep the room frost-free, dark or dim, and ventilated. Measure the actual shelf, because a floor beside an exterior door can be much colder than the room thermometer and an upper shelf near a furnace can be warmer. Avoid sealed bags: they conceal condensation and restrict gas exchange. Avoid open wire racks in heated air: they encourage the opposite failure, progressive shriveling.
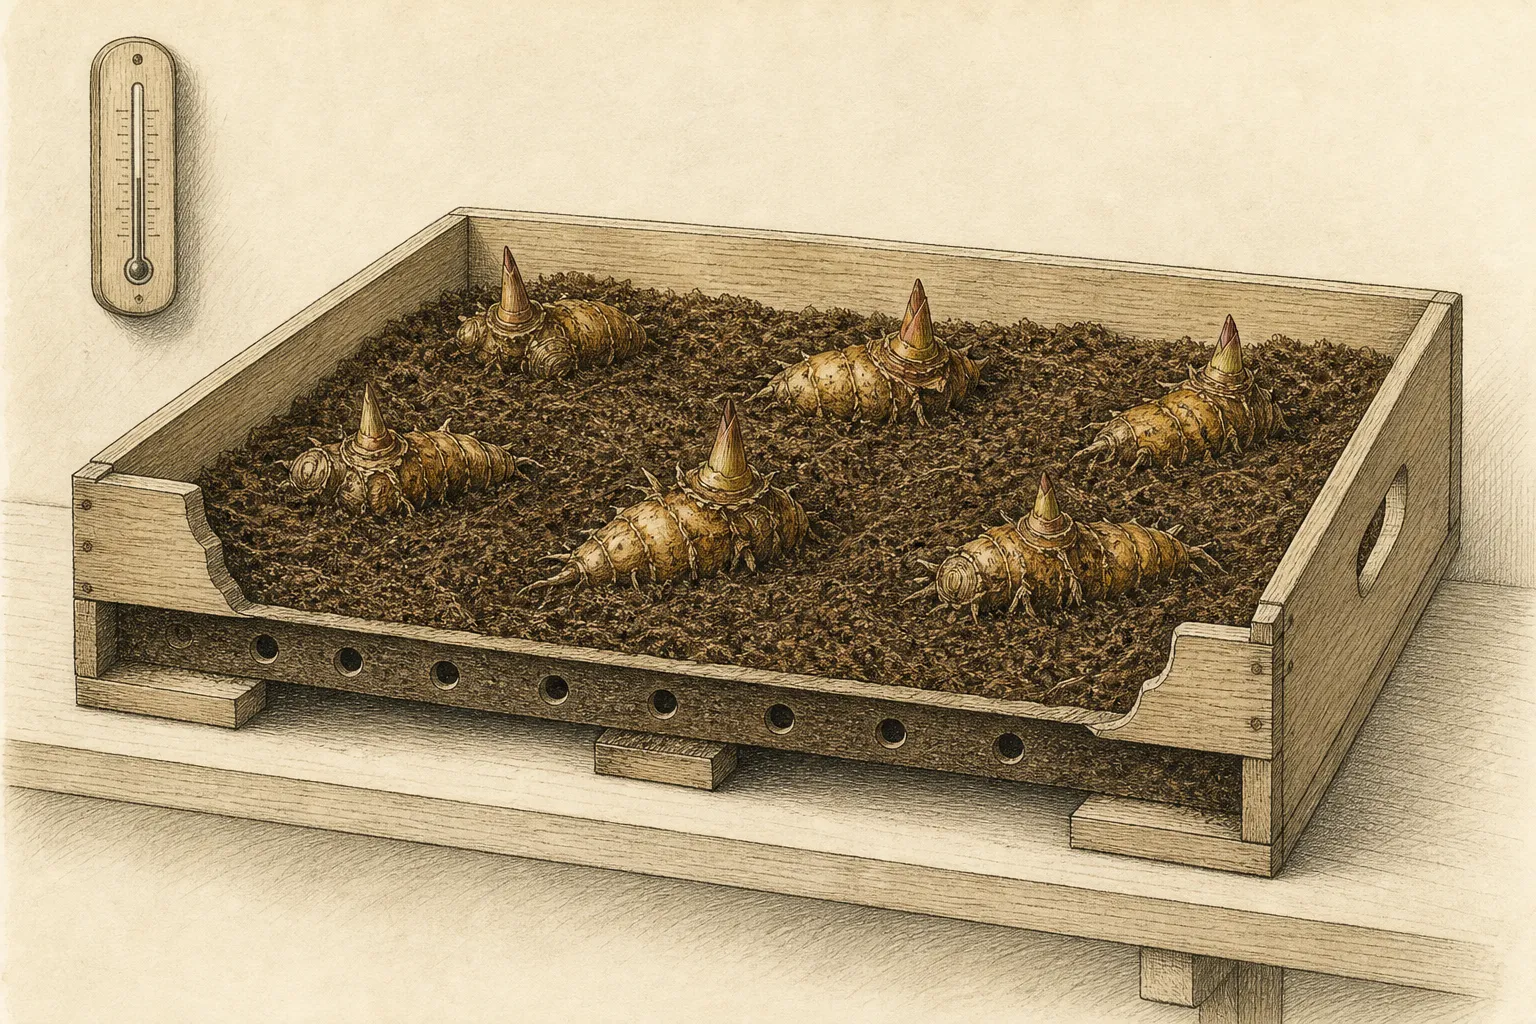
Store cultivars in separate, clearly marked trays and do not stack heavy boxes on growing buds. If the chosen room is naturally humid, less packing medium may be required; if it is dry, a little more buffering may help. Make adjustments from observed firmness and condensation rather than from routine watering. A dry-looking medium is not automatically a thirsty rhizome, and adding water to a dormant box can turn a stable system wet very quickly.
Match the container to rhizome behavior
Use a tray deep enough to support the rhizome without forcing stem stubs or buds against a lid. Wide shallow sections should lie in their natural horizontal orientation; standing them vertically saves shelf area at the cost of concentrating weight on one cut surface. Leave enough space between pieces to see the packing medium and remove one rhizome without dragging its neighbor. A box that can only be inspected by emptying it defeats the purpose of periodic checks.
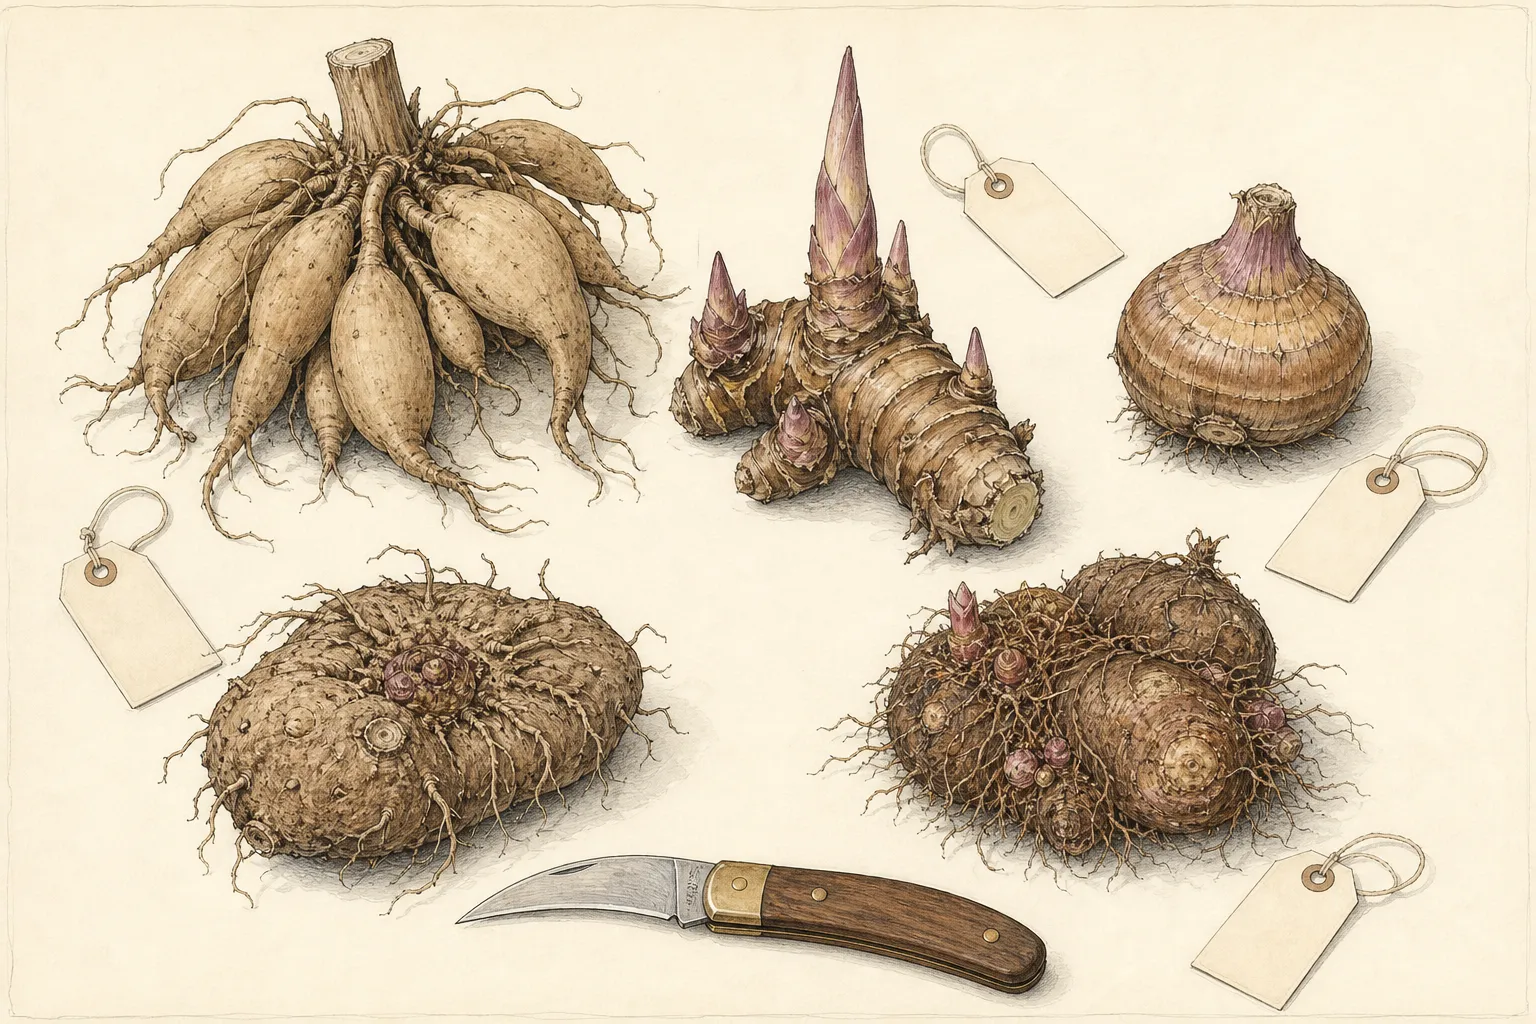
For a very large sound clump, two restrained layers may be possible in a rigid crate, but separate them with medium and avoid loading the lower buds. One layer is safer when the room is humid or when wounds are still being watched. Do not mix canna pieces with dahlia clumps simply because their temperature ranges overlap. Their shapes, moisture response, labels, and inspection cues differ, and a decaying canna junction can disappear beneath a nest of dahlia tubers.
Use the first stored tray as a small test of the room. Check the underside as well as the visible buds after several days. If moisture accumulates where the rhizome touches the medium, reduce the depth or improve air movement; if multiple firm pieces begin to crease, add only a small amount of conditioning to the medium. Once the tray stays balanced, reproduce that arrangement rather than giving every box a different improvised treatment.
If a container must be lidded for pest exclusion, choose one with deliberate ventilation and open it during every check. A lid should not touch the buds or conceal a wet underside. Label both tray and lid so identities remain attached when several boxes are open together. Record the packing date and whether the rhizomes were washed, because washed pieces may need closer early observation than clumps cleaned dry.
Handle potted cannas and the winter handoff
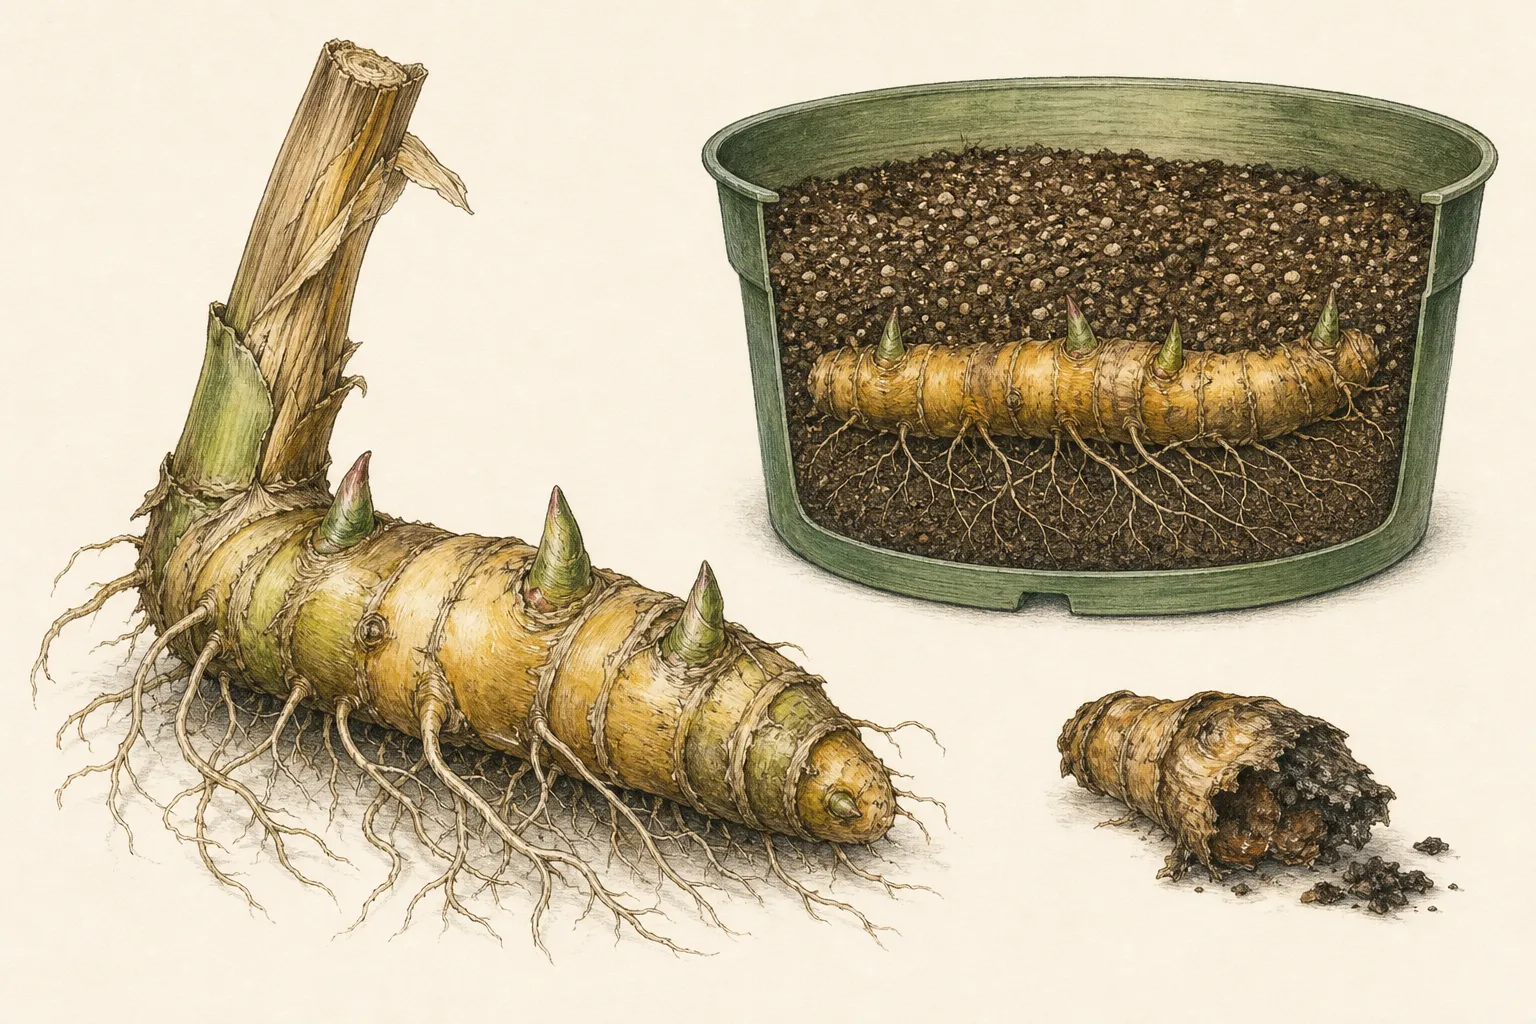
A canna already growing in a manageable pot can remain in that container. After frost kills the top, cut it back, move the pot into a cool frost-free place, and allow the mix to trend drier while never becoming a recurring wet sump. The RHS explicitly recognizes storing suitable tender plants in their pots. Confirm that the container drains and that it does not carry slugs, standing water, or decaying leaves into the storage room.
Check bare and potted rhizomes shortly after storage begins, then periodically. Firmness with no odor is the baseline. Remove soft pieces promptly, improve airflow where condensation appears, and make only a slight moisture correction if otherwise sound rhizomes begin to shrivel. Do not pour water into the center of dormant stems. A single test of the medium below the surface is more informative than misting the visible top on a schedule.
End this autumn task when the rhizomes are labeled, surface-dry, and stable at a cool frost-free temperature. Detailed winter diagnosis belongs to the storage-check routine, while potting up and initiating growth belong to spring. That clean handoff is especially useful for cannas: it prevents dormant rhizomes from being pushed into weak indoor shoots simply because they have been lifted, and it keeps division tied to visible buds rather than to the pressure of an autumn workday.
Steps
- Level
- moderate
- Time
- About 25 minutes per clump, plus sheltered surface drying
- Tools
- Garden fork or spade, Clean loppers or bypass pruners, Soft brush, Thermometer
- Materials
- Durable cultivar labels, Shallow ventilated trays or boxes, Clean coir, vermiculite, or sand used sparingly
- 1Set up the frost-free storage area
Prepare labeled ventilated trays and verify a stable shelf near 40 to 50°F. Decide in advance which manageable potted cannas will remain in their containers.
- 2Cut blackened foliage
After frost collapses the leaves, shorten stems to about two or three inches, clear wet debris, and keep rain out of the open stem cavities.
- 3Trace and loosen the rhizome spread
Probe beyond the visible stems, then work a fork around and beneath the horizontal mass. Move outward whenever the tool meets firm rhizome tissue.
- 4Lift with support underneath
Raise the soil-threaded plate gradually and slide it onto a tarp or tray. If necessary, cut only at an exposed narrow junction with a sanitized blade.
- 5Inspect nodes, buds, and cuts
Keep firm sections with viable buds, remove soft or foul tissue, and isolate uncertain pieces. Postpone optional fine division until spring.
- 6Dry to the touch under shelter
Spread pieces in one layer in shade with airflow until soil, cuts, and stem cavities are surface-dry. Protect fleshy rhizomes from sun, heat, and frost.
- 7Store cool with restrained moisture
Set rhizomes shallowly in coir, vermiculite, or sand with buds visible, keep the medium barely moist rather than wet, and recheck early for rot or shriveling.
- 8Keep rhizomes horizontal and readable
Use a shallow tray that supports each piece in its natural orientation without pressing buds against a lid. Leave space to lift one section for inspection without scraping, rotating, or unloading all its neighbors.
- 9Separate storage systems by plant type
Keep cannas in their own labeled trays rather than interleaving them with dahlia tubers or other tender roots. Their jointed shape and moisture cues need to remain visible during every check.
- 10Test and repeat a balanced tray
Inspect the first packed tray above and below after several days. Correct excess contact moisture or rapid creasing in small increments, then use the stable arrangement consistently across the remaining collection.
- 11Store a potted canna without forcing growth
For a manageable container, cut the dormant top, confirm drainage, and move the whole pot into the same cool frost-free conditions. Let the mix trend drier and add only enough water to prevent prolonged complete desiccation, never enough to restart growth.
- 12Set an early inspection date
Open each tray soon after packing, smell and feel the rhizomes, and compare the upper buds with the surface against the medium. Remove soft pieces immediately, sanitize the contact area, and preserve the successful arrangement instead of repacking sound sections on every visit. Record which tray required correction so it receives the next check first.
Related reading
Sources
- Storing Summer Bloomers. North Dakota State University Extension. Source record · Accessed 2026-08-20.
- Overwintering tender plants: lifting or mulching. Royal Horticultural Society. Source record · Accessed 2026-08-20.
- Give summer-blooming bulbs a second chance, store them over winter. University of Illinois Extension. Source record · Accessed 2026-08-20.