Grow · ornamental seedling container root habit
Choose Seedling Containers by Root Habit, Not Convenience
Match cell depth, volume, drainage, and transplant timing to the roots and growth rate of ornamental seedlings instead of using one tray for every flower.
Published Last updated
In this guide
- Choose for the next move, not the first day
- Choose the container for the next move as well as sowing
- Read the seed packet for root-relevant clues
- Translate root behavior into container dimensions
- Compare cell trays, community flats, and soil blocks
- Plan the whole bench, not one germination tray
- Fill and water without destroying pore space
- Move seedlings at the biological limit
- Evaluate the container after garden establishment
- Steps
Choose for the next move, not the first day
A flower seed occupies almost no space, which makes any clean container look adequate on sowing day. The meaningful question is how long the seedling must remain there and what its roots will do before the next move. A shallow tray may suit a batch intended for early pricking out, while the same tray can deform a plant that resents root disturbance. Begin with the propagation sequence rather than the container catalog.
Write the intended sowing date, expected emergence range, first transplant stage, hardening period, and outdoor planting window. Use the current seed packet and regional Extension guidance as starting evidence. Slow-germinating perennials and fast annuals should not automatically share one tray merely because they are sown in February. Their covers, temperature changes, watering intervals, and potting dates may diverge long before the bench appears crowded.
Estimate how many seedlings can be maintained after germination. A tray of seventy-two small cells becomes seventy-two pots if every seedling is retained. Draw the full later footprint under the available lights and include aisles for watering and inspection. Reducing the sowing quantity before opening the packet is better than moving valuable young plants to weak window light because their planned pots no longer fit. Treat the container as temporary root architecture. It should hold enough uniformly moist medium, drain freely, admit useful oxygen, and release the root ball at the chosen stage. It should also let a gardener handle one seedling without tearing adjacent roots. Decorative appearance, biodegradability claims, and a convenient retail bundle matter only after these biological and operational requirements are met.
Choose the container for the next move as well as sowing
Match cell depth and volume to root habit and the time the crop must remain indoors. Test the occupied bench for watering access and separate incompatible moisture groups. Inspect roots before the planned move instead of assuming the calendar guarantees readiness. Keep a quarantine position available so a suspect tray does not force the entire layout to change.
Read the seed packet for root-relevant clues
Packets rarely provide a complete root diagram, but they reveal useful clues: whether the plant is direct-sown, whether transplanting is recommended, the number of weeks indoors, sowing depth, germination temperature, and eventual growth rate. A species advised for direct sowing may form a taproot, develop quickly, or simply establish better without handling. Verify the reason in a reliable species reference instead of assuming every direct-sow note means a fragile root.
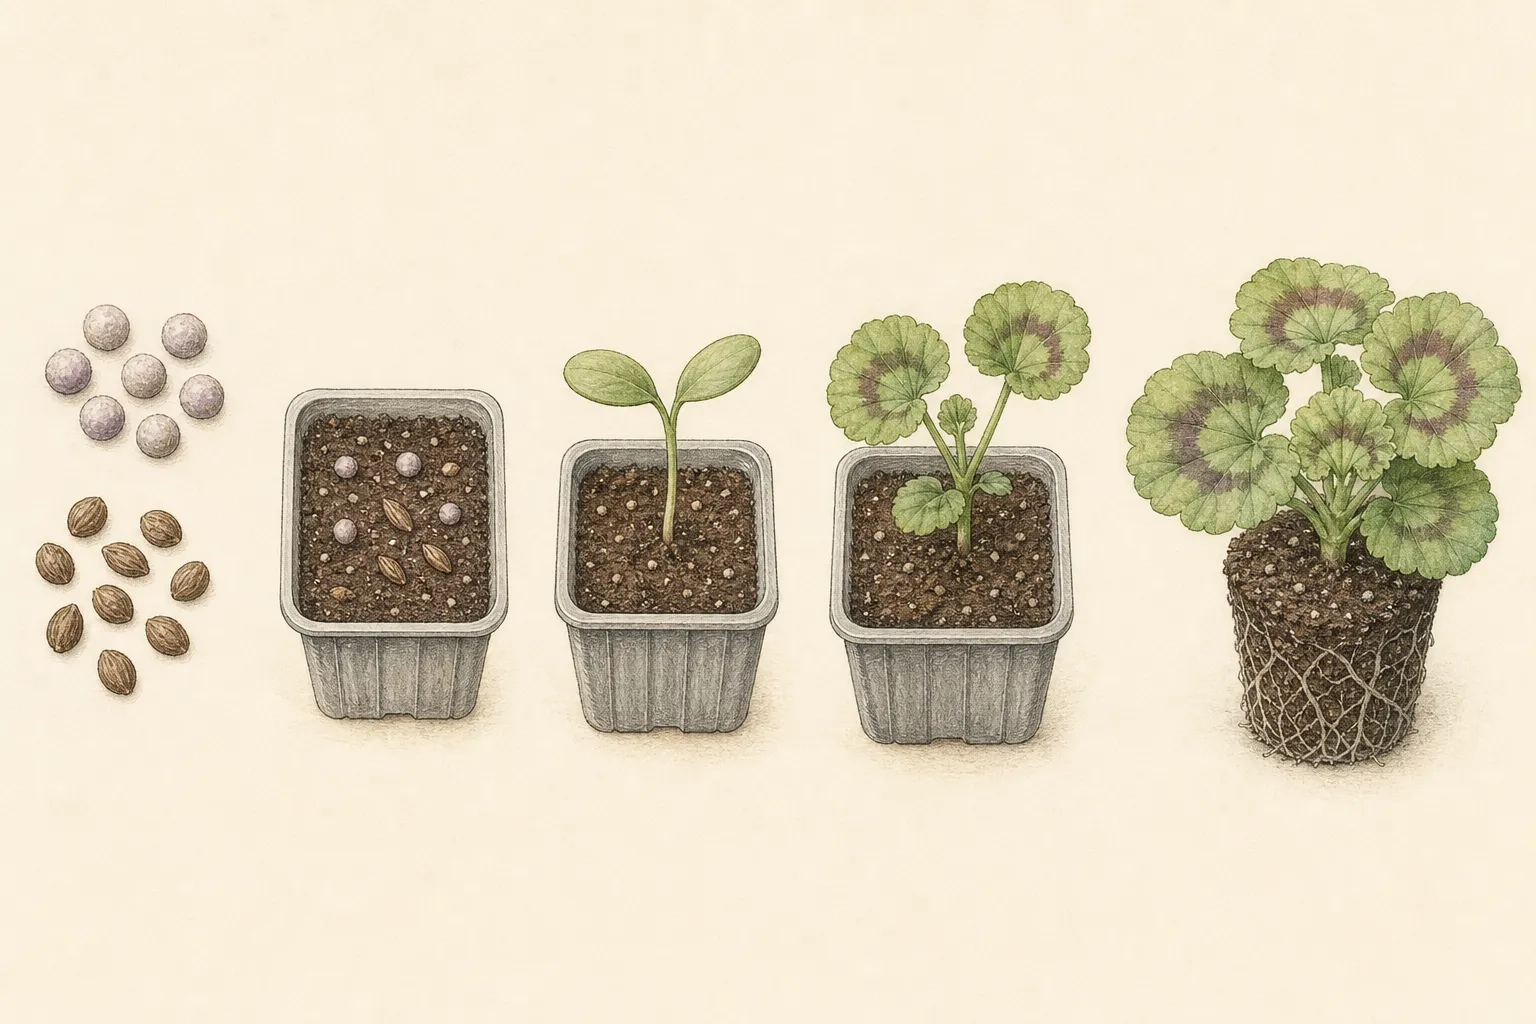
Seed size affects handling and early reserve, not the final root system by itself. Fine seed can begin in a community tray when seedlings will be lifted promptly, but uniform moisture and identification become demanding. Large seed is easier to assign singly to cells, yet a large fast seedling may outgrow a small cell before weather permits planting. Use seed size to plan sowing precision, then use root behavior and timing to choose volume.
Note whether germination is irregular. A perennial that emerges over several weeks can leave advanced seedlings shading unopened cells. Individual modules let ready plants move without disturbing the rest, while a community flat can simplify special pretreatments. If the batch needs cold stratification, confirm that the chosen plastic, label, and medium can tolerate the treatment and that drainage remains open through rain or melting snow.
Keep botanical name, cultivar, lot, and source attached to the container. Similar cotyledons invite confusion, and a mixed tray can pair plants with different root sensitivities. Labels should survive watering and any cold period without leaching or fading. A map is useful backup, but it does not replace a physical label when one cell tray is turned, divided, or moved to another shelf.
Translate root behavior into container dimensions
Fibrous-rooted annuals often tolerate modular cells because many fine roots bind the plug and recover after careful transplanting. Cell depth still matters: a shallow, densely rooted mat dries quickly and can circle before the canopy looks large. Choose a volume that reaches the planned potting date with visible active roots but before the plug becomes a hard geometric block. Roots should organize the medium, not replace it.
Taprooted or root-sensitive ornamentals benefit from direct sowing outdoors where conditions allow, or from deeper individual modules that reduce bending and handling. A deeper cell is not automatically safer if it remains cold and saturated below a tiny root. Fill it with suitable fresh medium, water the entire profile deliberately, and inspect weight and drainage. Move the plant before the taproot coils at the bottom or crosses into a neighboring cell.
Fast, fleshy seedlings need enough volume and spacing to avoid repeated stress, but oversized pots create another risk. A small root system cannot remove water from a large cold mass quickly, so the center can remain wet while the surface appears dry. Step up gradually when indoor time is long. Match the next pot to current roots and forecast growth, not to the final patio container. Species that form bulbs, corms, or swollen crowns during the first season need their growing point kept at the correct depth and their storage structure protected during lifting. Consult plant-specific propagation guidance. Do not force every geophyte through a shallow plug simply because it fits the tray system used for bedding annuals. The structure formed below the leaves can be the most valuable part of the young plant.
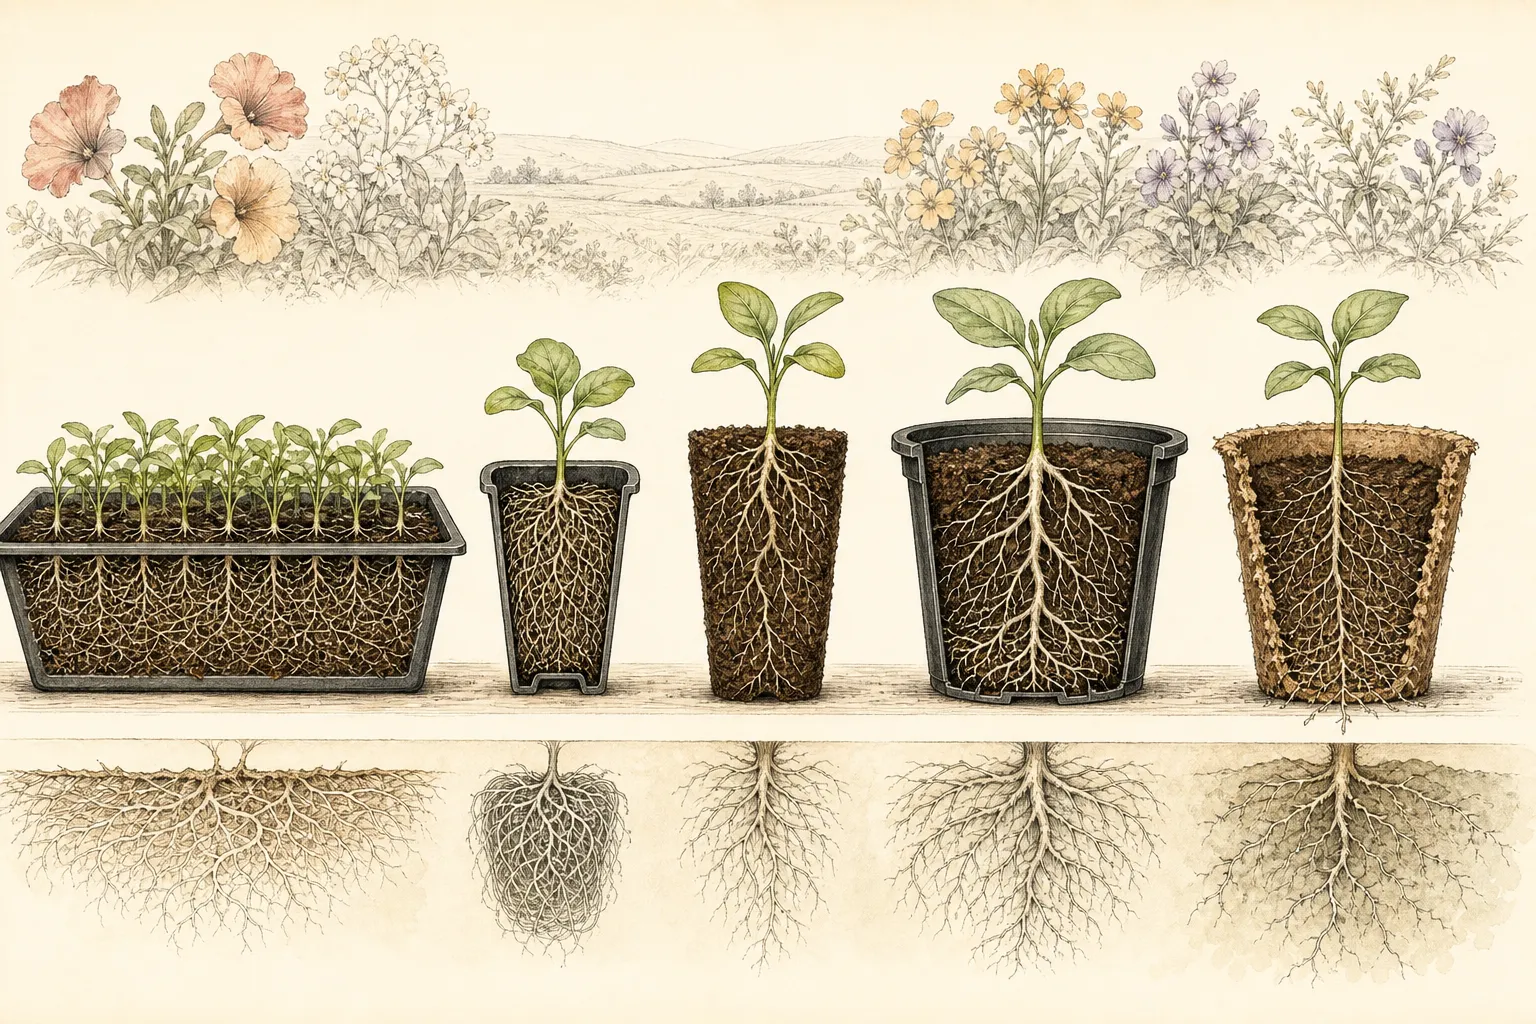
Compare cell trays, community flats, and soil blocks
A divided plastic cell tray offers repeatable volume, easy labeling by row, and individual plugs. It works well when emergence is reasonably uniform and seedlings move on together. Inspect drainage holes before filling; decorative inserts can sit flush against a solid catch tray and seal themselves. Use a separate waterproof tray for watering, then drain it. Root tips exiting the cells should not be left to weave through felt, capillary mats, or standing water.
A community flat uses space efficiently for fine seed and allows the strongest seedlings to be selected. It demands earlier handling. Lift with a label or small tool beneath the roots, hold by a leaf rather than the stem, and transplant while roots separate easily. A flat is a poor choice when schedules prevent timely pricking out or when species are known to resent disturbance. Crowding is not an acceptable germination strategy.
Soil blocks and fiber or paper containers are systems, not universally root-friendly objects. Blocks require a mix that holds shape without becoming dense and careful watering that does not erode the sides. Fiber walls can dry faster at edges, wick water unevenly, or fail to break down on schedule in cool garden soil. Test a small batch under the actual shelf and watering method before entrusting slow or rare seed to a sustainability claim.
Repurposed containers can work if they are structurally sound, thoroughly cleaned, deep enough, and provided with reliable drainage. Food cups with one token hole, brittle takeout plastic, and opaque containers whose moisture cannot be judged may create hidden failures. Know the material and avoid cutting or heating plastics in unsafe ways. The saved object is useful only when it performs as a propagation container and can be sanitized between crops.
Plan the whole bench, not one germination tray
Lay containers beneath the actual light before filling them. The outer cells must receive useful light as the canopy rises, and fixtures should adjust without forcing tall and short crops into one plane. Group seedlings by height and environmental stage, not by the date the seed packet arrived. A germination tray under a cover may need warmth; emerged seedlings need open air and strong light; newly potted plants need more area.
Reserve a dry working edge for labels, records, and lifting plants. Keep water away from electrical connections, provide drip loops, and use equipment listed for the setting. Trays should be removable without tilting neighboring pots or catching stems beneath a fixture. A propagation shelf that cannot be inspected from more than one side encourages unnoticed algae, blocked drains, stretched edge plants, and pests hidden against the wall.
Arrange irrigation by container behavior. Small edge cells and porous pots can dry first; deep plastic modules may stay wet below. Grouping them under one timer or soak interval creates opposing failures. Learn the drained weight of each format and inspect representative positions. If two container types require incompatible watering, separate them into different catch trays even when they contain the same flower species.
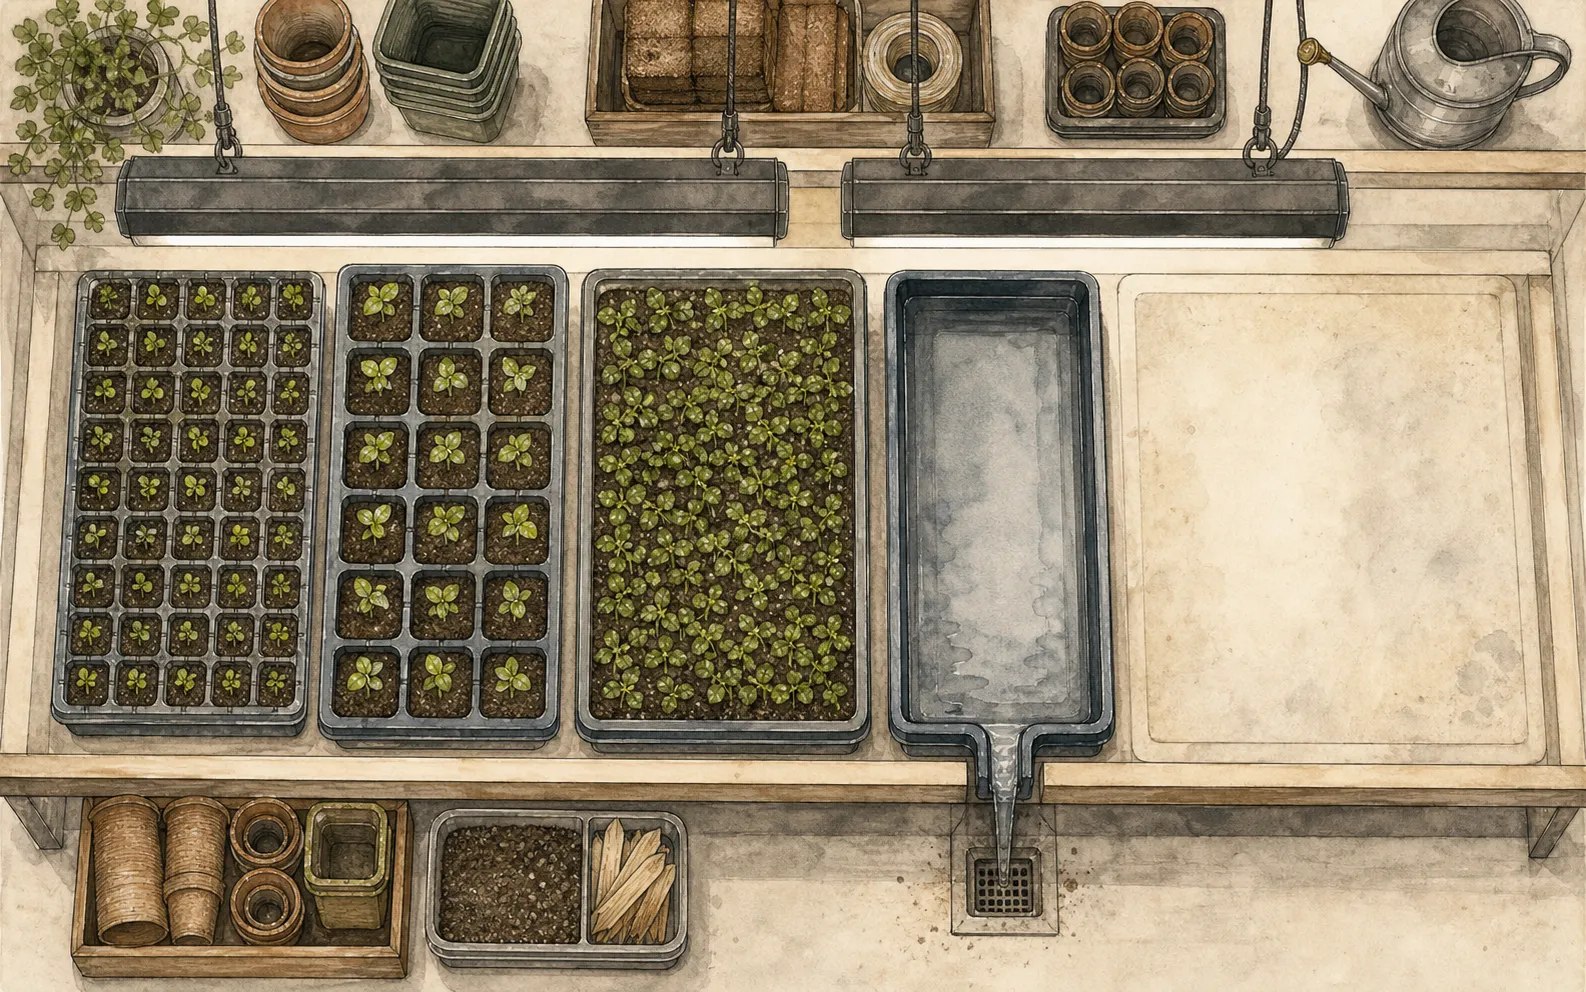
Make quarantine space part of the bench. A tray with damping-off, algae, unexplained leaf spots, or visible pests should not be threaded among healthy seedlings to conserve light. Isolate it, identify the pattern, clean tools and hands, and correct the environment. The empty reserve area also receives plants that emerge early or require potting before the rest of a batch.
Fill and water without destroying pore space
Use fresh seed-starting medium intended for containers. Moisten it uniformly before filling so dry peat or coir does not repel the first watering. Fluff the mix, fill cells to a consistent level, settle lightly, and refill large voids. Do not press a thumb repeatedly into each cell. Compression reduces air space and changes drainage, while a loose unfilled pocket lets a seed fall below the intended depth.
Water the filled container and watch every drainage point. Slow or absent flow can mean blocked holes, a warped insert sealed to the tray, or overcompressed medium. Let the system drain and check the surface level before sowing. If cells differ greatly in moisture now, seedling roots will inherit the unevenness. Repair the tray rather than relying on later misting to make a flawed profile uniform.
Sow at the depth specified for the plant, not at a fixed proportion derived from the cell. Fine surface-sown seed needs stable humidity and gentle watering; larger covered seed still requires oxygen. A humidity cover can reduce evaporation during germination but must be vented or removed as shoots establish. The container below remains responsible for drainage even while the air above is humid.
Record the first saturated-and-drained weight of representative containers. Later lifting becomes a fast moisture check, especially where the surface color is misleading. Pair weight with a finger, skewer, or visual inspection at root depth. Bottom watering can wet established roots evenly, but remove excess after uptake. No container type makes permanent standing water safe.
Move seedlings at the biological limit
Potting time is indicated by roots and canopy together. The plug should hold enough to lift without crumbling, while roots remain pale, active, and distributed rather than circling densely. Leaves should not overlap so completely that lower growth stays wet and shaded. A date on a schedule prompts inspection; it does not override a weak root system or a sudden spell of poor light.
Water before handling so the root ball is cohesive but not dripping. Prepare labeled destination pots first. Ease the plug from below or lift beneath roots in a flat, supporting the seedling by a leaf when necessary. Do not pull a stem upward against a cell wall. Set the crown at the plant-specific depth, fill around the roots without compacting, water to settle, and return the plant promptly to suitable light.
Examine a sample root ball rather than sacrificing every plant to curiosity. Roots circling the bottom mean the next crop needs an earlier move or deeper cell. Sparse roots in wet medium indicate that more volume would have worsened the problem. Roots concentrated at the surface may reflect shallow watering. Record the pattern beside container size and duration so the next choice is based on evidence from that species.
Clean reusable containers before the next sowing. Remove all roots and medium, wash surfaces, and disinfect with a method supported by current Extension guidance for the material. Rinse or dry as directed and store completely dry. Containers that remain cracked, warped, or impossible to scrub are no longer economical; discard or recycle them according to local rules rather than carrying disease and blocked drainage into another batch.
Evaluate the container after garden establishment
The final test occurs after transplanting. Record whether plugs released cleanly, roots were circling, crowns held the correct depth, and plants resumed growth without a prolonged check. Compare several representatives, not the single best plant. A container that produced a handsome indoor canopy but a compressed, dry root block has shifted the problem to the garden rather than solved it.
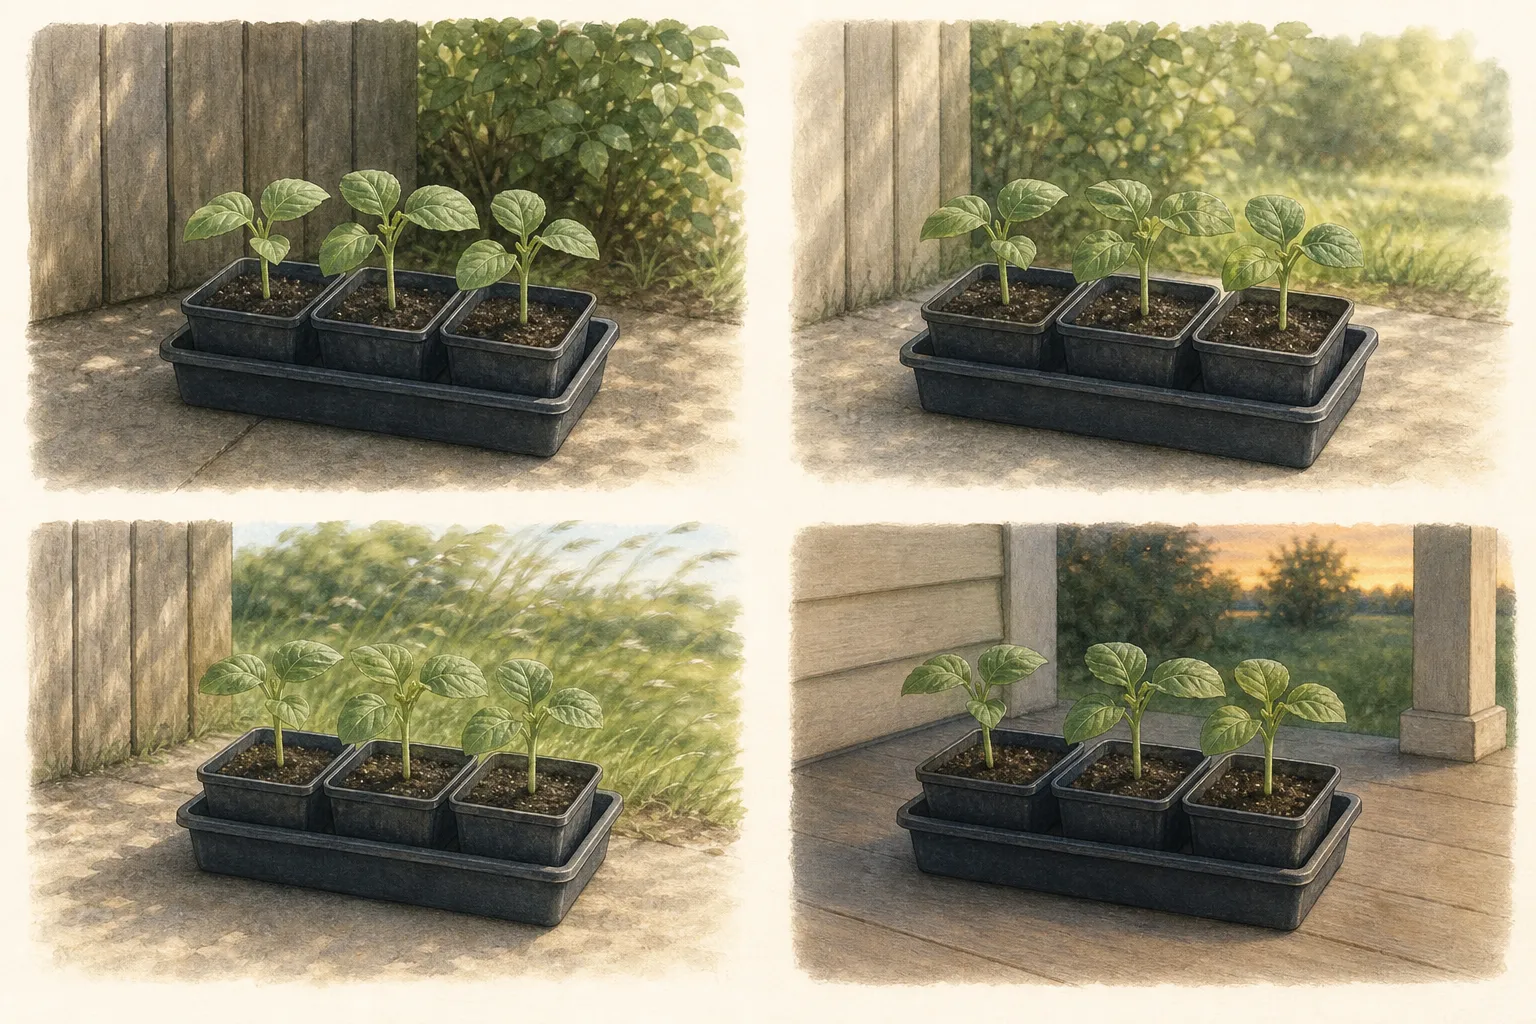
Separate container effects from hardening and weather. Sunscald, wind scorch, cold injury, and missed irrigation can damage a well-rooted transplant. Root deformation, an intact fiber wall, and a dry plug surrounded by wet soil point more directly to the propagation system. Photograph the root ball of any failed plant before discarding it, then compare with a healthy survivor from the same batch.
Adjust one variable for the next crop: depth, volume, transplant date, mix, drainage gap, or sowing quantity. Changing the entire system prevents useful comparison. A deeper cell may help a taprooted flower; an earlier move may solve the same issue with the existing tray. The least expensive improvement is often better timing and fewer seedlings rather than a new collection of specialty containers.
Keep the successful format tied to the species and schedule. It is not a universal winner. The purpose of a propagation record is to build a small, dependable set of systems for the ornamentals actually grown. When a new plant enters the garden, return to its root habit, time indoors, sensitivity to disturbance, and mature bench demand before assigning it to whichever tray happens to be empty.
Steps
- Level
- moderate
- Time
- 30–45 minutes to map a batch and prepare containers
- Tools
- Current seed packets, Measured propagation shelf plan, Clean trays and modules, Root-zone thermometer, Plant labels and waterproof record
- Materials
- Fresh seed-starting mix, Containers matched to the crop, Waterproof catch trays, Clean destination pots for the next stage
- 1Map the propagation sequence
Count from sowing through emergence, first transplant, hardening, and installation. Mark how long roots must remain in each container and how much shelf area the next stage will occupy.
- 2Classify the root risk
Use reliable plant guidance to identify fibrous, taprooted, fleshy, disturbance-sensitive, or storage-organ-forming seedlings. Do not infer final root behavior from seed size alone.
- 3Select depth and volume
Choose enough space to reach the planned move without circling or severe drying, while avoiding a cold oversized volume around tiny roots. Preserve open drainage beneath every cell.
- 4Test the empty bench
Place containers under the real lights, reserve watering and quarantine access, and check that trays can be removed safely. Separate formats whose moisture behavior is incompatible.
- 5Prepare a uniform root medium
Pre-moisten fresh mix, fill without heavy compression, water through, and verify every drainage point. Correct uneven cells before seed is added.
- 6Inspect before the scheduled move
Lift a sample plug and compare root occupancy, circling, canopy overlap, and medium condition. Move when roots hold the ball but remain active and uncrowded.
- 7Record outdoor performance
At transplant and establishment, note release, root shape, recovery, and any failed fiber wall or dry plug. Change one container variable for the next batch.
- 8Separate incompatible watering groups
After one full wetting and drying cycle, compare edge and center cells, porous and plastic walls, and shallow and deep formats. Move containers with different moisture rhythms to separate catch trays. One shelf can share light without forcing every root zone onto the same irrigation interval.
- 9Keep a quarantine position open
Reserve enough useful light for one suspect tray or early-emerging batch. Isolate collapse, algae, leaf spots, or pests before handling healthy seedlings, then diagnose sanitation, drainage, temperature, and airflow. Empty capacity is part of a reliable bench, not wasted growing space.
- 10Clean for the next crop
Remove roots and medium, wash every cell and drainage hole, and apply a current Extension-supported sanitation method suitable for the material. Dry containers completely, reject cracked or warped units, and record which format released roots cleanly so next season begins with evidence.
Related reading
Sources
- Starting Seeds Indoors. University of Minnesota Extension. Source record · Accessed 2026-08-19.
- Guide to Starting Seed Indoors. Iowa State University Extension. Source record · Accessed 2026-08-19.
- Starting Seeds Indoors: Materials. Utah State University Extension. Source record · Accessed 2026-08-19.