Gardens · dry shade under trees
Design a Dry-Shade Garden Without Burying Tree Roots
Map changing light and surface roots, plant in small pockets without grade changes, and build a restrained understory that survives tree competition and remains serviceable.
Published Last updated
In this guide
- Treat the tree root system as the fixed structure
- Map seasonal light instead of labeling the whole site shade
- Build the design from foliage roles
- Select plants for competition as well as shade
- Plant pockets with hand tools and minimal root disturbance
- Establish the understory without overwatering the tree
- Keep access and tree care visible
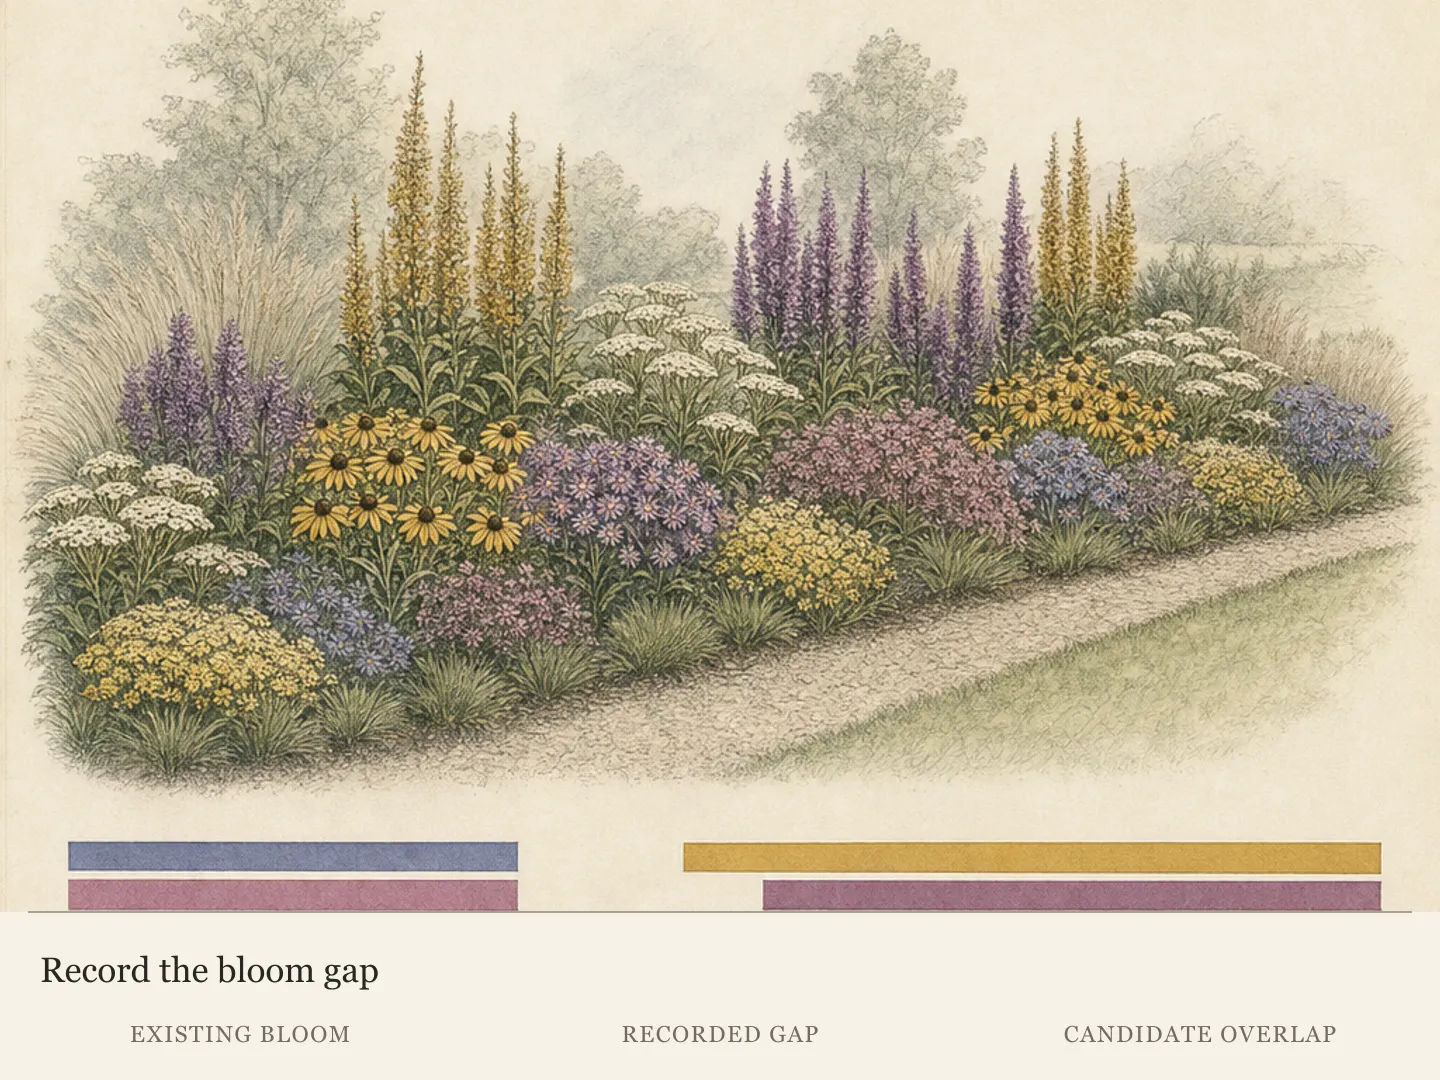
- Use seasonal gaps as part of the composition
- Edit failure by zone instead of reworking the whole bed
- Let the tree remain the visual and biological center
- Phase the planting around the tree’s response
- Keep irrigation removable and observable
- Trial ten sedges between existing tree roots
- Design ideas
Treat the tree root system as the fixed structure
A mature tree is the primary plant and engineering constraint in an underplanting. Locate the trunk flare, visible surface roots, irrigation, utilities, paths, and canopy drip line before drawing flower groups. Do not raise the grade, pile soil against the trunk, or sever large roots to create a conventional deep bed. The design must fit among the tree’s roots and preserve oxygen and water exchange at the original surface.
Identify the tree and assess its health. Species differ in root pattern, shade density, moisture use, and tolerance of disturbance. Dead limbs, cavities, girdling roots, construction injury, or broad canopy decline deserve professional evaluation before people begin kneeling and digging underneath. Underplanting cannot repair an unsafe or declining tree and should not block access needed for inspection.
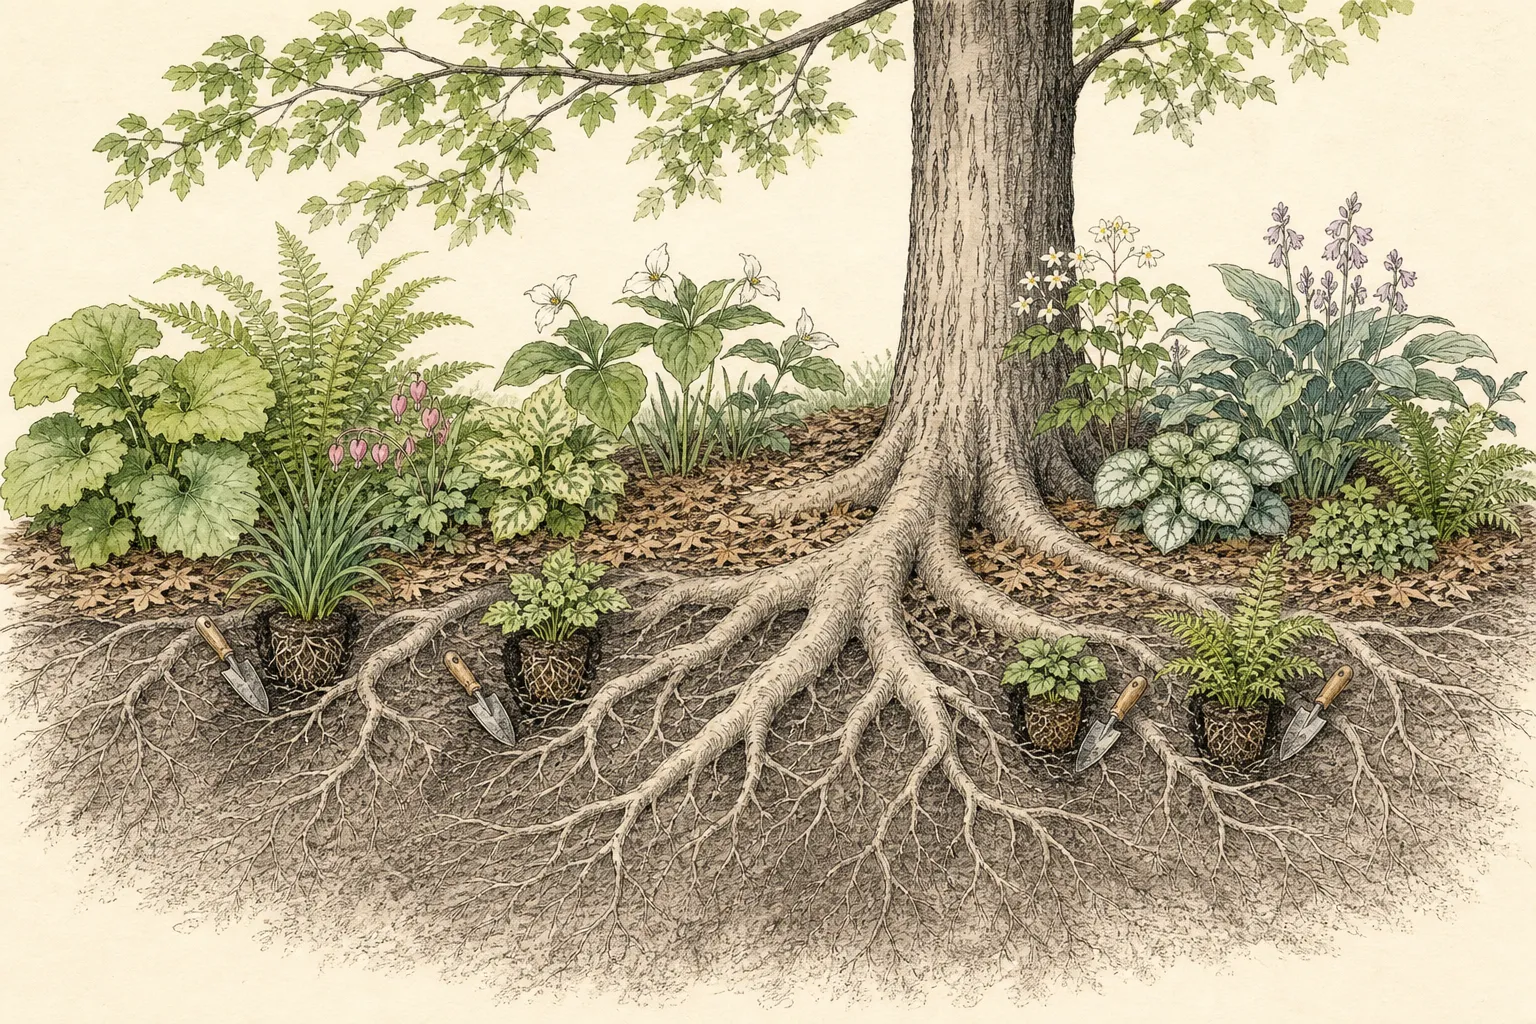
Mark no-dig zones around the root flare and major roots. Use flags or a hose to show potential planting pockets in spaces that already exist. A plan with more open ground than plants is acceptable at first. Small pockets can be expanded through plant growth; a continuous trench creates immediate root injury that no ornamental composition can justify.
Map seasonal light instead of labeling the whole site shade
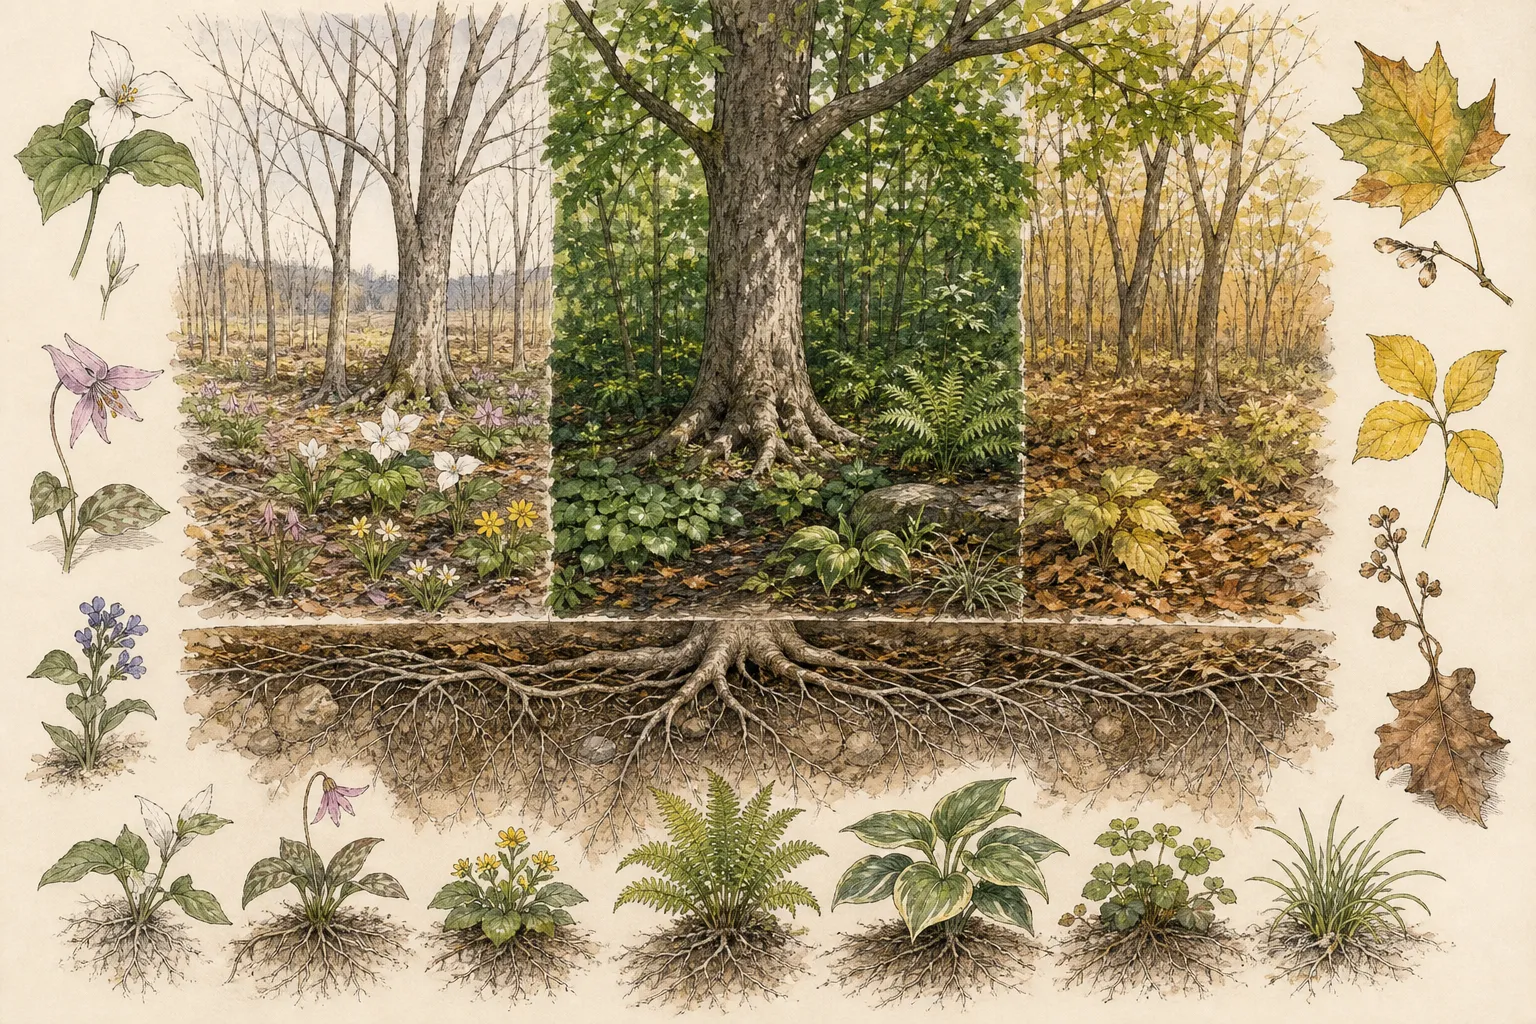
Observe the site before leaf-out, after the canopy closes, and during late-summer dryness. Deciduous trees may admit strong spring light and deep summer shade. The east side can receive gentle morning sun while the west edge takes hot reflected afternoon light. Record hours and intensity in several zones. The phrase dry shade is a summary, not a uniform condition across the bed.
Use spring light for bulbs and early perennials that complete much of their cycle before the canopy closes, while building the permanent framework from foliage that tolerates the summer condition. Do not assume every woodland plant is drought tolerant. Many shade plants come from moist forest soils and decline under intense root competition even when light seems correct.
Track where rainfall actually reaches. Dense foliage and branches can intercept light rain, while trunk flow wets a narrow area and leaves another pocket dry. Probe after storms. Downspouts and hard surfaces may create unexpectedly wet edges. Place plants according to the measured moisture pattern and keep drainage routes open rather than forcing one irrigation schedule across every zone.
Build the design from foliage roles
Flowers are often brief in dry shade, so use foliage scale, texture, persistence, and repeated shape as the main composition. Choose one broad or arching ground layer, one finer texture, and one seasonal accent. Repeat them in separated pockets so the eye connects the planting across roots and open mulch. A different species in every gap produces a collection that becomes hard to read when flowers finish.
Draw each plant at mature spread. Place the largest groups where roots and access permit, then leave quiet ground around the trunk flare and service route. Avoid filling the natural negative spaces that make the tree structure visible. The open areas also provide room to monitor roots, add water slowly, and move without stepping into crowns.
Use height sparingly under low branches. A few upright stems can mark an outer edge where light is stronger, while lower forms belong near the trunk and sight lines. Keep plants away from mower paths and the tree’s inspection side. The resulting garden should reveal the tree as its canopy, trunk, root flare, and understory—not disguise it as a post emerging from a mound.
Select plants for competition as well as shade
Evaluate hardiness, summer heat, soil drainage, deer pressure, mature size, and drought tolerance after establishment. A plant that survives shade in moist loam may fail under maple roots. Use regional Extension and botanical garden recommendations, and test a small number before buying a mass. Cultivar claims do not override the site’s root competition or the gardener’s ability to water during establishment.
Choose small nursery sizes or divisions that fit between roots. Large root balls require larger holes and can lead to damaging excavation. Smaller plants establish with less disturbance and can adapt their roots to available soil pockets. Buy fewer kinds in enough quantity to repeat them, but phase the installation so failure in one test season does not become a whole-bed replacement.
Avoid aggressive spreaders whose control would require repeated digging among tree roots. Self-seeding can be welcome only where volunteers are easy to edit. Confirm regional invasive status before planting. The ideal understory expands gradually, knits selected pockets, and can be managed with surface work and hand division rather than deep barriers or annual trenching.
Plant pockets with hand tools and minimal root disturbance
Water the proposed pocket if soil is dry, then use a trowel or narrow hand fork. Stop when a substantial root is encountered and move the hole; do not shave or notch the root to fit a purchased pot. Preserve fine roots where possible and make the hole only as deep as the plant’s root ball. Keep the crown at its proper grade and backfill with the site soil.
Do not replace the pocket with a rich isolated mix. A dramatic texture change can alter water movement and encourage roots to remain in the amended plug. Use modest surface organic matter and a broad conservative mulch after planting. The tree and understory share the same soil system; the design should not create dozens of buried pots whose moisture behaves independently.
Work outward from the trunk and keep tools, soil, and knees off exposed roots. Plant in small sessions and stop if the site reveals more roots than the plan expected. A gap can remain mulch or leaf litter. Add a surface marker for every tiny division so it is not stepped on or mistaken for a weed before its foliage expands.
Establish the understory without overwatering the tree
New plants need consistent moisture while their roots expand, even when the selected species will later tolerate dry shade. Apply water slowly to each pocket and verify infiltration below mulch. The mature tree’s root zone is broad, so a small amount at each transplant is different from saturating the trunk flare. Keep irrigation hardware away from bark and adjust frequency to soil, weather, and plant response.
Group new plants by similar establishment needs so one dry-tolerant division is not flooded beside a thirstier experiment. Reduce water gradually after roots establish, using fresh growth and below-surface moisture as evidence. Do not promise a fixed number of weeks; root development varies by season and species. Continue checking during the first summer and during unusual heat in later years.
Mulch lightly to moderate evaporation and suppress weeds, leaving the root flare, trunk, and plant crowns open. Existing leaf litter can be part of the surface when it does not mat excessively. Do not add another full layer each year by habit. Measure old plus new mulch and preserve visible grade around roots.
Keep access and tree care visible
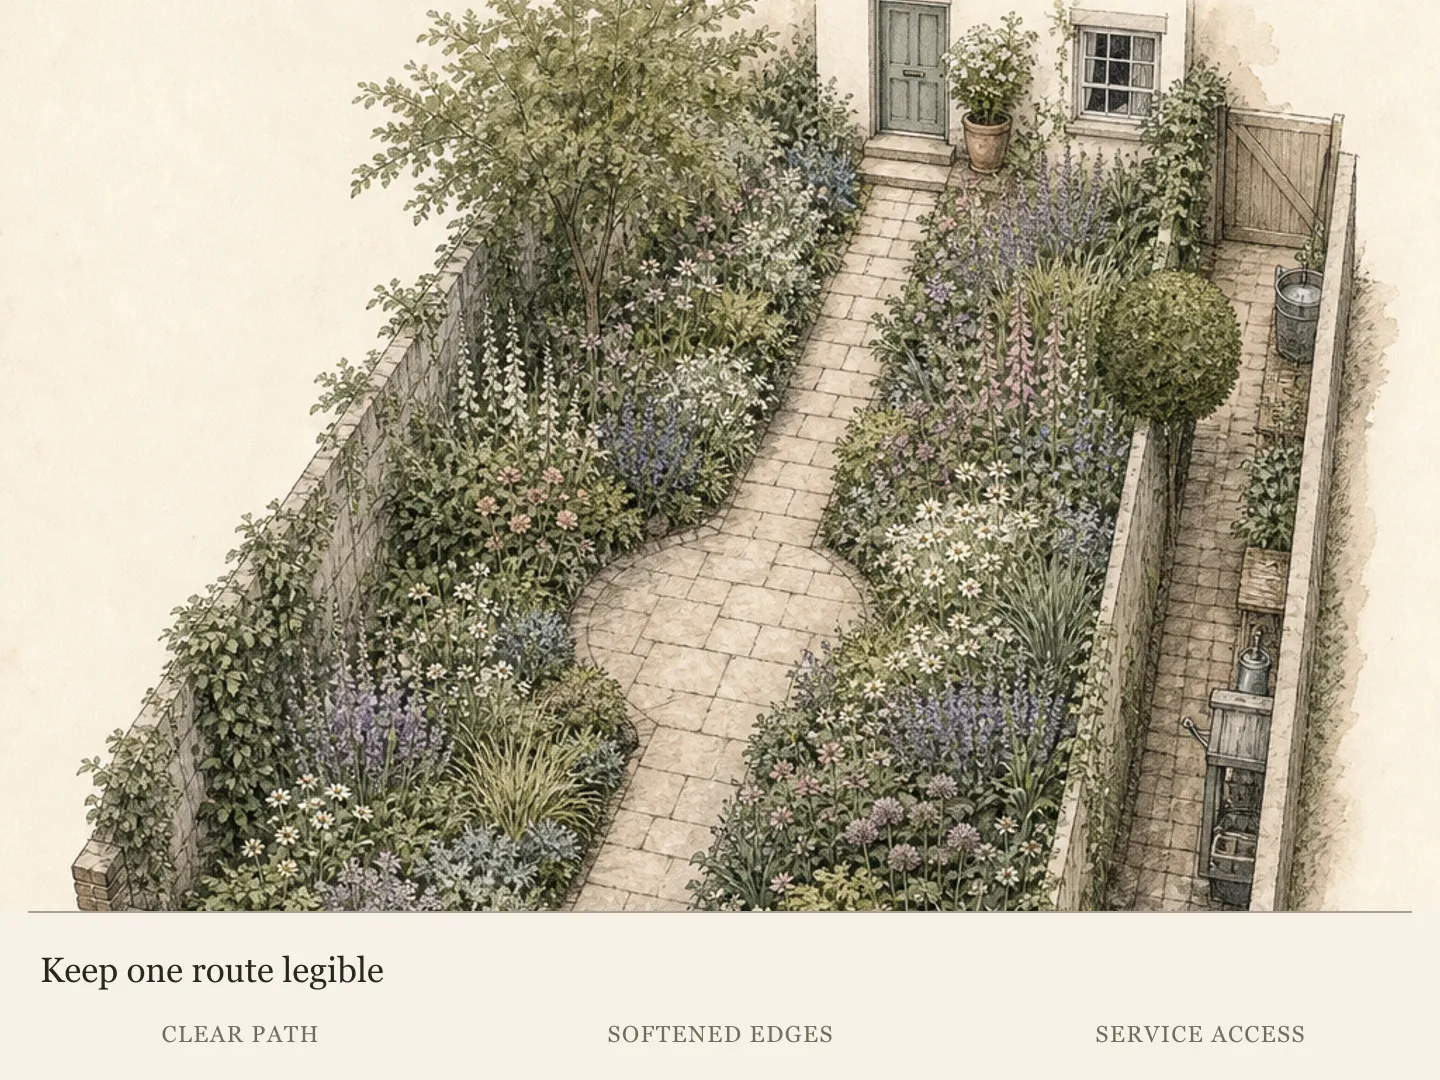
Create a stepping route to the outer canopy, irrigation valves, and any tree-care access point before plants spread. Use surface-set stones only where they do not compress major roots or change drainage. A deep compacted base is inappropriate over the root system. Sometimes the best route is an open mulched strip whose edges are reinforced by repeated foliage.
Allow an arborist to reach the trunk and inspect the root flare. Do not wrap the trunk with a bench, edging, or dense evergreen mass. Keep lighting attachments, bird feeders, and decorations from injuring bark. If pruning the tree changes shade, revisit the plant map; do not assume the understory will tolerate a sudden increase in afternoon sun.
Remove weeds by hand while small. Avoid deep cultivation and repeated herbicide use near desirable roots without exact label understanding. Clip annual weeds before seed set and use a narrow tool for perennial crowns. If an invasive root system becomes established among major tree roots, seek local control guidance before digging broadly.
Use seasonal gaps as part of the composition
An early bulb layer can flower in spring light and disappear as summer foliage fills the space. Mark bulb locations so later planting does not cut them. Choose bulbs suitable to the site and region, and avoid deep holes through tree roots. Let a few repeated drifts carry the season rather than scattering single bulbs through every pocket.
In summer, foliage and a small number of shade-tolerant flowers should maintain the structure. Autumn can add seed heads, leaf color, and the tree’s own litter. Winter may reveal the root flare and repeated evergreen or persistent forms. Judge the design from the house and path in all seasons before filling a temporary quiet area with another permanent plant.
Retain some fallen leaves where healthy and appropriate, but remove thick mats from evergreen crowns and tiny plants. Shred or redistribute leaves only with care around roots. Local disease or pest guidance may require cleanup from specific plants. The surface can look woodland-like while remaining deliberately maintained and readable.
Edit failure by zone instead of reworking the whole bed
When a plant declines, compare its pocket with successful pockets of the same species. Check light, root density, moisture after rain, mulch depth, and competition. A dry edge under reflected heat may need a different plant, while a central pocket may be too root-filled to support anything beyond leaf litter. Do not add fertilizer or water to the entire bed from one local failure.
Move a struggling plant during an appropriate cool season only if a clearly better pocket exists. Replace repeated failures with open mulch, a surface container outside major roots, or a different role. Negative space is a legitimate design outcome beneath a mature tree. The tree’s health carries more value than completing a planting diagram.
Photograph fixed viewpoints each spring and late summer. Note canopy changes, plant spread, irrigation, and any roots becoming exposed. Edit volunteers and divide only where hand work remains safe. Over time, successful groups will define the durable pattern. Let them expand rather than restarting the bed to match the original drawing.
Let the tree remain the visual and biological center
The finished understory should make the tree easier to read, not harder to care for. Keep the trunk flare open, repeat a restrained palette, and use outer pockets for taller accents. Preserve a clear ground line from path to trunk. This hierarchy gives a shaded garden identity even when flower count is modest.
Review the arrangement after major pruning, drought, construction, or canopy loss. Conditions can change faster than long-lived perennials move. Temporary shade, extra establishment water, or relocation may be needed, but do not conceal new tree decline behind plant replacement. Evaluate the primary tree first whenever broad changes occur.
Success is measured by stable tree grade, functional roots, healthy repeated understory groups, and manageable access. It is not maximum plant density. A dry-shade garden can remain generous through line, texture, and seasonal sequence while accepting that some spaces belong to roots, leaf litter, and air.
Phase the planting around the tree’s response
Install one representative pocket in each light and moisture zone, then wait through a full active season before expanding. Monitor the tree canopy as well as the understory. Unexpected leaf scorch, soil compaction, irrigation conflict, or root exposure is a reason to stop. A phased planting protects the primary tree and prevents an attractive but unsuitable species from being repeated across the whole root zone.
Use surface markers and fixed photographs to show where trowels entered and where major roots redirected the plan. Future additions should reuse known safe pockets or occupy new spaces with the same cautious hand-tool method. Do not enlarge one successful hole into a trench; the surrounding root density can differ within inches.
Budget for replacement without treating loss as a command to dig again. Small understory trials can fail during unusual drought or after canopy change. Review the measured cause, then decide whether to replant, change species, or leave the pocket open. The tree’s continued health is the non-negotiable result.
Keep irrigation removable and observable
Lay temporary surface tubing where it can be seen, moved, and removed after establishment. Use outlets at new plant pockets rather than fastening hardware to the trunk or burying lines among roots. Mark every connector under mulch. A leak against bark or a hidden line cut during later planting can undermine both tree care and understory care.
Reduce supplemental water from measured plant and soil response, not from a date alone. Some pockets establish faster than others because root competition and soil volume differ. Cap or move individual outlets while checking that the mature tree still receives the climate-appropriate care it needs. The irrigation map should become simpler as the understory settles.
After major tree pruning or drought, reopen the irrigation decision. More light can raise water demand, while a smaller canopy can alter interception. Keep the system flexible enough to respond without permanent saturated rings around the trunk. Observable surface equipment supports that flexibility.
Trial ten sedges between existing tree roots
Consider a 10-by-4-foot area of dry-to-moderate partial shade beneath the outer canopy of a deciduous tree in Pennsylvania Zone 6. Carex pensylvanica is the named trial plant because its low, spreading habit and dry-shade tolerance fit this question. Allocate an 18-inch initial footprint to each plant, but expect the colony boundary to need inspection. A rhizomatous sedge is not a set of permanently isolated nursery-sized tufts.
Sketch two rows with centers at 1, 3, 5, 7, and 9 feet along the bed, and 1 and 3 feet back from its front. Ten plants at 2-foot centers leave 6 inches between the initial 18-inch footprints. These are candidate positions only. Probe gently and shift or omit a position where a structural root prevents a small planting pocket; never cut a tree root to preserve this grid.
Keep the trunk flare and existing grade outside the project, plant only where pockets are available, and provide establishment water according to observed root-zone moisture. If the tree-root competition cannot be managed without repeated soil disturbance or excessive irrigation, retain fewer plants or keep an unplanted surface. The ten-plant drawing is a trial ceiling, not an instruction to force ten holes into the root system.
Design ideas
- Style
- Layered woodland understory with restrained repeated foliage
- Space
- Ground beneath and near an established deciduous tree
- Climate
- Temperate garden with seasonal canopy shade, root competition, and periods of summer dryness; select locally hardy plants for measured light and soil
- 1Keep a root-flare clearing
Draw an open irregular area around the trunk flare and visible structural roots. Use leaf litter or a conservative mulch without raising grade. Let the clearing connect visually to a service route so the trunk remains inspectable and the tree reads as the composition’s center.
- 2Repeat three foliage roles
Choose one arching ground layer, one fine texture, and one seasonal accent suited to the measured dry shade. Repeat them in separated pockets at mature spread, allowing roots and open surface to interrupt the groups. Repetition carries unity across gaps that should not be excavated.
- 3Use a spring-light layer
Place locally suitable bulbs or early perennials only in pockets that receive light before canopy closure. Mark their locations, preserve planting depth without cutting roots, and let later foliage cover the retiring leaves. Repeat a few drifts instead of distributing isolated bulbs everywhere.
- 4Create one no-dig access line
Reserve an open mulched path from the main route to the trunk and maintenance side. Avoid compacted bases over roots. Keep plants low at the entrance and place taller accents beyond it so irrigation, weeding, and tree inspection remain possible after mature spread.
- 5Test before massing
Plant small divisions of two or three candidates in representative dry, average, and brighter pockets. Label and monitor them through spring light, summer canopy, and late-season dryness. Expand only the groups that establish without frequent rescue or harmful root-zone disturbance.
- 6Use open surface as a designed material
Where roots are dense or plants repeatedly fail, maintain leaf litter or mulch as intentional negative space. Shape its boundary with successful repeated foliage and keep the surface level. The open area protects roots, improves access, and prevents forced planting from weakening the primary tree.
- 7Phase one pocket per condition
Test small plants in the driest, average, and brighter zones for a full active season. Record understory growth, soil moisture, and tree canopy condition. Expand only proven groups and keep failed pockets open when another excavation would add root disturbance without a better site hypothesis.
- 8Mark every safe hand-dug opening
Photograph and map each planting pocket, roots that redirected it, and surface irrigation. Reuse known access and avoid joining pockets into trenches. The record reduces repeated probing through the tree’s root system as the design develops.
- 9Use removable establishment irrigation
Keep tubing on the surface under light mulch, label connectors, and direct outlets to individual new plants. Reduce or remove them from measured establishment, then revisit the layout after canopy pruning, drought, or another event changes light and interception.
- 10Keep one permanent open-root view
Choose a viewpoint where the trunk flare and principal surface roots remain visible through every season. Edit foliage and leaf litter from that line instead of filling it. The open view supports tree inspection, confirms unchanged grade, and gives the understory composition a stable visual center.
- 11Preserve roots
Stop every planting hole when substantial roots appear.
Plants in this guide
Related reading

Sources
- Underplanting Trees: Respect the Roots. Penn State Extension. Source record · Accessed 2026-08-19.
- Gardening in the shade. University of Minnesota Extension. Source record · Accessed 2026-08-19.
- Improving Lawn Care and Gardening. NC State Extension. Source record · Accessed 2026-08-19.
- Carex pensylvanica. North Carolina Extension Gardener Plant Toolbox. Source record · Accessed 2026-09-09.