Tools · pruning tool selection cut control
Choose the Pruning Tool by the Cut, Not the Branch Nearby
Match bypass pruners, loppers, pruning saws, hedge shears, and pole tools to live wood, branch diameter, access, cut purpose, and the control a gardener can maintain.
Published Last updated
In this guide
- Name the cut before opening the toolbox
- Match cutting action to living or dead wood
- Use diameter as a limit, not the whole decision
- Reserve hedge shears for a hedge decision
- Treat reach as a safety boundary
- Inspect ergonomics, fit, and serviceability
- Maintain the edge and preserve plant hygiene
- Record why one tool fits the intended cut
- Tool notes
Name the cut before opening the toolbox
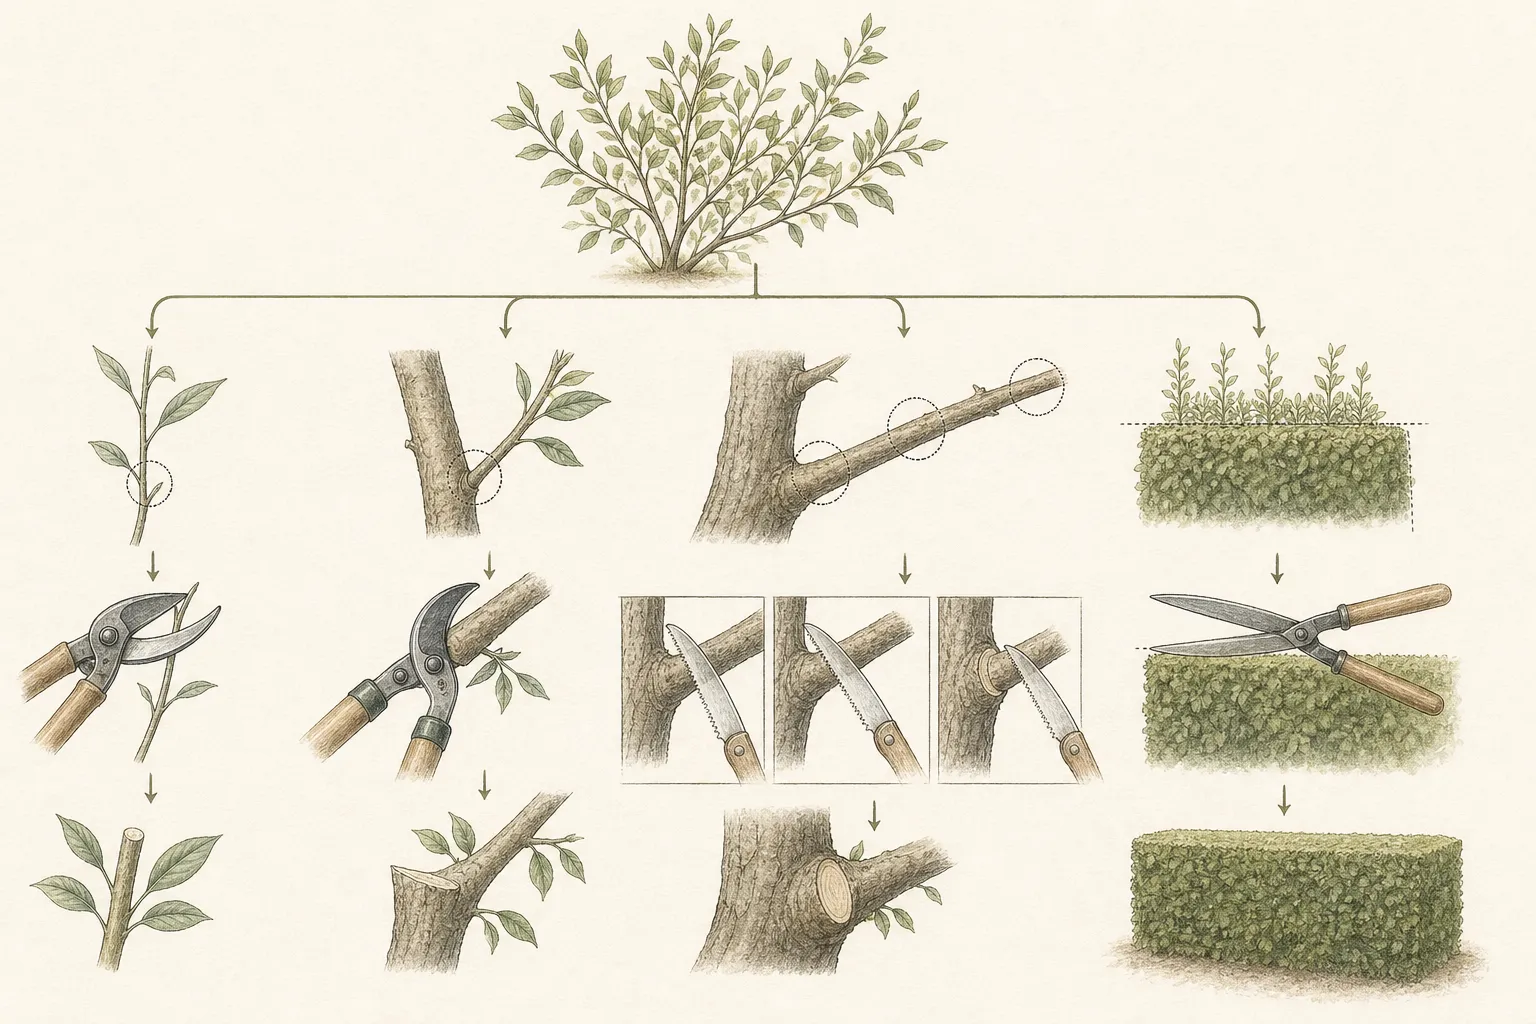
Tool choice begins with the plant and the exact cut: removing dead wood, shortening to a lateral, thinning a crowded stem at its origin, renewing a shrub from the base, shaping a formal hedge, or reducing a storm-damaged limb. These actions use different positions and levels of control. Carrying one favored tool around the garden encourages cuts that suit the tool rather than the plant’s flowering wood, architecture, or health.
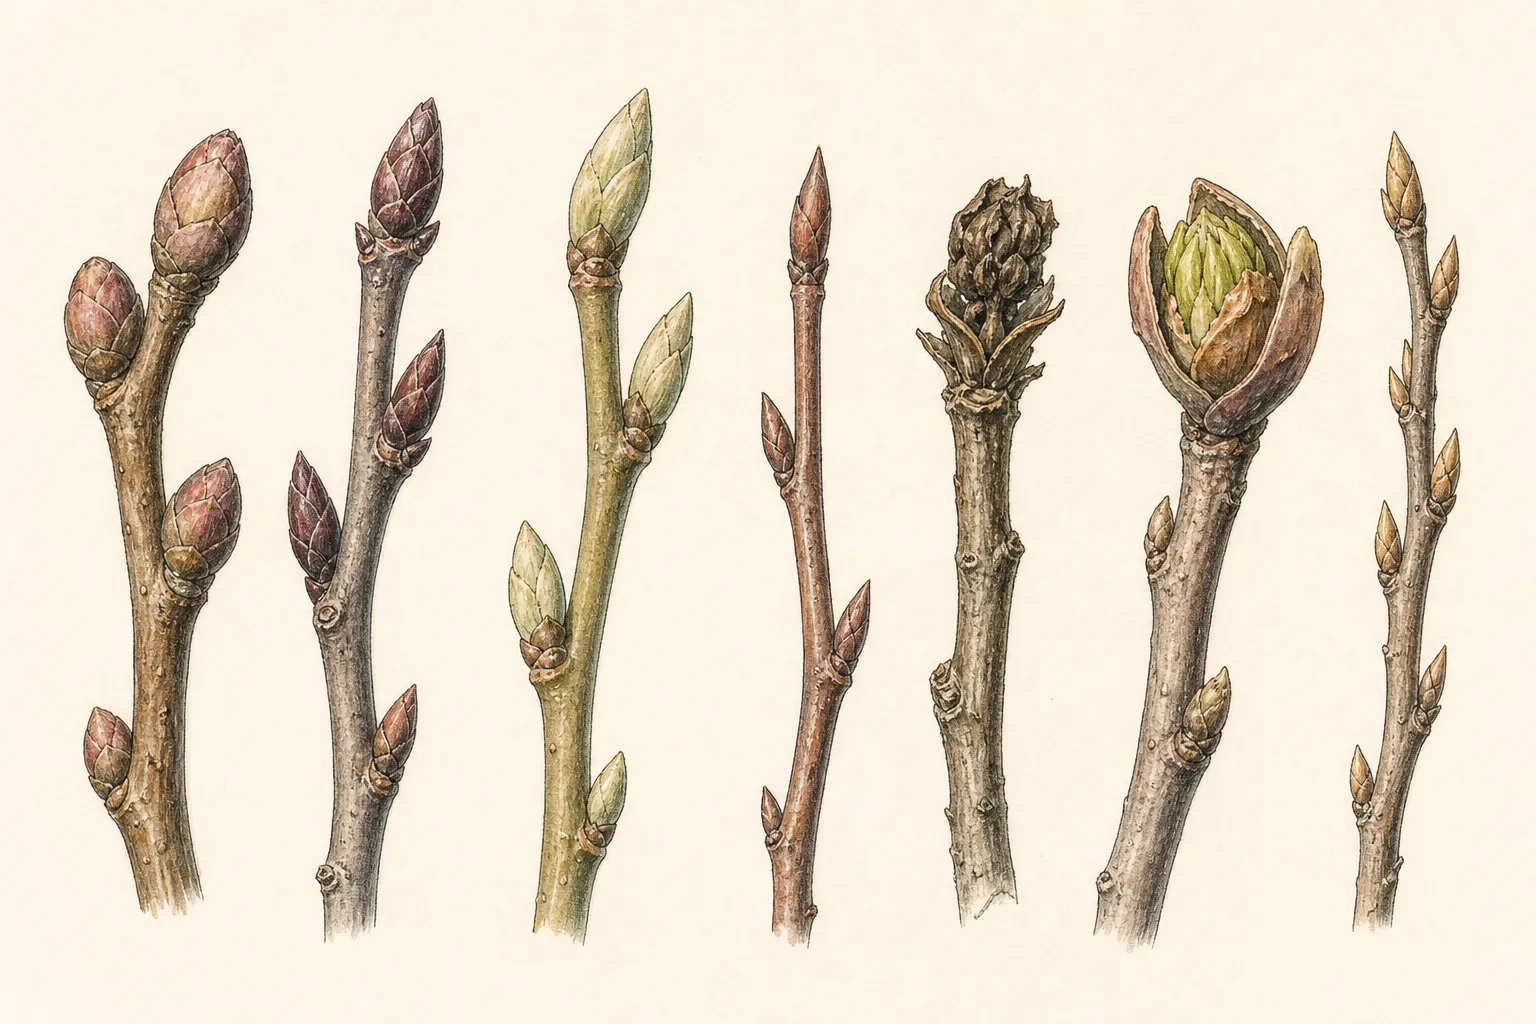
Identify the plant and confirm the pruning window. A perfectly executed cut can still remove spring flower buds, stimulate unwanted growth, expose tender tissue, or destroy a natural habit. Read dormant buds and branch unions before sizing equipment. When identity is uncertain, limit work to clear hazards and unmistakably dead or broken material, or postpone until leaves and flowers make the plant easier to verify.
Trace the selected branch from tip to attachment. Mark the retained lateral, branch collar, bud pair, or stem origin where the cut belongs. Move neighboring shoots and wires aside. A tool that reaches the branch but cannot be aligned at the correct anatomical point is the wrong tool or the access is wrong. Do not cut farther out simply because handles will not fit near the collar.
Assess load and target. Snow, ice, tension, a leaning stem, split union, overhead position, nearby glass, utilities, traffic, and unstable footing can turn a small cut into a hazardous one. Restrict the area and obtain qualified help when the branch can swing, fall, split, or contact a target. Buying a longer handle does not convert unsafe tree work into ordinary garden pruning.
Match cutting action to living or dead wood
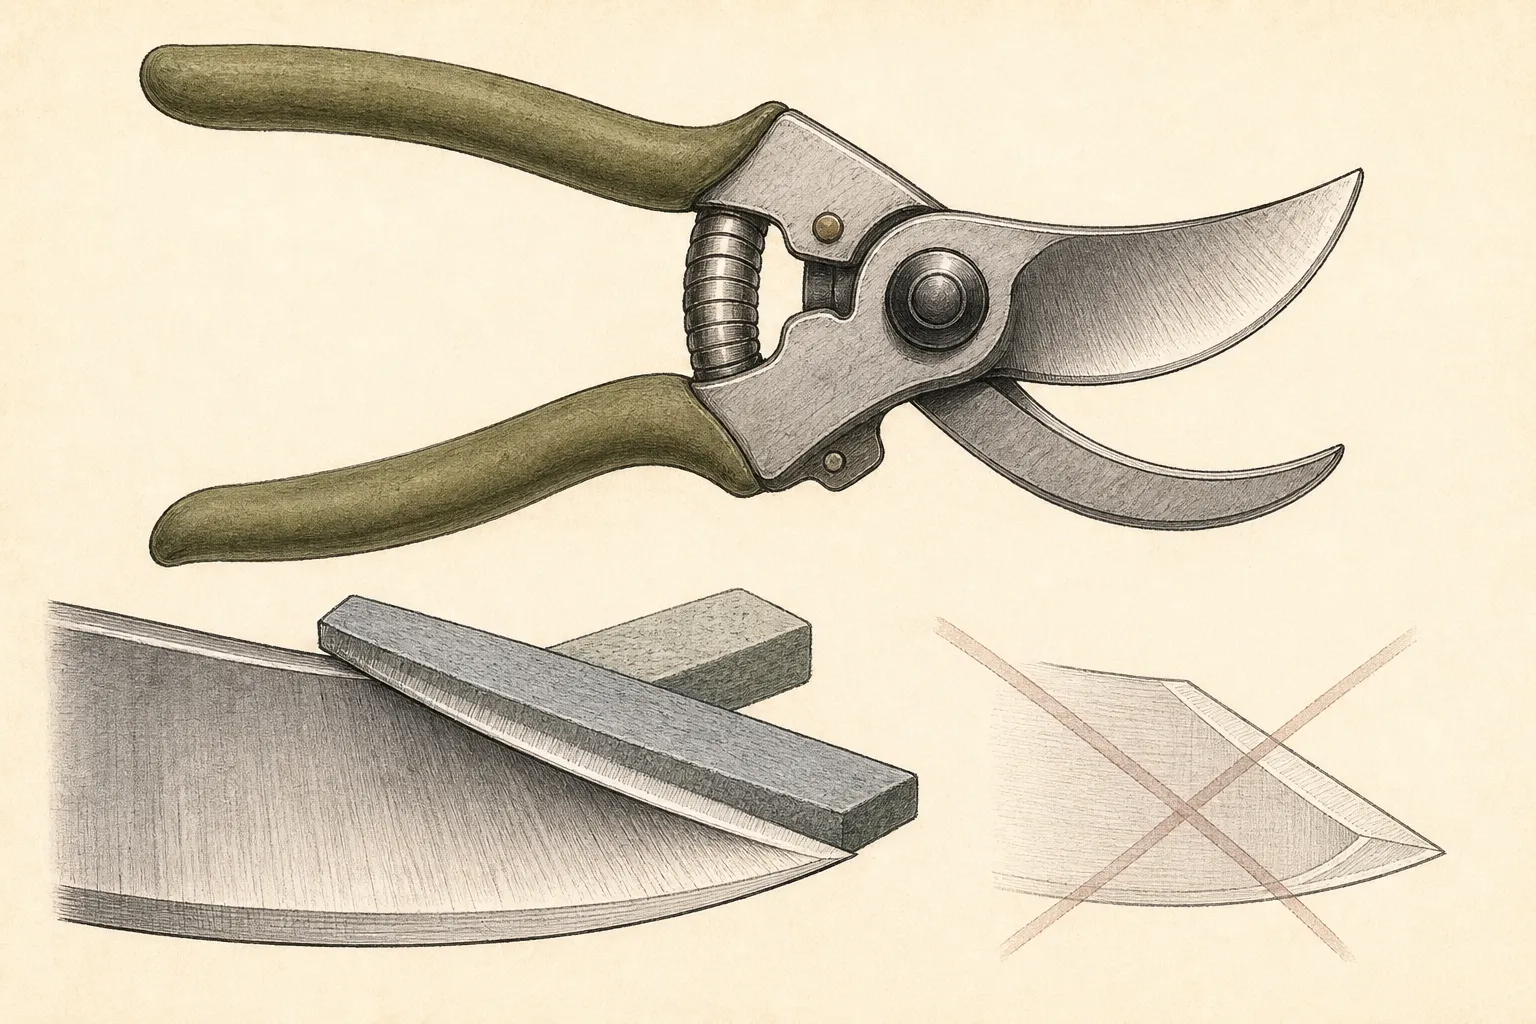
Bypass pruners use a sharpened blade that passes a thicker counterblade, producing a controlled slicing action suited to many live twigs and small stems. Orient the cutting blade toward the retained tissue so crushing and the remaining stub are minimized. The jaws must close fully without twisting. If the user must grip with both hands or rock the tool, the branch exceeds either capacity or sharpness.
Anvil pruners press a blade onto a flat anvil. They can be useful on some dead, dry, or brittle material, but may crush living stems. Do not choose them merely because they feel powerful. Inspect the cut; if bark is mashed or wood fibers remain attached, stop. Tool action, blade condition, and the plant tissue all matter more than a marketing label that calls one mechanism universal.
Loppers extend handle length and leverage for branches beyond comfortable hand-pruner work. Bypass loppers suit many live branches where their head can reach the correct cut. Their long handles need clear swing space and stable body position. Do not force them deep into a congested crown, spread handles against neighboring stems, or twist through wood. A compact pruning saw may make a cleaner controlled cut in limited access.
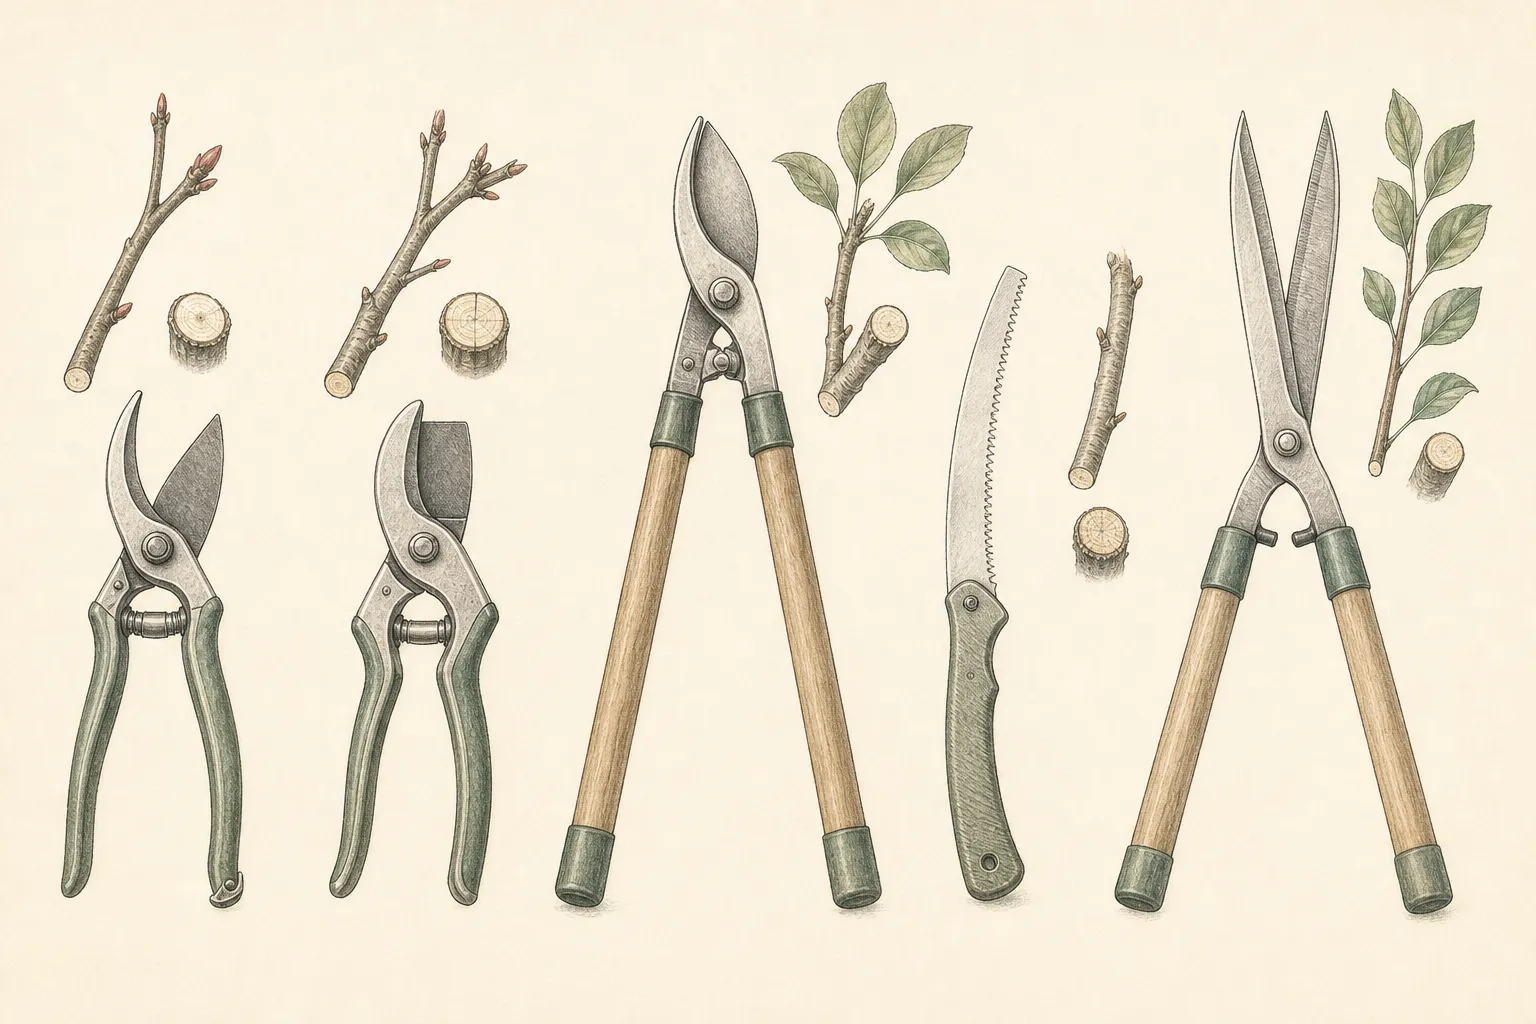
A pruning saw removes wood too large or awkward for loppers. Curved and straight blades, tooth patterns, folding forms, and fixed scabbards serve different access and wood conditions. Use a saw designed for pruning, keep the blade aligned, and let its teeth cut without bending. For a heavy limb, the cut sequence and branch collar matter as much as the blade; use a three-cut method supported by Extension guidance to prevent bark stripping.
Use diameter as a limit, not the whole decision
Manufacturers publish maximum capacities, and Extension guides offer general diameter ranges, but these are upper boundaries under suitable conditions. Wood density, moisture, angle, tool geometry, blade sharpness, hand size, and access change effort. A one-inch soft hollow stem and a one-inch dense dry branch do not feel the same. Choose the smallest tool that makes a clean controlled cut without strain, not the smallest tool whose package claims the number.
Test a low-consequence branch of the same plant. The jaws should surround the stem without levering, the handles should close within a comfortable range, and the cut should finish in one controlled action. White knuckles, shoulder lifting, two-handed squeezing of a hand pruner, bark tearing, or a hinge of uncut fibers all indicate a larger or different tool is needed. Do not complete a damaged cut by twisting the branch off.
A larger tool can also reduce precision. Lopper heads may hide a nearby bud or collar, and long handles can strike retained stems. A pruning saw can remove a small twig but may scar adjacent bark in a tight fork. Match capacity and visibility together. When neither bypass pruner nor lopper can align cleanly, change access, remove an obstructing dead twig first, or postpone rather than accepting a misplaced cut. Repeated cuts near maximum capacity fatigue hands and compromise later decisions. Plan the sequence from small clearing cuts toward larger structural work, with breaks and a firm debris route. Stop if grip, footing, or attention declines. Powered equipment is not the automatic next size; chainsaws and powered pole saws require training, protective equipment, maintenance, and work-zone control beyond ordinary hand pruning.
Reserve hedge shears for a hedge decision
Hedge shears cut many small shoots to a plane. They suit formal hedges and topiary species managed for dense surfaces. They are not efficient substitutes for selective shrub pruning. Shearing a flowering or naturally arching shrub removes buds indiscriminately, stimulates congested outer growth, and hides dead or crossing wood. Use hand tools to trace selected stems to an origin or suitable lateral when natural structure is the goal.
Before shearing, identify nesting wildlife, wires, stakes, thick old branches, and mixed plants that have grown into the hedge. Clear debris and establish the intended face. Keep the base broad enough for light according to species and regional guidance. Do not drive blades into woody stems beyond the tool’s capacity or reach blindly behind the surface. A hidden wire can damage the tool and create a sudden kick or fragment.
Manual hedge shears offer quiet control on small sections but become tiring. Powered trimmers increase speed and hazard. Follow the manufacturer’s complete safety and maintenance instructions, use required protective equipment, keep both hands on designated grips, and disconnect power before clearing jams. Never stand on a ladder or reach above controlled height with a powered hedge trimmer. Use qualified help for tall or roadside hedges. After forming the surface, inspect inside the hedge with power isolated. Remove severed material and identify torn heavy stems that need a clean selective cut. Clean and maintain blades before moving to another plant group, especially where disease is suspected. A finished geometric outline does not prove each cut was sound; health and clearance inside the hedge remain part of the work.
Treat reach as a safety boundary
Pole pruners and pole saws keep the user on the ground for some small overhead work, but the cutting head is harder to align and falling branches remain overhead. Read the manufacturer’s reach and branch-capacity limits. Establish a broad exclusion zone, wear required head and eye protection, and never work near electrical conductors. Utility pruning belongs to the responsible utility or qualified line-clearance professionals.
Stand outside the expected fall path and pull line only from a stable position. Do not place your face beneath the head to see the cut. If the branch is dead, cracked, loaded, or large enough to swing unpredictably, stop. A rope-operated blade can sever a branch cleanly and still drop it onto the user, roof, glasshouse, shrub, or passerby. Reach does not equal control.
Ladders introduce a separate fall hazard. Long-handled cutting tools exert sideways force and can shift balance. Ordinary garden pruning should be reorganized so the gardener works from the ground with stable footing and an appropriate hand tool. Crown work that requires climbing, a ladder, rigging, or a chainsaw should be referred to a qualified arborist rather than solved by combining more tools.
Evaluate the aftermath before cutting. A branch may be supporting another broken limb or protecting the trunk from a hung section. Clear vehicles, containers, furniture, and people from the target zone. Do not work alone on uncertain overhead defects. If the tree has a split union, moving root plate, major dead crown, storm loading, or significant target, seek a tree-risk assessment instead of testing it with a pole.
Inspect ergonomics, fit, and serviceability
A tool must fit the user as well as the branch. Hand-pruner grip span, spring tension, lock position, handle shape, and weight affect control. Try the tool with the gloves normally worn and without cutting store material. Handles should close without overstretching fingers, locks should operate deliberately rather than catching mid-cut, and wrist alignment should remain neutral. Left-handed users should check actual blade and lock operation, not only packaging.
Lopper handle length adds leverage but also weight and swing radius. Telescoping handles introduce joints that must lock securely and can flex. Test them fully extended and retracted. The head should not wobble. Carry long tools with blades closed and pointed safely, and plan turns through gates and among people. A tool that is awkward to transport will be dragged through plants or left open on the ground.
Choose replaceable blades, springs, bumpers, bolts, and saw blades when possible. Confirm parts availability and the sharpening method before purchase. A durable tool whose blade can be adjusted and replaced is often more useful than a sealed cheap mechanism discarded when it loosens. Keep the manual, model, and purchase source. Serviceability is an environmental and safety feature, not merely a premium finish.
Bright handles are easier to find beneath foliage. A secure holster protects a folded or locked hand tool during movement, while a scabbard protects a fixed saw. Storage should be dry and inaccessible to children. Avoid loose blade covers that fall off in a tool bag. The complete system includes safe transport, cleaning, sharpening, and storage; the cutting head alone does not determine value.
Maintain the edge and preserve plant hygiene
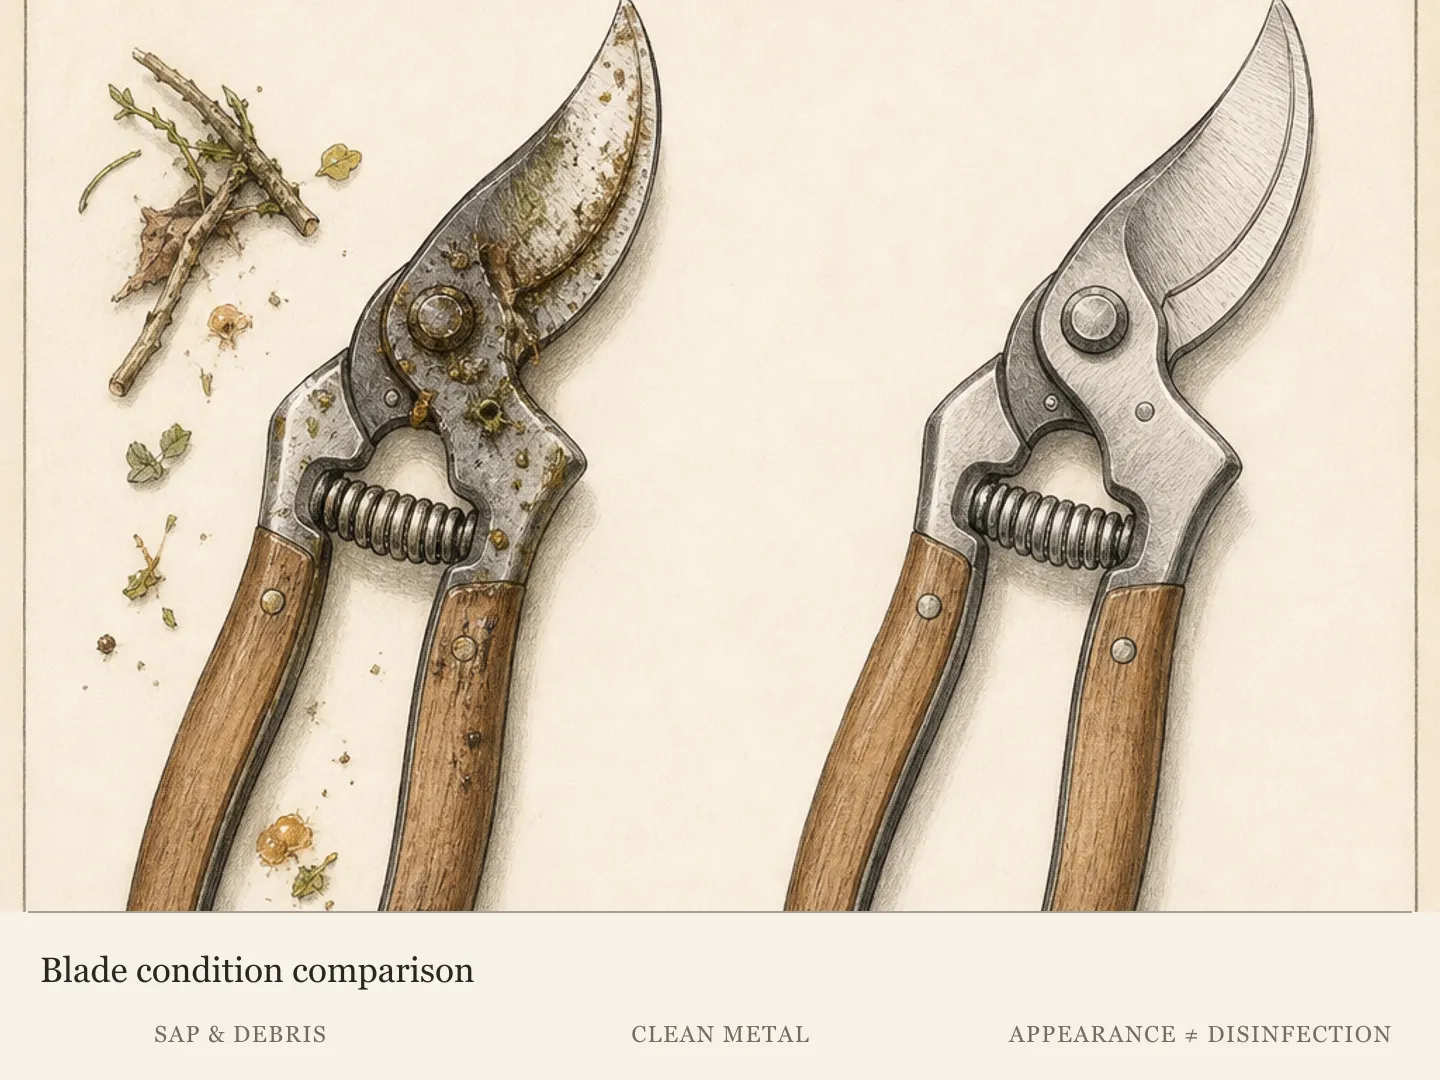
Inspect before each session for chips, nicks, rust, loose pivots, damaged locks, cracked handles, bent saw blades, and missing fasteners. Clean off resin and plant debris using a method compatible with the tool. A dull blade needs more force and tears tissue; a loose pivot lets bypass blades separate and fold bark. Remove damaged equipment from service until repaired correctly.
Sharpen only the beveled surfaces and angles specified by the manufacturer. Protect hands, clamp securely where needed, and count controlled strokes rather than grinding aggressively. Some hardened or replaceable blades are intended for professional service or replacement. Do not alter anvil geometry, saw-tooth impulse hardening, or powered blades without the correct method. Test on suitable scrap before returning to a valued plant.
Clean tools between plants when disease is suspected and follow current Extension sanitation guidance for the diagnosed problem and product. Remove organic material before a disinfecting step. Keep chemicals off grips and mechanisms unless compatible, observe label contact time and protection, and dry or lubricate as the manufacturer directs. Routine hygiene should not expose plants or users to an improvised chemical mixture.
At the end of work, count tools before removing debris. Close locks, sheath saws, release telescoping mechanisms only as directed, and store dry. Record a blade replacement or recurring loose pivot. If the tool repeatedly requires excess force despite maintenance, reassess branch selection and tool capacity rather than continuing to sharpen away material or blaming dense ornamental wood.
Record why one tool fits the intended cut
Compare tools against the same named cut using live or dead wood, branch diameter, reachable cutting position, visible cut line, branch load, user control, rated capacity and maintenance needs. Record the rejected options as well as the selected one. If the cut exceeds the safe reach or release conditions described above, the decision is to change the work plan; a larger tool does not by itself resolve that boundary.
Tool notes
- Type
- Bypass pruners, loppers, pruning saws, hedge shears, and pole pruning tools
- Purpose
- Select the smallest hand tool that can reach the correct anatomical cut, complete it cleanly without excessive force, and remain controlled through the branch’s release. The decision combines plant identity and pruning purpose with live or dead wood, real diameter, head visibility, branch load, user fit, work-zone safety, serviceability, and hygiene. Hedge shears belong to an intentional hedge surface; pole tools belong only to stable ground work with a clear fall zone.
- Affiliate
- No commercial links
Maintenance
- After each session, remove plant debris and resin using methods compatible with the blade, coating, grip, and mechanism. Inspect the edge, pivot, spring, lock, bumpers, fasteners, handles, saw teeth, scabbard, and telescoping joints. Dry every part and lubricate only where the manufacturer directs.
- Sharpen the specified bevel at the manufacturer’s angle with the tool secured and hands protected. Do not grind the flat face of a bypass blade, reshape an anvil, file impulse-hardened saw teeth, or modify a powered blade without the designated procedure. Replace a blade or obtain qualified service when damage exceeds routine honing.
- Adjust a bypass pivot so the blade passes closely without wobble or binding, then test on suitable scrap before returning to a valued shrub. Replace worn springs, bumpers, bolts, and blades with compatible parts. Persistent tearing or excess force after maintenance is evidence to reassess tool capacity, not to remove more metal.
- When a diagnosed or suspected disease warrants sanitation, clean away organic material first and follow current Extension guidance and the exact product label for contact time, protection, rinsing, and compatibility. Keep corrosive solution out of pivots and grips unless approved, then dry and lubricate as directed before storage.
- Store hand pruners locked, fixed saws in scabbards, folding saws fully closed, and long tools horizontally or in a secure rack that does not load cutting heads. Keep model and parts information with the tool. Review fit and capacity when a different gardener, thicker planting, or changed route alters control.
- At the start and end of the pruning season, test locks and telescoping joints, inspect handles for hidden cracks, confirm replacement-part availability, and retire tools that cannot be restored safely. A small dependable set of sharp serviceable tools is preferable to overlapping damaged tools whose capacity is uncertain.
Related reading
Sources
- Pruning Tools. University of Maryland Extension. Source record · Accessed 2026-08-19.
- Pruning Trees and Shrubs. University of Minnesota Extension. Source record · Accessed 2026-08-19.
- Pruning Landscape Trees. Penn State Extension. Source record · Accessed 2026-08-19.