Tools · flower propagation humidity cover stage selection
Choose Humidity Covers for Flower Propagation by Crop Stage
Match domes, bags, lids, vents, and open benches to the actual moisture needs of ornamental seed and cuttings, then remove covers by plant response rather than habit.
Published Last updated
In this guide
- Define the stage that needs humidity
- Match the cover to the crop stage
- Read condensation and temperature together
- Coordinate cover, water, light, and air
- Test the complete enclosure before the crop arrives
- Plan the removal sequence before sowing
- Use failure signals to correct one cause
- Clean and inspect reusable covers
- Know when open propagation is safer
- Record the cover as part of the propagation setup
- Tool notes
Define the stage that needs humidity
Choose a humidity cover by crop stage, then plan its exit before sowing or sticking cuttings. Dry seed and unrooted leafy cuttings can both benefit from reduced water loss, but their endpoints differ. Seed trays generally leave the covered phase as emergence begins. Cuttings may need elevated humidity until new roots can support the leaves, with ventilation adjusted to the species and response.
For seeds, the cover's job is to keep a previously moistened, draining medium from drying during germination. NC State Extension advises removing plastic or glass when the first seedlings emerge, and Utah State says to remove a dome once seedlings emerge. The newly emerged crop then needs appropriate light and air. A tall dome is not a seedling growing chamber merely because the shoots still fit under it.
For cuttings, the cover reduces water loss while the severed material lacks a functional root system. NC State recommends clear bags, jugs, or framed plastic for this purpose, and Illinois Extension advises ventilating enclosed cuttings as needed. The plant protocol still controls the method. Succulent or rot-prone material may need a different approach from a leafy coleus, chrysanthemum, begonia, or woody ornamental cutting.
Label every tray with species, sowing or cutting date, and the planned transition cue. Mixed species with different germination times should occupy separate trays or separately covered cells when practical. That arrangement lets emerged seedlings receive open air and light without sacrificing the still-germinating crop. A single large dome over unrelated batches removes this control and makes every later adjustment a compromise.
Match the cover to the crop stage
A low clear lid suits a uniform seed tray only until shoots approach it. A tall rigid dome provides more clearance and usually better visibility for cuttings or staggered emergence. Adjustable vents make the transition easier to repeat, but their presence does not prove that air reaches every cell. Inspect the corners and center for different condensation, drying, and leaf response.
A loose plastic bag is inexpensive and can fit one pot, yet it needs a frame that keeps film off foliage. Illinois Extension lists clear plastic as a way to raise humidity and advises keeping leaves from touching each other. Stakes or wire supports should remain stable when the bag is opened. A collapsed bag creates wet contact points and can drag a cutting from the medium during inspection.
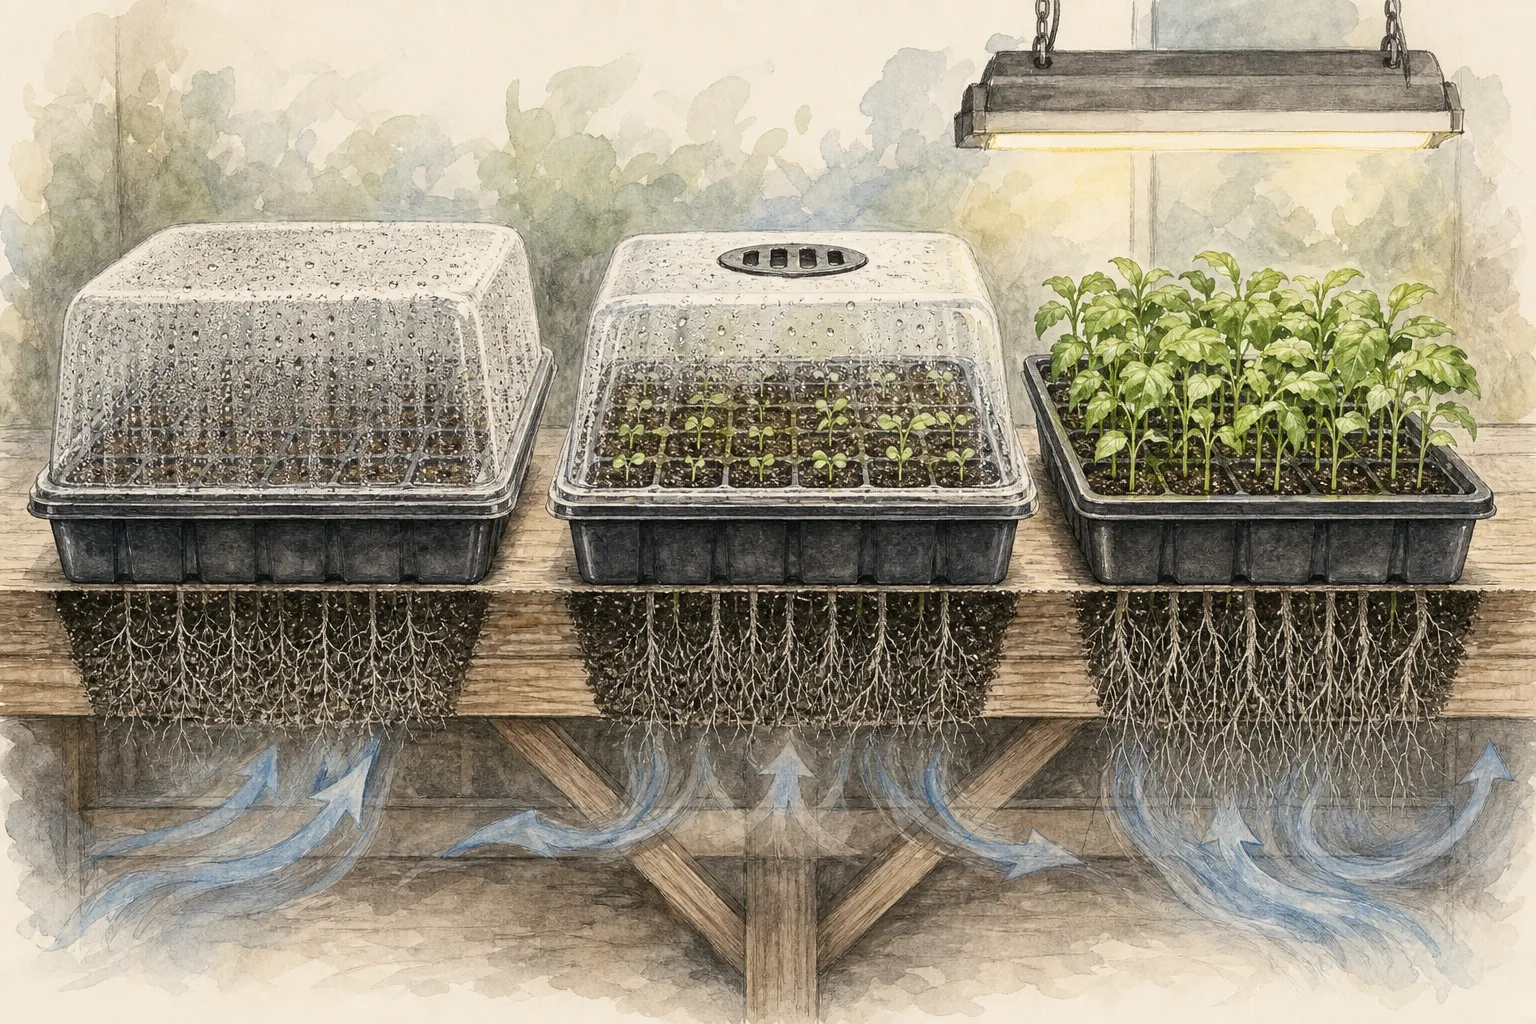
Fit the cover to the entire tray rim without sealing drainage. Lift the tray before purchase and locate every drain path, handle, label slot, vent, and thermometer opening. The cover should come off without tilting water onto the crop. If the rim rocks, leaves a large gap, or requires clips that obstruct routine watering, a simpler compatible lid will be easier to manage.
Judge plastic by service conditions stated by the maker. It should remain clear enough to inspect leaves, tolerate the intended cleaning method, and stay stable near the chosen light and heat equipment. Food packaging may work for a short seed batch if it has drainage and safe clearance, but an unknown plastic should not be placed against a heat mat or lamp. Select from documented temperature and cleaning limits.
Read condensation and temperature together
Condensation proves that water vapor met a cooler surface; it does not measure moisture in every cell. University of Vermont Extension advises venting or removing the cover when condensation appears because excess humidity can contribute to seed rot. Check the medium by weight, color, or a clean probe at representative cells before watering. Heavy droplets above a saturated tray call for more air and drainage, not another misting.
Place a thermometer or probe at crop level inside the enclosure during setup. The room reading cannot show heat trapped beneath clear plastic. NC State and Illinois both warn against direct sunlight on covered propagation because heat can build rapidly. Artificial fixtures can also warm the enclosed air and surface, so test the actual lamp distance and heat-mat setting instead of assuming indirect light means safe temperature.
Read patterns across the tray. Condensation only on one wall may reflect a cool draft; a dry corner may mark a loose rim or nearby fan; droplets falling from the lid can keep one row wetter. Rotate or redesign the enclosure only after mapping these differences. Moving the tray each day without a mark can hide a persistent edge effect and make the crop response seem random.
No visible condensation is not automatically failure. A small temperature difference may leave the cover clear while the medium remains evenly moist. Weigh the tray, inspect the rooting medium, and look for turgid cuttings or progressing germination. Add water only for an actual moisture deficit. A dry medium, limp unrooted cutting, and clear cover together indicate a different problem from a clear cover over moist medium and firm tissue.
Coordinate cover, water, light, and air
Pre-moisten the medium evenly and let excess water drain before the cover closes. Both seeds and cuttings require moisture plus oxygen around developing roots; a dome cannot correct a waterlogged, poorly aerated mix. Empty the catch tray after bottom watering and keep every container's drainage holes open. The enclosure reduces evaporation, so its presence usually changes how often the medium needs checking and watering.
Match light to the species and stage. Some flower seed requires light for germination, while other seed germinates in darkness; the packet or institutional protocol should decide. Once seedlings emerge, they need prompt access to adequate light. Cuttings generally need bright indirect light in the cited home-propagation guidance, since direct sun can overheat the plastic and increase water loss before roots function.
Air exchange should be adjustable without blasting one side of the crop. Open dome vents or a bag closure, then observe leaf firmness, medium drying, and temperature before increasing the opening. A room fan can mix surrounding air, but aim it so it does not desiccate an edge row. The goal is a controlled transition, not a wind test for tissue that still lacks reliable water uptake.
Separate equipment controls. A heat mat manages medium temperature, a lamp provides light, a cover reduces evaporative loss, and watering changes the medium directly. Changing all four after a wilt episode makes the cause impossible to identify. Alter the failed variable, mark the time, and recheck the appropriate indicator. Independent controls also let the cover leave without forcing a change in light or heat.
Test the complete enclosure before the crop arrives
Assemble the chosen tray, insert, cover, labels, thermometer, light, and heat equipment with no valuable seed or cuttings. Add the same volume of moistened medium planned for the crop and run the setup through one full light period. Check crop-level temperature, condensation distribution, tray drainage, rim stability, and access to every control. This trial exposes a leaking bag or overheating dome while correction is still cheap.
Practice routine actions in their real order. Lift the cover without spilling droplets, read the thermometer, open vents, bottom-water, empty drainage, and replace the lid. A cover that must be carried across powered cords or balanced above the tray during every check creates avoidable risk. Reposition equipment so wet parts move on a clear path and plugs, switches, and connectors remain dry and accessible.
Mark the vent positions and tray orientation used in the successful test. If the center remains much warmer or wetter than the edges, reduce the enclosure size, improve external air mixing, or choose a cover with better adjustment. Do not assume plants will average out a mechanical imbalance. The field test passes when the operator can inspect and change one control without dismantling the entire propagation station.
Plan the removal sequence before sowing
For seed trays, treat first emergence as the removal cue unless the crop protocol gives a different method. Move the uncovered tray promptly to its seedling light conditions and continue checking medium moisture. If a tray germinates unevenly, use a smaller local cover over unsprouted cells or separate the batch. Keeping emerged shoots sealed while waiting for the last seed increases exposure to stagnant wet conditions.
For leafy cuttings, begin transition only after crop-specific evidence of rooting or new supported growth. Open vents first, then increase the bag opening or raise one edge for a defined observation period. Watch leaf firmness and medium drying at the same time of day. A cutting that remains turgid through the normal light period is stronger evidence than one that looks firm only during a cool night.
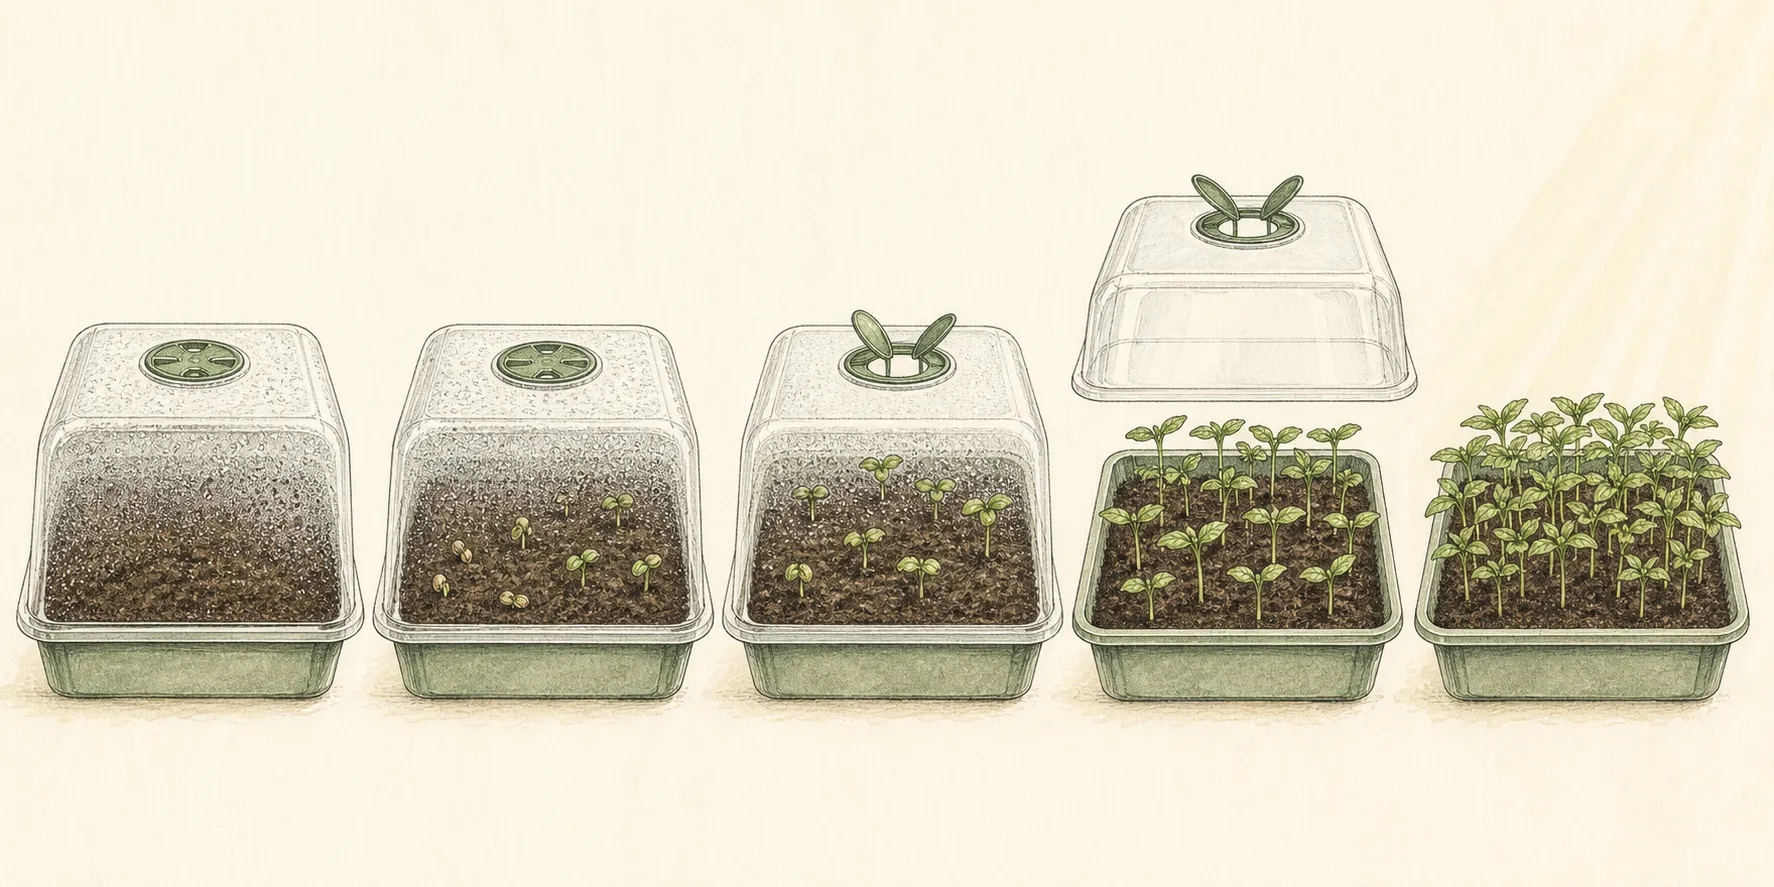
If cuttings wilt quickly after a larger opening, confirm that the medium is moist and roots are present before partially restoring humidity. Persistent wilt with saturated medium can indicate root failure or decay, not an enclosure removed too soon. Return to the propagation protocol and inspect a representative cutting carefully. Repeatedly resealing without checking roots can preserve the condition that caused the failure.
Write the first vent date, each opening change, final removal, and crop response on the tray record. This is especially useful for cultivars rooted again next season. Once the cover is off, move it away from the station so it cannot be replaced by habit or shade the lamp. Continue ordinary seedling or rooted-cutting care under the species guidance rather than extending a propagation climate indefinitely.
Use failure signals to correct one cause
Seedlings that collapse at the medium line, persistent algae, sour media, or expanding fuzzy growth require prompt sanitation and diagnostic attention. Open the cover, isolate the tray, and compare moisture, drainage, temperature, density, and air movement with an unaffected batch. Do not rely on the dome as the diagnosis. University of Vermont links excess humidity with seed rot and recommends cover removal after emergence to reduce damping-off risk.
Long pale seedlings indicate that the post-emergence environment is not supporting compact growth. Utah State specifically warns that leaving the dome after emergence can contribute to fungal disease and excessive stem elongation. Remove the enclosure, provide the documented light, and check temperature and spacing. Lowering water alone will not correct a seedling stretching toward inadequate light.
Cutting leaves pressed against plastic, blackened bases, or continuous droplets on tissue point to excessive contact, wetness, or poor ventilation. Raise the cover, support loose film, and remove decayed material with clean tools. Limp leaves over a genuinely dry medium call for moisture correction, while limp leaves over saturated medium need root inspection. Match the response to the medium and root condition; dry and saturated cuttings require different corrections.
A warped rim, jammed vent, spreading crack, or clouded panel is an equipment failure. Replace the cover when it cannot stand securely, open predictably, or reveal the crop. Tape near warmth and moisture can conceal a crack without restoring structural reliability or cleanability. A reusable dome earns its place only while it remains observable, adjustable, stable, and compatible with sanitation.
Clean and inspect reusable covers
Remove labels, roots, algae, and dried medium before applying a sanitizer because debris prevents complete contact. Wash the cover according to its material instructions and the current institutional method selected for the crop problem. Measure any chemical exactly as its label directs, provide the listed protection and contact time, and never combine cleaning products.
Rinse or air-dry as the product requires, then inspect the cover in bright light. Pay attention to cracks around handles and vents, sharp rim damage, warped corners, failed fasteners, and cloudy areas that hide leaf condition. Operate every vent through its full range. A small detachable part that no longer locks is both a control failure and a hazard around children or pets.
Keep equipment from a suspect disease batch separate until cleaning is complete. Record the tray, crop, observed problem, cleaning product, concentration from the label, and date. If a cover cannot tolerate the necessary approved sanitation or retains debris inside an inaccessible double wall, retire it from propagation rather than assigning it to another valuable batch.
Store covers completely dry, supported, and protected from ultraviolet light or heat that can embrittle or warp them. Nest only compatible pieces and leave vent mechanisms unloaded. Keep bags flat or loosely rolled so permanent creases do not collapse onto future cuttings. Match each cleaned cover with its tray before the next sowing date, since a poor rim fit discovered late invites an improvised seal.
Know when open propagation is safer
Open propagation is the default after seedling emergence and for rooted young plants that maintain turgor under the room's normal conditions. It may also suit large-seeded crops in deeper cells, sturdy hardwood cuttings, and succulent material whose protocol warns against enclosure. Choose it when ordinary watering and room humidity can meet the crop's needs without repeated wet foliage or trapped heat.
A chronic condensation room is a poor place to solve problems with a tighter dome. Improve drainage, sanitation, spacing, light, and ambient air movement first. Automated mist, fog, capillary irrigation, and room humidification are different systems with separate controls; this guide's dome and bag tests do not validate them. Move to those systems only with equipment-specific design and safety guidance.
The simplest successful setup is easy to inspect and exit. A clear lid over uniform seed cells or a supported bag over one group of compatible cuttings may be sufficient. Extra valves, tubing, fans, and sensors add maintenance and failure points. Keep a component only when it controls a recorded problem and can be cleaned, tested, and removed without disturbing the crop.
Record the cover as part of the propagation setup
For each cover, note the propagation stage, tray fit, clearance above leaves, vent access, condensation pattern, medium condition, observed growth, cleaning method and removal checkpoint. Compare it with the actual crop and light position. Record a change in ventilation separately from a change in watering; otherwise a later improvement cannot be connected to the adjustment that was made.
Tool notes
- Type
- Clear propagation dome, lid, vented cover, or supported humidity bag
- Purpose
- Reduce water loss during a defined germination or rooting stage while preserving observation, temperature control, drainage, and a planned transition to open growth.
- Affiliate
- No commercial links
Maintenance
- After each batch, remove labels and loose media, wash away organic debris, and complete the selected sanitation process before residue dries inside rims or vent tracks.
- Operate every vent and latch after cleaning. Replace missing stops or maker-serviceable parts with compatible components; retire improvised controls that cannot hold a repeatable opening.
- Inspect transparent panels against light for clouding, scratches, cracks, and retained film. The crop must remain visible without lifting the cover for every check, so loss of clarity is a functional defect.
- Test rim fit and drainage on the matching empty tray. A warped lid, blocked drain, or rocking enclosure should be corrected before sowing rather than sealed with tape around a live crop.
- Keep covers from a suspect disease batch isolated and labeled until cleaning is documented. Do not nest them with ready equipment while moisture or sanitizer remains on any surface.
- Store rigid covers supported and dry, with vents unloaded and handles protected. Keep bags flat or loosely rolled away from ultraviolet light, heat, fertilizer, and sharp tools.
- Before each propagation season, run the empty-station test with the actual light and heat cycle. Record temperature, condensation pattern, vent positions, and any leak so declining performance is found before valuable seed or cuttings enter.
Related reading
Sources
- Starting Vegetable Seeds Indoors: II. Materials. Utah State University Extension. Source record · Accessed 2026-08-30.
- Seed-Starting Basics. University of Vermont Extension. Source record · Accessed 2026-08-30.
- 13. Propagation. NC State Extension. Source record · Accessed 2026-08-30.
- Propagation. Illinois Extension. Source record · Accessed 2026-08-30.
- Basic Electrical Safety. University of California, Riverside Environmental Health and Safety. Source record · Accessed 2026-08-30.
- Electrical - Flexible Cords. Occupational Safety and Health Administration. Source record · Accessed 2026-08-30.