Creeping Phlox
Phlox subulata
A low evergreen to semi-evergreen mat-forming perennial that covers sunny, draining edges and rock gardens with starry spring flowers.
Published Last updated
At a glance
- Light
- Full sun; light dappled shade in hot regions
- Water
- Moderate through establishment; occasional dry intervals once rooted, never prolonged saturation
- Soil
- Well-drained rocky, sandy, or loamy soil
- Hardiness
- Zones 3–9
- Bloom
- Mid- to late spring
- Height
- 4–6 in · 10–15 cm
In this guide
Overview
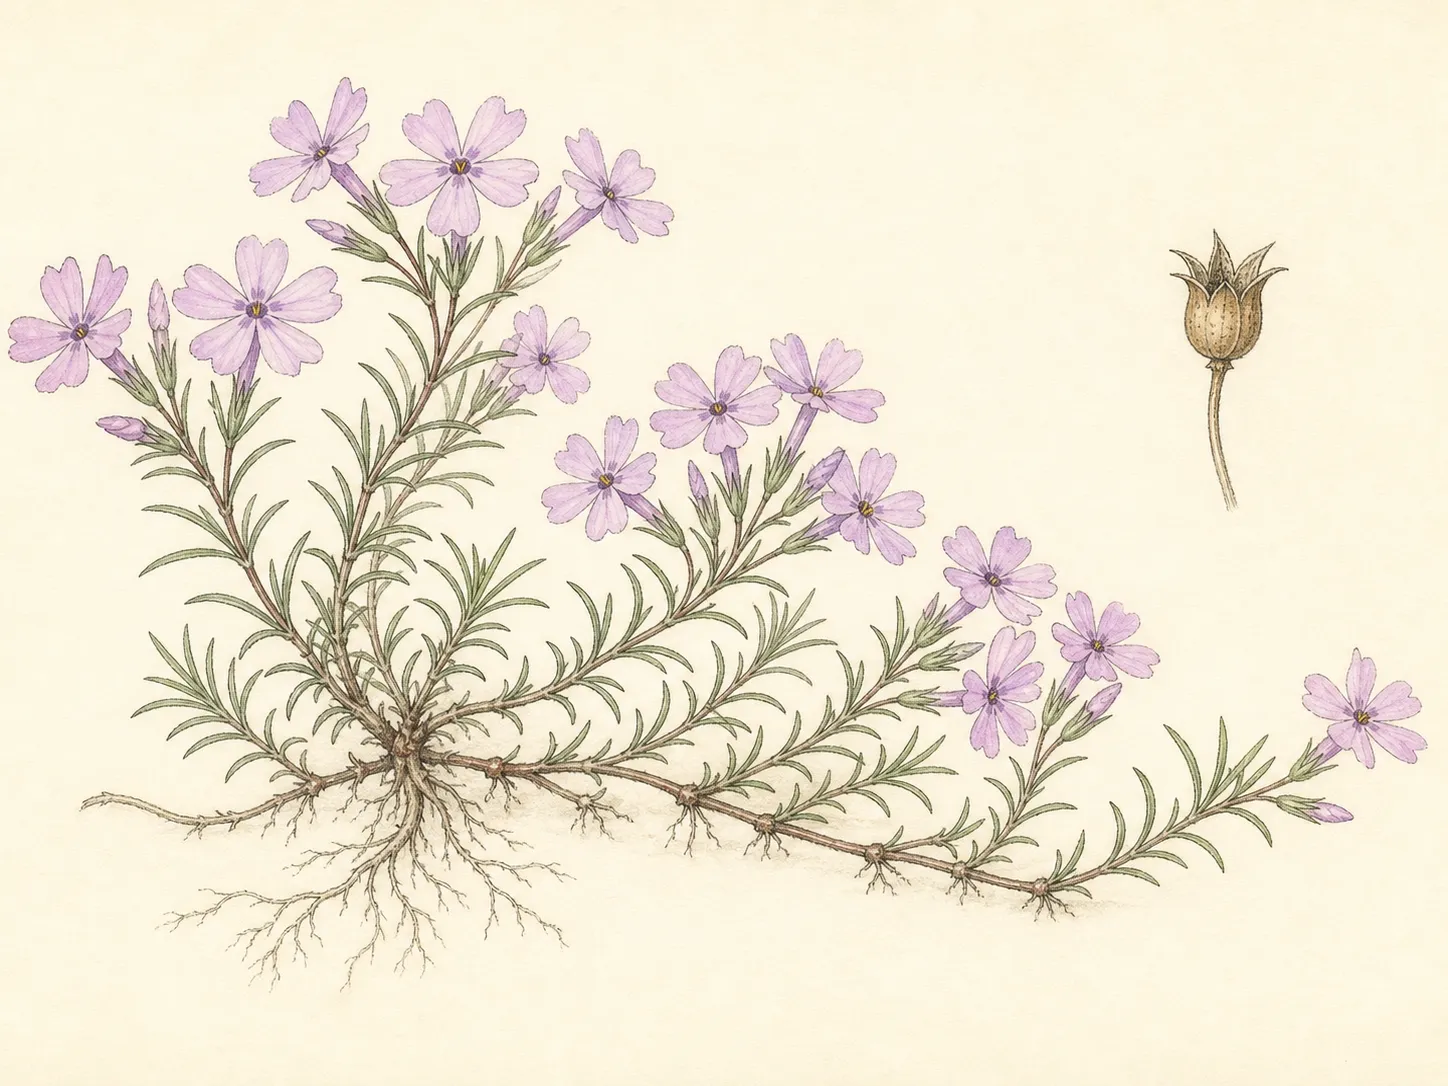
Creeping phlox, Phlox subulata, is a low persistent mat of opposite, narrow awl-shaped leaves on densely branched stems. Loose clusters of tubular flowers open into five flat notched lobes and can cover the foliage in pink, lavender, red-purple or white during spring. The species stays about 4–6 inches high while spreading 2–3 feet, so height alone does not show how much edge or neighboring ground it will occupy.
Its growth is neither a crown-only herbaceous perennial nor a woody shrub in the usual landscape sense. Young stems are green, hairy and flexible, then become tan and semi-woody; prostrate sections can root at their nodes. Kew therefore describes the taxon as a subshrub, while garden references call it an evergreen or semi-evergreen perennial. Older mats often thin in the center as active growth moves outward.
Confirm the needle-like foliage before applying this profile. Phlox stolonifera is also sold as creeping phlox, but it has broader leaves, obvious stolons and a woodland-shade preference. Taller garden phlox has upright summer stems and a different disease and pruning pattern. Keep the botanical name on the label when several phlox species share one garden.
Open rocky, sandy, ledge and slope habitats explain the need for full sun and drainage. North Carolina Extension describes moist, well-drained soil but also tolerance of occasional dry conditions once established; Rutgers places the species in well-drained rocky or sandy soil at pH 5–7. A rich wet pocket can be less suitable than a modest continuous root zone that drains after rain.
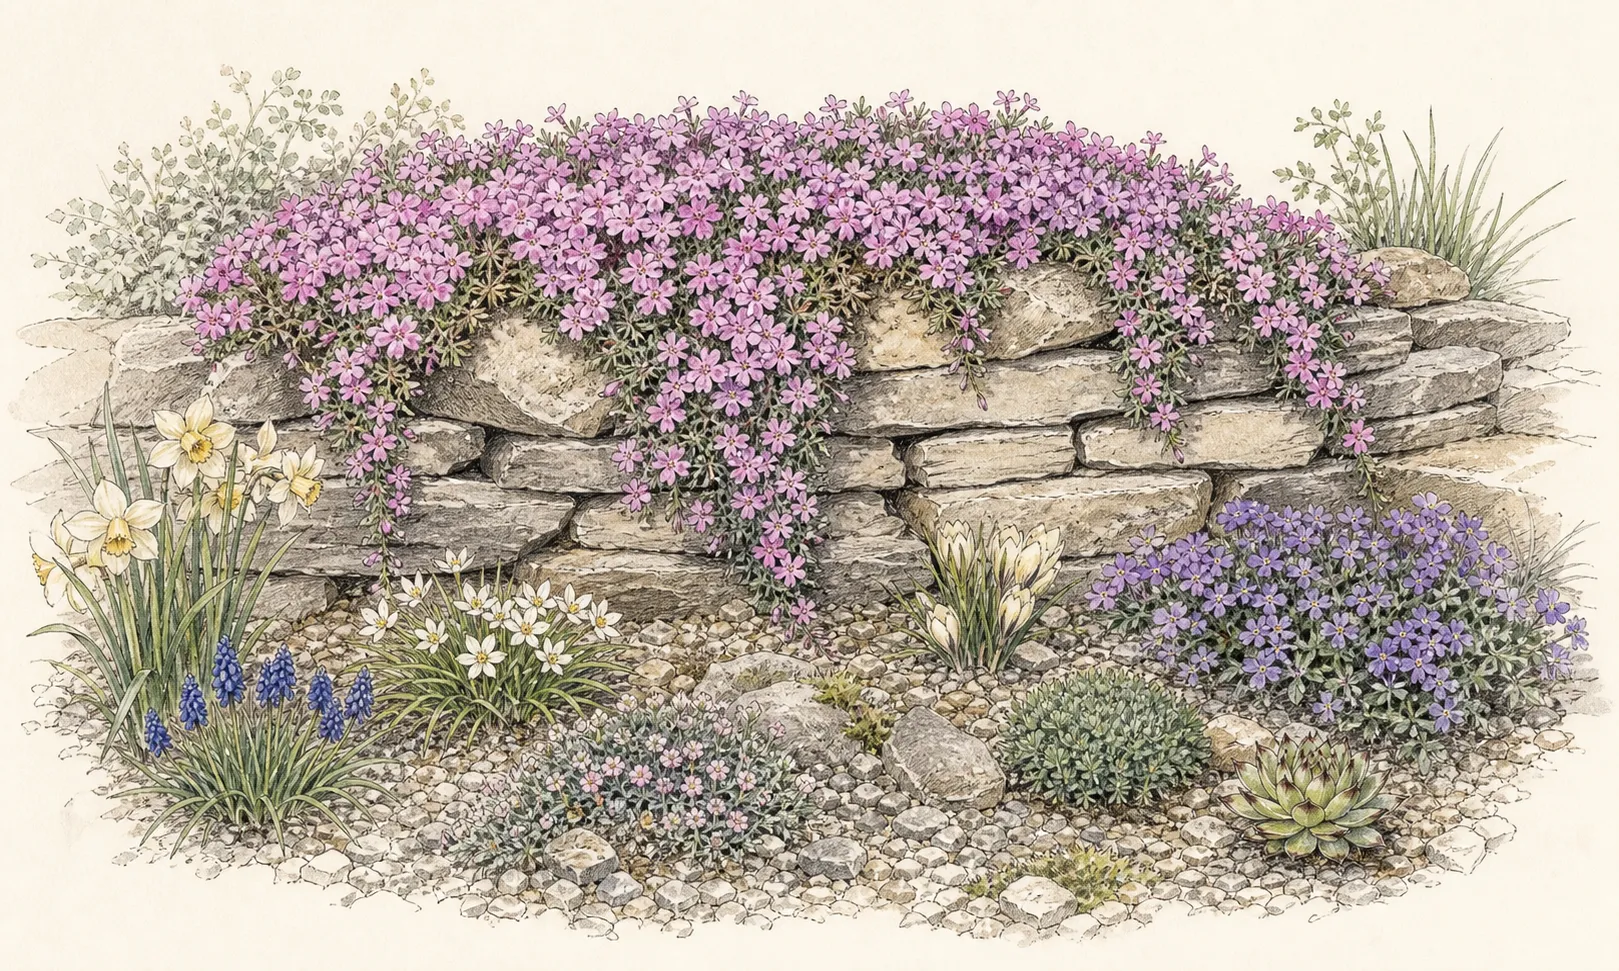
Use the mat on a sunny bank, rock-garden shelf, broad path edge or low wall where its outward spread can be seen. Leave the planting surface stable and connected so stems can root without hanging unsupported, but stop growth before steps or narrow walking lines. Do not solve poor initial spacing by repeatedly scalping one side of the plant.
Cultivars differ in flower color, vigor and regional foliage retention. Group enough of one selection to read as a deliberate mat and keep labels until neighboring colors can be separated after bloom. In cold or exposed gardens foliage may bronze or look weathered; in hot humid climates trapped moisture and shade from neighboring plants can open the mat even when winter injury is minor.
- Family
- Polemoniaceae
- Range
- Central and eastern Canada to the east-central and eastern United States
- Soil pH
- 5–7
- Spread
- 2–3 ft · 60–90 cm
Planting & careHow to grow creeping phlox
Kew classifies Phlox subulata as a subshrub, while North Carolina Extension and the RHS describe it horticulturally as a herbaceous or alpine perennial. Both views fit its structure: a low persistent mat whose young green stems become tan and semi-woody with age and root at nodes. Full sun produces the heaviest flower cover in many regions, but dappled relief can help in hot humid summers when drainage and air movement remain strong. Distinguish this needle-leaved species from Phlox stolonifera, which is also called creeping phlox but favors woodland shade. Zones 3–9 are broad; winter foliage retention, heat response and center thinning vary by climate and cultivar.
- 1Confirm Phlox subulata
Match the plant to a prostrate mat, opposite needle-like leaves and spring flowers with five notched lobes. Keep the cultivar name. Do not use this sun-and-drainage profile for the broader-leaved woodland species P. stolonifera or for upright garden phlox.
- 2Choose open light and rapid drainage
Favor full sun for dense flowering, with dappled afternoon relief only where summer heat and humidity justify it. Observe runoff after rain and avoid low pockets, roof discharge and beds kept wet for neighboring plants. Preserve air around the low foliage.
- 3Draw the mature mat
Reserve 2–3 ft of spread around a plant that is only 4–6 in tall. Mark steps, path edges, wall faces and neighboring crowns before planting. Let stems drape only where the structure supports them and where they will not conceal a tread or create a trip hazard.
- 4Prepare a continuous rooting strip
Loosen compacted soil across the intended spread while retaining the site's drainage. Rutgers gives a broad pH range of 5–7; test before changing it. Avoid a small compost-rich hole that stays wetter than the rocky, sandy or loamy soil around it.
- 5Set the root ball at grade
Place the nursery root mass level with the surrounding finished soil and spread flexible leafy stems outward without snapping their rooted bases. Keep stem junctions and the central crown free of extra soil. Do not bury the mat beneath mulch to hide an uneven surface.
- 6Water through establishment
Settle the original root ball and adjacent soil, then check moisture below the mat before irrigating. Maintain moderate moisture while new roots extend, allowing the surface and pore spaces to drain between applications. Established plants tolerate some dry intervals but not a newly planted root ball that repeatedly desiccates.
- 7Keep the surface open
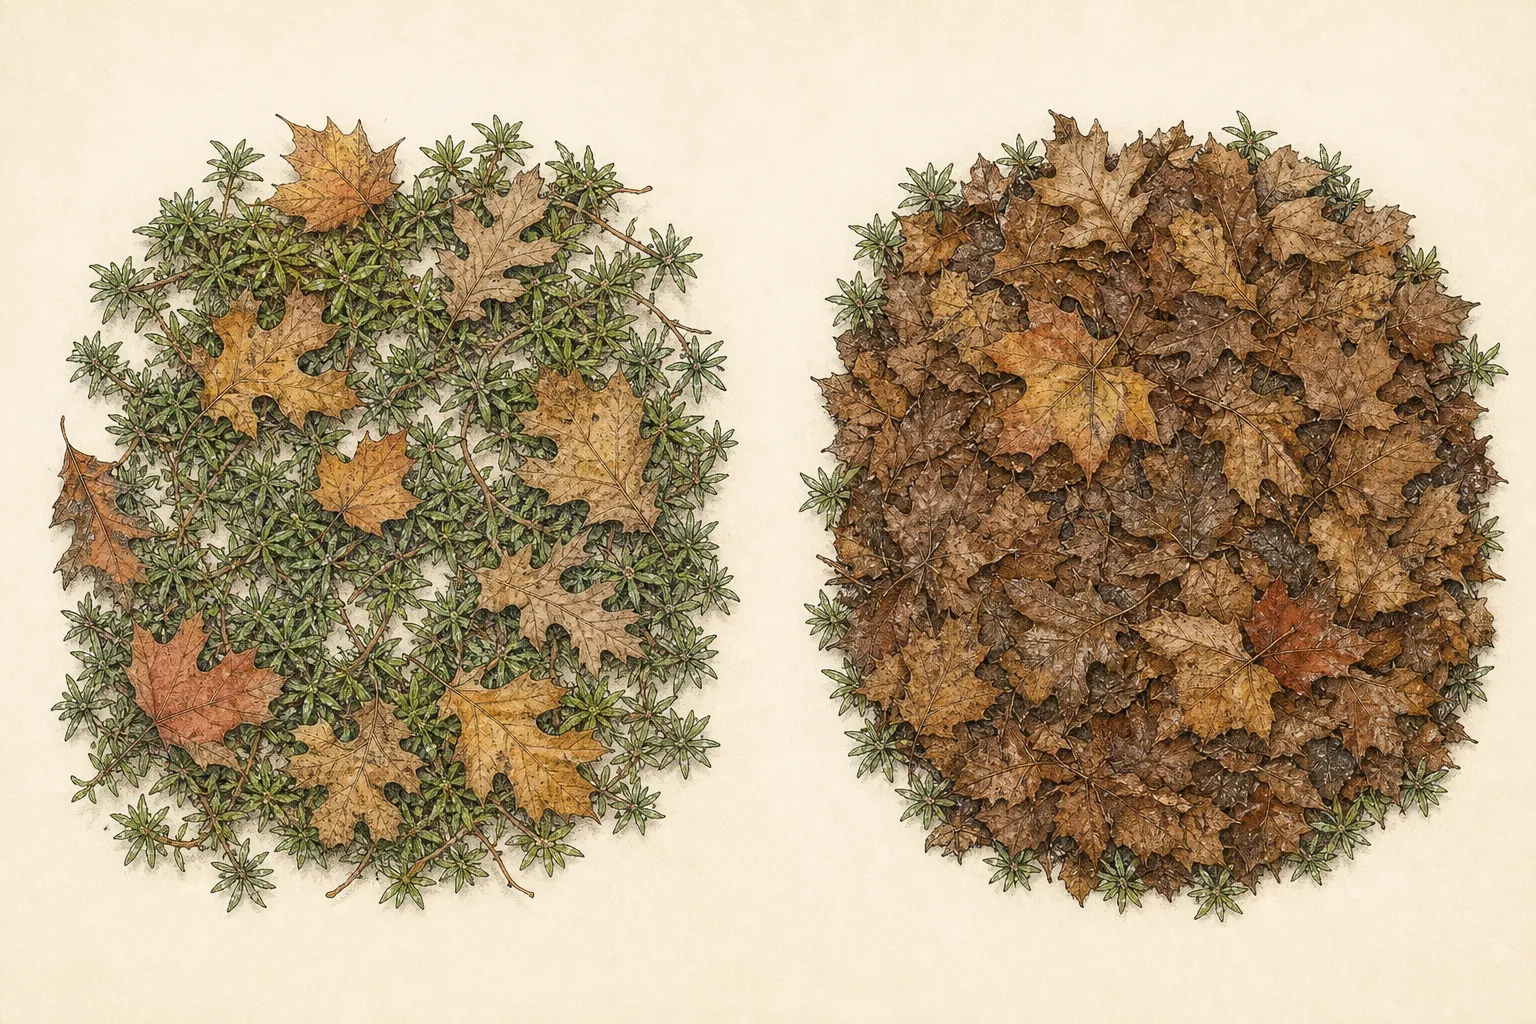
Use little or no mulch immediately beneath dense stems and remove leaves or washed material that accumulates over the center. Retain a visible boundary along paths, record the cultivar and photograph the initial center so later thinning can be compared with light, drainage and age.
Pruning creeping phlox
Creeping phlox does not require annual pruning; the RHS lists no pruning requirement. North Carolina Extension offers a more active option: after flowering, vigorous stems may be cut back by about half to maintain shape and encourage dense green growth. Reconcile the two by treating the trim as optional and conditional. Wait until the main bloom is finished, lift the mat to see living foliage and shorten only leafy stems with clean shears. Do not cut blindly into a bare tan center, scalp the plant to the crown or shear during bud formation. Remove dead strands individually. When an old center no longer renews, root cuttings or divide vigorous outer sections and replant them after correcting shade, drainage or crowding; repeated harder cutting will not make leafless old wood young again.
Seasonal care
Spring
Clear only debris that covers living shoots, maintain establishment moisture and record flower color and edge spread. After the principal bloom, decide whether the mat actually needs the optional light trim; shorten vigorous leafy stems by no more than about half and keep live foliage on every retained section.
Summer
Check drainage and airflow during humid weather and root-zone moisture during hot dry periods. Spider mites are more likely in hot dry conditions, while foliar nematode damage is associated with wet humid conditions in the North Carolina profile. Keep taller neighbors from collapsing over the mat.
Autumn
Remove heavy fallen leaves, reset a safe path boundary and establish rooted outer pieces only while local conditions favor rooting before winter. Do not top-dress over the stems. Inspect whether water is collecting at an edge where the original grade has settled.
Winter
Expect foliage to remain green, bronze or weathered according to cultivar and exposure. Prevent standing water and wet debris from sealing the mat, and protect container or wall-pocket roots from regional temperature extremes without burying stems beneath a damp mulch layer.
Safety and garden spread
North Carolina Extension identifies Phlox subulata as non-toxic to dogs, cats and horses. That horticultural classification does not establish human edibility or rule out ordinary stomach upset after chewing plant material. Grow it as an ornamental and seek case-specific medical or veterinary advice if an exposure causes concern.
Common problems
Woody or open center
- Look for
- Green flowering growth concentrated around the perimeter while the older middle shows tan knotty stems, sparse leaves and little new rooting.
- Action
- Check whether shade, wet debris or poor drainage accelerated the pattern. Trim only living outer growth after bloom, then root or divide vigorous peripheral sections and replant if the center cannot renew. Do not cut the bare center harder.
Weak flowering
- Look for
- A green mat with few spring flowers in deep shade, after pruning during bud development or where growth is soft from excessive fertility.
- Action
- Confirm species and cultivar, map direct light and review the prior pruning date. Improve exposure or relocate during a suitable season after checking drainage; do not force flowering with untested fertilizer.
Wet-site decline
- Look for
- Soft dark stems, sudden collapse or bare patches in a low saturated pocket while higher or faster-draining sections remain firm.
- Action
- Stop automatic watering, clear the drainage route and request local diagnosis if loss is progressive. Replace sections only after correcting grade or soil conditions; adding more organic material to the wet pocket may worsen it.
Spider mites or foliar nematode concern
- Look for
- Fine stippling and decline during hot dry weather, or angular and expanding foliar damage that is worse in wet humid conditions.
- Action
- Use magnification and a local diagnostic service to separate mites, nematodes, weather injury and leaf disease. Adjust the confirmed moisture or crowding problem and follow current Extension guidance before applying any pesticide; product labels and local rules control use.
Leaf spot or mildew symptoms
- Look for
- Spreading lesions or pale surface growth that persists beyond ordinary winter bronzing, especially in shaded crowded sections.
- Action
- Open neighboring growth, direct irrigation to the soil where practical and remove heavily affected debris. Seek diagnosis before treatment. North Carolina Extension regards P. subulata as relatively resistant to powdery mildew, so do not assume every pale patch is mildew.
Path or wall conflict
- Look for
- Rooted stems crossing a walking surface, hiding a step edge or hanging beyond a wall without enough soil or structure to support the mature mat.
- Action
- Lift and trace the encroaching edge, shorten living stems after bloom or move rooted divisions to a compatible site. Restore a visible boundary rather than repeatedly scalping the same margin during active growth.
Related reading

Sources
- Phlox subulata L.. Royal Botanic Gardens, Kew. Source record · Accessed 2026-08-30.
- Phlox subulata. North Carolina State Extension. Source record · Accessed 2026-08-30.
- Phlox subulata. Royal Horticultural Society. Source record · Accessed 2026-08-30.
- FS1140: Incorporating Native Plants in Your Residential Landscape. Rutgers New Jersey Agricultural Experiment Station. Source record · Accessed 2026-08-30.