Grow · bare root rose planting
Plant Bare-Root Roses Without Guessing the Graft Union Depth
Keep dormant rose roots moist, identify grafted and own-root stock, choose a region-specific union depth and establish the plant without folding roots or burying canes by habit.
Published Last updated
In this guide
- Confirm what arrived before it dries
- Choose the union or crown depth from the planting system
- Hold or rehydrate without losing the label
- Approve the planting window and site
- Resolve graft-union depth before digging
- Fit the hole to the roots
- Backfill for contact, drainage and final grade
- Protect dormant canes without trapping heat
- Guide the first flush without overcorrecting
- Read failure cues before replacing the rose
- Steps
Confirm what arrived before it dries
A bare-root rose is a dormant or nearly dormant plant shipped without a container of soil. Its economy and broad root spread are useful only while the roots and canes remain alive. Open the package promptly in a cool, sheltered place. Keep the cultivar label attached, photograph the plant and compare the packing slip with the tag. A substitution can change mature size, cold hardiness, flower habit and whether the plant was supplied grafted or on its own roots.
Find the root system, crown or graft union and canes before cutting anything. A grafted bush usually has a swollen junction where the named rose was joined to a rootstock; shoots above it belong to the cultivar, while shoots arising from rootstock below it may not. An own-root rose has no graft junction to position. A standard rose is top-grafted on a trunk and needs a different planting and staking plan, so do not apply this bush-rose procedure to it by appearance alone.
Separate dormancy from failure. Sound canes are firm and roots are flexible enough to handle without crumbling, though surface color varies. Broken tips can be trimmed to sound tissue with clean pruners. Widespread softness, sour odor, extensive mold entering living tissue or a completely desiccated root system warrants a photograph and a prompt conversation with the supplier. Planting a compromised rose quickly does not restore missing living tissue and can erase evidence needed for a replacement claim.
Choose the union or crown depth from the planting system
Keep roots alive and moist while confirming whether the rose is grafted or own-root and which regional planting guidance applies. Set the union or crown accordingly instead of transferring a depth from another system. After planting, monitor moisture, grade and emerging shoots; identify low growth correctly before removing it as a presumed sucker.
Hold or rehydrate without losing the label
Plant as soon as the garden is workable and the local planting window is suitable. If immediate planting is impossible, keep the roots enclosed in slightly moist packing in a cool, dark, frost-safe place for the short period allowed by the supplier. Moist means protected from drying, not submerged in stagnant water. Check the package rather than assuming it remains damp. For a longer delay, use a locally recommended heeling-in method and keep every cultivar separately identified.
Before planting, rehydrate according to the condition of the rose and its supplier's instructions. Illinois Extension uses an eight-to-twelve-hour soak for its northern bare-root procedure, while the American Rose Society manual describes several hours. Those are source-specific practices, not a reason to leave every rose in water indefinitely. Use clean water and a clean container, keep labels above water, and avoid a hot sunny soaking site where canes warm while roots remain dormant.
Lift the rose from the water and let excess drain while the hole is ready. Remove roots that are broken, dead or diseased; retain sound length rather than shortening everything to a tidy bundle. If a long live root will not fit, enlarge the hole first. Pruning is the fallback when a sound root truly cannot be accommodated, not a substitute for adequate preparation. Keep the root system covered with damp cloth while making adjustments so fine roots are not exposed to drying wind.
Approve the planting window and site
Bare-root timing is regional. The RHS plants during the dormant season from autumn into early spring when ground is suitable, while Illinois describes spring planting as soon as northern soil can be worked. Follow the rose grower's window and local extension guidance. Do not force the operation into frozen, waterlogged or smeared soil, and do not hold a breaking-dormancy rose for weeks merely because a generic calendar gives a later date.
Choose light, drainage and mature room together. Most garden roses flower best with generous sun, but heat, reflected light and regional summer intensity affect the useful exposure. The soil must drain after rain while retaining enough moisture for establishment. Avoid downspout basins, compacted construction fill and narrow pockets among established roots. Confirm mature height and width from the named cultivar, then leave circulation and access for pruning without treating one spacing figure as universal across miniatures, shrubs and climbers.
Decide whether this position has grown roses recently and consult local guidance on replant problems before replacing a failed rose in the same small pocket. A new plant also needs an irrigation path that reaches both its original roots and surrounding soil. Mark buried utilities and keep the future crown away from a wall or path edge that would demand one-sided pruning. Prepare the whole root zone; a generous hole cannot compensate for a permanently unsuitable site.
Resolve graft-union depth before digging
Use this source-labeled decision table before digging; never average its rows. RHS context — for a grafted bare-root bush rose, place the union at finished soil level and do not intentionally bury it, because the retained RHS guidance warns that burial is reported to increase dieback risk in its context. Northern Illinois method — set the bud union at soil level in the freshly backfilled hole; Illinois Extension expects the loose soil to settle so the union finishes 1–2 inches below soil, a position it specifies for northern-climate winter protection. American Rose Society context — temperate practice may leave the union above grade while cold-climate practice protects it below grade; the retained manual supports that directional distinction but supplies no universal number to replace regional instructions.
Choose only the row that matches the destination and the supplied planting system. The 1–2-inch value is the expected final position in the retained northern Illinois method, not a target to impose on every grafted rose. If the rootstock or production system is unidentified, the plant is own-root or top-grafted as a standard, or the garden lies outside those source contexts, obtain a direct instruction from the grower or a local horticultural authority before opening the hole. Do not invent a midpoint between an at-grade and below-grade practice.
Translate the chosen union position into a physical reference before roots enter the hole. Lay a straight cane or tool handle across the finished soil plane and measure the crown or union against it while another person holds the rose. Account for realistic settlement without setting the plant in loose fill that will collapse unpredictably. Mark the final grade on a stake or photograph the check. Once soil and mulch are added, the swollen junction can be difficult to find without damaging new roots.
Fit the hole to the roots
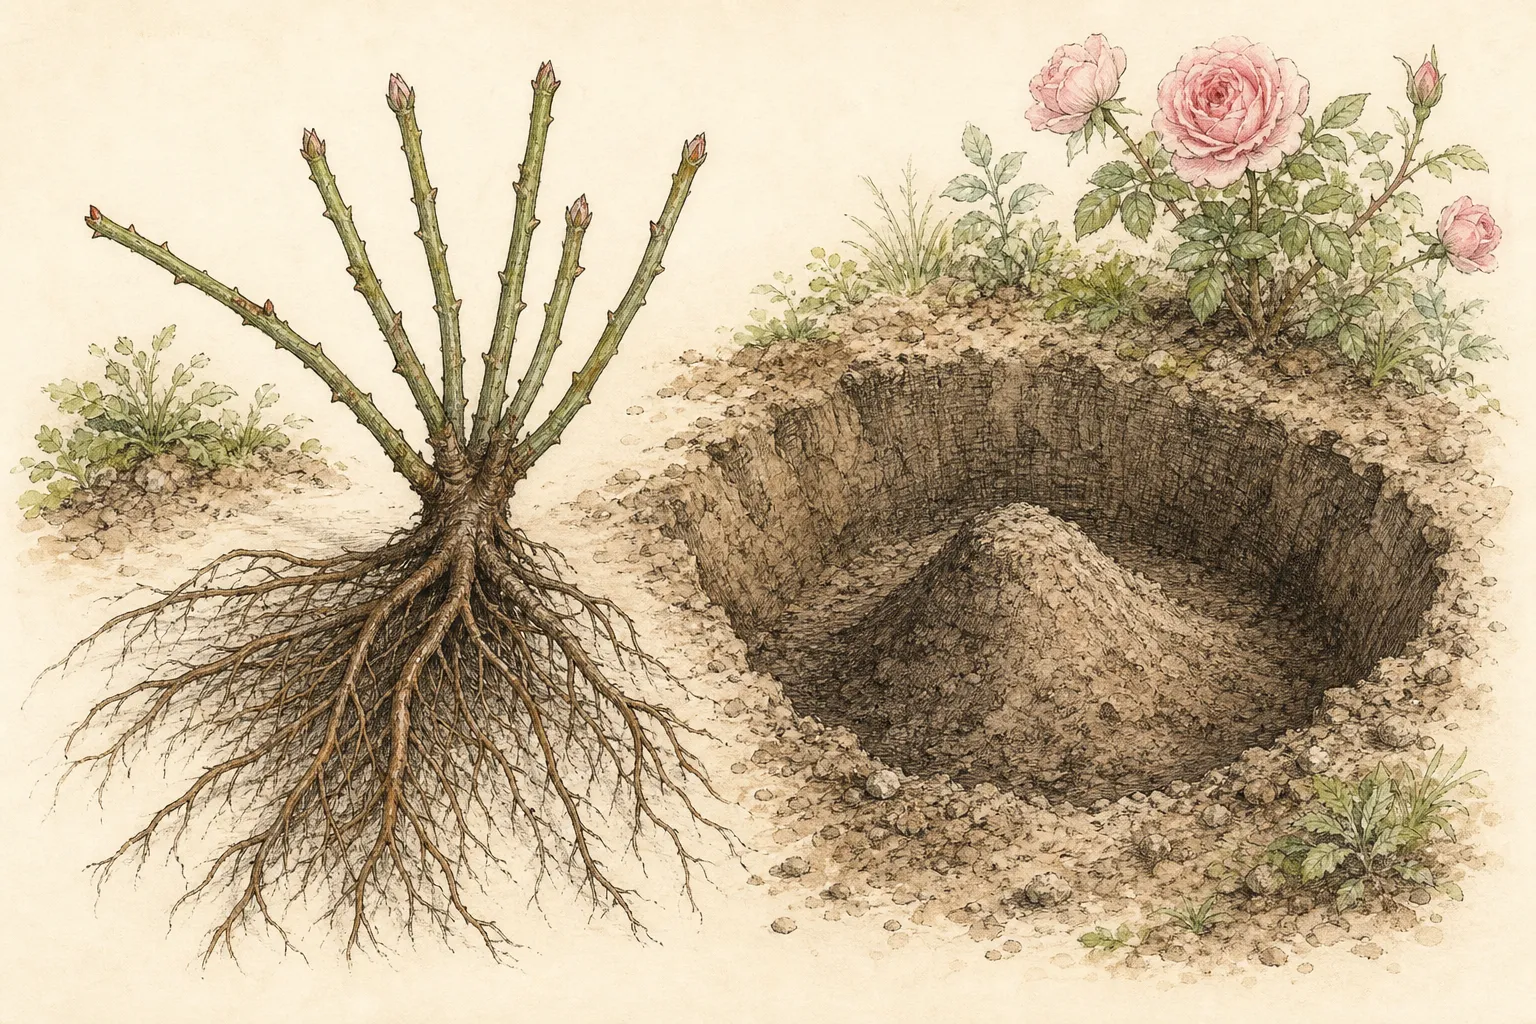
Open a hole wide enough for the sound roots to radiate without circling, hooking upward or being packed into one side. The depth follows the already chosen crown or union position. Break glazed sides in heavy soil and remove sharp debris, but do not excavate a deep soft sump. If the base is over-loosened, the rose may settle below the planned grade. Firm the support point before measuring again with the straightedge.
Build a low cone or shaped support of native soil only when it helps distribute the root system. Hold the rose at final height and spread main roots over and around that support, preserving their natural direction. Fine roots can fill spaces between them. Do not braid roots, wind them around the hole or bend every tip upward to fit a narrow opening. Enlarge the hole or make a clean minimal trim to damaged or unavoidably overlong tissue.
Recheck orientation before backfilling. Turn the strongest canes to suit access and support without twisting roots underneath. A climber should be aligned with its separately prepared framework, but its root system still needs broad soil room and drainage. Confirm that the union marker remains correct, roots are not exposed above grade and no cane base has been mistaken for a root. This dry run is the easiest moment to correct the geometry.
Backfill for contact, drainage and final grade
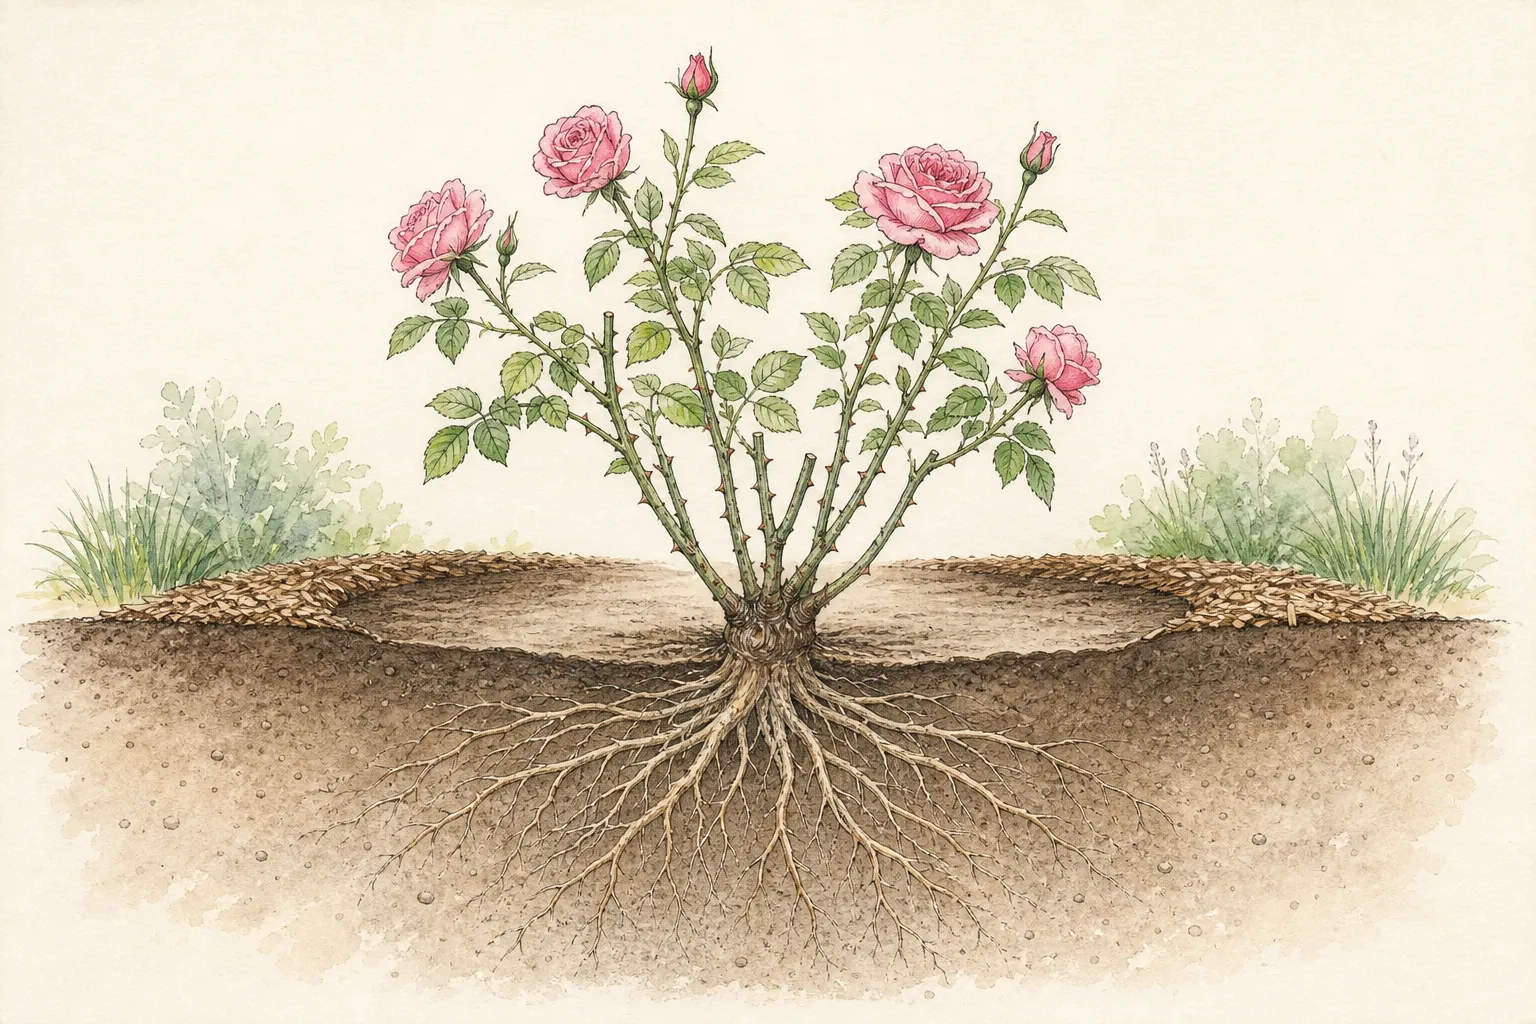
Return excavated soil around the roots in stages, crumbling large dry clods by hand. Work soil gently among roots so large air voids do not remain, but do not ram wet soil with boots or a heavy tool. Illinois Extension uses water during backfilling to carry soil between roots and cautions against tamping that damages structure. In a draining site, measured water can settle contact while preserving pore space; in saturated ground, planting should have been delayed.
Pause partway to inspect the rose from several sides. Roots should remain spread, the plant should stand without a sharp lean and the crown or union should still meet the selected regional reference. Finish to the surrounding grade rather than leaving a permanent basin around the canes. A temporary watering rim, if locally useful, belongs outside the immediate crown and must not become a wet moat that buries the union after repeated top-ups.
Water the completed root zone thoroughly enough to settle contact, then allow drainage and check grade again. Add soil only where settlement exposes roots; do not automatically cover the union because it appears prominent. Apply mulch across surrounding soil but keep it clear of the canes, crown and any union meant to remain visible. Record the final position, planting date, weather and initial watering so later care begins from evidence rather than duplicate guesswork.
Protect dormant canes without trapping heat
Newly planted dormant canes can lose moisture before roots establish contact. Protection methods differ by climate. Illinois describes a temporary soil mound or breathable wrapping that is removed gradually as growth starts and specifically rejects plastic bags because heat can build. Use only a method supported for the local spring, and distinguish temporary cane protection from the permanent planting depth of the crown or union.
Keep protection breathable, cool and easy to inspect. A covering should reduce drying wind, not create a warm wet chamber that hides decay or drives fragile white shoots. Label the rose outside the covering and set a review date. As buds swell, expose growth in stages appropriate to the forecast so tender shoots are not abruptly moved from shade to intense sun or left buried after they begin elongating.
Late frost response also belongs to the region. Use temporary protection that does not crush shoots and remove or vent it when conditions improve. Do not deepen the rose after planting as a reaction to one cold forecast. If recurring winter injury is expected, the rootstock, cultivar, union position and established winter-protection system should have been chosen together before purchase.
Guide the first flush without overcorrecting
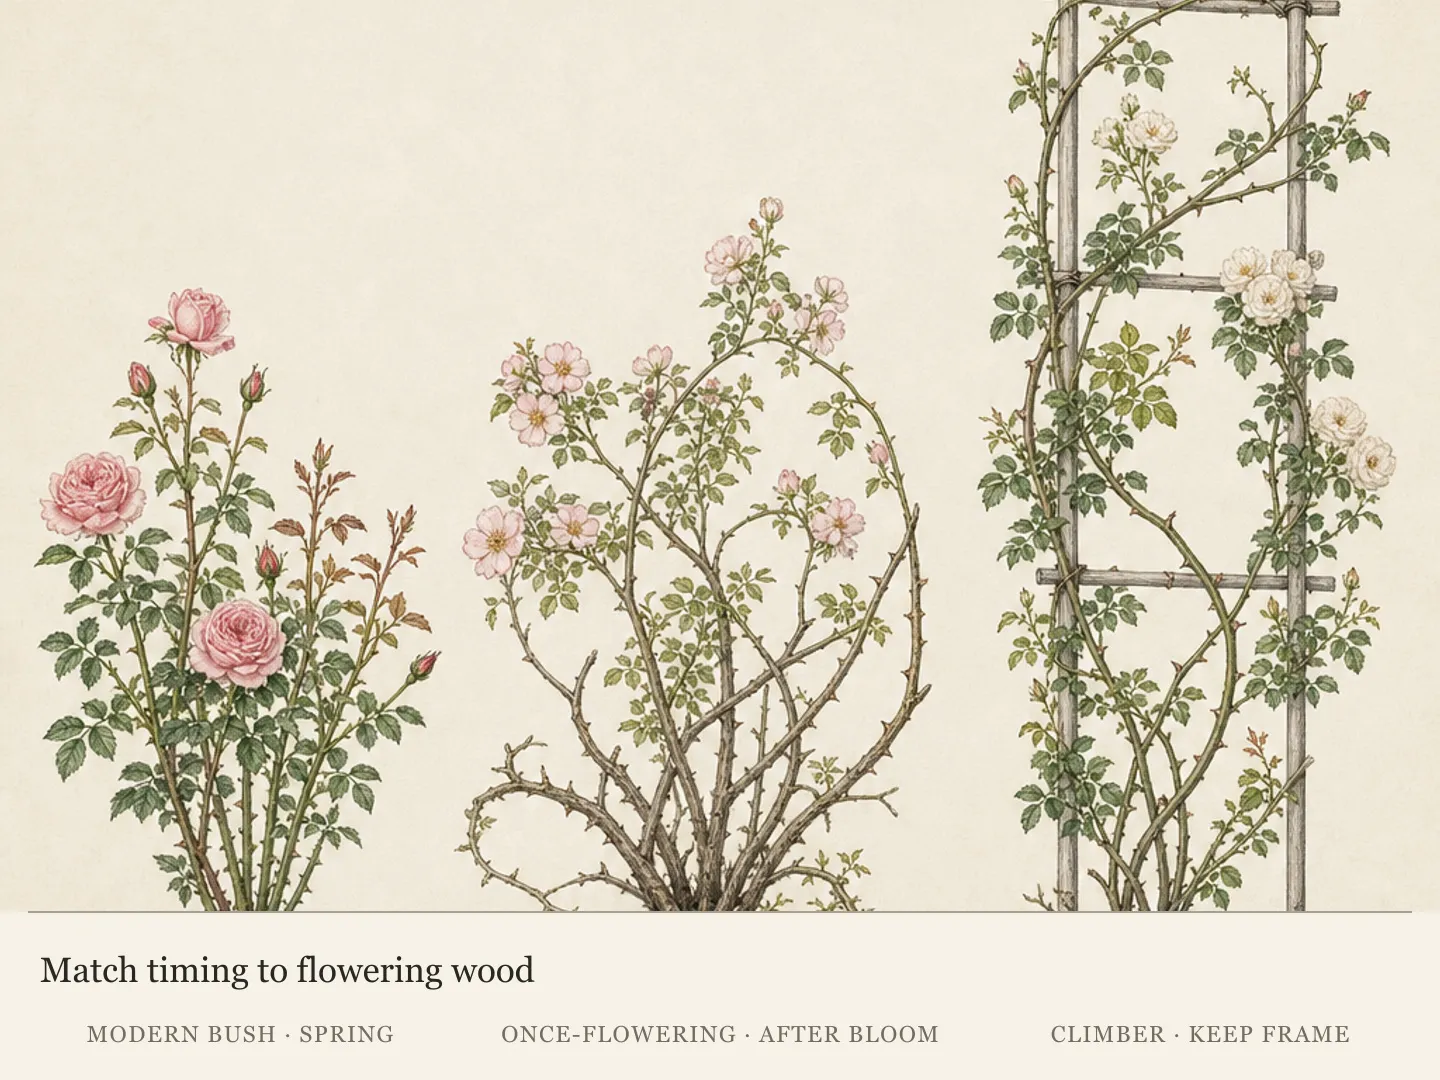
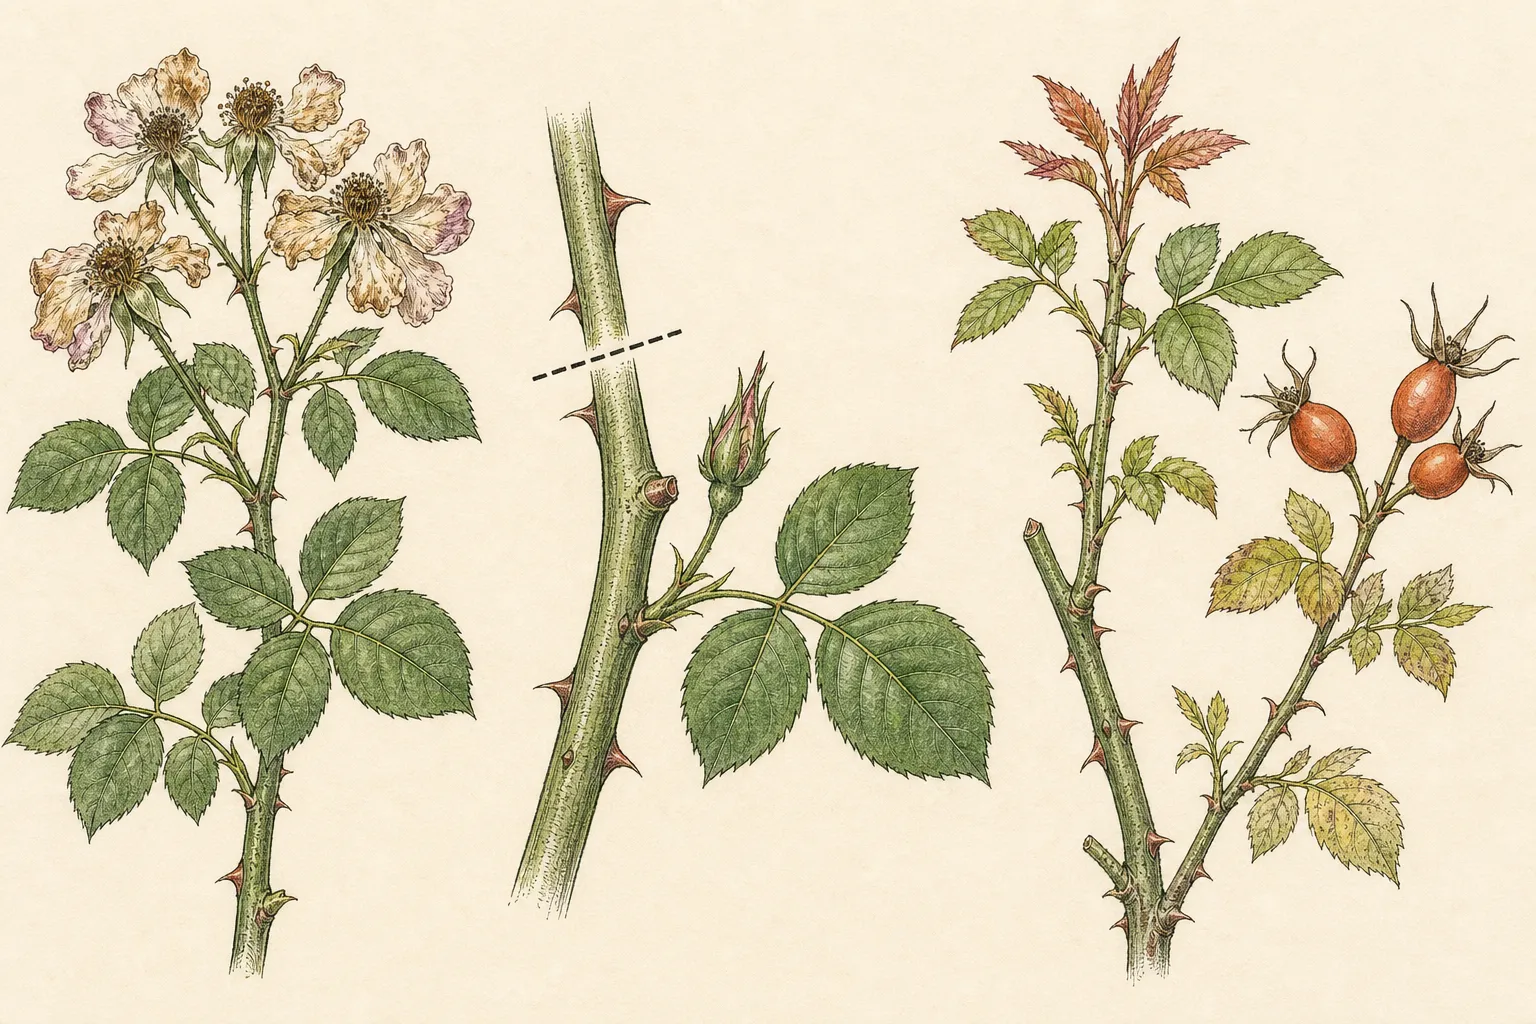
Look for swelling buds and growth from the intended canes. Remove clearly dead cane tips back to sound tissue with clean tools, but do not repeatedly shorten the whole plant to make every cane equal. The supplier may have already pruned it for planting. New shoots below a graft union need correct identification before removal; on an own-root rose, low basal shoots can be desirable renewal growth rather than suckers.
Check moisture in the former bare-root volume and adjacent soil. Water when that active zone begins to dry, applying enough to wet the roots and then allowing drainage. A daily surface sprinkle can leave deeper roots dry, while automatic irrigation can keep dense soil saturated. Adjust for rain, temperature, soil texture and increasing leaf area. Delay fertilizer improvisation until the plant is growing and local rose guidance supports the timing; roots need contact and oxygen before stimulation.
Inspect the final grade after several waterings. Restore exposed roots with soil, but pull mulch or sediment away if it has crept over a crown or union meant to remain clear. Keep weeds from competing inside the establishment zone and protect canes from hoses, pets and foot traffic. The most useful first-season record is simple: emergence date, which canes grew, watering cues, any dieback and whether the selected union strategy remained physically stable.
Read failure cues before replacing the rose
A rose that remains dormant is not automatically dead. Compare cultivar, planting date, storage condition and local soil temperature with reliable regional expectations. Scratch-testing or repeated excavation can damage living tissue, so use the supplier's assessment method. If roots were dry on arrival, canes continue to shrivel or no buds swell after an appropriate interval, document the plant before making destructive checks.
Blackening that moves down a cane, soft tissue, foul odor or roots sitting in water requires prompt attention. Stop automatic irrigation and inspect drainage and grade. Remove failed material only after identifying sound tissue and preserving evidence for diagnosis. Do not pour fertilizer, tonic or pesticide into an undiagnosed planting hole. The cause may be shipment damage, desiccation, cold injury, poor drainage or a planting-depth mismatch, and each requires a different correction.
If the rose fails, keep the label and notes. Review whether the stock was grafted or own-root, the exact union reference used, how roots fitted, how quickly the soil drained and what protection covered the canes. Correct the site or plant choice before installing a replacement. Success is not defined by one prescribed depth; it is a living rose whose roots remain moist but aerated and whose crown or graft union occupies the position chosen for that stock and climate.
Steps
- Level
- moderate
- Time
- 45 to 90 minutes per rose after the site and regional depth decision are prepared
- Tools
- Spade or digging fork, Bucket for clean soaking water, Clean bypass pruners, Straight cane or tool handle for grade reference, Gloves, Watering can or hose with gentle flow
- Materials
- Labeled dormant bare-root rose, Damp cloth or packing material, Weather-resistant plant label, Organic mulch for the surrounding soil, Breathable temporary cane protection if regional guidance calls for it
- 1Verify the rose and planting system
Match the tag to the order, keep the cultivar name and identify the plant as grafted, own-root or standard. Locate the graft union or own-root crown before trimming. Photograph damage and contact the supplier when roots or canes are broadly soft, rotten or desiccated instead of planting first and losing the evidence.
- 2Keep roots moist and rehydrate deliberately
Store briefly in cool, dark, slightly moist conditions when the ground is not ready. Rehydrate for the interval supported by the supplier and regional source; Illinois uses eight to twelve hours, while the American Rose Society describes several hours. Keep labels attached, avoid indefinite soaking and protect roots from drying wind during preparation.
- 3Approve site and local planting window
Plant only when soil is workable rather than frozen, smeared or saturated. Confirm suitable light, drainage, mature space and irrigation access for the named rose. Check local advice if roses occupied the same pocket previously, and mark utilities before opening the broad root zone.
- 4Choose the union or crown depth
Use the source-labeled decision table without averaging: the retained RHS context sets a grafted bush-rose union at finished grade; the northern Illinois method sets it at grade initially and expects settlement to leave it 1–2 inches below soil; the American Rose Society supports an above-grade temperate versus below-grade cold distinction but gives no universal depth. For own-root, standard, unidentified stock or a region outside those contexts, obtain a direct grower or local-authority instruction before digging. Mark the selected relationship with a straightedge across finished grade.
- 5Open the hole to the sound roots
Dig wide enough for roots to radiate without spirals, hooks or upward bends. Support the selected planting height on firm soil and spread the roots naturally over a low soil form if helpful. Enlarge the hole before shortening healthy roots; trim only broken, dead or genuinely unmanageable ends with clean pruners.
- 6Settle soil without compacting it
Return native soil in stages, work it gently among roots and use measured water to settle contact where the site drains. Recheck the plant from several sides and keep the chosen union relationship unchanged. Finish to surrounding grade rather than leaving a crown-deep basin, then water and verify drainage.
- 7Protect canes as a temporary operation
Where regional guidance calls for it, use a breathable mound, wrap or paper shelter to reduce drying while buds wake. Keep it separate from permanent planting depth, label the plant and remove protection gradually as growth begins. Never seal dormant canes in plastic or leave a temporary mound after shoots elongate.
- 8Monitor emergence, moisture and grade
Water from root-zone moisture rather than a daily schedule, letting excess drain. Identify low shoots correctly before calling them suckers, preserve healthy canes and check whether mulch or settlement has changed the crown or union position. Record emergence and failure cues, and diagnose persistent decline before fertilizing, treating or replacing the rose.
Related reading
Sources
- Planting | Roses. University of Illinois Extension. Source record · Accessed 2026-08-19.
- Roses: Planting. Royal Horticultural Society. Source record · Accessed 2026-08-19.
- Consulting Rosarian Manual. American Rose Society. Source record · Accessed 2026-08-19.