Grow · chelsea chop selected perennials
Chelsea Chop Selected Perennials Without Losing the Season's Flowers
Choose suitable tall, late-flowering perennials, match the cut to plant vigor and local bloom timing, and leave once-flowering or already budding plants alone.
Published Last updated
In this guide
- Understand what the Chelsea chop changes
- Exclude the wrong plant before choosing a cutting pattern
- Select the plant before selecting the cut
- Know which plants not to cut
- Translate the traditional date into a local window
- Read stem health and the hidden crown
- Choose one of three cutting patterns
- Make clean cuts that leave a working framework
- Support recovery without forcing soft growth
- Monitor branching, height and bloom timing
- Correct common Chelsea chop mistakes
- Design next year's cut into the border sequence
- Steps
Understand what the Chelsea chop changes
The Chelsea chop is an early-season reduction used on selected tall perennials that flower later in the year. Removing the upper portion of actively growing stems encourages branching below the cut. The resulting plant is commonly shorter, fuller and later to flower than an identical uncut plant. It is not ordinary deadheading, because the stems are shortened before their main display, and it is not a universal haircut for every perennial in the border.
The useful outcome depends on purpose. A plant that routinely leans over a path may need its whole clump reduced. A tall back-of-border plant may need only its front stems shortened so flowers form in tiers. A group can have alternating stems cut and uncut to spread bloom timing. Decide which problem—height, flopping, an abrupt flower peak or a bare lower outline—is being solved before the pruners enter the bed.
Expect a trade rather than a free improvement. Shortening removes developing leaf area and can delay the first flowers on the treated stems. A healthy, vigorous candidate can rebuild; a weak, recently planted or drought-stressed plant may not. The aim is to redirect selected growth while enough season remains, not to force a compromised plant to perform on a decorative timetable.
Exclude the wrong plant before choosing a cutting pattern
Confirm a documented late-flowering candidate and a suitable local pre-bloom stage before choosing full, partial or alternating reduction. Keep ineligible plants and stems already forming buds outside the work. Compare branching, final height and flower timing with retained growth so the next year's decision addresses the effect actually observed, including any unwanted delay.
Select the plant before selecting the cut
Start with a known plant name. The Royal Horticultural Society and Iowa State include tall, later-flowering perennials such as Helenium, garden phlox, Echinacea, Hylotelephium or upright sedum, Solidago and some asters among suitable candidates. The shared feature is not family or flower color; it is a vigorous herbaceous plant that can branch after a pre-bloom stem reduction and still complete its floral cycle in the local season.
Then inspect the actual cultivar. A compact selection bred to remain low may gain little from shortening, while an unusually late cultivar may not have enough warm season left for delayed stems to flower well. A species name alone cannot predict mature height or schedule across every selection. Keep the nursery label, compare several seasons of behavior when possible, and let local extension advice overrule a list written for another climate.
Finally, read the clump rather than treating every stem as interchangeable. Choose stems that are firm, green, actively elongating and leafy below the intended cut. Leave weak shoots, damaged divisions and portions still filling their first-season root zone. If the plant cannot be identified or its flowering habit is unknown, observe it for a season and use staking or discreet support instead of an irreversible experimental cut.
Know which plants not to cut
Do not apply the Chelsea chop to perennials whose season depends on one already formed set of flowering stems. The University of Washington Miller Library specifically warns that once-flowering plants can lose their flowers and names peonies, irises and aquilegias, also known as columbines, as examples. These are not late branching candidates merely because their foliage happens to stand tall in early summer. Preserve their flowering stems and use species-appropriate cleanup after bloom.
Skip any plant already carrying obvious flower buds or opening flowers unless reliable guidance for that exact plant says otherwise. At that stage, the stem has committed considerable growth to the display, and a generic reduction can remove it rather than simply postpone it. Also leave spring and early-summer bloomers, basal rosette plants, single flower-spike forms, woody shrubs and ornamental grasses outside this technique unless their own pruning guidance expressly calls for an equivalent operation.
Do not cut a newly installed perennial simply to make it match established neighbors. Likewise, avoid plants that are wilted from dry soil, yellowing from root trouble, recovering from division, or producing sparse weak stems. Correct identification, water balance and establishment first. The safest exclusion rule is plain: if the plant is not a documented late-flowering, branching candidate in healthy active growth, it does not receive the chop.
Translate the traditional date into a local window
The name refers to the timing of the Chelsea Flower Show, and British and Iowa guidance commonly places the work around late May or early June. That calendar phrase is a prompt, not a nationwide appointment. Spring growth in a cool northern garden may trail a warm district by weeks, while an early-blooming cultivar can be too advanced before the customary date arrives. Work from plant stage, expected bloom and remaining growing season together.
University of Maine guidance frames the cut relative to flowering, roughly several weeks before the normal bloom period for suitable late-season plants. That relationship is more portable than a fixed date, but it still requires local knowledge. Find the plant's usual first-flower period in garden notes or regional references, then confirm that stems remain vegetative and that branching has time to mature before shortening them.
If uncertainty remains, cut a limited group or a few stems and label them with the date. Leave an adjacent control untouched. The comparison will reveal local changes in height, branching and flower timing without risking the entire display. Record spring conditions too: a cold wet season and a warm early season can place the same calendar day at different points in plant development.
Read stem health and the hidden crown
Water the day before only if the root zone is genuinely dry; do not saturate already moist ground to prepare for pruning. On the workday, part the stems and inspect the crown, basal leaves, mulch level and irrigation lines. Healthy candidate stems should be firm and well supplied with leaves below the proposed cut. Soft blackened bases, widespread spotting or collapse call for diagnosis rather than canopy shaping.
Trace several stems to understand how the clump is built. Some perennials produce many independent shoots from a crown, while others branch strongly along each shoot. The cut must leave multiple healthy leaf nodes capable of carrying new side growth. A memorized height can land below useful foliage on a short cultivar or remove too little from an exceptionally tall one, so use stem anatomy and intended final scale as the guides.
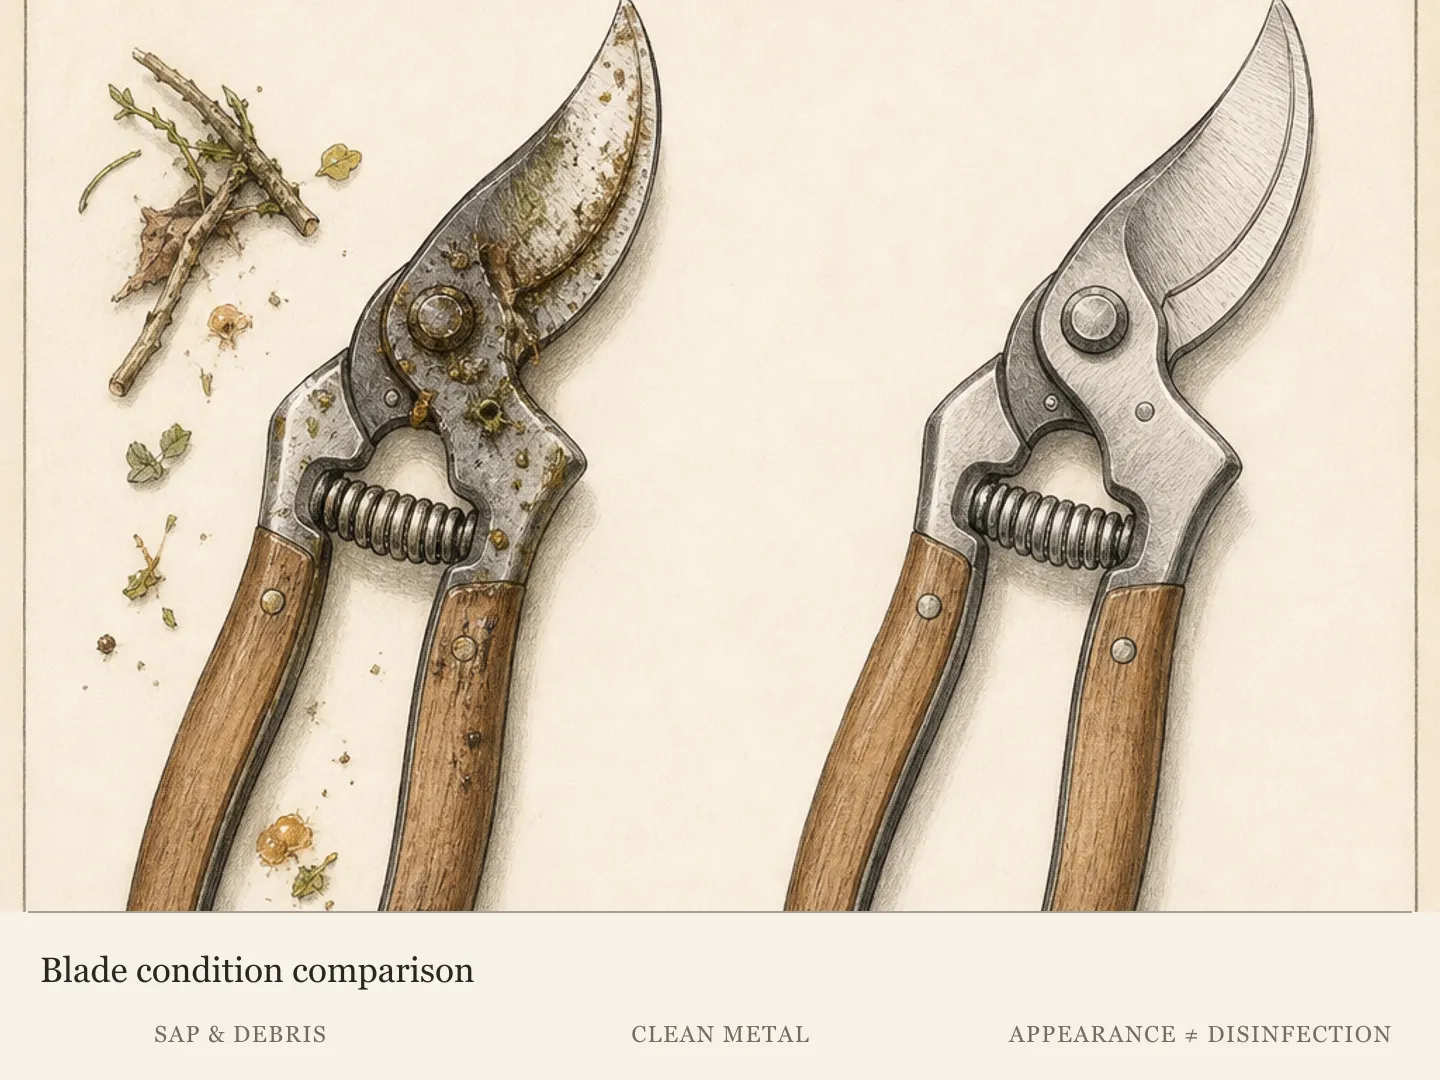
Clean and sharpen bypass pruners before beginning, especially when moving among clumps. Remove suspect diseased material separately and clean tools before touching a healthy plant. Hand pruners provide the control needed for a first attempt; broad shearing through unidentified stems hides weak growth, flower buds, supports and drip tubing. Mark each selected clump so an enthusiastic helper does not expand the operation to its neighbors.
Choose one of three cutting patterns
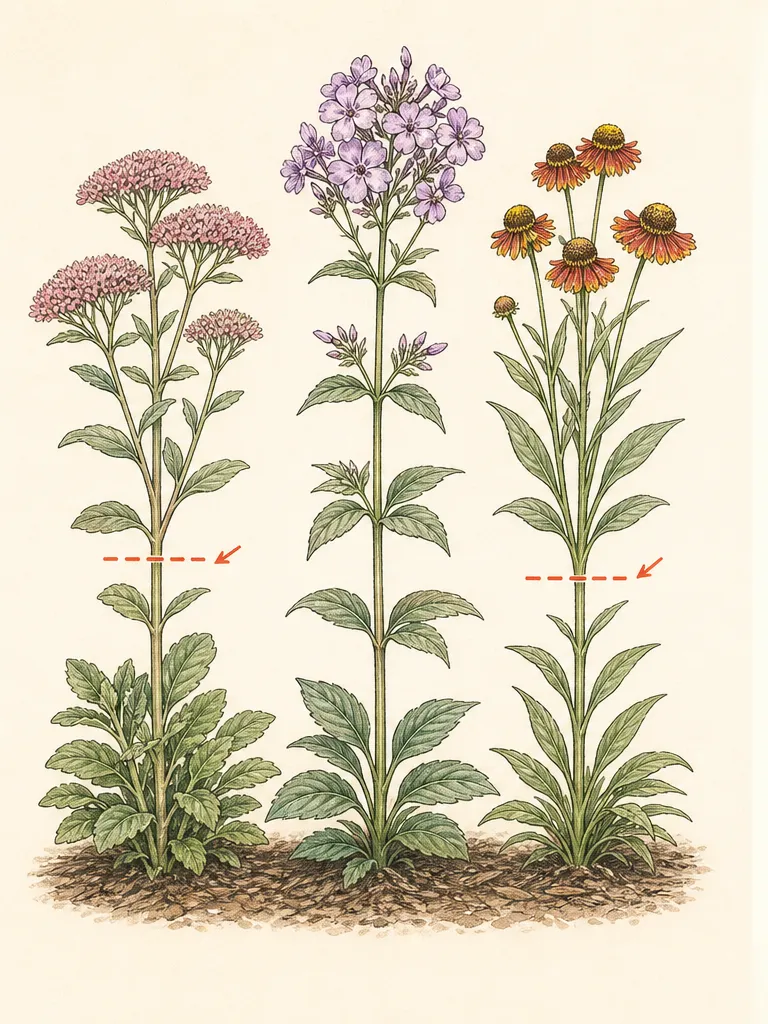
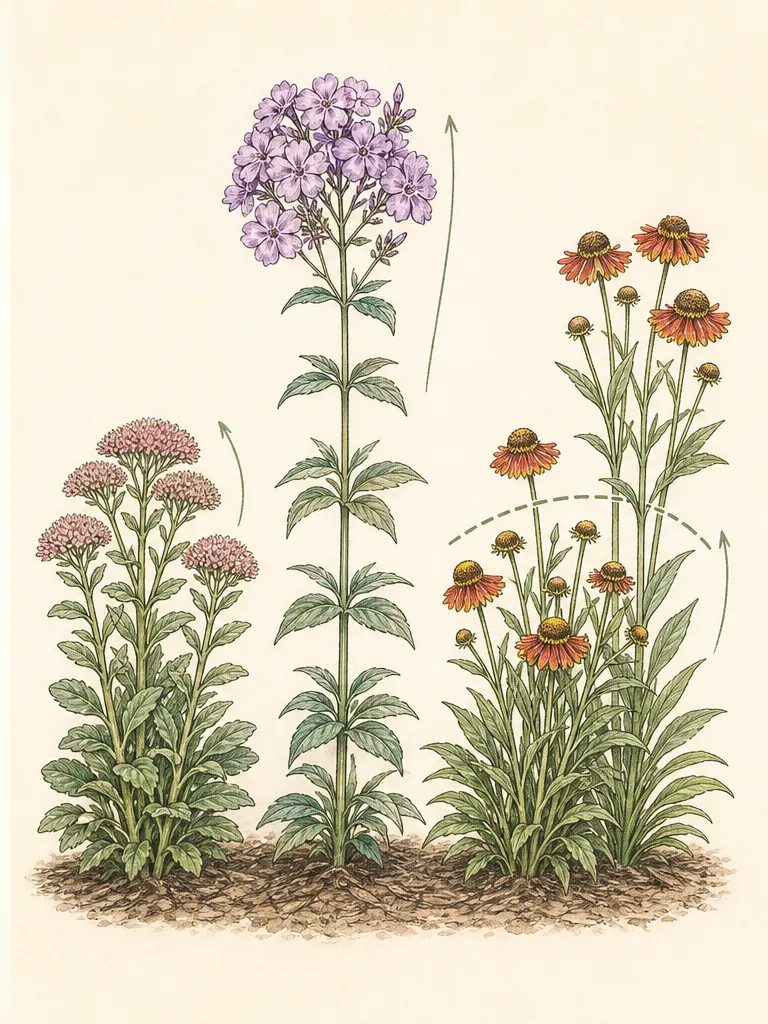
A whole-clump cut is the clearest height-control pattern. Shorten all suitable stems by roughly one-third to one-half, the range described by RHS and Iowa State, but adjust within it to preserve leafy nodes and a balanced framework. This can produce a compact mound that flowers later. Use it only when the full clump is vigorous and the resulting delay fits the border's seasonal sequence.
A front-only cut creates depth. Shorten stems along the path or front half, leaving the back at natural height. The front portion branches and blooms lower and often later, while the rear provides the original vertical accent. Make an irregular transition at the center rather than a ruler-straight terrace. This pattern is useful where a tall perennial belongs in the composition but tends to expose bare lower stems.
An alternating or sectional cut distributes height and timing within one clump. Remove the upper portion from selected stems or one segment while retaining others. University of Maine describes staggered approaches that create a cascade of bloom. Keep enough space and light around retained stems, and map the treated section. Random snipping without a recorded pattern makes the later result difficult to read or repeat.
Make clean cuts that leave a working framework
Begin with one outer stem. Follow it down to the chosen level, find a healthy leaf pair or node where the species' structure allows, and cut just above it without crushing the stem. Release it and confirm the remaining section stands upright. If the planned reduction would leave mostly bare stem, raise the cut or exclude that shoot. The plant needs leaf area below the cut to fuel branching.
Move around the clump, comparing the outline after every few cuts. Avoid tying a tight bundle and slicing it at one height, which can pull stems from the crown and conceal individual buds or damage. In a front-only pattern, vary the depth slightly so the transition appears planted rather than clipped. In an alternating pattern, preserve an intelligible rhythm and avoid leaving a few unsupported tall stems isolated at the exposed edge.
Collect the tops as work proceeds. Healthy soft growth can enter an appropriate home compost system; visibly diseased stems should follow local disposal advice. Never pile clippings over the crown, where they can mat, retain moisture and obscure regrowth. Recheck the plant from the main viewing angle and stop before symmetry tempts a deeper second pass. New branches will soften small irregularities.
Support recovery without forcing soft growth
After cutting, probe the root zone. Water slowly when the soil is dry at root depth, then let excess drain. A reduced canopy may use water differently for a short period, so automatic irrigation should not be increased merely because pruning occurred. Keep mulch around the root zone but off the crown and lower stems. The exposed framework makes it easier to spot settling, saturation or hidden weeds.
Do not add high-nitrogen fertilizer as a reflex. Excessively soft extension growth can undo the compact structure and encourage another round of leaning. Follow a soil test and plant-specific regional recommendations if fertility is genuinely deficient. Established late perennials usually respond to the cut through existing roots, light and normal moisture; the Chelsea chop is a branching intervention, not a demand for emergency feeding.
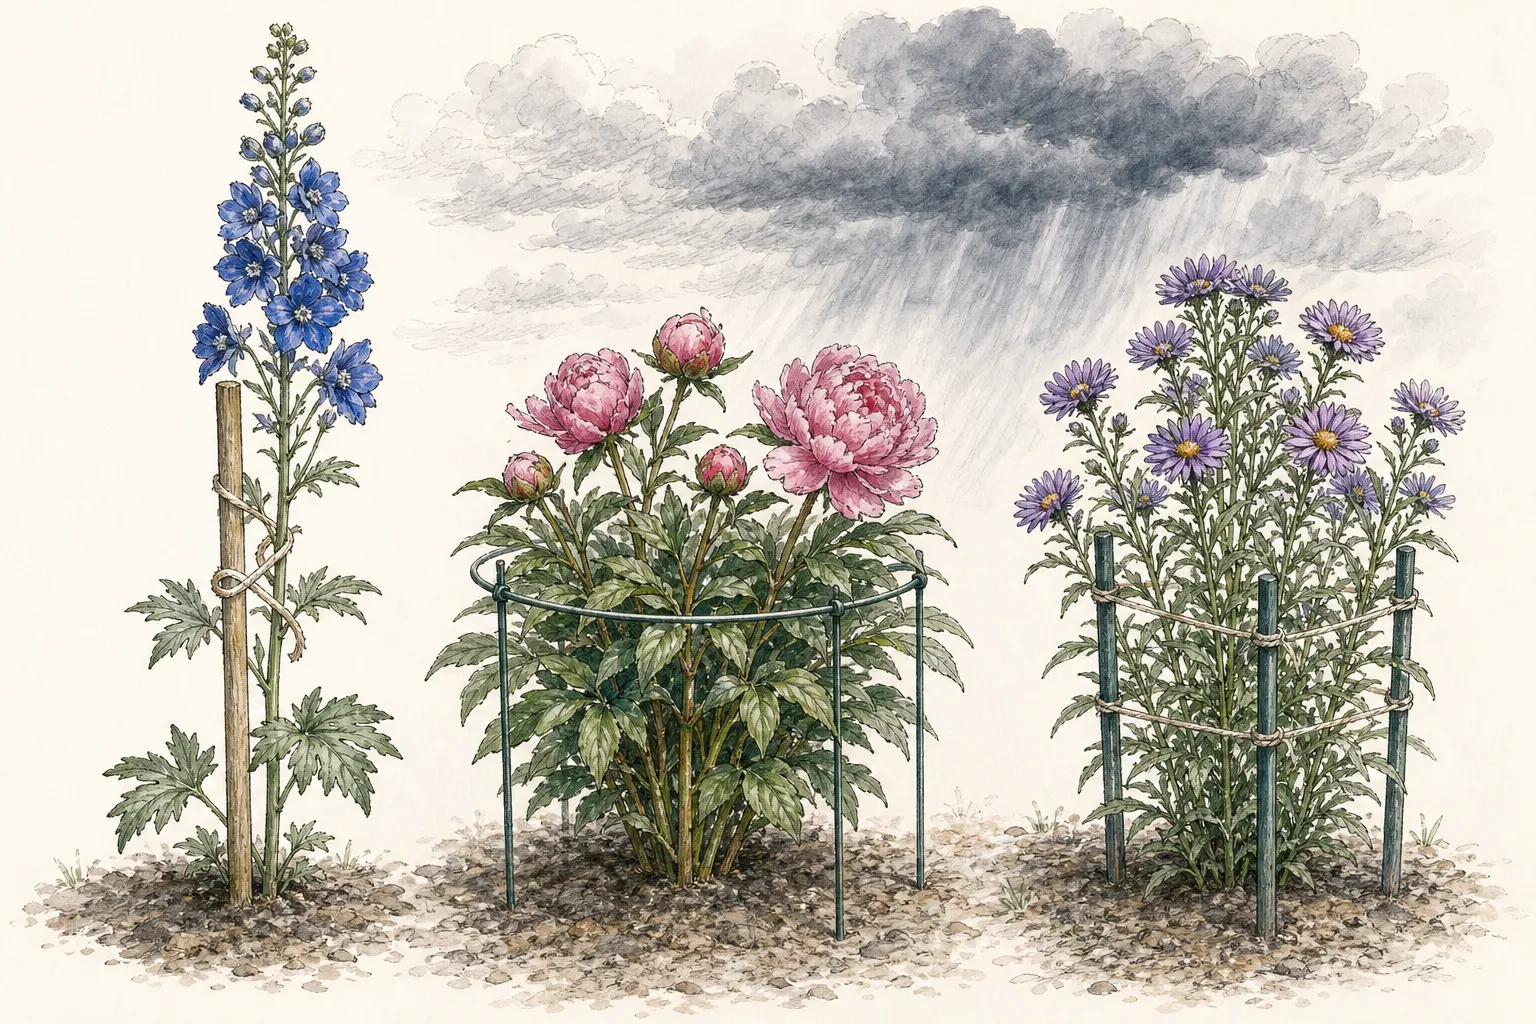
Place support early if the uncut portion still needs it. A low ring, discreet twig framework or stakes around the perimeter can guide stems before flowers make them top-heavy. Do not cinch the whole clump into a narrow column, which defeats the branching effect and traps foliage. Supports should preserve airflow and the intended tiered form while becoming less visible as growth resumes.
Monitor branching, height and bloom timing
Photograph the plant immediately after cutting and at regular intervals from the same position. Note where side shoots form, whether the center remains open, and how the treated height compares with the control. The useful evidence is not only the date of first flower. Stem strength, lower-leaf quality, final spread and how the plant meets its neighbors determine whether the operation improved the border.
Expect treated stems to open later than untouched stems, with the amount of delay shaped by species, cultivar, weather and cut severity. Avoid promising an exact number of days. If flowers do not appear before the season ends, the plant may have been cut too late, reduced too hard or be too late a cultivar for this technique locally. Keep that result as a regional limit rather than assuming the plant failed.
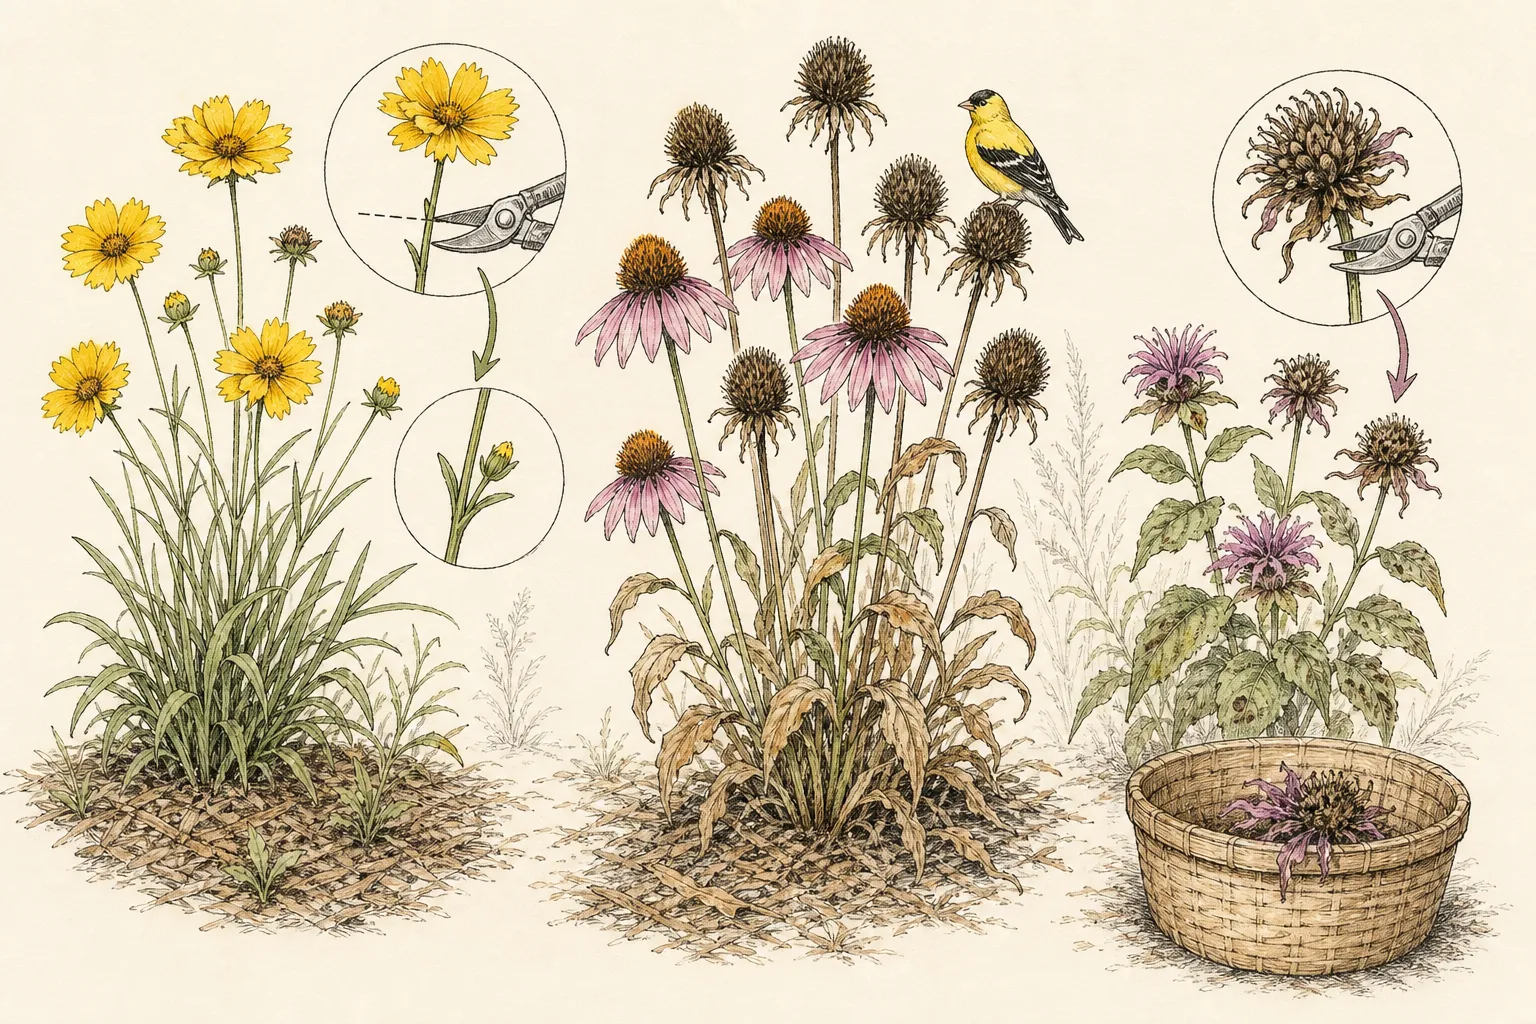
Stop further shortening once the new architecture is established and buds are forming. Repeated summer clipping is a different regime and can continually reset flowering. Later in the season, deadhead or retain seed heads according to the plant's normal care and the desired winter structure. Do not confuse a successful early chop with permission to shear every new branch.
Correct common Chelsea chop mistakes
A plant that becomes a dense flat-topped block was probably cut too uniformly or crowded by rich growth. Let branches extend and use selective thinning only if plant-specific guidance supports it; do not keep shearing the surface. Next season, vary stem heights or use a front-only pattern. Also review fertilizer and light, because shade and excess nitrogen can produce lax growth that pruning alone cannot correct.
A lopsided clump may have been shortened from one convenient side without considering sun direction or existing vigor. Do not immediately level the stronger half. Turn the asymmetry into a monitored staggered design, support exposed stems and wait for branching. At the next suitable planting season, address a shading neighbor or root-zone problem if one side repeatedly underperforms.
The most serious mistake is cutting the wrong plant and removing its only flower stems. No fertilizer or watering schedule can recreate those buds that year. Keep the crown healthy, follow the species' normal post-bloom care and label it clearly for the future. The lesson is procedural: identify first, confirm late branching behavior second, and cut only after both checks pass.
Design next year's cut into the border sequence
At season's end, compare treated and untouched plants. Record final height, first and last bloom, need for support, foliage quality and effect on adjacent plants. A useful whole-clump cut may become an annual task. A plant that still crowds the path may need division or relocation. One that flowers too late after treatment may be better left natural and supported before storms.
Use staggered cuts across repeated groups to prevent every specimen of one perennial from changing at once. The untouched group establishes the normal peak, while the shortened group follows with a lower display. This can give a long border rhythm without adding unrelated plants, but only where the local season accommodates both. Preserve a plan showing which group received which treatment.
Let mature plant choice carry most of the design burden. Select compact cultivars for narrow edges and naturally strong forms where staking access is difficult. Reserve the Chelsea chop for deliberate adjustment of suitable tall late bloomers, not permanent denial of an oversized plant's genetics. The best result looks like a considered tier of healthy growth, not evidence that the entire border met one blade.
Steps
- Level
- moderate
- Time
- 30 to 60 minutes for several established clumps
- Tools
- Clean bypass pruners, Plant labels and pencil, Gloves, Soil probe
- Materials
- Debris container, Optional low plant supports, Garden notebook
- 1Identify a documented late-flowering candidate
Confirm the species and cultivar, then verify through institutional or local extension guidance that it is a vigorous, branching late-season perennial suitable for pre-bloom shortening. Exclude unknown plants, compact cultivars and forms that do not branch reliably after a cut.
- 2Remove every ineligible plant from the work list
Leave peonies, irises, aquilegias and other once-flowering plants uncut. Also exclude spring bloomers, flower-spike forms, woody plants, grasses, plants with visible buds, new transplants and any clump showing drought, root trouble or weak sparse stems.
- 3Set a local pre-bloom window
Use the usual local bloom period and vegetative stem stage instead of copying a date alone. Late May or early June is common guidance in Britain and Iowa, but climate and cultivar shift the window. Label a small test section when regional timing is uncertain.
- 4Inspect the crown and choose leafy cut points
Part stems, locate the crown and irrigation, and confirm firm growth with healthy leaves below the intended cuts. Clean the pruners. Select points that preserve several working nodes and enough foliage; a fixed ruler height cannot suit every cultivar.
- 5Choose full, front-only or alternating treatment
Reduce the whole clump when uniform height control and later bloom are wanted. Shorten only front stems for a tiered border, or alternate treated and untreated stems to distribute height and flowering. Mark the pattern so later results remain readable.
- 6Shorten stems cleanly and in sequence
Test one outer stem, cutting above a healthy node without crushing it. Continue around the clump while comparing balance. A reduction around one-third to one-half is documented for suitable plants, but preserving leafy structure and matching cultivar vigor take priority over a numerical target.
- 7Clear tops and restore normal root-zone care
Remove clippings from the crown, composting only healthy material as the home system permits. Probe soil and water only when dry at root depth. Keep mulch away from stems, withhold reflex fertilizer, and install open low support if an untreated tier remains exposed.
- 8Measure the result before repeating it
Photograph branching, final height and flower timing beside an untouched control. Stop cutting when buds form. Record whether the technique improved path clearance, stem strength and border sequence, then choose next year's pattern or a permanent spacing correction from that evidence.
Related reading
Sources
- Chelsea Chop. Royal Horticultural Society. Source record · Accessed 2026-08-19.
- How to Maintain Perennial Beds and Borders. Iowa State University Extension and Outreach. Source record · Accessed 2026-08-19.
- Maine Home Garden News — May 2025. University of Maine Cooperative Extension. Source record · Accessed 2026-08-19.
- On Pruning Asters. University of Washington Elisabeth C. Miller Library. Source record · Accessed 2026-08-19.