Gardens · design spring bulb succession
Design a Spring Bulb Succession That Reads as One Garden
Layer early, middle, and late spring bulbs through repeated drifts so fading foliage and changing bloom remain part of one coherent border.
Published Last updated
In this guide
- Start with the bloom order, not a color chart
- Put permanent structure ahead of seasonal color
- Plot one Georgia sequence at flowering height
- Plant drifts that keep their identities
- Use contrast to separate neighboring layers
- Let foliage complete the cycle
- Calibrate the sequence from one spring
- Set substitution limits before ordering
- Design ideas
Start with the bloom order, not a color chart
A convincing bulb display moves through spring in connected masses. Each wave occupies a clear patch, overlaps the plants on either side of it, and leaves foliage where another layer can soften its decline. Begin with flowering order, flowering height, and leaf-ripening time. Color belongs on the plan after those three relationships work.
The composition occupies an 18-foot-long, 6-foot-deep border in a Georgia zone 7 or 8 garden. It receives winter and spring sun, sheds rain promptly, and is viewed from a path along its long edge. University of Georgia Extension notes that location within the state changes both hardiness and bloom timing, so this is a regional composition, not a universal calendar.
Give every selection a line on the drawing for its botanical name, count, flowering interval, flowering height, spacing, and leaf-removal cue. University of Illinois Extension explains that a bulb map remains useful after foliage disappears, especially when annuals or perennials later occupy the same ground. That record also reveals a true gap when one group fails to return.
Use relative intervals first: very early, early, middle, and late. Illinois Extension reports that spring weather can move the opening date while the bulb sequence remains ordered, and its landscape range runs from early February into mid-June. A local record can attach dates to those intervals after the first season. This method keeps an unusual warm week from being mistaken for a permanent change in a cultivar's role.
Put permanent structure ahead of seasonal color
Fix the path, bed edge, existing shrub roots, perennial crowns, and principal viewing point before drawing a single drift. The 6-foot depth in this example allows a low foreground, a middle band for most daffodils and hyacinths, and a rear zone for tall late accents. These zones describe visual reach; their boundaries curve and overlap on the ground.
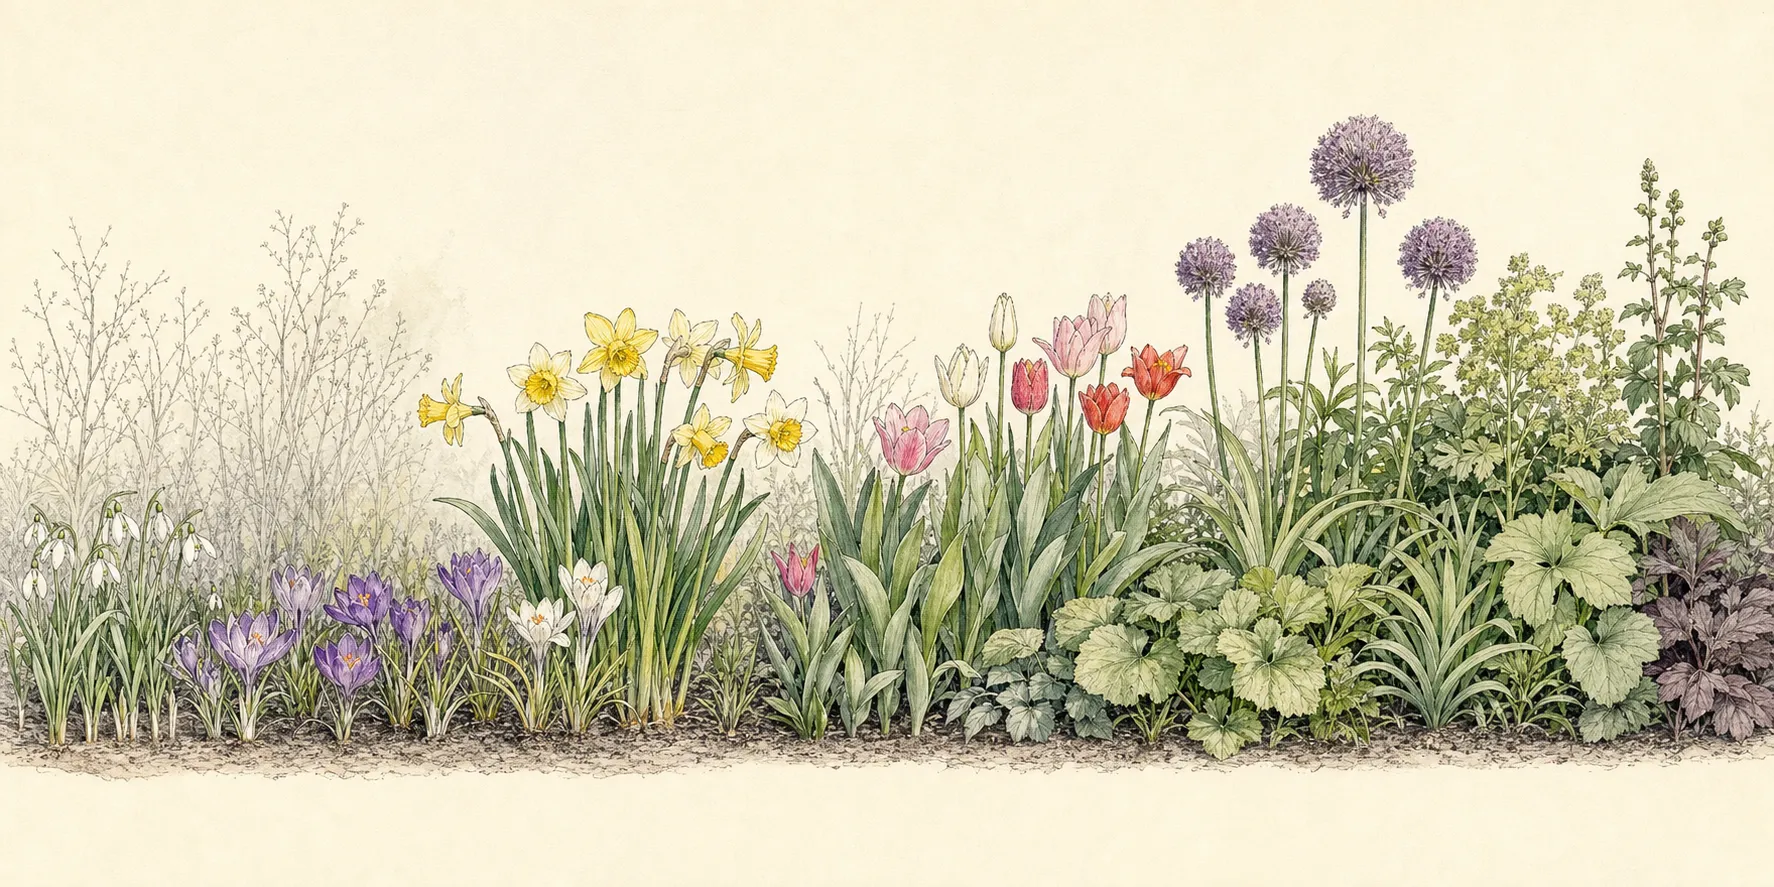
A deciduous shrub can shelter early bulbs while its bare branches still admit spring light. Illinois Extension lists crocus, snowdrops, winter aconites, grape hyacinths, squill, leucojums, bluebells, and early daffodils as useful beneath deciduous woody plants. Dense evergreen cover casts a different light regime, so the sample drifts sit beyond its canopy in open spring light.
Permanent perennials need their full crown circles on the plan even when they are dormant at planting time. Set bulb patches through the open spaces between those circles. Later leaves can screen yellowing bulb foliage, while intact crown space keeps autumn digging clear of plants that are temporarily invisible.
Reserve two narrow access points from the path into the rear half of the bed. A flat stone or known open pocket lets the gardener label, inspect, and divide a group with little pressure on wet spring soil. The access marks stay on the bulb map after growth closes the visual opening.
Draw flowering height in elevation and bulb spacing in plan. Those two dimensions answer different questions. The elevation tests whether a later group will be seen over expanding leaves, while the plan tests bulb quantity, crown clearance, and access. A named selection enters the drawing only after both views accommodate its label. This check is especially important for narcissus and tulip ranges that include both dwarf and tall forms.
Plot one Georgia sequence at flowering height
In the front 18 inches, place separate pools of Crocus species and Galanthus nivalis. The Georgia table describes crocus at about 4 inches high with 2–3-inch spacing and snowdrops at about 6 inches high with 2-inch spacing. Their very early and early flowers establish the first low plane where viewers can see small blooms from the path.
Across the middle, repeat labeled Narcissus selections whose listed height stays near 12–18 inches within the source's broader 6–24-inch range. Add Hyacinthus orientalis at about 10 inches and Leucojum vernum at about 9 inches as distinct midseason blocks. A late band of Endymion hispanicus, listed at about 8 inches, carries the lower plane beyond the earliest groups.
Two rear clusters of Allium giganteum provide the final vertical event. The Georgia source lists a 3–5-foot flowering height, late timing, and 6–18-inch spacing, so their stems need open sight lines and a bed deep enough to support that scale. The alliums rise through emerging foliage while the earlier low plants finish storing energy.
On the overhead plan, give the crocus and snowdrop pools most of the path edge, interrupt them at both access points, and push the narcissus shoulders into the center. Keep the hyacinth and leucojum blocks compact enough to retain their separate forms. The allium circles sit behind the narcissus, with clear gaps around permanent crowns. This arrangement distributes interest across the full 18 feet at every interval.
Plant drifts that keep their identities
Small bulbs gain presence through quantity. Illinois Extension recommends groups of 50 or more for small spring bulbs and at least 12 of one variety for major bulbs such as daffodils or tulips. The RHS gives a broader minimum of six and notes that 25–50 bulbs may be needed for an impressive display. Use the stronger quantity when the viewing distance is long.
Shape each group as a broad, irregular patch with a narrow shoulder reaching toward the next flowering interval. Keep the center dense enough to read as one event. A few isolated corms between groups blur the record and make later losses hard to diagnose, while labeled masses preserve both visual impact and cultural identity.
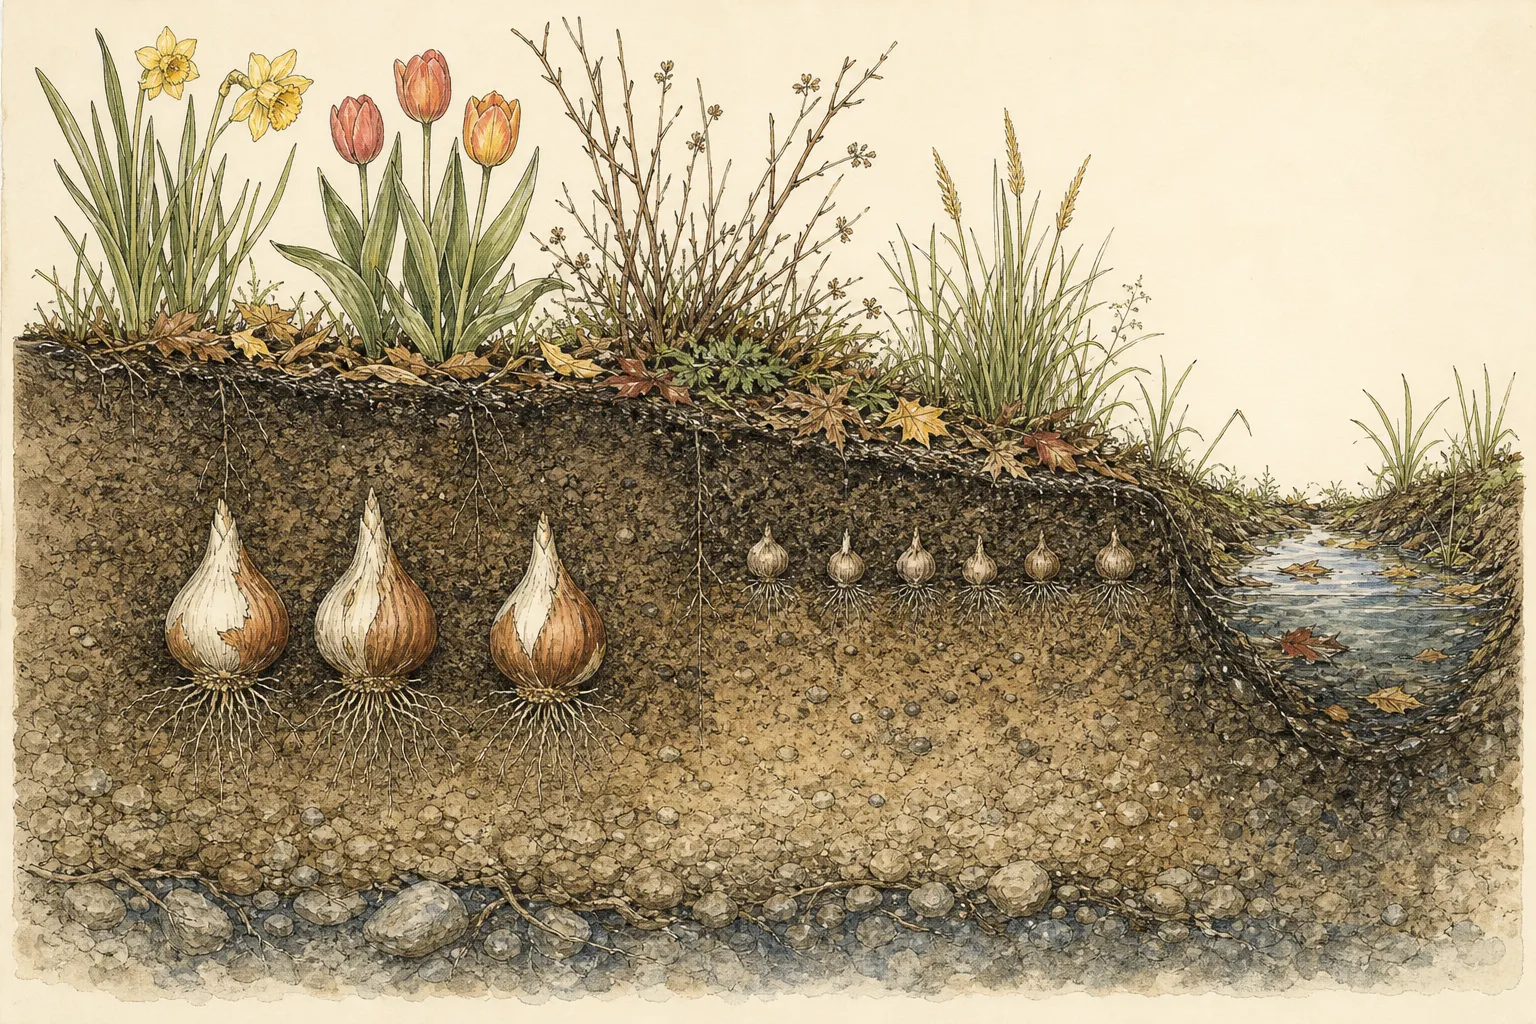
Planting depth follows the individual bulb. The RHS general rule places most bulbs at two to three times their own depth and at least twice their width apart. The Georgia table supplies taxon-specific values for this composition, including 2 inches for crocus and snowdrop, 3 inches for grape hyacinth, and 3–6 inches for narcissus.
Sort packages beside the matching chalked patch, then finish one taxon before opening the next. Record the installed count and any rejected soft bulbs. A durable rear label carries the same code as the paper plan, allowing a bare summer patch to be identified accurately after all leaves have vanished.
Set noses upward, return loose soil gently, and keep foot traffic outside the planted patch. The RHS advises watering after planting when the ground is not already moist. A wet pocket needs drainage correction before bulbs enter it, since the sunny, freely draining assumptions of this plan are part of the composition.
Use contrast to separate neighboring layers
Alternate flower geometry as the sequence advances. Crocus cups and snowdrop bells make a fine-grained foreground, narcissus trumpets create a stronger middle rhythm, hyacinth spikes add a dense block, and allium globes finish high above the leaf canopy. Repeating one shape in two distant patches connects the border across a quiet interval.
Height can bend the usual front-to-back rule when timing makes the overlap legible. Illinois Extension allows an early short bulb behind a later front plant because the short flowers appear before the front foliage expands. Use that exception deliberately. A late low bulb hidden behind an established mound has lost its visual and seasonal job.
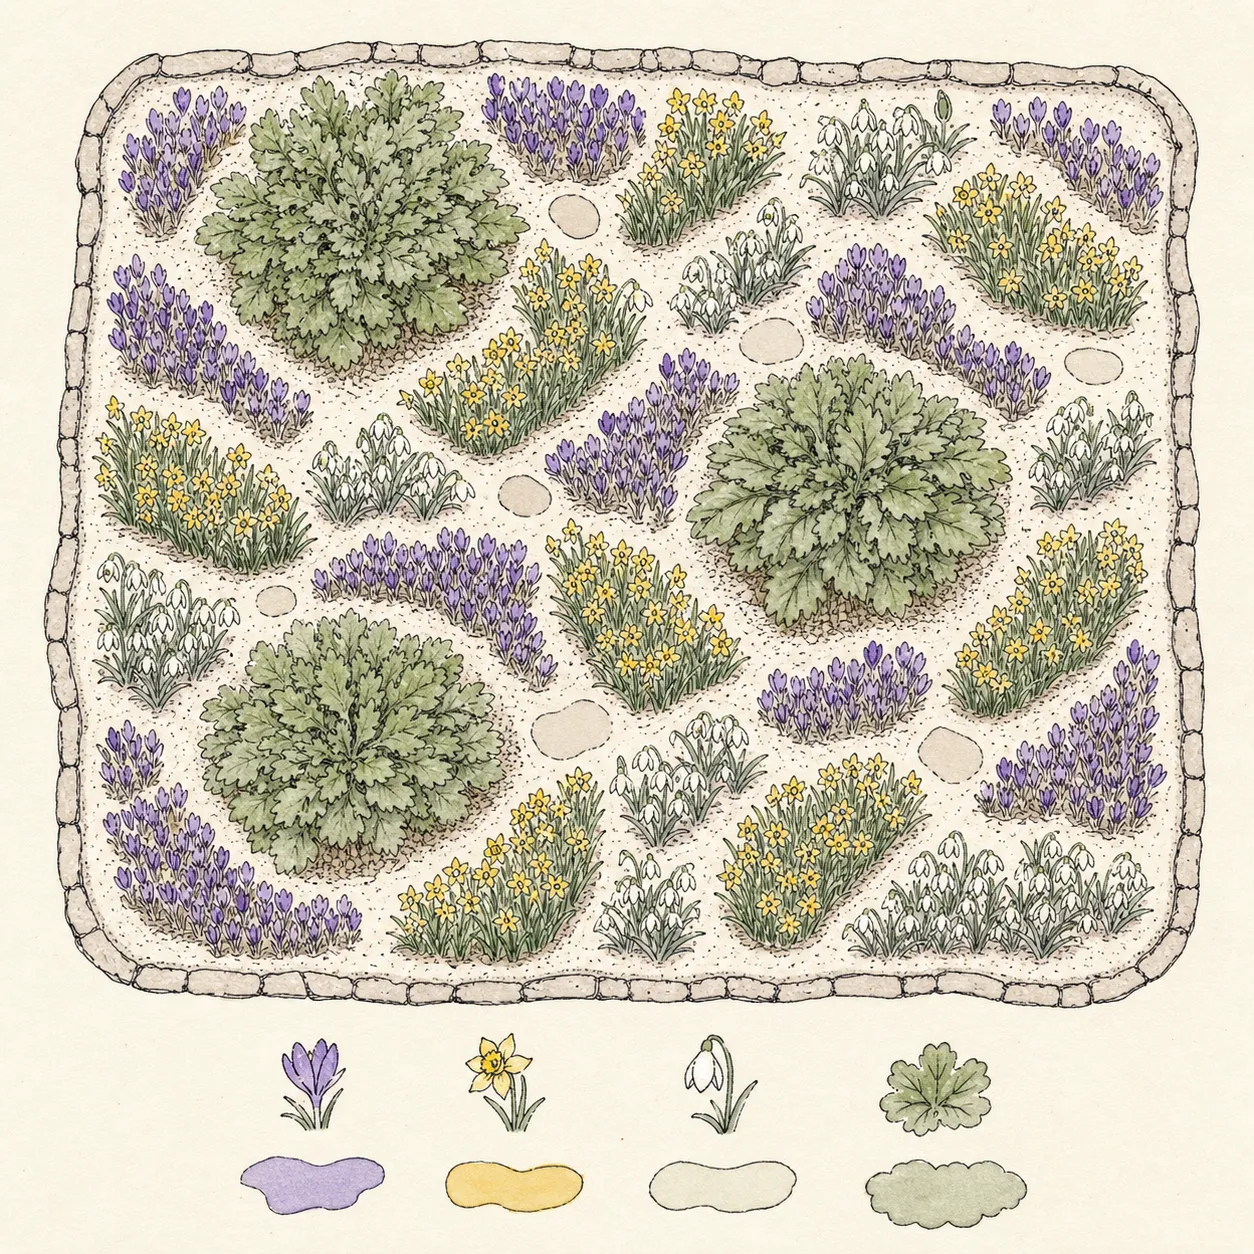
Let foliage complete the cycle
Spring foliage remains part of the design until it yellows naturally. Illinois Extension warns that mowing naturalized daffodil leaves too early weakens the bulbs, and the same storage principle governs a border. Keep green leaves upright and exposed to light. Remove spent flowers where seed is unwanted, then wait for the leaves to release easily.
Use living cover with compatible scale. Illinois Extension names ajuga, Brunnera, and small hostas as useful perennial companions, and it advises that a groundcover remain no more than half the flowering bulb's height. In this plan, later perennial leaves rise beside the bulb patches while active bulb leaves stay free, upright, and exposed to light.
Watch soil moisture as the canopy changes. The sunny surface that suited bulbs in March may receive shade and intercepted rain after deciduous shrubs leaf out. Keep the drift labels visible and check the soil beneath companion foliage. Persistent saturation calls for a site change or a different planting purpose at the next autumn edit.
Leave enough empty surface to see where one patch ends. Bulbs that multiply can merge across a crown or access point over several seasons. Lift or divide only at the taxon's suitable stage, then restore the mapped outline and count. The preserved boundary keeps the intended succession readable as the planting matures.
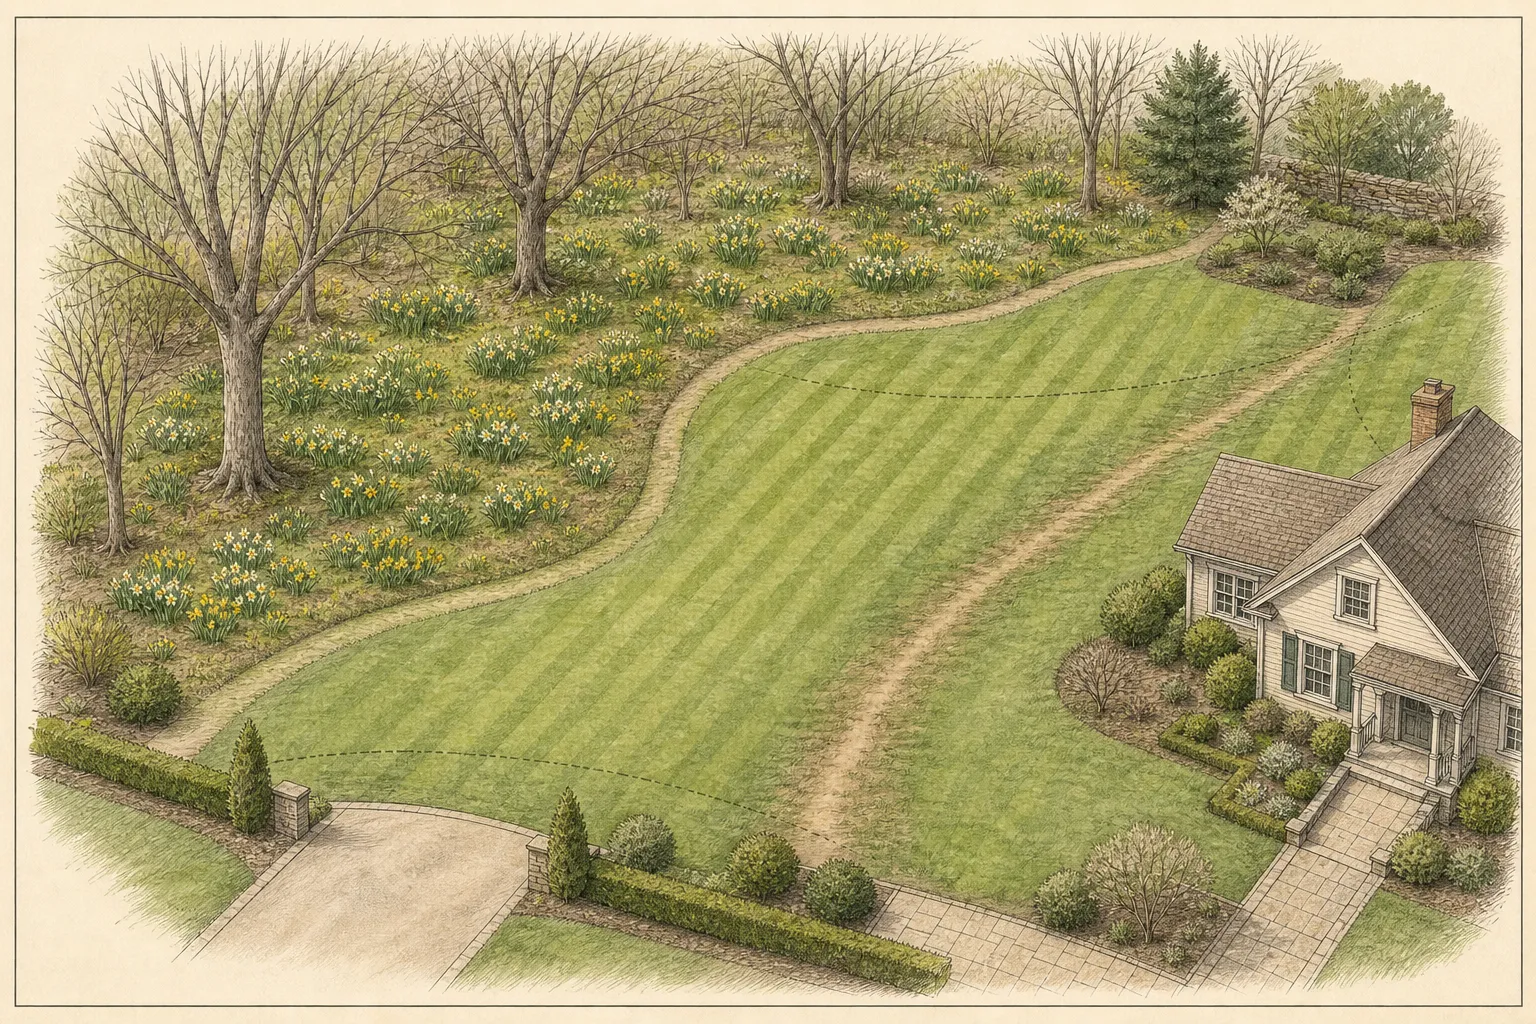
Naturalizing changes the maintenance agreement. Crocus, snowdrops, squill, winter aconites, and daffodils can spread through suitable ground, but their leaves still need time to mature. A lawn edge works only where mowing can wait. Inside a mixed border, confine the naturalizing layer to mapped pockets so self-sown or offset bulbs cannot erase the access route or crowd a perennial crown.
Calibrate the sequence from one spring
Photograph the whole bed from the marked path position once each week from first crocus to the last allium. Add the date and taxa currently open to the map. Weather can shift the start of bloom, while the relative order usually supplies a more stable design clue. One season of dated images exposes compressed or empty intervals.
Read a missing wave through its mapped group. No shoots may indicate animal loss, decay, or failed establishment. Leaves with no flowers point toward a different set of questions, including shade, cultivar performance, or early foliage removal in the previous year. The label and count narrow the diagnosis before any replacement order is placed.
Choose the smallest autumn correction that repairs the observed rhythm. Extend one shoulder, repeat a successful group, move a tall patch behind its neighbor, or retire a weak selection. Keep a small trial area for uncertain cultivars. The dependable groups continue carrying the display while local performance is tested.
Annotate microclimate differences on the same weekly record. A group beside masonry may open ahead of its counterpart near the lawn, and a low pocket may hold colder air or wetter soil. Preserve those two groups as comparisons for a full cycle before consolidating them. The result may justify two local sequences inside one bed, each joined visually by a repeated taxon.
Set substitution limits before ordering
The Georgia example transfers only to sites with comparable winter hardiness, spring light, and drainage. In a colder region, use local planting dates and hardy taxa while retaining the measured height bands and relative flowering order. At higher or warmer sites, expect the calendar to move; the composition still needs a distinct early, middle, and late event.
An early-layer substitute must remain close to the 4–6-inch display plane, flower before the narcissus backbone, and suit the exact moisture pattern. A mid-layer replacement needs a labeled height that stays below the chosen narcissus and shares the same well-drained bed conditions. Matching color alone leaves the spatial sequence unresolved.
Tall late accents require the strictest boundary. A replacement for Allium giganteum must supply a late vertical mark, fit the rear root space, and remain stable at its listed mature height. A shallow border can omit that tier. Placing a 3–5-foot stem near the path changes the design from layered succession to obstruction.
Treat tulips as a separate trial in much of the South. University of Georgia Extension notes that many tulips decline after their first year there. A yearly tulip block may add a precise color interval, but it cannot serve as the perennial backbone unless local records demonstrate reliable return and bloom.
Write the substitution rule beside each ordering line. The rule names the maximum flowering height, acceptable spacing range, required interval, light exposure, and expected treatment after bloom. It also states whether annual replacement is acceptable. A supplier change then becomes a measured comparison between labels. Attractive photography has no authority to enlarge a 10-inch slot or move a very early group into the late tier.
Design ideas
- Style
- Layered botanical garden with restrained seasonal color
- Space
- a spring bulb succession
- Climate
- This worked composition is scoped to a Georgia USDA zone 7 or 8 border with winter and spring sun, freely draining soil, and summer cover from deciduous shrubs or emerging perennials. The retained Georgia source shows that hardiness and flowering time shift within the state, while Illinois guidance distinguishes open deciduous cover from the low-light conditions beneath evergreens. Cold-region gardeners need locally hardy selections and local planting dates. Southern gardeners should treat unreliable tulips as annual trials. Sites with standing winter water or dense evergreen shade fall outside this example and need a different plant palette. Every substitution must preserve the assigned flowering interval, flowering-height band, spacing envelope, drainage need, and leaf-ripening space.
- 1Very early path pools
Use 50 Crocus corms as the first visible mass, split into three connected pools along the viewing edge. Follow the Georgia reference dimensions of roughly 4 inches at flower and 2–3 inches between corms. Keep each pool named and single-color so its return can be counted. This low group belongs beside the path, where individual cups remain visible.
- 2Early snowdrop counterpoint
Place 50 Galanthus nivalis in a separate crescent that touches two crocus pools at their narrow ends. The retained table lists about 6 inches in flower and 2-inch spacing. That small rise creates a second silhouette during the early interval. Use this dry-bulb layout only where establishment is successful; the RHS also recognizes post-flowering in-leaf planting as an option.
- 3Narcissus backbone
Repeat three groups of 12 Narcissus bulbs through the middle band. Choose one named selection whose supplier lists a mature flowering height near 12–18 inches, since the Georgia source spans 6–24 inches across the genus. Keep each group at the source's 3–6-inch spacing range. Their leaves need an unobstructed ripening lane into early summer.
- 4Midseason spike and bell
Assign one compact block to Hyacinthus orientalis and another to Leucojum vernum. The source places them near 10 and 9 inches at flower, with 5-inch and 3-inch spacing respectively. Their dense spikes and hanging bells carry different shapes at a similar level. Separate labels preserve those roles when neither plant is visible later.
- 5Late lower relay
Use Endymion hispanicus as an 8-inch late-flowering patch at the forward edge of an emerging perennial group. Georgia guidance lists 3-inch spacing. Give the patch enough width to read after the earlier foreground has faded. The substitution gate is a locally suitable late bulb under 10 inches that tolerates the same light and moisture.
- 6Late vertical punctuation
Plant two rear groups of six Allium giganteum where a 3–5-foot flowering stem has open sky and a clear view from the path. Use the retained 6–18-inch spacing range to fit the chosen bulbs and surrounding crowns. This accent belongs in the deepest portion of the sample bed. A shorter border can finish with a lower taxon.
- 7Summer leaf screen
Mark existing ajuga, Brunnera, or small hosta crowns on the plan before bulb planting. Their job begins as bulb flowers finish and companion foliage expands. Keep active bulb leaves exposed until yellow. At flowering time, any groundcover under a bulb should stay below half the flower height, following the Illinois Extension relationship for support and visibility.
- 8Autumn installation order
Mark every drift and dormant perennial crown on the empty bed before opening packages. Install the rear allium groups first, then the narcissus backbone, the midseason blocks, and the path-edge corms. Finish and label each botanical group as one unit. Use each taxon's retained depth and spacing values, then record the actual bulb count. This order protects completed foreground patches from later foot traffic and preserves each interval's identity.
Related reading
Sources
- Landscaping with Bulbs. University of Illinois Extension. Source record · Accessed 2026-08-30.
- Bulbs: Planting Tips. Royal Horticultural Society. Source record · Accessed 2026-08-30.
- Flowering Bulbs for Georgia Gardens. University of Georgia Extension. Source record · Accessed 2026-08-30.