Grow · garden primula species specific seed starting
Start Garden Primulas from Seed with Species-Specific Cold Treatment
Raise garden primulas by confirming the exact species and dormancy sequence, surface sowing where required, maintaining cool moisture and light, and moving seedlings on before crowding.
Published Last updated
In this guide
Verify the species and its dormancy sequence
Begin with the complete botanical name or the exact hybrid group. Primula seed does not have one genus-wide refrigerator recipe. The retained sources describe different taxa, climates, and experimental settings, so a packet marked only primrose or mixed Primula is not enough for a measured indoor protocol. Record the seed source, harvest or packing date, storage history, taxon, and whether the instructions call for surface light, cold-moist treatment, outdoor winter sowing, or immediate cool germination.
The Royal Horticultural Society gives one concrete home-garden example for candelabra hybrids: surface sow in spring or autumn, provide cold moist stratification, then expect germination within about 90 days at 13 to 16°C (55 to 61°F). That protocol belongs to the named group. It does not establish that every auricula, polyanthus, alpine species, or wild-collected Primula should receive the same cold duration or germination temperature.
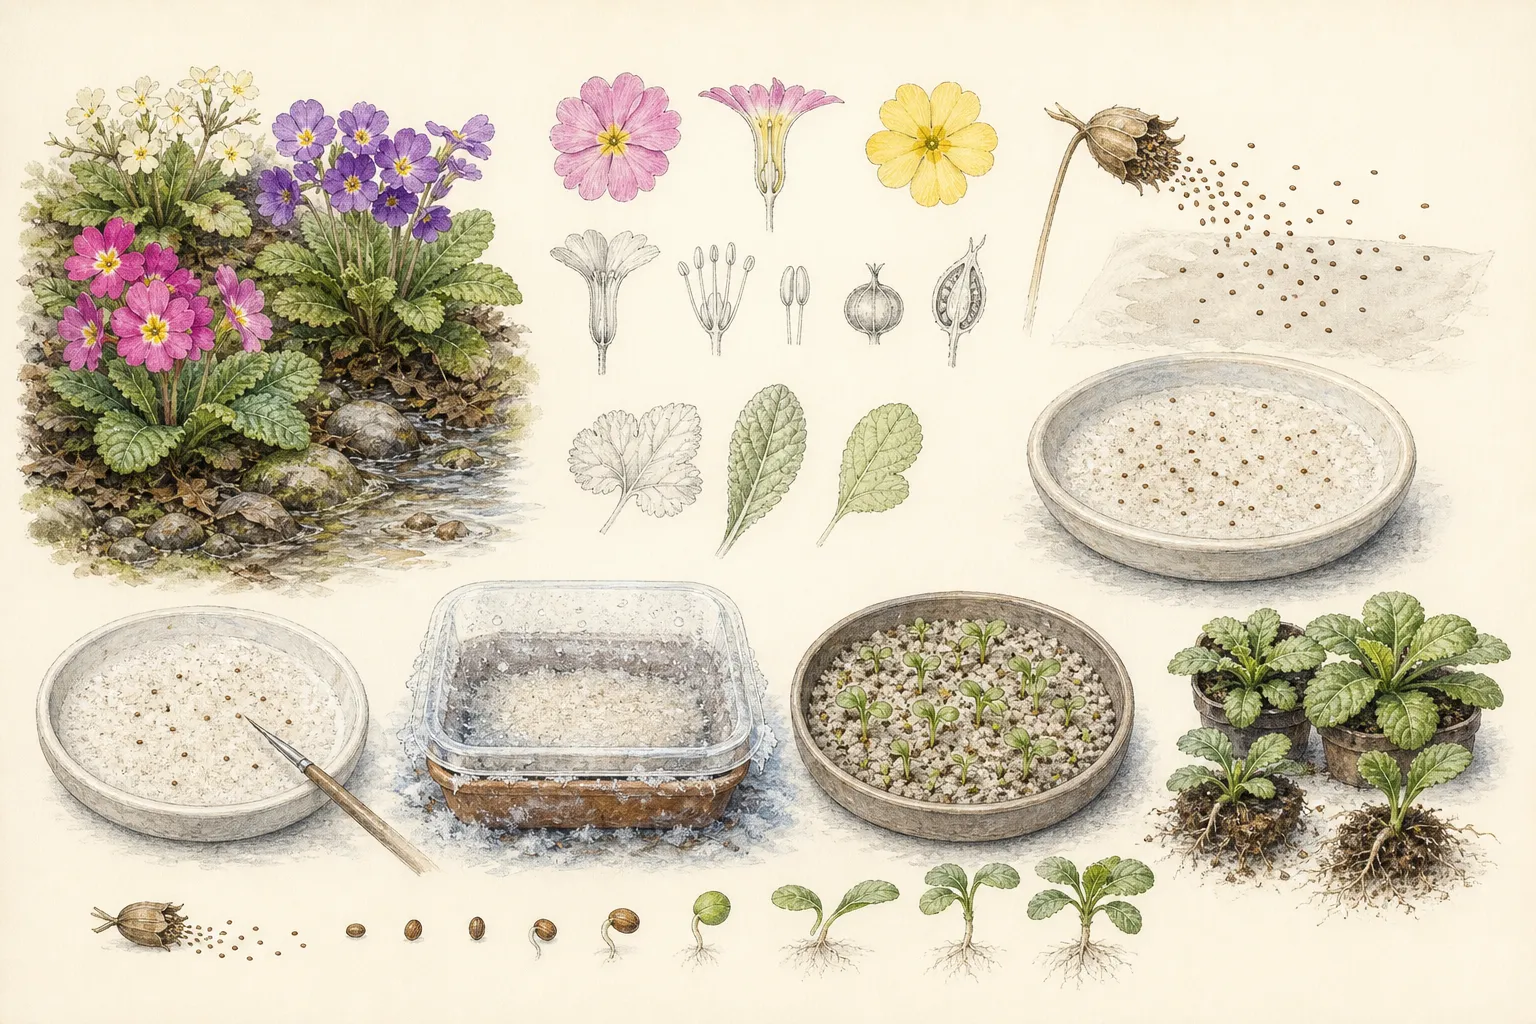
The Journal of Ecology account for cowslip, Primula veris, shows why the name matters. It reports that most fresh seed is dormant at dispersal, needs cold stratification, requires light for germination, and has a narrow optimum near 16.1°C. Higher temperatures can return seed to dormancy. The paper's cited experiments include defined laboratory treatments; copy the packet or a propagation protocol for the seed lot rather than converting one research treatment into a universal number of refrigerator weeks.
Alpine Garden Society guidance recommends researching the taxon before sowing and notes that only some alpine seed needs a low-temperature period. Its broad method uses winter weather and a protected outdoor position, while the RHS candelabra entry supplies a more specific cold-moist sequence. When reliable instructions conflict, prefer the source that names the same species or hybrid group and resembles the intended growing system. Keep unlike lots in separate trays so one can move without forcing every Primula through the same transition.
Prepare a clean fine sowing surface
Use a clean shallow pot or divided tray with unobstructed drainage. Minnesota recommends fresh, lightweight soilless seed-starting mix for tiny seedlings and pre-watering the filled cells before sowing. Level the settled surface without compressing it. Fine Primula seed can disappear into hollows created by a first heavy watering, so finish filling and draining the container before the packet is opened.
For many alpine seeds, the Alpine Garden Society uses 7 or 9 cm pots and tests a mix by watering it fully: if it does not drain quickly, more coarse material is needed. Its fine-seed method places grit first and scatters seed on top, then wets the pot from below. Use that construction only when it fits the named Primula protocol; the essential features are a fine stable surface, prompt drainage, and seed that remains at the documented depth.
Label the container with taxon, cultivar or cross, source, lot, sowing date, treatment start, target transition, and number of seeds when practical. Put a duplicate label outside any refrigerator bag or weather cover. A tray whose tag can fall into a shared water bath is not ready. If valuable seed is divided between a direct-cool and cold-moist route, state the evidence for each route on the label rather than treating the split as an unrecorded experiment.
Prepare the next environment now. Cold-treated seed may germinate before a planned date, and a tray removed from winter conditions immediately needs cool usable light. Reserve shelf space, a timer, and a drainage tray, or clear a protected cold-frame position. Move germinated seed directly into that prepared cool, lighted space.
Sow at the documented depth and light
Surface sow when the taxon requires light. RHS candelabra hybrids are explicitly surface sown, and the cowslip review reports a light requirement. Scatter the small seed sparsely over the level moist surface and press it into contact without burying it. For a different named species whose reliable directions call for a light covering, follow that direction and keep its tray separate from the light-requiring lots. Spacing matters because Primula seedlings form small crowns and roots that are easily tangled. Count seed into cells or distribute it far enough apart that the first transplant does not require tearing a mat. Minnesota favors individual cells where root injury during later separation is a concern. If several seeds share a pot, leave visible gaps and record the number sown so a sparse but normal germination is not mistaken for a failed tray.
Water from below until the surface becomes moist, as the Alpine Garden Society describes, then remove the pot and let it drain. A fine mister can correct one dry patch, but repeated overhead spraying can move exposed seed into clusters. If a clear cover is used to retain moisture, keep it above the surface and vent accumulated condensation. The cover is moisture control, not a reason to leave the mix saturated.
Inspect the surface without scratching for seed. Swelling or a white radicle is already germination and must not be returned to an extended dark refrigerator stage. Note the first emergence and open or remove the cover before leaves press against wet plastic. Continue to protect ungerminated surface seed from drying, but direct water around emerged crowns rather than washing across them.
Run cold treatment as a measured stage
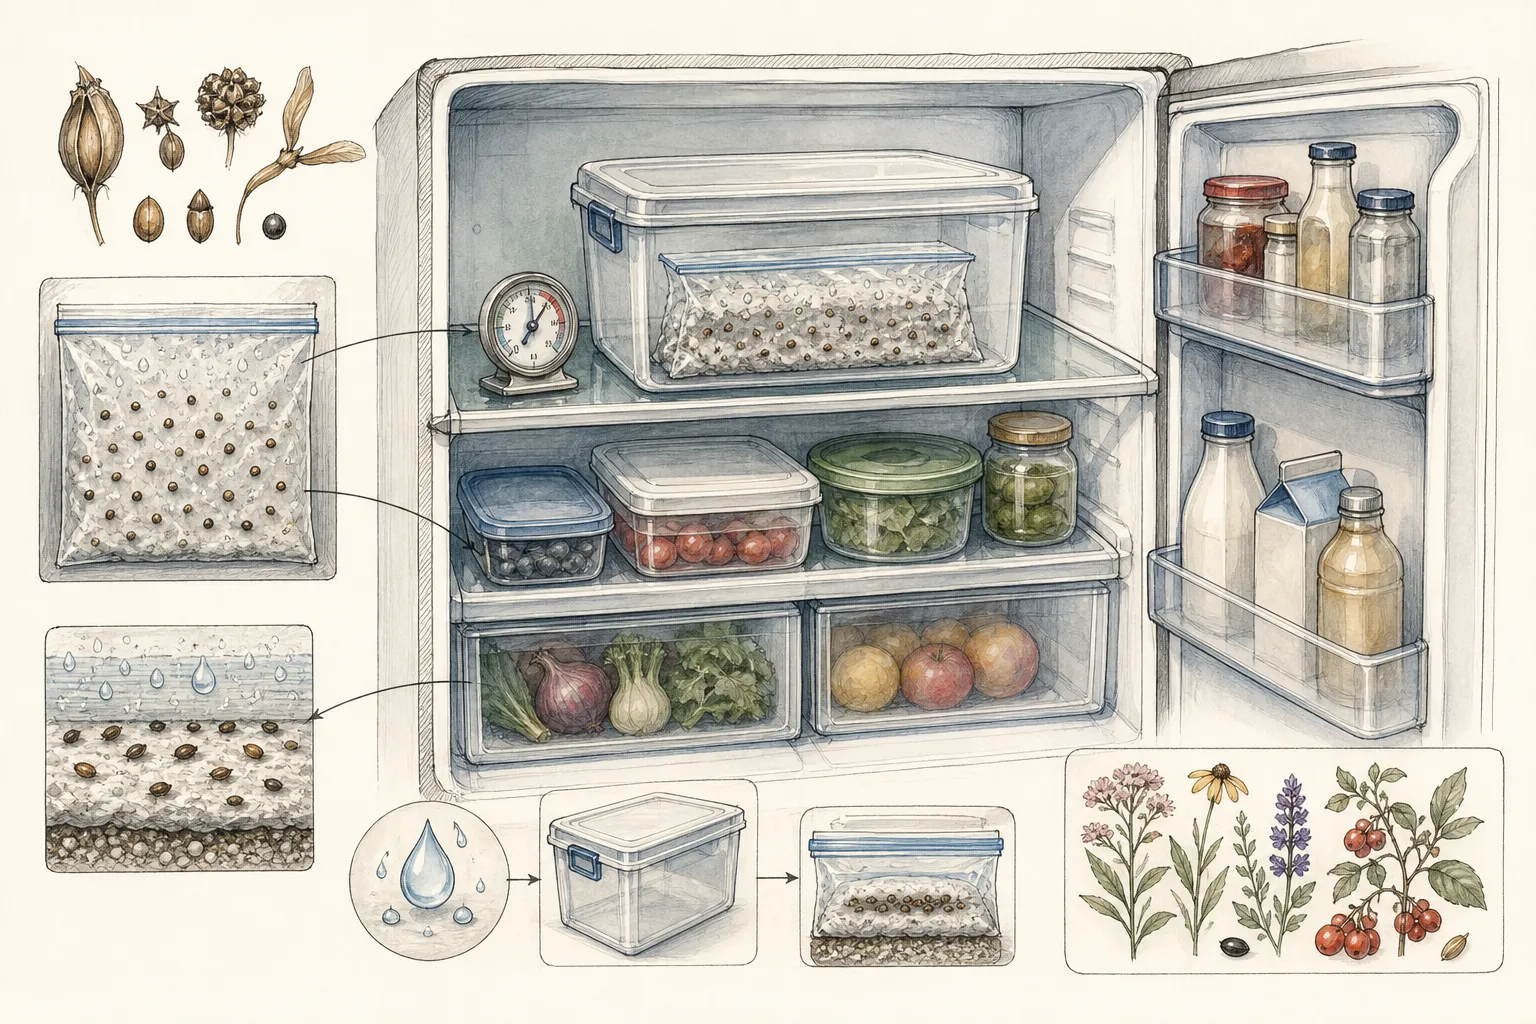
Apply cold only to a lot whose named protocol requires it. Cold stratification means the seed is imbibed and held moist, not a dry packet forgotten in a refrigerator. For RHS candelabra hybrids, keep the surface-sown medium evenly moist through the cold stage. Record the actual temperature and dates; a household refrigerator shelf, cold frame, and outdoor winter pot do not produce interchangeable histories.
A protected outdoor pot follows the Alpine Garden Society approach: expose seed to seasonal cold in a north-facing or similarly cool position, shield it from washing rain, and prevent drying. This route uses local winter, so a mild climate may not supply the same treatment as a colder one. A refrigerator route offers a measured alternative only when the taxon instructions specify a duration and temperature suitable for that seed.
Place refrigerator trays in a clean labeled secondary container, away from spills and food handling. Check them on the schedule written on the label for dry medium, excess condensation, mold, swelling, and radicle emergence. Add a small measured amount of water only when the surface is losing moisture. Drain free water immediately rather than extending the cold stage in saturated mix.
End the treatment according to the named protocol or at germination, whichever the protocol anticipates first. An emerged radicle needs cool light and air; it is not a reason to restart the cold clock. If the full supported sequence ends with no germination, keep the tray in the next specified temperature window for the stated observation period. Maintain that supported window unless a species-specific source calls for another cold phase.
Move germinated trays into cool broad light
Move emerged Primula seedlings into light immediately and remove the closed humidity cover before leaves remain against condensation. For RHS candelabra hybrids, the stated germination range is 13 to 16°C. The cowslip review reports an optimum near 16.1°C and warns that higher temperatures can return seed to dormancy. These values support a cool propagation shelf for those taxa, not a heated windowsill or a blanket temperature for every Primula.
Minnesota recommends artificial light for indoor seedlings, generally 12 to 16 hours daily with the fixture two to four inches above the canopy. Use those general equipment limits while keeping the Primula tray within its named temperature range. Raise the fixture as leaves expand, and measure the center as well as the edge; a close lamp can create a warm dry patch even when the room is cool.
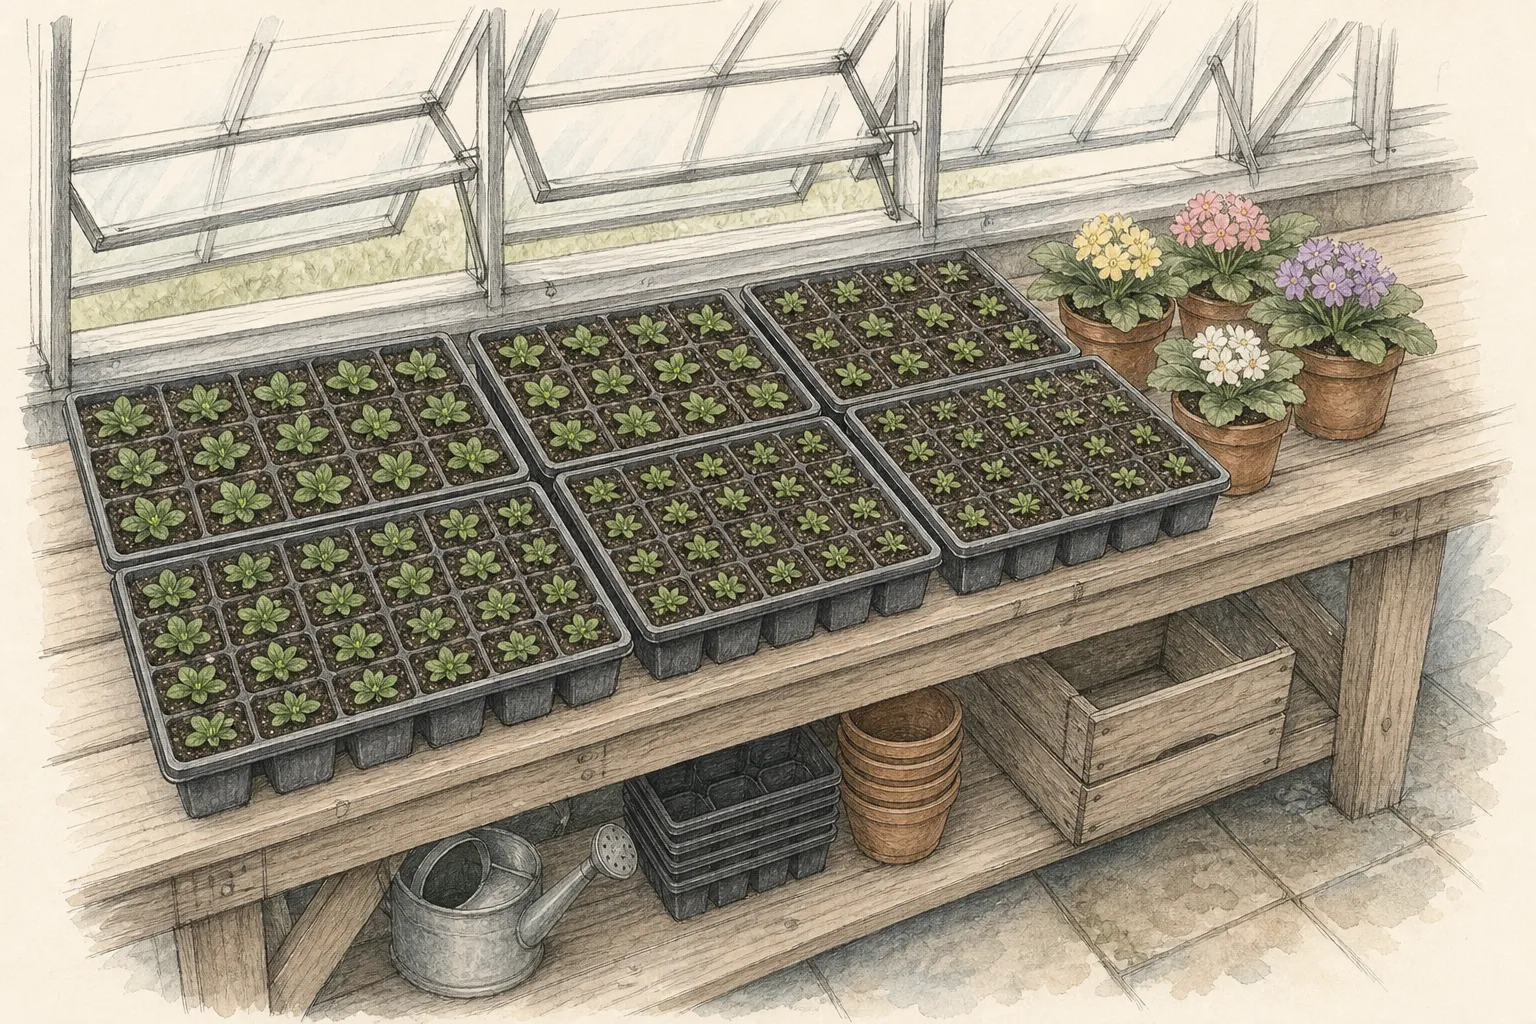
Keep the mix evenly moist and aerated. Judge the whole pot by weight and inspect just below the surface, then bottom-water until moisture reaches the root zone and drain the tray. Do not respond to one pale surface patch with repeated misting while the lower mix stays wet. A seedling that collapses at a wet crown should be removed with its immediate debris and the watering interval reassessed.
Map uneven emergence by lot, tray position, and treatment. Seedlings concentrated at the cool edge can indicate a warm center; seedlings only where water entered can reveal an unevenly moistened surface. Leave ungerminated areas intact through the documented germination window. Move established seedlings to the next stage when true leaves and roots can be handled, not because the rest of the pot has reached a calendar date.
Separate seedlings before crowns congest
Transplant while roots can still be separated with minimal tearing. For faster-growing alpine seedlings, the Alpine Garden Society suggests moving at the two-seed-leaf stage or as the first true leaf develops; Minnesota advises lifting a seedling by its root ball, holding a leaf, and keeping pressure off the stem. For slower or taxon-sensitive Primula, use the specialist instruction and wait until a small plug holds together without becoming a congested mat.
Moisten the mix before work so roots flex without being waterlogged. Lift from below with a plant label or narrow tool, support a leaf, and keep the crown untouched. Set the seedling at the same grade in a small draining pot. A deep hollow around the crown traps water, while burying the growing point after every transplant can stop clean rosette development.
Keep every lot separate and reproduce the full label in each new pot. Similar cotyledons cannot preserve species identity after trays are mixed. If several seedlings germinated in one cell, retain the strongest sound plant and cut an inseparable extra at the surface rather than pulling both root systems apart. Remove collapsed or decayed seedlings before they remain under the cool lights.
After transplanting, bottom-water and drain, then place the pots in a bright shaded position until growth resumes, following the Alpine Garden Society's aftercare. Do not move newly disturbed crowns directly into hot sun. Resume the normal cool light setting when leaves remain firm and a gentle lift shows that roots have begun to occupy the new mix.
Harden and place by mature habitat
Harden established seedlings over about two weeks, using Minnesota's general method: begin with a few protected afternoon hours in shade, bring plants in before cold nights, then increase time and direct light gradually. Delay the process during freezing weather or a heat event. Keep the small pots evenly moist because wind can dry them much faster outdoors than under lights.
Choose the final site by taxon. The RHS places candelabra hybrids in its shade collection and gives them a cold-moist germination history; the cowslip account describes Primula veris in open, often calcareous grassland across a broad soil-moisture range. Those are different garden roles. Do not place every seed-grown Primula in the same boggy shade or dry rockery simply because its seedlings shared a cool shelf.
Plant on a cloudy day or in late afternoon after hardening. Set the crown at the pot grade, spread the small root ball without breaking it, and water the surrounding soil. Keep mulch and washed soil off the rosette center. Protect the planting from slugs or mechanical disturbance with a visible marker rather than covering the crown.
Retain the botanical name and seed source through first bloom. Record germination date, cold sequence, first transplant, outdoor placement, summer survival, winter response, and whether seedlings remain true to an expected strain. If a plant's identity cannot be confirmed, label it as an unknown seedling instead of assigning a cultivar name from flower color alone.
Steps
- Level
- advanced
- Time
- 40 minutes to sow, followed by a species-specific treatment and several months of growth
- Tools
- Clean shallow trays or cells, Fine mister or bottom-watering tray, Refrigerator thermometer where required, Broad grow light and timer, Small transplant tool
- Materials
- Correctly identified Primula seed, Fresh fine propagation mix, Waterproof labels, Clean water, Successive small pots
- 1Identify the seed
Record the complete taxon or hybrid group, source, lot, age, storage, light requirement, and named treatment. Stop if the packet says only mixed primrose and offers no defensible protocol. Keep candelabra hybrids, cowslip, auriculas, polyanthus, and alpine species in separate labeled containers.
- 2Prepare the surface
Fill a clean shallow draining container with fresh fine seed mix, water it fully, let it drain, and level the settled surface. Test that water leaves promptly. Add a waterproof label with sowing date and treatment before opening the fine seed, and reserve the cool lighted space needed after germination.
- 3Sow correctly
Surface sow light-requiring candelabra hybrids or cowslip and press them into contact without burial. Follow a different depth only when the exact taxon source requires it. Space seed for later separation, bottom-water until the surface is moist, drain the pot, and keep a humidity cover above rather than on the seed.
- 4Apply only the required treatment
Run cold-moist stratification only for a named lot that requires it. Record the temperature, start date, planned end, and whether the route is refrigerator or protected outdoor winter. Keep the medium damp but drained. Do not treat dry refrigerator storage or repeated unplanned warm-cold cycling as equivalent.
- 5Inspect every transition
Check on the labeled schedule for drying, free water, mold, swelling, and the first white radicle. At germination, move that container into its cool light range and open the cover. Leave ungerminated surface areas intact through the documented window instead of scratching or restarting the cold treatment.
- 6Grow cool and bright
For RHS candelabra hybrids, maintain about 13 to 16°C after treatment; use the exact source range for other taxa. Supply 12 to 16 hours of broad artificial light, keep the fixture two to four inches above seedlings, bottom-water by pot need, and drain every tray.
- 7Pot before congestion
Move a seedling when its first true leaf and root ball can be handled without tearing a mat, unless specialist guidance calls for a later stage. Lift from below, steady a leaf rather than the stem, set the crown at its original grade, reproduce the label, water, and shade briefly until growth resumes.
- 8Harden and establish
Harden established plants over about two weeks, beginning with protected shade and increasing outdoor time and light. Plant at crown grade in the habitat required by that Primula group, water the root ball, and keep mulch off the rosette. Preserve the taxon and seed-source label through first bloom.
Related reading
Sources
- Seed List and Germination Guide. Royal Horticultural Society. Source record · Accessed 2026-08-30.
- Biological Flora of the British Isles: Primula veris L.. British Ecological Society, Journal of Ecology. Source record · Accessed 2026-08-30.
- Starting seeds indoors. University of Minnesota Extension. Source record · Accessed 2026-08-30.
- How to grow alpine plants from seed. Alpine Garden Society. Source record · Accessed 2026-08-30.