Grow · catmint after bloom cutback
Cut Back Catmint After Bloom Without Flattening the Crown
Shear or selectively shorten a spent catmint mound above living basal growth, preserve enough foliage for recovery, and use water and light—not fertilizer—to guide the second flush.
Published Last updated
In this guide
- Confirm that the first flush is actually finished
- Let the remaining flowers and basal growth set the cut
- Choose between selective shortening and a whole-mound cut
- Expose the crown before the blade enters
- Cut in stages and preserve the green framework
- Use the clippings without spreading problems
- Water the root zone and hold fertilizer
- Track recovery and the second flush
- Use the result to refine placement and cultivar choice
- Adapt the cut to a young or recently divided plant
- Protect neighboring crowns during regrowth
- Steps
Confirm that the first flush is actually finished
Catmint often forms a broad mound of gray-green aromatic foliage and many violet-blue flower spikes. A cutback is timely when most spikes have faded, stems have lengthened and opened from the center, and fresh low growth is visible beneath them. A few remaining flowers do not require delay, but cutting at peak bloom removes forage and display that the plant is still providing. Read the whole mound rather than one brown spike.
Separate normal post-bloom looseness from a site problem. Deep shade, rich or wet soil, excess nitrogen, and a cultivar too large for the space can produce persistent flopping before flowers fade. Cutting can reset the canopy, yet it will not change those conditions. Note when the plant opened, where light falls, and whether neighboring irrigation keeps the crown wet. That record determines whether autumn relocation or a different cultivar is the longer solution.
Check plant health before shearing. Blackened crowns, collapsed stems, widespread spotting, severe yellowing, or a dry dead center with no living shoots deserves closer diagnosis. Catmint foliage can look dusty or tired in heat, but firm green basal growth is the important rebuilding tissue. If the crown is uncertain, postpone the broad cut and inspect individual stems from base to tip.
Let the remaining flowers and basal growth set the cut
Choose selective shortening while useful flowers remain or the mound still holds its shape. A healthy established mound with broadly spent stems can receive wider reduction only where living growth stays below the cut. If opening the canopy reveals crown decline or persistently wet soil, investigate that condition before treating the plant as an ordinary post-bloom cutback.
Choose between selective shortening and a whole-mound cut
Selective shortening suits a young plant, a mound that remains structurally sound, or a border where some flowers should remain for pollinators. Remove spent spikes and the longest leaning stems one by one, cutting above leafy side shoots. This preserves more flowers and creates a gradual transition, though it takes longer and may leave an irregular outline until new growth catches up.
A whole-mound cut suits an established healthy plant whose first display is broadly spent and whose stems have collapsed over paths or neighbors. Gather the stems loosely and reduce them to several inches above the crown, guided by living leaves rather than a memorized height. The exact level depends on cultivar and visible basal growth. Leave a green framework; do not shave the plant to bare woody tissue.
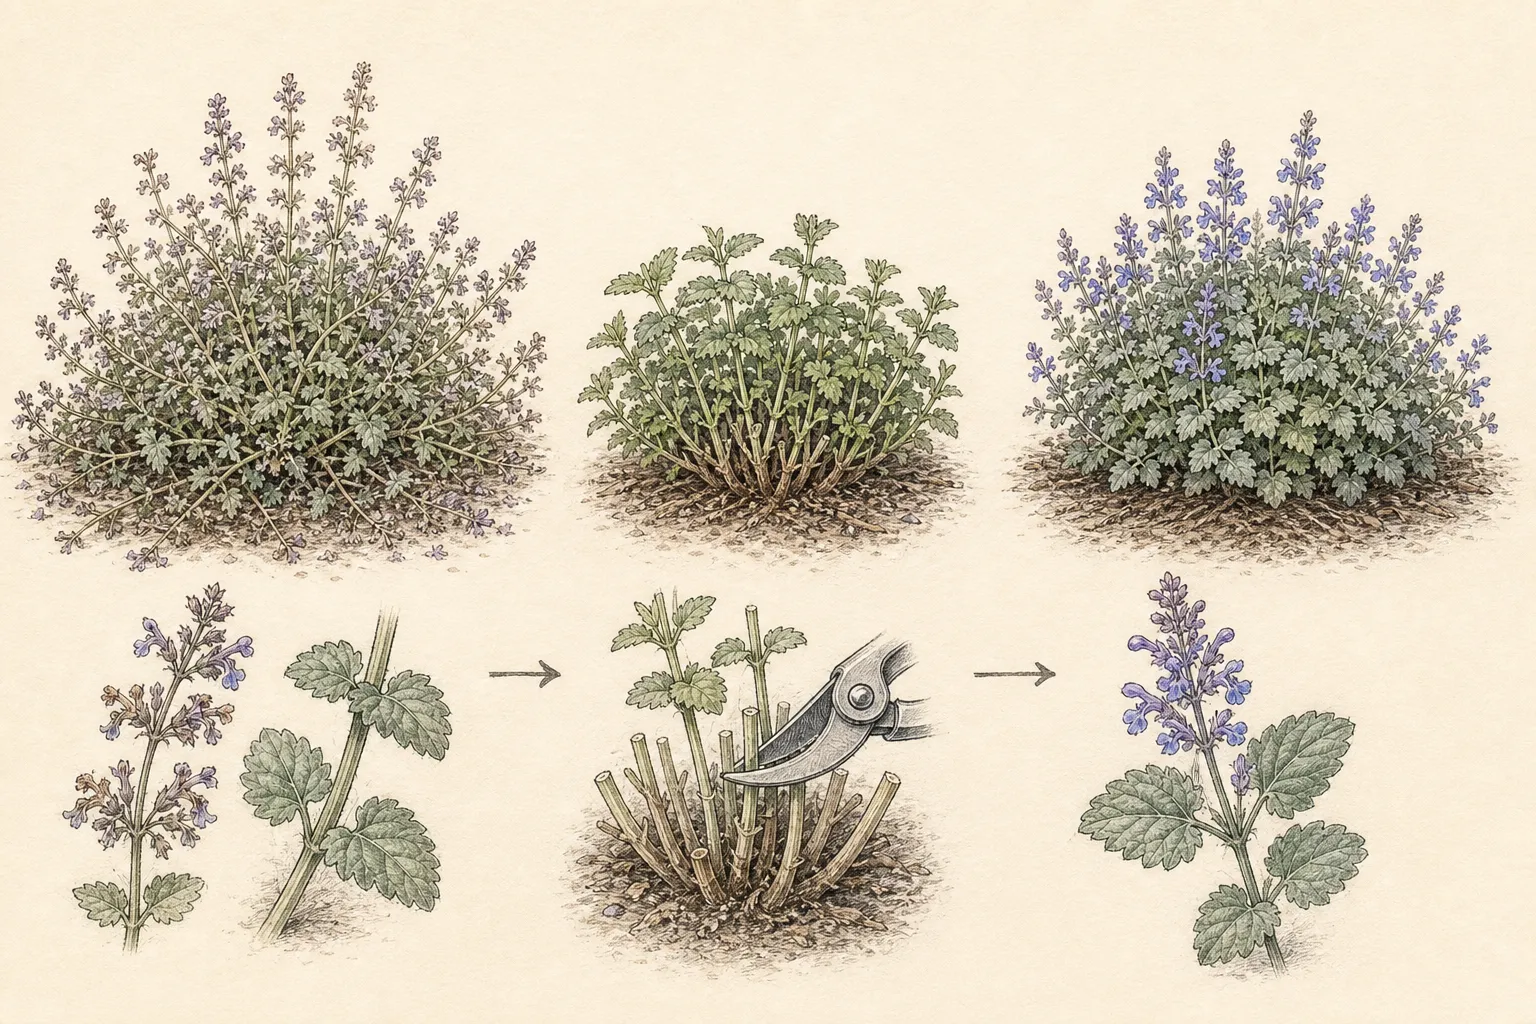
A mixed approach often works best. Shorten the path side firmly, retain some flowered stems toward the back for insects, and return after fresh growth begins. This avoids treating pollinator value and garden order as opposing absolutes. Mark the retained section and observe whether the second flush differs, so next year’s cut can be based on this plant rather than a generic photograph.
Expose the crown before the blade enters
Part the mound with gloved hands and identify the crown, basal shoots, mulch level, and any irrigation line. Catmint stems cross and root at nodes where they contact moist soil, so the apparent edge may not show the original crown. Clear loose debris and pull mulch back enough to see living tissue. A fast shear used on an opaque mound can cut new shoots and hidden dripline together.
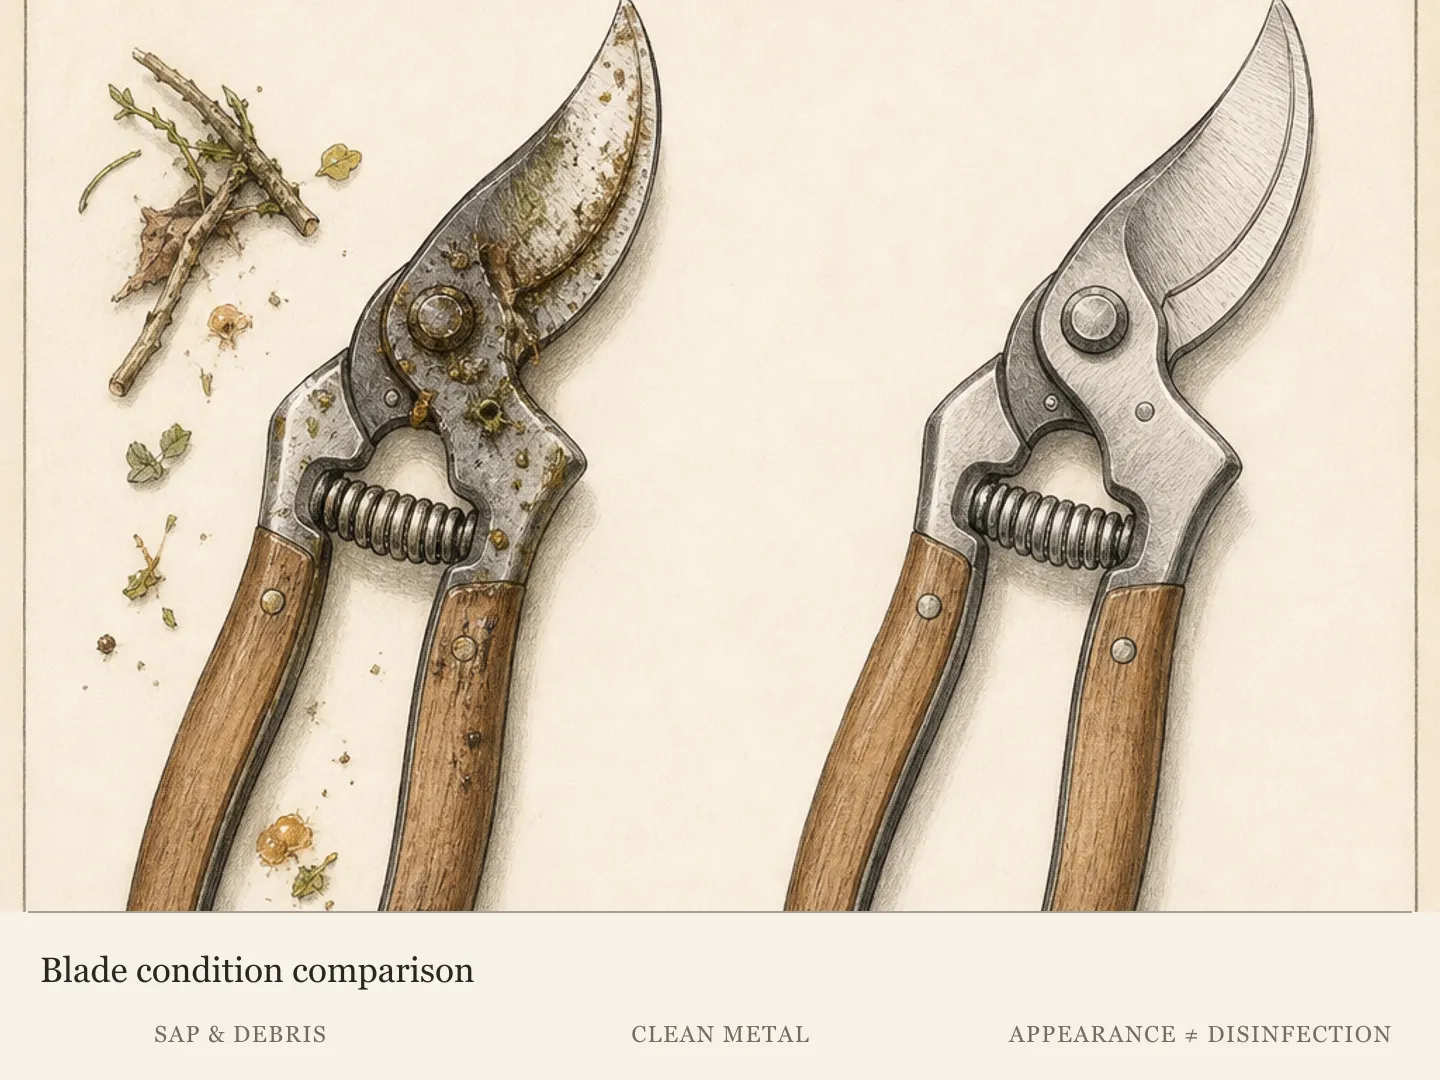
Mark a safe cut plane above the highest useful basal growth. On an uneven plant, work in small sectors instead of forcing one horizontal level across the entire mound. Use hand pruners for woody stems and clean sharp shears for soft growth. If a stem resists or crushes, stop and change tool. Repeated tearing creates ragged tissue and can loosen the crown.
Look for nesting animals and active pollinators before gathering stems. Work in a cool dry interval when insects are less active, and leave the area if bees or wasps are concentrated in a way that makes cutting unsafe. Catmint attracts many beneficial visitors. The gardener’s need for a clean outline does not justify sweeping a powered trimmer blindly through occupied flowers.
Cut in stages and preserve the green framework
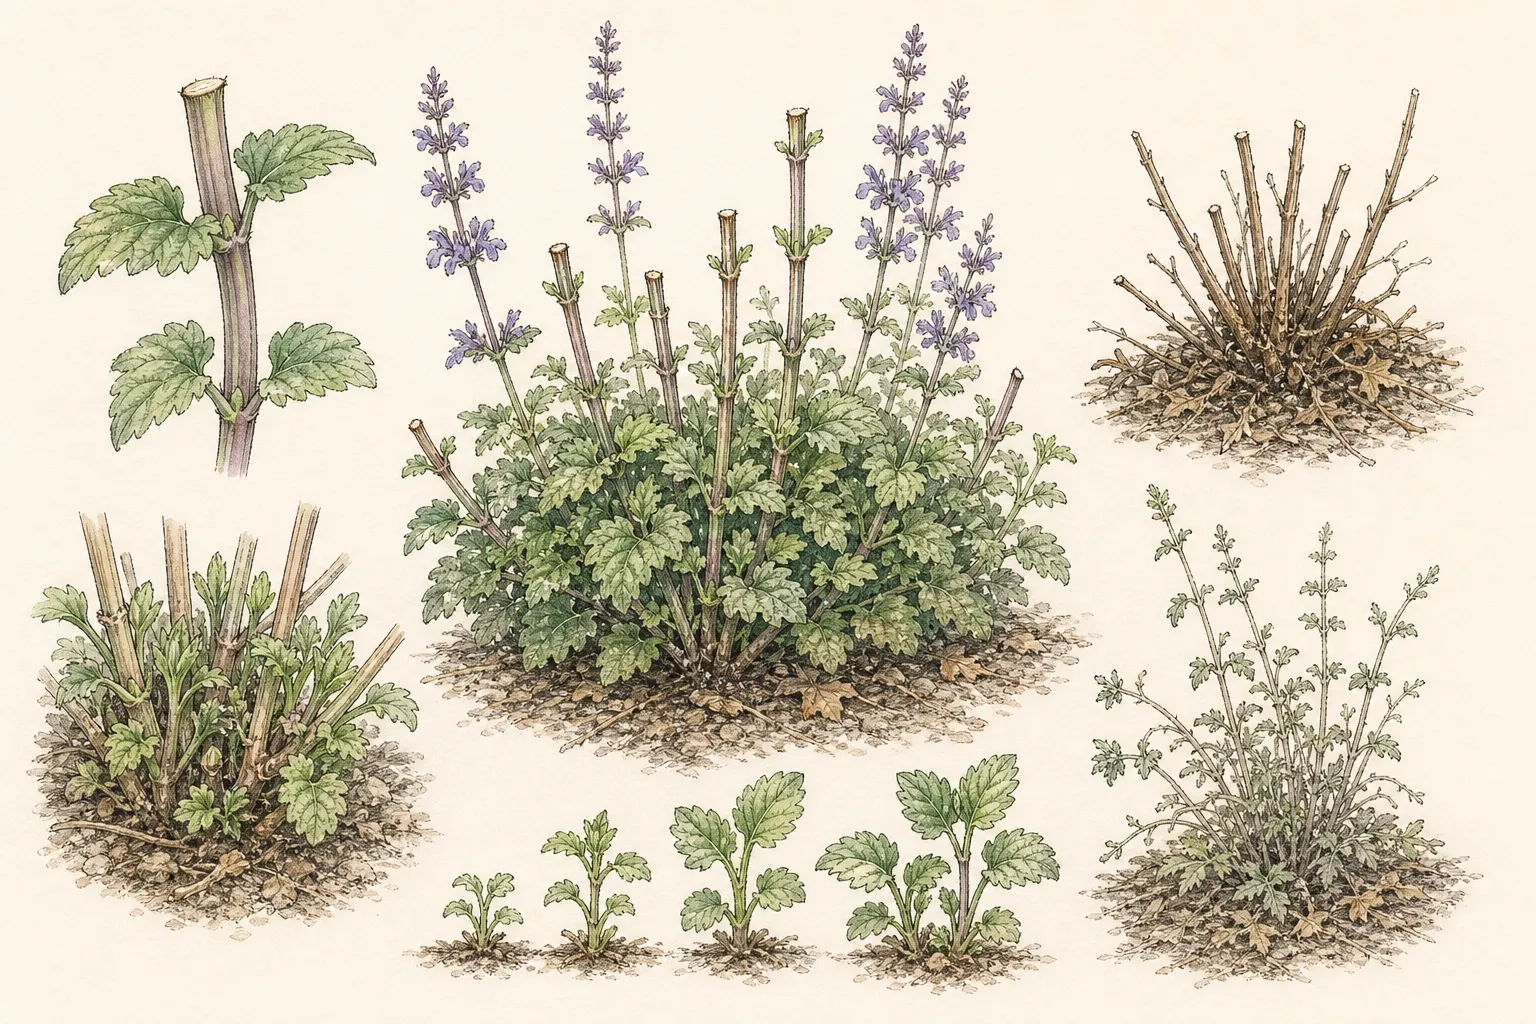
Begin with a small test section. Cut spent stems above fresh leaves, release the bundle, and inspect the result. The remaining canopy should contain visible green shoots and enough leaf area to photosynthesize. If only bare tan bases remain, the cut is too low for the current plant. Raise the working line for the next section and return to the test area only after growth confirms recovery.
Move around the mound rather than cutting from one side straight through. This keeps the final shape balanced and prevents the hand holding stems from pulling the crown toward the blade. Remove clippings from inside the plant. A dense mat of aromatic stems can trap moisture and hide the exact crown that the operation was meant to reveal.
Do not combine summer cutback with division unless there is a separate reason and suitable weather. Cutting already reduces leaf area; lifting adds root disturbance. An overgrown clump can be assessed for division in a locally appropriate season after recovery. For now, preserve the root system, correct surface mulch, and let the plant show what a clean canopy reset accomplishes.
Use the clippings without spreading problems
Healthy catmint tops can be composted where the home system manages soft perennial material. Shake out mature weed seeds and remove plastic ties first. Do not place a thick fresh layer around the same crown as mulch; cut stems can mat and keep the center damp. Chop only if it improves the compost mix, and balance green material with dry carbonaceous material according to the system being used.
Keep spotted, molded, or decaying stems separate until the symptom is identified. Local guidance should determine disposal for diseased material. Cleaning clippings from the plant also exposes weeds, rooted outer stems, and soil cracks. Address those gently after cutting without deep cultivation through catmint roots.
A few sound flowering stems can be left at the back of the border or cut for a vase, but expect their leaves to wilt more quickly than woody cut flowers. The main value of the operation is the living plant’s second structure. Do not delay cleanup until every clipped stem has an ornamental use while the crown remains covered by a warm damp pile.
Water the root zone and hold fertilizer
Probe beneath mulch after cutting. If the soil is dry through the active root zone, water slowly and deeply, then let the surface drain. If it is already moist, another soaking can prolong crown wetness just as reduced foliage lowers immediate water use. Adjust irrigation to the smaller canopy for the first interval and keep sprinkler water from flattening new shoots.
Do not fertilize automatically. Catmint generally performs best in well-drained soil and can become loose in overly rich conditions. A flush of soft growth after shearing may flop again and produce fewer concentrated flowers. Follow soil-test or local plant guidance when a deficiency is suspected. The post-cut response should come from established roots and available light, not a rescue dose.
Restore a moderate mulch layer around the plant while keeping the crown clear. The exposed center makes it possible to notice new shoots, rot, and settling. If surrounding plants now shade the reduced mound, tie or trim them only as their own care permits. Catmint needs enough light to rebuild a compact canopy; cutting does not create that light by itself.
Track recovery and the second flush
New shoots should expand from retained nodes and basal growth, with timing influenced by heat, moisture, cultivar, and cut severity. Photograph the test section and one retained flowering section each week. Judge success by firm compact growth and renewed buds, not by whether every old stem disappears immediately. Remove missed spent stems after the new framework is visible.
If one sector remains bare, inspect the crown and soil there. A blind low cut, dry pocket, saturation, root competition, or preexisting dieback may explain the difference. Do not compensate by soaking the entire mound or feeding every section. Treat the local condition and keep the healthy part on its normal care.
A second bloom is often smaller than the first, and that is not failure. The cut also restores path clearance, reduces seed set, and produces fresh foliage. Leave some later flowers for insects and stop repeated shearing early enough for the plant to finish the season with a stable canopy. Local winter conditions should determine the final cutback timing.
Use the result to refine placement and cultivar choice
Record the cultivar if known, first-flush finish, cut height relative to basal shoots, days to fresh growth, and whether the mound flopped again. A plant that recovers compactly after one cut may need only seasonal maintenance. One that repeatedly opens before bloom in adequate sun may be too vigorous for the position or growing in soil richer and wetter than its form can support.
Consider moving or dividing only after the plant is healthy and at a suitable seasonal window. Improve drainage or reduce overspray before relocation. If the border needs a naturally smaller edge, choose a compact cultivar instead of relying on repeated severe cuts to hold a large selection in place. Pruning can guide architecture; it should not become permanent size denial.
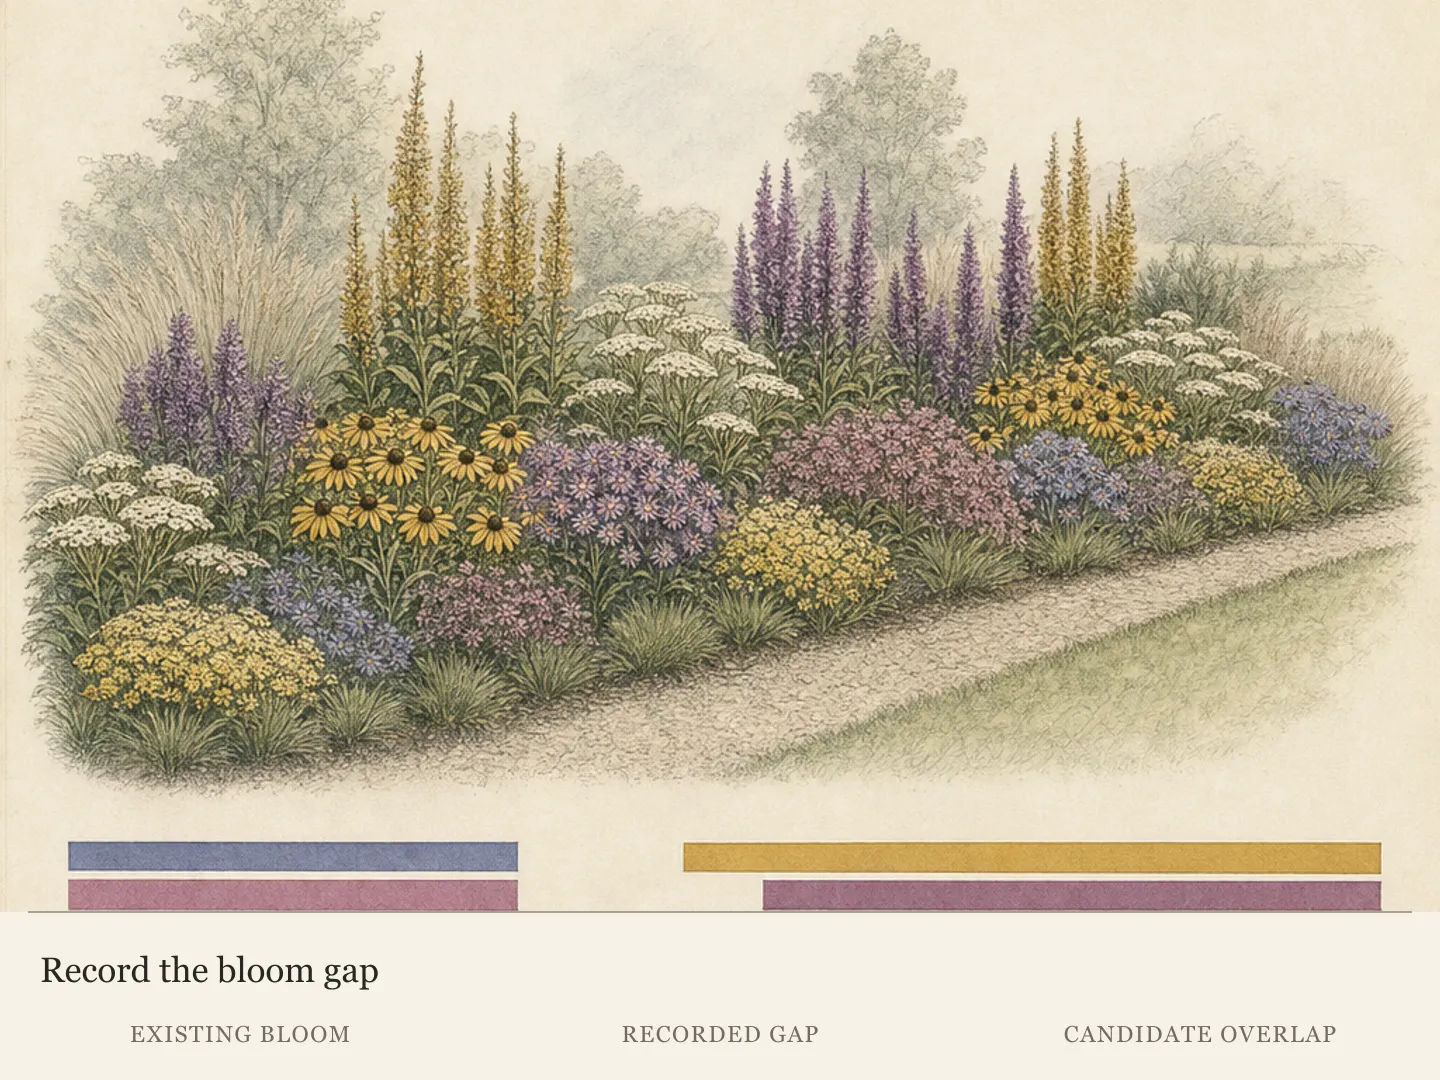
Keep pollinator continuity in the redesign. Nearby perennials can carry flowers while catmint is cut, and staggered catmint plants can be shortened at different times. The refined plan should provide both a readable border and a sequence of forage. That outcome comes from timing and plant choice, not from letting every stem collapse or cutting every flower on one day.
Adapt the cut to a young or recently divided plant
A first-year catmint may flower before its roots have filled the intended space. Remove spent spikes individually and shorten only stems that fall across the crown. Preserve most foliage and keep the planting marker visible. A mature whole-mound shear copied onto a small transplant can remove the limited leaf area it needs for establishment.
Recently divided plants deserve the same restraint. Check that each crown is firm and rooted before asking for another flush. Keep moisture consistent without saturation and delay fertilizer. If one division opens while others remain compact, compare root contact and light rather than cutting the whole new group to match the weakest unit.
Record the first season separately from mature performance. A young plant’s height, bloom density, and recovery interval may change substantially. Use the observation to plan spacing and support, but wait for established behavior before deciding that the cultivar is permanently too large or too loose.
Protect neighboring crowns during regrowth
A cut catmint temporarily exposes soil and the bases of nearby plants. Redirect irrigation so it does not erode the opening, and keep mulch from sliding onto small crowns. Mark bulbs and emerging late perennials that had been hidden. The renovation should improve their access to light without creating a hot bare pocket that dries their roots.
As catmint expands again, lift stems off slow neighbors instead of waiting for another complete collapse. A discreet low ring or one early selective pinch may guide the shared edge. Do not force the whole mound behind a tight barrier. Preserve the natural arch while protecting plants whose mature footprint was part of the border plan.
At the end of the season, compare the catmint’s actual spread with its assigned space. Move the neighbor, divide the catmint, or change the edge only during a suitable window. Repeated emergency shearing at the same contact point is evidence of a spacing conflict, not a long-term design solution.
Steps
- Level
- easy
- Time
- 20 to 45 minutes for a mature mound
- Tools
- Clean hand shears, Bypass pruners, Gloves, Soil probe
- Materials
- Debris container, Plant marker
- 1Confirm the flush and crown health
Wait until most spikes are spent and the mound has opened, then part stems to find firm green basal growth. Note shade, wet soil, excess vigor, spotting, or crown decline. Preserve flowers when the display or pollinator use remains substantial.
- 2Choose selective or broad reduction
Shorten individual stems when structure remains good or flowers should be retained. Use a whole-mound cut only on a healthy established plant with broadly spent growth. Let visible living foliage set the lower boundary, not a copied height.
- 3Expose hidden shoots and irrigation
Pull mulch and debris away from the crown, locate rooted outer stems and dripline, and check for active insects or nests. Mark a cut plane above the highest useful basal shoots. Use pruners where stems are woody instead of crushing them with shears.
- 4Test one section before continuing
Reduce a small sector, release the stems, and confirm that green leaves and shoots remain. Raise the cut line if the result is bare. Work around the mound in stages, keep the holding hand away from blades, and collect clippings from the center.
- 5Check moisture, then restore open mulch
Probe through the root depth and water only when needed. Remember that water use falls after foliage is removed. Hold fertilizer unless evidence supports it, and replace a moderate mulch layer around the plant while leaving the crown and leaf bases visible.
- 6Compare regrowth across the mound
Photograph the test and retained-flower sections weekly. Look for compact firm shoots and new buds. Diagnose a bare sector locally instead of changing care for the entire plant, and accept that the second flush may be smaller while still restoring useful form.
- 7Record whether pruning or placement is the issue
Note cut date, height, days to regrowth, light, and whether flopping repeats. Plan seasonal division, relocation, drainage correction, or a smaller cultivar only after recovery. Stagger cuts or pair other flowering perennials to preserve pollinator continuity.
- 8Use a lighter first-year cut
On a young or newly divided catmint, remove spent spikes and only the stems that obscure the crown or path. Preserve most green foliage, confirm firm rooting, and monitor establishment. Do not use mature-clump shear height as a template for a plant with a small root system.
- 9Review the shared edge
Protect bulbs and neighboring crowns revealed by the cut, redirect water away from erosion, and guide new catmint stems before they cover slower plants. Record repeated contact and schedule division, relocation, or spacing correction in the appropriate season.
Related reading

Sources
- Catmint. University of Illinois Extension. Source record · Accessed 2026-08-19.
- Catmint is a Pollinator Favorite. Penn State Extension. Source record · Accessed 2026-08-19.
- Perennials: Selection, Planting, and Care. University of Maryland Extension. Source record · Accessed 2026-08-19.