Tools · garden hand lens diagnostic selection
Choose a Hand Lens for Garden Diagnosis
Select a garden hand lens by usable magnification, field of view, optical construction, light, handling, and the plant signs you need to examine before treatment.
Published Last updated
In this guide
- Define the question the lens must answer
- Match magnification to the field question
- Compare optical construction and clarity
- Check focus distance, light, and handling
- Learn the focusing method before judging the lens
- Run a repeatable buying test
- Create a repeatable scouting record
- Know when the lens has reached its limit
- Keep a specimen-based comparison
- Tool notes
Define the question the lens must answer
Choose a hand lens for the smallest feature that changes your next decision, while keeping enough view to find that feature repeatedly. A 10x loupe is the practical starting point for routine ornamental scouting because it can reveal many small insects, eggs, leaf-surface structures, fungal signs, and bud details without an extremely narrow field. Higher power earns a place only when it resolves something the first lens cannot.
Magnification belongs late in the diagnostic sequence. Oregon State University Extension asks first whether a real problem exists, how many plants are affected, which parts show damage, how the pattern is distributed, and when it changed. Those questions separate a single interesting speck from a site-wide problem. Inspect the whole planting, the whole plant, and both healthy and affected parts before placing one lesion under glass.
Write the intended subjects on a short card: aphids and shed skins, scale coverings, spider-mite movement, leaf hairs, bud condition, fruiting bodies, graft details, or seed structures. Beside each subject, note whether the task is detection, counting, comparison, or identification. A loupe that detects movement may still lack the detail needed for species identification, and a diagnosis can depend on roots, weather, irrigation, or laboratory work that the lens cannot show.
Decide where the tool will be used. A pocket lens for weekly border checks needs quick opening, a secure case, and a field broad enough to relocate targets. A bench lens can be paired with forceps, neutral background, and controlled light. If samples must be photographed, measured, or reviewed by another person, a phone macro system or stereomicroscope may be a better second instrument than another compact loupe.
Match magnification to the field question
UC Agriculture and Natural Resources describes 10x as the most common field magnification and sufficient for many common adult insect pests. UMass likewise lists a 10x hand lens among essential scouting tools. That makes a clear 10x lens a stronger general purchase than an impressive number paired with a tiny, dim field. It is easier to scan an entire leaf underside when the target does not disappear with every small hand movement.
A 20x lens can provide a closer first look at smaller features, but UC ANR notes its restricted field, short depth of field, and greater demand for steadiness. Treat 20x as a second-stage tool. Find the target unaided or at 10x, then switch while keeping the leaf and hand position fixed. If the feature remains ambiguous, preserve a representative sample; a stereomicroscope or diagnostic service supplies the steadier, better-lit next view.
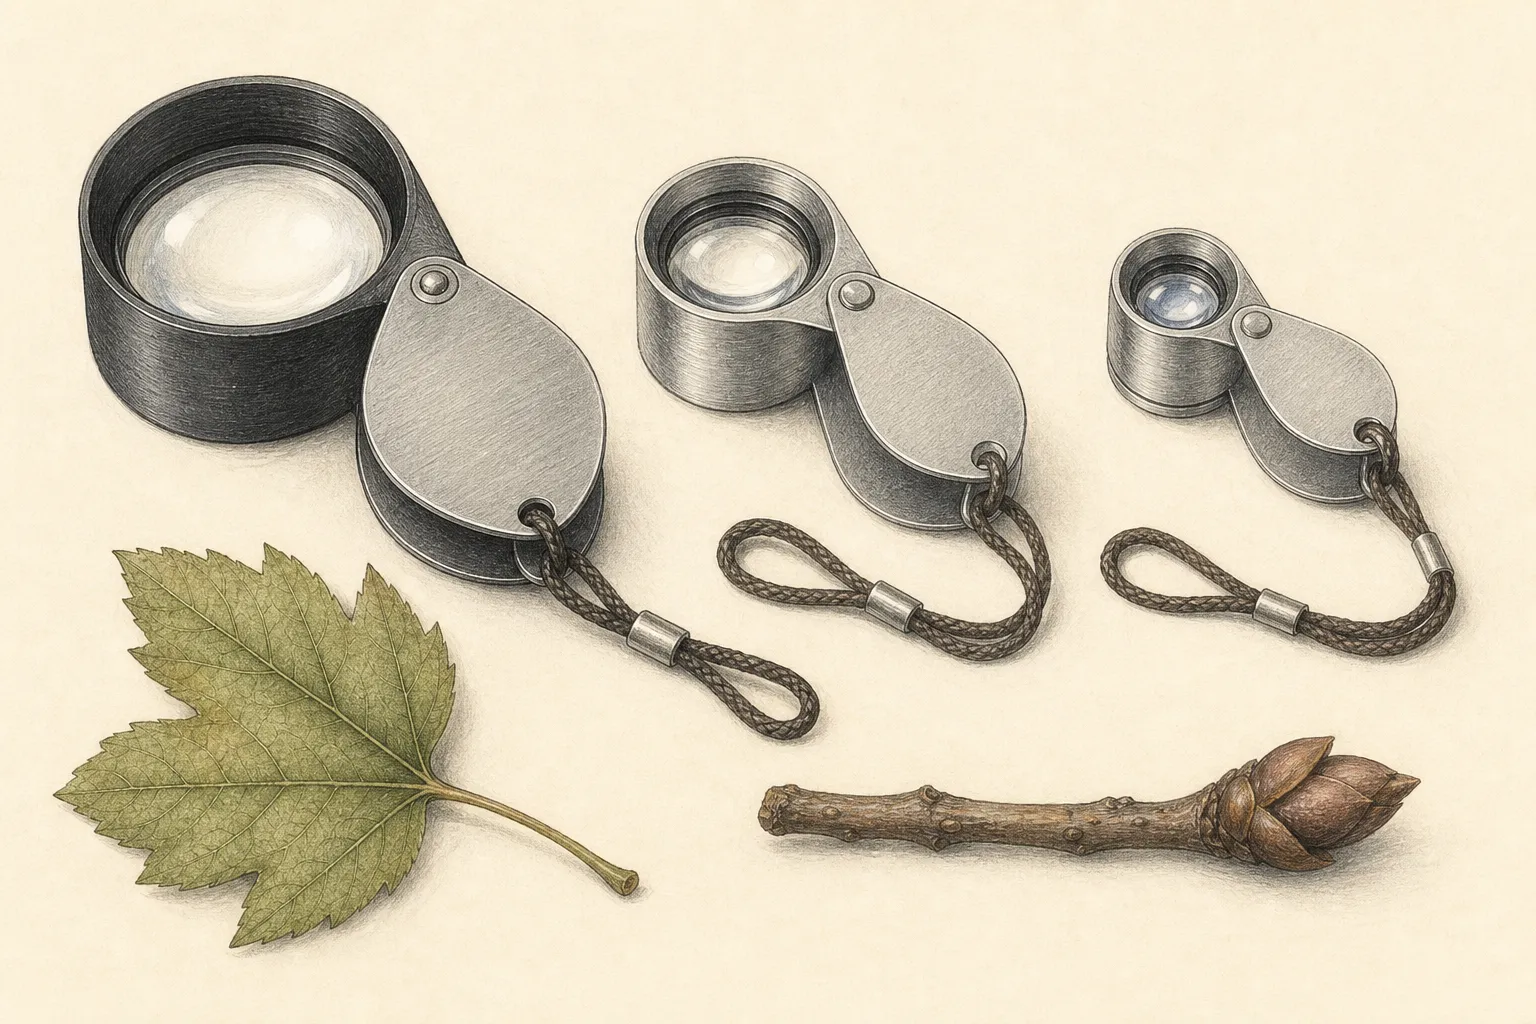
A 15x option can be a workable bridge only if the user can focus it quickly and the added detail changes the intended observation. Compare it directly with 10x on the same specimens. Count how often the target is lost, how much of the leaf remains visible, and whether edge blur obscures the feature. Magnification printed on the housing is not a substitute for a successful repeated field test.
Buy the lowest power that answers most questions, then add one specialized lens if necessary. Garden diagnosis benefits from seeing several specimens in context, and excessive magnification makes that comparison harder. A broad 10x survey plus a documented sample often produces better evidence than a single unstable glimpse at very high power. The tool should shorten the path from plant pattern to useful observation, not turn focus itself into the main task.
Compare optical construction and clarity
Optical quality is the portion of the view that stays sharp and neutral, not merely a crisp point in the center. UC ANR identifies the Hastings triplet as a high-clarity design with low distortion and a comparatively useful field. That construction can justify its cost for frequent scouting, but the label still needs verification because housing, assembly, and lens condition affect the view the buyer receives.
At a counter, examine fine black print and a small grid under ordinary light. Focus the center, then move the same straight line toward the edge without changing distance. Look for bowing, sudden blur, colored fringes, haze, and double images. Repeat with a textured leaf or feather if the seller provides a clean sample. A usable lens lets the eye scan across a meaningful area before refocusing.
Compare clear aperture as well as outer diameter. A thick rim or internal stop can make a large housing deliver a small working window. Hold the lens in the exact position used in the field and check whether eyelashes, glasses, or the folding case block the view. If seeing the whole aperture requires an uncomfortable head angle, the nominal lens size will not help during a long scouting round.
Inspect the optic under side light for scratches, separation, trapped moisture, loose elements, and coating damage. Open and close the case several times to ensure it protects the glass without scraping it. A dark inner barrel can reduce stray reflections, while shiny metal near the aperture can create distracting glare. Reject any sample whose defects shift when the housing is touched, because field movement will make them more troublesome.
Check focus distance, light, and handling
Working distance determines whether a lens can approach a rigid bud, thorny stem, wet leaf, or sample held in forceps. UC ANR gives approximate examples of one inch for its 10x lens and one-half inch for its 20x lens. Product geometry varies, so measure each candidate by bringing the same specimen into focus. The higher-power lens may force the housing too close for safe or stable use on the plant.
Light must reach the specimen from the side or over the shoulder. A lens pressed into a dense canopy can shade the very hairs or fruiting structures it is meant to reveal. Rotate the leaf and change the illumination angle before concluding that a surface is smooth. A small neutral flashlight can help under foliage, but its beam should not flatten relief, alter color, or reflect directly into the eye.
Built-in LEDs add convenience and another failure point. Compare the view with the lamp on and off, noting glare, color shift, battery access, switch placement, and moisture protection stated by the maker. If the illuminated model hides translucent or reflective detail, a separate light is more flexible. A dead battery should not make the optical lens unusable during an inspection.
Open the case one-handed while wearing normal garden gloves. The hinge should stay at the chosen angle without pinching, and the housing should provide a secure dry grip. Test a breakaway lanyard or pocket case for access without dangling the optic into foliage. Bright exterior color helps locate a dropped tool. Field usefulness depends on carrying the lens, focusing it promptly, and returning it clean to protection.
Learn the focusing method before judging the lens
Hold the loupe close to the chosen eye, brace that hand against the cheek, and bring the specimen toward the stationary lens. UC ANR recommends this sequence because moving the leaf through the focal plane is easier than holding a lens at arm's length. Practice indoors on printed type until the image appears quickly. Then repeat on a healthy leaf before judging the tool on a moving or damaged target.
Locate the feature without magnification, center it, and maintain the leaf orientation while closing the distance. Once focused, rotate the specimen slightly and admit more side light. Surface relief, translucent eggs, cast skins, webbing, and fungal structures can appear or disappear with angle. Record those visible features in plain terms and reserve a pest or pathogen name until the unfamiliar shape can be confirmed.
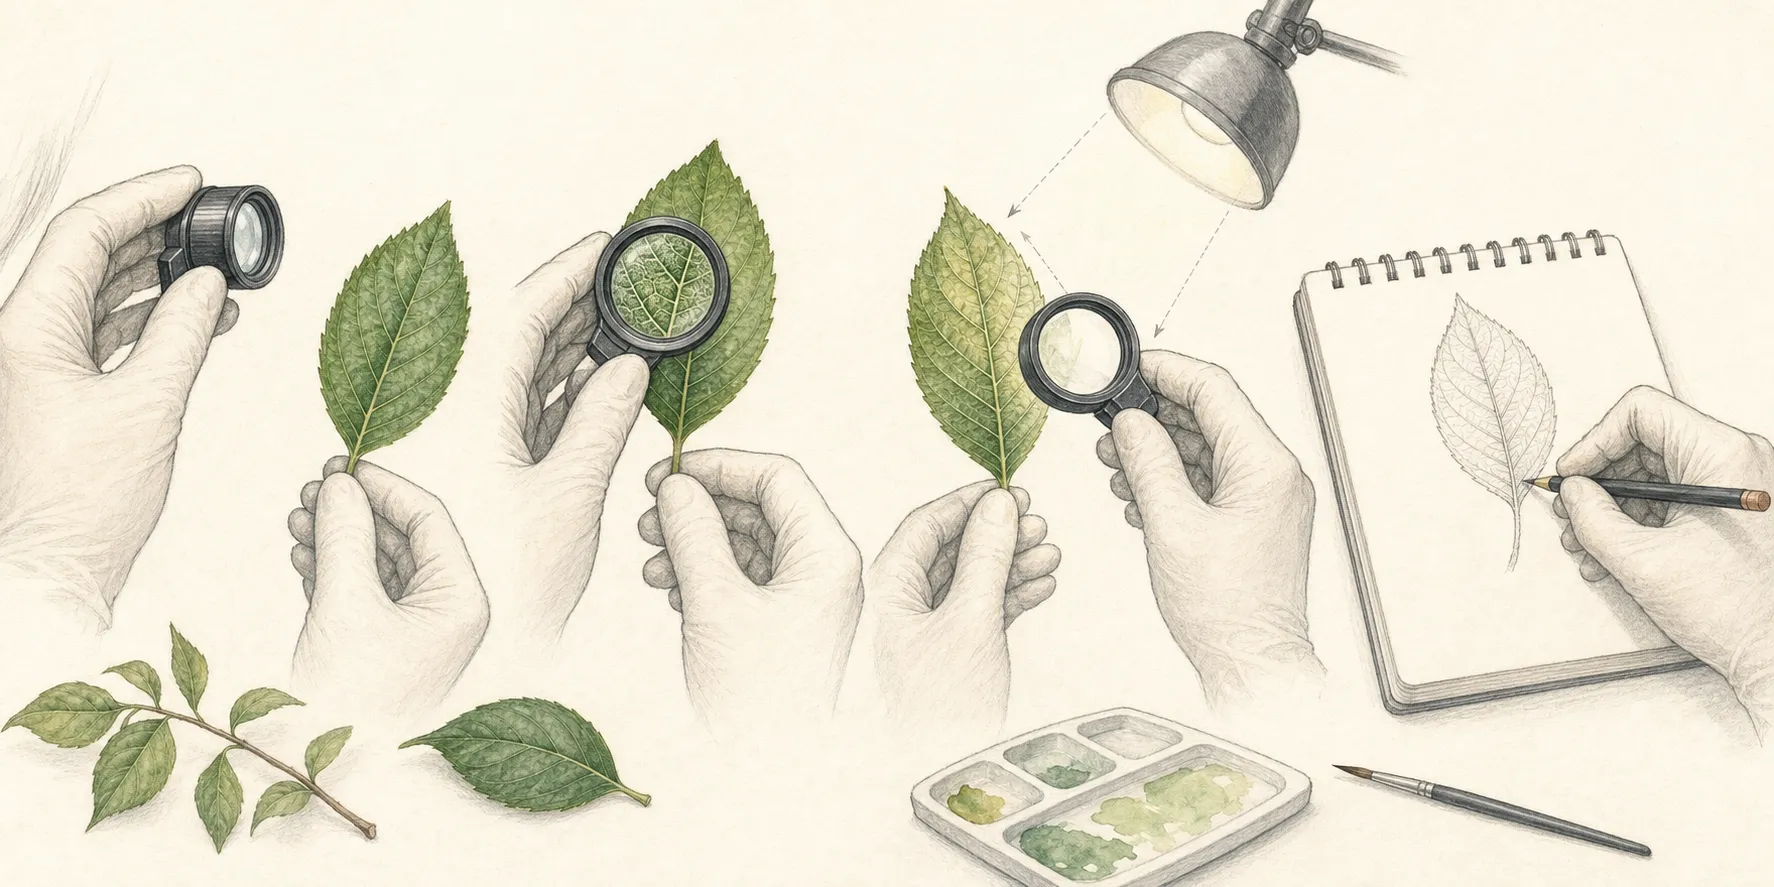
Examine several samples from the pattern identified earlier. Include apparently healthy tissue from the same plant and comparable tissue from another plant when practical. UMass scouting guidance relies on repeated inspection and records because location and trend affect a management decision. A lens that cannot relocate the same feature across specimens is a poor diagnostic tool even if one view looked impressively sharp.
Switch to 20x only after the target is centered at 10x. Brace both the specimen hand and lens hand, then shorten the distance gradually. If wind, thorns, or plant position prevents stability, collect a suitable sample under current diagnostic guidance. The field lens has reached its operational limit when the user cannot hold focus long enough to describe or compare what is present.
Run a repeatable buying test
Bring three clean test subjects to a shop that permits handling: fine printed text, a leaf with visible hairs or veins, and a small textured object. Use the same light and viewing order for every lens. Time how long it takes to find focus, scan the edge, close the case, and find focus again. A good candidate performs consistently after the novelty of the first sharp view has passed.
Score six qualities from one to five: target finding, center clarity, edge clarity, light access, grip, and case operation. Keep one failure note separate from the average. A lens that pinches the hand or loses its target should not win because its center image is excellent. Weight the categories by the planned work, with target finding and handling usually dominant for broad ornamental scouting.
If possible, borrow the leading lens for a garden round before buying a second magnification. Inspect upper and lower leaf surfaces, a bud, a stem junction, and a known harmless structure. Confirm that the lens remains accessible, dry, and comfortable while notes are taken. The field trial should reveal whether 10x answers the actual questions or whether a narrower 20x view earns the extra pocket space.
Create a repeatable scouting record
Record plant identity, cultivar if known, bed, date, affected proportion, distribution, plant parts, recent weather, irrigation, and recent applications before the close view. Then add magnification, light direction, and literal observations. Terms such as black round bodies, clear oval eggs, moving pale specks, or no visible organism preserve evidence. An unsupported disease name can mislead every later decision.
Photograph at three scales: the planting pattern, the whole plant, and the sampled detail. A phone image through a loupe may document position even when it cannot prove identity. Include a ruler or known scale beside a detached sample, not across delicate tissue. Use the same lens and lighting on return visits so a change in equipment does not masquerade as biological change.
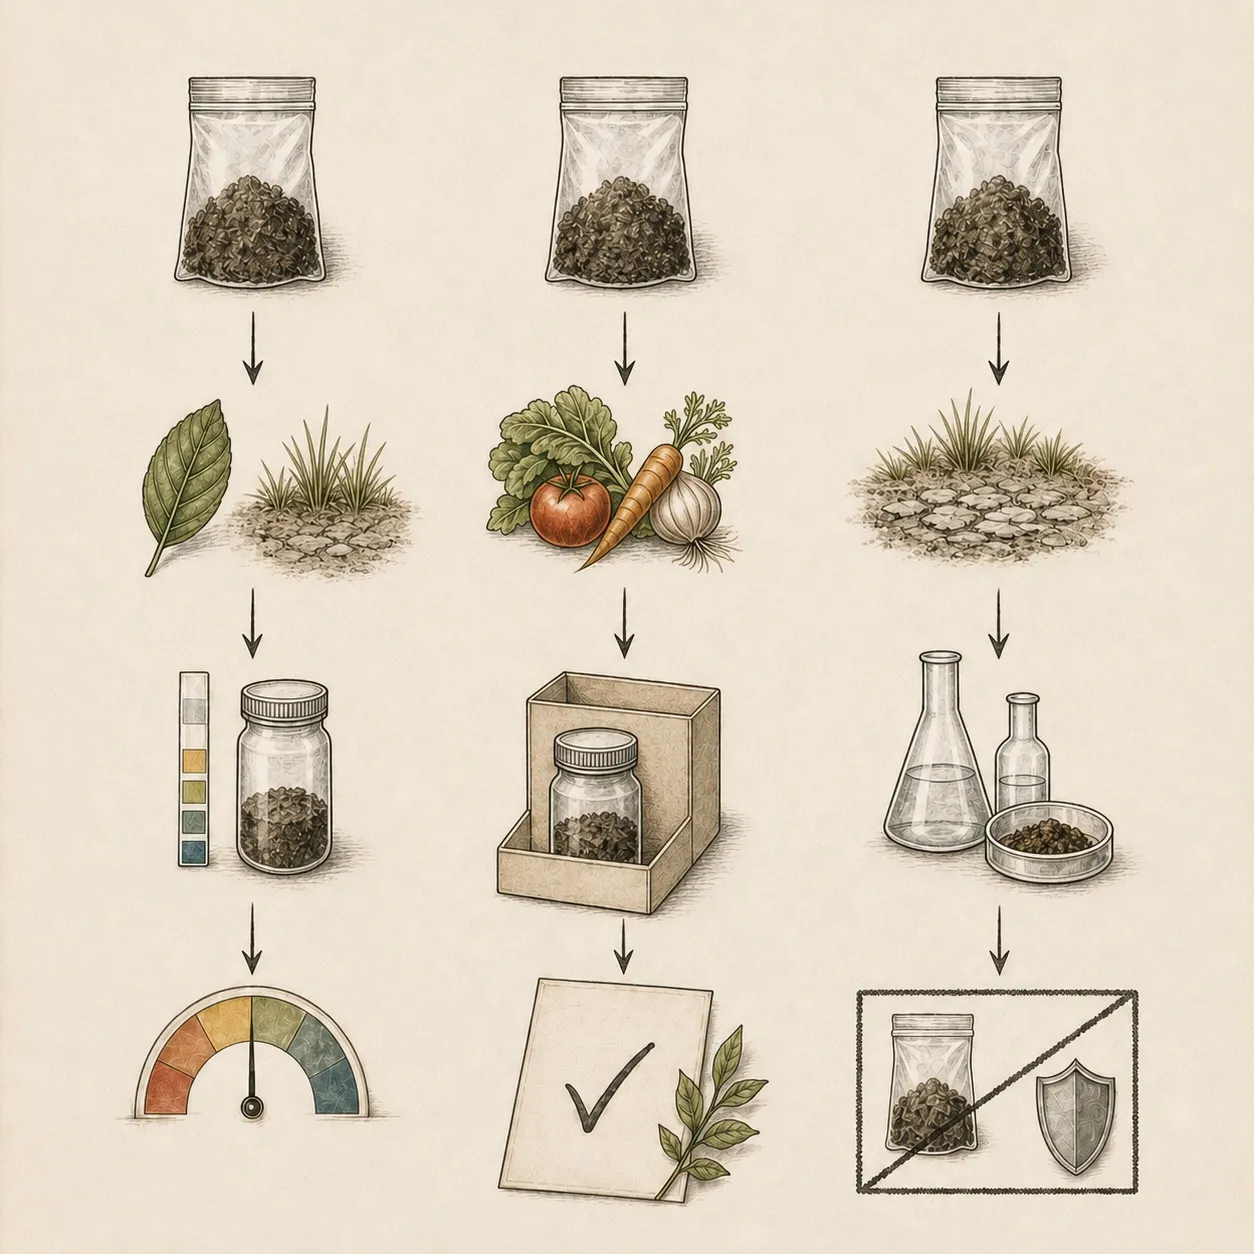
When expert diagnosis is needed, follow the receiving laboratory's instructions. University of New Hampshire Extension requests host history and a range of healthy, moderate, and severe material, with different packing for leaves, twigs, roots, and whole plants. A dramatic dead fragment alone may be undiagnosable. Keep samples separate, labeled, and cool as directed, and send them on the laboratory's schedule.
Know when the lens has reached its limit
A loupe cannot reveal every cause of wilt, chlorosis, decline, root failure, virus-like symptoms, bacterial disease, or chemical injury. Even visible organisms may be incidental. Return to the Oregon State diagnostic questions when lens findings conflict with the distribution or timing. If several causes still fit, keep the diagnosis provisional and seek the observation or test that can separate them.
Escalate when damage spreads quickly, affects a valuable or regulated plant, follows a chemical event, or requires species-level identification before management. A stereomicroscope can stabilize higher magnification, while a plant clinic can examine internal tissue or use laboratory methods. Submit useful transitional material and complete history while the sample is still fresh enough to examine.
Do not turn a magnified shape into automatic pesticide use. UMass places the hand lens inside a scouting system that includes records, pest references, laboratory support, and current labels. Confirm the target, host, site, and applicable guidance first. On agricultural establishments, EPA explains that applicable restricted-entry intervals appear on pesticide labeling; home-garden products and settings may differ, so the current label controls before foliage is handled or sampled.
Retain the lens observation even when identification remains uncertain. The note may show that mites were not visible, fruiting bodies appeared only after wet weather, or damage stayed confined to one exposure. Those limits help an Extension office or laboratory. A successful hand lens narrows the next question and improves the sample; it does not need to deliver a final name at the plant.
Keep a specimen-based comparison
Record the lens model and magnification, specimen, illumination, working distance, focus stability, visible detail, cleaning needs and cost. Compare candidates on the same small structure, keeping the specimen consistent. Keep a separate field for what remains unresolved. Better visibility may justify a lens purchase, but an uncertain organism or symptom still belongs in the sample and diagnostic record, not under a guessed final name.
Tool notes
- Type
- Folding horticultural hand lens or loupe
- Purpose
- Magnify small plant structures in the field while retaining enough field of view, light, and handling stability to support diagnosis.
- Affiliate
- No commercial links
Maintenance
- After field use, open the case over a clean surface and remove loose grit with an air bulb or soft brush. Wiping dusty glass can grind soil particles across the optic and create permanent haze.
- Clean fingerprints and residues with the cloth and solution specified for the lens material. Put fluid on the cloth, not into the hinge, cemented lens edge, lamp switch, or battery compartment.
- Dry the housing fully before folding it. Inspect hinge tension, case closure, aperture rim, lanyard attachment, and any lamp seal; a loose case can expose the glass inside a pocket.
- Check clarity on the same printed grid used during selection. New edge blur, double images, internal fogging, loose elements, or separation between optical layers means the lens needs professional service or replacement.
- For an illuminated loupe, remove depleted or leaking batteries according to local rules and clean only as the maker directs. Store spare batteries separately so metal objects cannot bridge their terminals.
- At the start of each scouting season, compare the loupe with a known sound lens on the printed grid and a familiar healthy leaf. If only one tool shows haze, color fringes, or lost edge detail, service the optic before using its view as diagnostic evidence.
- Keep each magnification in a marked dry case away from fertilizer, soil, heat, and direct sunlight. Log purchase date, drops, wetting events, cleaning, and optical changes so a failed view is not mistaken for a new plant feature.
Related reading
Sources
- Taking a closer look: the best field hand lens and how to use it. UC Agriculture and Natural Resources. Source record · Accessed 2026-08-30.
- Diagnosing plant problems. Oregon State University Extension Service. Source record · Accessed 2026-08-30.
- IPM Scouting and Decision Making. UMass Extension. Source record · Accessed 2026-08-30.
- Guidelines for Collecting and Submitting Plant Material to the Plant Diagnostic Lab. University of New Hampshire Extension. Source record · Accessed 2026-08-30.
- How to watch an eclipse, safely. National Eye Institute. Source record · Accessed 2026-08-30.
- Eclipse Viewing Safety. NASA Science. Source record · Accessed 2026-08-30.
- Restrictions to Protect Workers After Pesticide Applications. U.S. Environmental Protection Agency. Source record · Accessed 2026-08-30.